はじめに
locustはお手軽で良い。Dockerfileとちょっとしたシナリオのpythonコードがあれば、サクサクっと性能が測定できる。
そんなlocustも、もともとは手動で負荷量を調整しなければいけないのが面倒だったものの、バージョン1.2で追加された「カスタムロードシェイプ」を使えばそんな手間も無くなるというのがドキュメントを読んでいて分かったので、さっそく試してみる。
やること
と言ってもメチャクチャ簡単。
公式ドキュメントと、そこからリンクされているGitHubのサンプルを参考に作ってみる。
from locust import LoadTestShape

# (中略)

class MyCustomShape(LoadTestShape):
    time_limit = 900
    spawn_rate = 10

    def tick(self):
        run_time = self.get_run_time()
        print(run_time)

        if run_time < self.time_limit:
            user_count = 20 + ( run_time // 120 ) * 20
            return (user_count, self.spawn_rate)

        return None
シナリオを書いているlocustfile.pyに上記を入れるだけ。以上。
In this class you define a tick() method that returns a tuple with the desired user count and spawn rate (or None to stop the test). Locust will call the tick() method approximately once per second.
と書かれている通り、tick() メソッドが毎秒呼ばれるので、そこで計算ロジックを立てて、必要 user_count 分だけ return すれば良い。return None すればシナリオが終わる。
上記は、120秒ごとに20ユーザを10spawn/秒して、900秒走行する例である。
これでWebのGUI画面を表示すると、通常は入力可能なユーザ数とHatch Rateが以下のようにディアクティベーションされた状態で表示される。
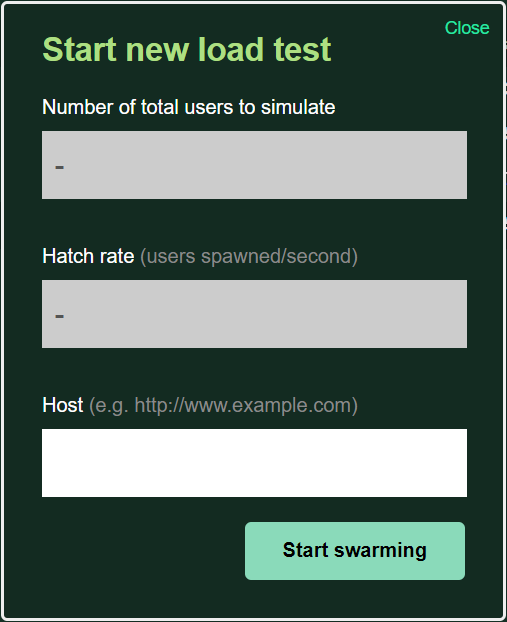
ここで、シナリオ投入したいサーバを設定すればシナリオの自動走行が始まる。
あとは、カップ麺でも食べながらシナリオ走行の完了を待てばよい。
時間が来たら、こんな感じで勝手に止まってくれる。
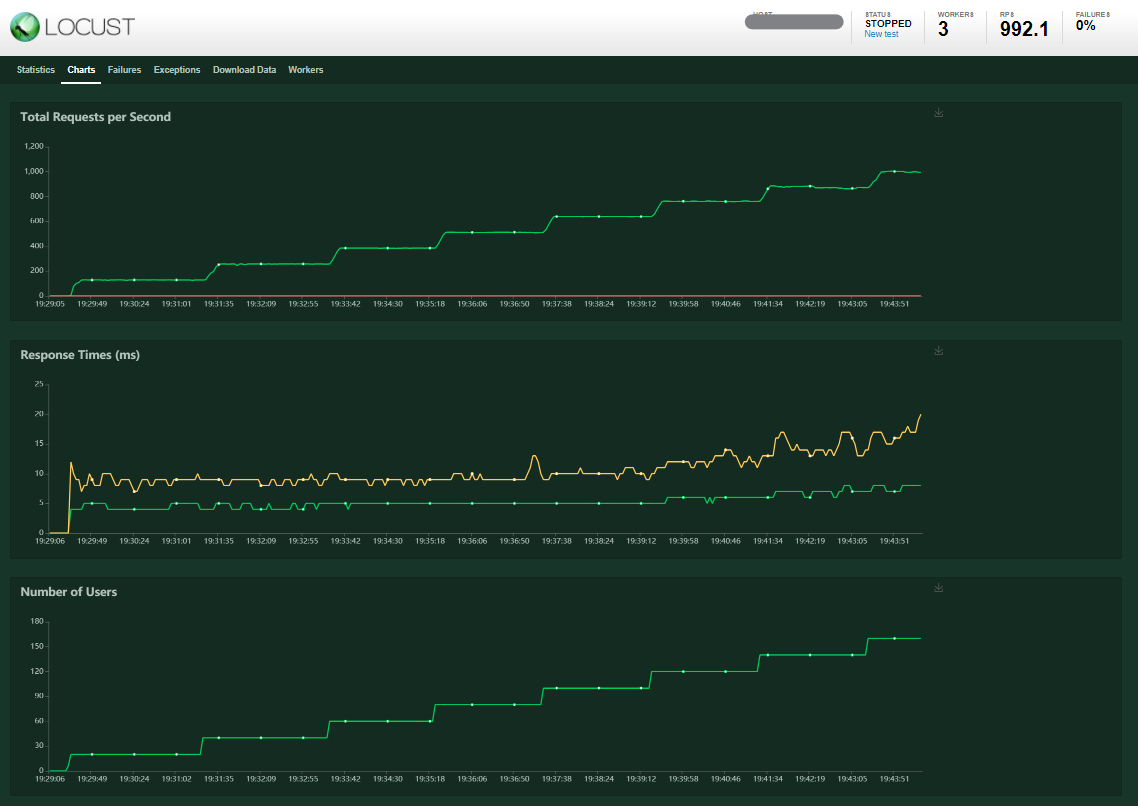
やったね!ここまでできれば、あとは試験条件を変更しながら同じロードシェイプを流して比較ができるぞ!