WSL2を利用してWindows10H OMEでUbuntuを利用する方法をご紹介します。色々とスクショを取り忘れているので、参考サイトにほとんど丸投げです![]()
作業環境
OS:Windows 10 HOME ver.2004
作業手順
①Ubuntu 20.04 LTSをインストールする
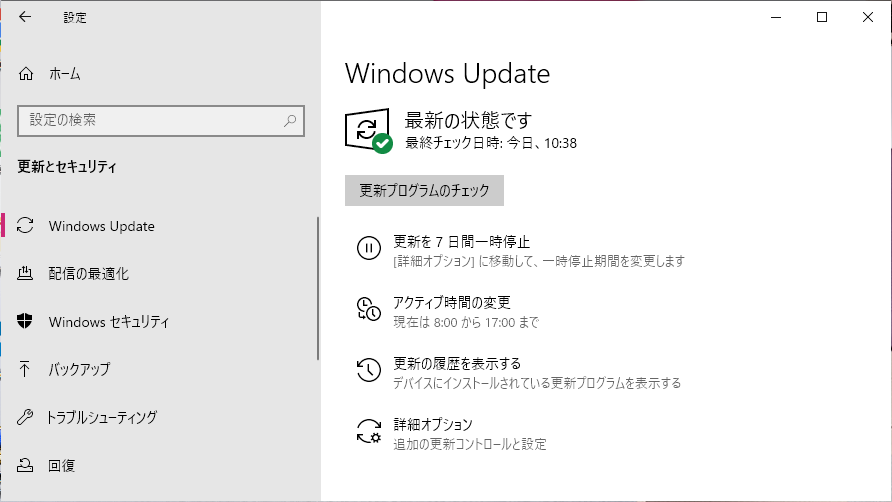
Windowsを最新版までアップデート
Windows10 HOMEの場合は2004移行でないとWSL2を利用できないので、versionが2004以下の場合は、下記のサイトを参考に最新版までアップデートします。
https://www.atmarkit.co.jp/ait/articles/1701/07/news037.html
最新版になるまで、何回もやる可能性があります。下のような画面になれば、OKです。
Ubuntu 20.04 LTSをインストールする
下記のサイトを参考に進めます。
https://www.kkaneko.jp/tools/wsl/wsl2.html
前準備
既に終わっています。
Hyper-V,Linux 用 Windows サブシステム,仮想マシンプラットフォームを有効にする
この手順通りに進めます。
Linux ディストリビューションのインストール
この手順通りに進めます。

ここまでできたら、後半は無視してOKです。
②Ubuntuの初期設定
下記の記事を参考にUbuntuの初期設定をします。
Ubuntu LTS 18がいいと書いてありますが、Ubuntu 20のまま作業を進めます。
http://www.aise.ics.saitama-u.ac.jp/~gotoh/HowToInstallUbuntu1804OnWSL.html
Ubuntu上でのXserverの起動_
% xeyes &
※「% ~」はUbuntu上で実行するという意味で、実際には入力不要です。
ここでエラーが起き、xeyesが起動しませんでした。
ここからhttps://github.com/microsoft/WSL/issues/4106 に行き、下記のコメントを参考にしたら解決しました。

解決した手順
VcXsrvをプライベートもパブリックもファイアウォールを許可に変更します。

XLaunchを再起動して、「Disable access control」にチェックを入れます。

Ubuntuを再起動して、以下のコマンドを順に実行して、.bash_profileの中身を
export DISPLAY=`grep -oP "(?<=nameserver ).+" /etc/resolv.conf`:0.0
に書き換えて、再度実行します。
% cd
% rm ~/.bash_profile
% echo 'export DISPLAY=`grep -oP "(?<=nameserver ).+" /etc/resolv.conf`:0.0' >> ~/.bash_profile
% cat ~/.bash_profile
export DISPLAY=`grep -oP "(?<=nameserver ).+" /etc/resolv.conf`:0.0
% source ~/.bash_profile
% xeyes &
※「% ~」はUbuntu上で実行するという意味で、実際には入力不要です。
これで表示されました。

gnome-terminalの利用_
これ以降はエラーは起こりませんでした。
③Ubuntuデスクトップ環境を構築する
下記を参考にxfceをUbuntuに入れて、Ubuntuのデスクトップ環境を表示します。
https://it-blue-collar-dairy.com/ubuntu-desktop_for_wsl/
% sudo apt-get update
% sudo apt-get upgrade
% sudo apt-get install xfce4-terminal
% sudo apt install xfce4-session
% sudo apt-get install xfce4
% startxfce4
※「% ~」はUbuntu上で実行するという意味で、実際には入力不要です。
エラーが起こって、うまく画面が起動できませんでした。
解決した手順
まずUbuntuもXLaunchも終了します。
次にXLaunchを起動し、下記のように「One large window」を選択肢、Display numberは0を入力します。

次に下記のように「Disable access control」にチェックを入れます。

すると下記のような黒い画面が出てきます。

この状態でubuntuを起動して「startxfce4」と入力すると、下記のような画面に変わりUbuntuのデスクトップが表示されます。

④その他にインストールしたもの
その他に実行したことやインストールしたプログラムをメモ代わりに残しておきます。
リポジトリの変更
この記事を参照して、リポジトリを海外のサーバーから国内のサーバーへ変更します。
% sudo sed -i -e 's%http://.*.ubuntu.com%http://ftp.jaist.ac.jp/pub/Linux%g' /etc/apt/sources.list
※「% ~」はUbuntu上で実行するという意味で、実際には入力不要です。以下同様です。
Vimのインストール
同じくこの記事を参照して、Vimをインストールします。
% sudo apt install vim-nox
Gitのインストール
同じくこの記事を参照して、Gitをインストールします。
% sudo apt install git
Homebrewのインストール
https://docs.brew.sh/Homebrew-on-Linux
上記を参照して、Homebrewをインストールします。
% /bin/bash -c "$(curl -fsSL https://raw.githubusercontent.com/Homebrew/install/master/install.sh)"
途中でPress RETURN to continue or any other key to abortと出てきたら、エンターキーを押せばOKです。
==> Next steps:
- Run `brew help` to get started
- Further documentation:
    https://docs.brew.sh
- Install the Homebrew dependencies if you have sudo access:
  Debian, Ubuntu, etc.
    sudo apt-get install build-essential
  Fedora, Red Hat, CentOS, etc.
    sudo yum groupinstall 'Development Tools'
  See https://docs.brew.sh/linux for more information.
- Configure Homebrew in your /home/neneta/.bash_profile by running
    echo 'eval $(/home/linuxbrew/.linuxbrew/bin/brew shellenv)' >> /home/neneta/.bash_profile
- Add Homebrew to your PATH
    eval $(/home/linuxbrew/.linuxbrew/bin/brew shellenv)
- We recommend that you install GCC by running:
    brew install gcc
上記のような画面が出てきたら、インストールは完了です。この案内に書いてある通りに以下のコマンドを実行します。
% sudo apt-get install build-essential
追加でインストールされるので、完了したら次のコマンドを実行します。nenetaの部分はユーザー名なので、各自異なります。
% echo 'eval $(/home/linuxbrew/.linuxbrew/bin/brew shellenv)' >> /home/neneta/.bash_profile
cat ~/.bash_profileで中身を確認すると、以下のようになっています。
export DISPLAY=`grep -oP "(?<=nameserver ).+" /etc/resolv.conf`:0.0
alias gterm="/usr/bin/gnome-terminal"
eval $(/home/linuxbrew/.linuxbrew/bin/brew shellenv)
無事にPATHにeval $(/home/linuxbrew/.linuxbrew/bin/brew shellenv)が追加されました。
次にGCCをインストールするのがおすすめだと書いてあるので、下記のコマンドを実行します。
brew install gcc
以下の画面が出れば完了です。
==> Summary
🍺  /home/linuxbrew/.linuxbrew/Cellar/isl@0.18/0.18: 81 files, 6.4MB
==> Installing gcc
==> Pouring gcc-5.5.0_7.x86_64_linux.bottle.tar.gz
==> Creating the GCC specs file: /home/linuxbrew/.linuxbrew/Cellar/gcc/5.5.0_7/lib/gcc/x86_64-unknown-linux-gnu/5.5.0/sp
🍺  /home/linuxbrew/.linuxbrew/Cellar/gcc/5.5.0_7: 1,350 files, 174.8MB
==> Caveats
==> isl@0.18
isl@0.18 is keg-only, which means it was not symlinked into /home/linuxbrew/.linuxbrew,
because this is an alternate version of another formula.

For compilers to find isl@0.18 you may need to set:
  export LDFLAGS="-L/home/linuxbrew/.linuxbrew/opt/isl@0.18/lib"
  export CPPFLAGS="-I/home/linuxbrew/.linuxbrew/opt/isl@0.18/include"
またもやPATHを追加したほうが良いかもしれないというメッセージが出たので、以下のコマンドを実行してPATHに追加します。
% echo 'export LDFLAGS="-L/home/linuxbrew/.linuxbrew/opt/isl@0.18/lib"' >> /home/neneta/.bash_profile
% echo 'export CPPFLAGS="-I/home/linuxbrew/.linuxbrew/opt/isl@0.18/include"' >> /home/neneta/.bash_profile
cat ~/.bash_profileで中身を確認すると、以下のようになっています。
export DISPLAY=`grep -oP "(?<=nameserver ).+" /etc/resolv.conf`:0.0
alias gterm="/usr/bin/gnome-terminal"
eval $(/home/linuxbrew/.linuxbrew/bin/brew shellenv)
export LDFLAGS="-L/home/linuxbrew/.linuxbrew/opt/isl@0.18/lib"
export CPPFLAGS="-I/home/linuxbrew/.linuxbrew/opt/isl@0.18/include"
無事に追加できました。これでHomebrewの設定は終了したので、次のコマンドを実行して確認します。
% brew install hello
🍺  /home/linuxbrew/.linuxbrew/Cellar/hello/2.10: 52 files, 595.6KB
これでMacのようにbrewコマンドを使ってインストールできるようになりました。
Ubuntuのアップデート方法
1週間に1回程度、下記のコマンドを実行して、最新版にアップデートしたほうがよいとのことです。
% sudo apt-get update
% sudo apt-get upgrade
簡単ですが以上です。書き終わってから気づきましたが、下記に分かりやすくまとめて書いてありました ![]()
初心者のためのWSL( 1 ) ~初期設定,CUI設定編~
初心者のためのWSL( 2 ) ~GUI設定,デスクトップ環境設定編~