概要
React Three Fiberを使用して、メッシュに対して動的な起伏の付け方をまとめました。
技術的には、
マテリアルのDisplacement MapにCanvas Textureを適用して、何らかの方法でCanvasに描画を行うと起伏が更新されるようにします。
Displacement Mapとは、Textureの色の明度によって凸形状を表現するMapです。
黒なら平で、白に近付くほど凸になります。
実装例
実際に実装例を見たほうが、想像がつきやすいと思います。
r3f-canvas-displacement
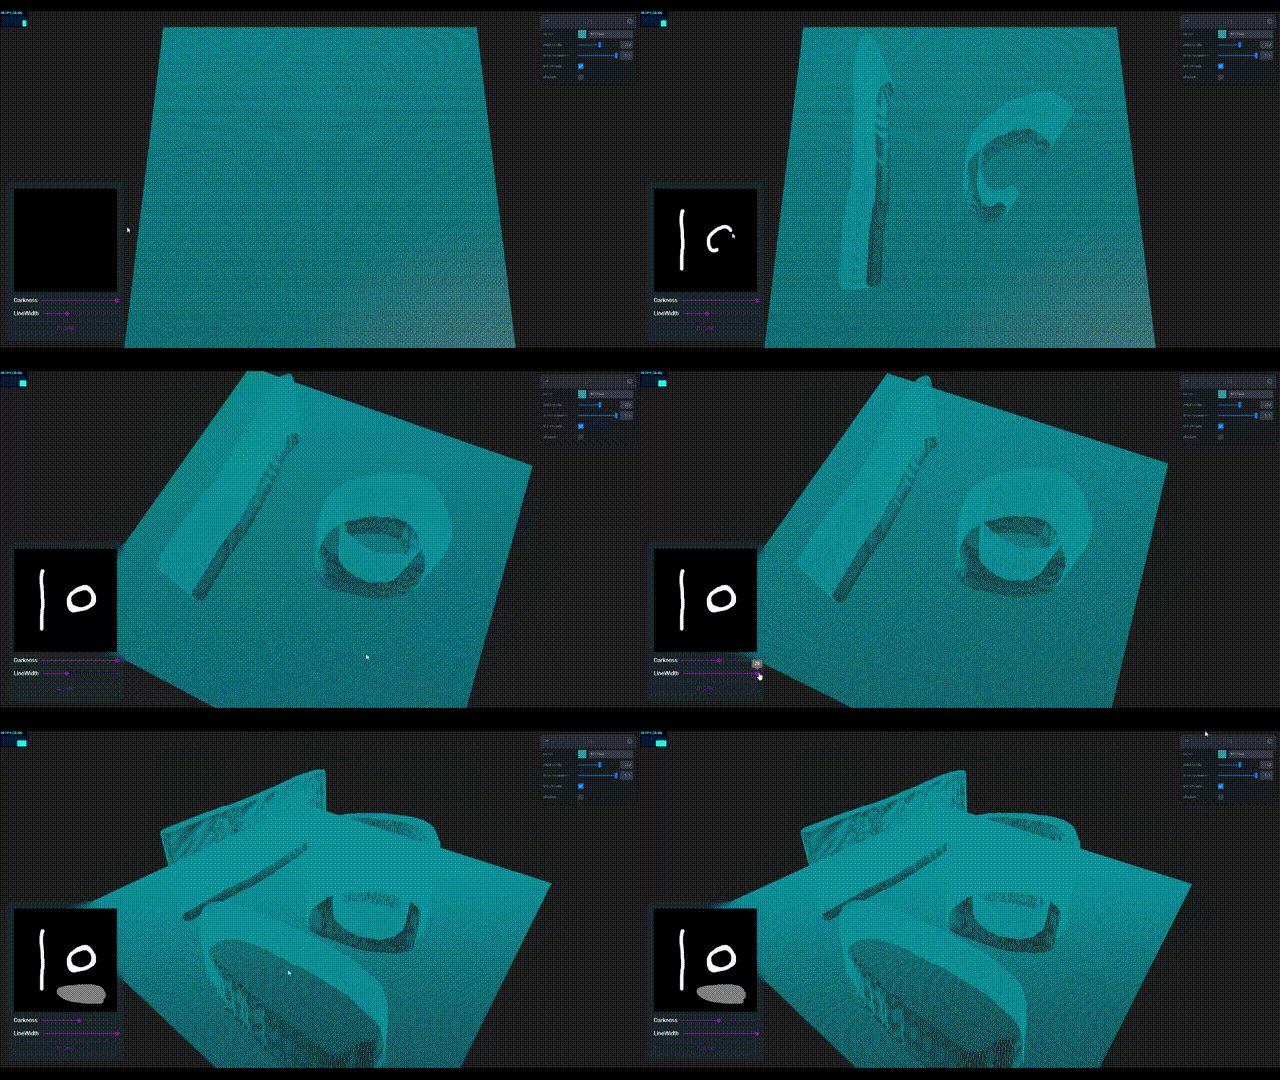
マウスでCanvasに描画した内容が、メッシュの起伏となって反映されるアプリケーションです。
https://nemutas.github.io/r3f-canvas-displacement/

r3f-audio-visualizer
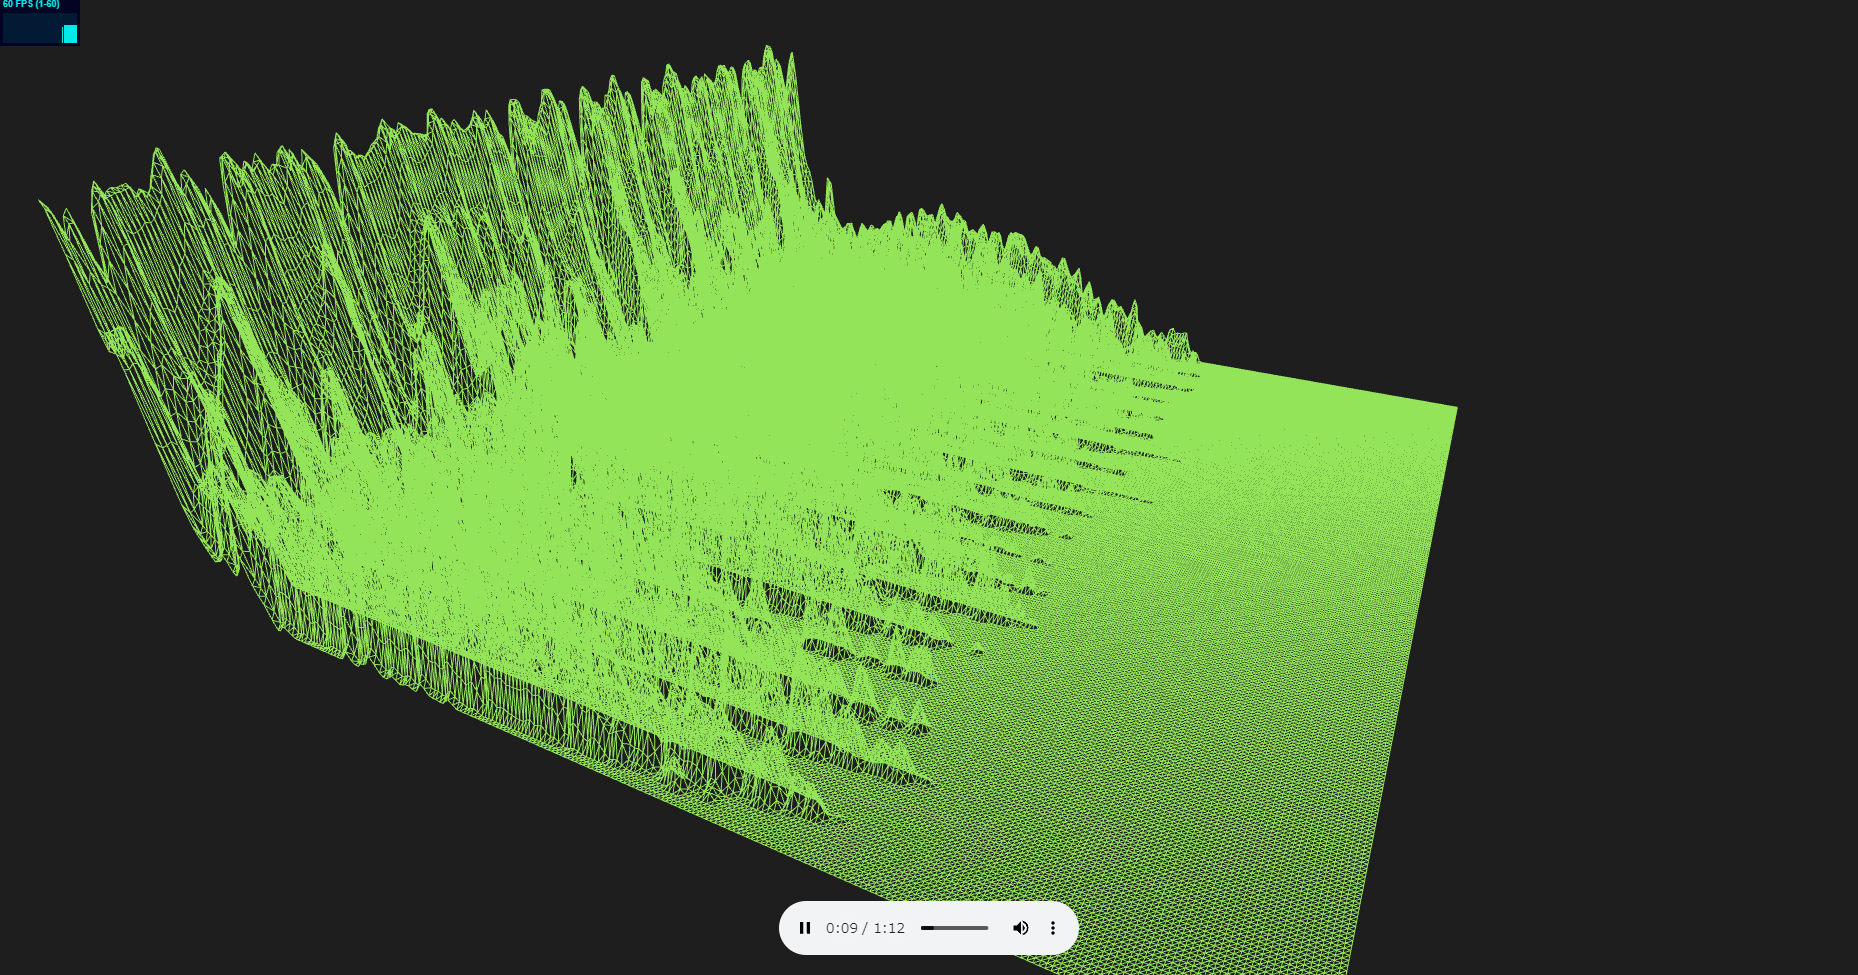
Web Audio APIを使用し音源をFFTした結果をCanvasに描画して、それがメッシュの起伏となって反映されるアプリケーションです。
https://nemutas.github.io/r3f-audio-visualizer/

Web Audio APIを使用したAudio Visualizerは、以下の記事で詳しく扱っています。
要点
要点を絞ってコードを見ていきます。
すべてのコードを見たい方は、リポジトリを参考にしてください。
Displacement Mapの指定・Textureの更新
以下は、r3f-audio-visualizerで、描画を行っている処理です。
const MeshVisualizer: VFC = () => {
	const planeRef = useRef<THREE.Mesh>(null)

	const canvas = document.createElement('canvas') as HTMLCanvasElement
	canvas.width = 256
	canvas.height = 512
	const ctx = canvas.getContext('2d')!

	const texture = new THREE.Texture(canvas)
	texture.minFilter = THREE.LinearFilter
	texture.magFilter = THREE.LinearFilter

	useFrame(() => {
		if (analyserNode.data) {
			let timeData = new Uint8Array(analyserNode.data.frequencyBinCount)
			analyserNode.data.getByteFrequencyData(timeData)

			const imageData = ctx.getImageData(0, 1, 256, 511)
			ctx.putImageData(imageData, 0, 0, 0, 0, 256, 512)
			for (let x = 0; x < timeData.length; x++) {
				ctx.fillStyle = `rgb(${timeData[x]}, ${timeData[x]}, ${timeData[x]})`
				ctx.fillRect(x, 510, 2, 2)
			}

			texture.needsUpdate = true
		}
	})

	return (
		<Plane ref={planeRef} rotation={[-Math.PI / 2, 0, 0]} args={[20, 20, 256, 256]}>
			<meshPhongMaterial wireframe color="#0f0" displacementMap={texture} displacementScale={10} />
		</Plane>
	)
}
- Canvasを作成して、それを元にTextureを生成します。
const canvas = document.createElement('canvas') as HTMLCanvasElement
canvas.width = 256
canvas.height = 512
const ctx = canvas.getContext('2d')!

const texture = new THREE.Texture(canvas)
texture.minFilter = THREE.LinearFilter
texture.magFilter = THREE.LinearFilter
minFilterは、Textureサイズよりも描画領域(Planeのサイズ)が小さいときに、Textureをどのように縮小するかを決めるパラメーターです。
magFilterは、minFilterの逆で、描画領域(Planeのサイズ)の方が大きいときに、Textureをどのように拡大するかを決めるパラメーターです。
https://threejs.org/docs/index.html?q=texture#api/en/constants/Textures
- 生成したTextureをマテリアルに適用します。
<Plane ref={planeRef} rotation={[-Math.PI / 2, 0, 0]} args={[20, 20, 256, 256]}>
	<meshPhongMaterial wireframe color="#0f0" displacementMap={texture} displacementScale={10} />
</Plane>
displacementScaleは、起伏の倍率です。
Displacement Mapを適用する場合、メッシュが細分化されているほど起伏の再現度が増します。
実装例では、Planeを1辺256のセグメントに細分化しています。
displacementMapを指定できるマテリアルは、以下の通りです。
MeshDepthMaterial、MeshDistanceMaterial、MeshMatcapMaterial、MeshNormalMaterial、MeshPhongMaterial、MeshStandardMaterial、MeshToonMaterial
- Textureに描画を行ったら、texture.needsUpdate = trueを呼びだして更新します。
useFrame(() => {
	if (analyserNode.data) {
		let timeData = new Uint8Array(analyserNode.data.frequencyBinCount)
		analyserNode.data.getByteFrequencyData(timeData)

		const imageData = ctx.getImageData(0, 1, 256, 511)
		ctx.putImageData(imageData, 0, 0, 0, 0, 256, 512)
		for (let x = 0; x < timeData.length; x++) {
			ctx.fillStyle = `rgb(${timeData[x]}, ${timeData[x]}, ${timeData[x]})`
			ctx.fillRect(x, 510, 2, 2)
		}

		texture.needsUpdate = true
	}
})
実装例では、useFrameを使用してフレーム単位で音源をFFTし、Canvasに描画しています。そのあと、texture.needsUpdate = trueを呼びだすことで、Textureを更新しています。
コンポーネント間のデータの渡し方
Reactでは、よくContextやRedux、Recoilを使用して、コンポーネント間でデータの受け渡しを行います。これらのライブラリでグローバルステートを管理することで、値の変更に応じてその値を参照しているコンポーネントが再描画されます。
しかし、Three.js(React Three Fiber)を使用する場合、requestAnimationFrameやuseFrameで逐一再描画を行うため、わざわざライブラリを使用してステート管理をしなくてもいいケースが多いです。
今回のように、フレーム単位でTextureを再描画をするような場合は、ただグローバル変数を使えばいいのです。
export const analyserNode: { data: AnalyserNode | null } = { data: null }
analyserNodeは、Audio.tsxからVisualizer.tsxに音源の解析情報を渡すためのグローバル変数です。
まとめ
Displacement MapにCanvas Textureを指定すると、複雑な座標計算をしなくても簡単にメッシュに起伏をつけられます。
今回は平面でやりましたが、色んな形状で試すのも面白そうです。(その場合、UV展開が必要ですが)
Canvasに何かを描画するだけでいいので、色々簡単に応用できそうです。
リポジトリ