概要
InstancedMeshに対してShaderを使う方法をまとめました。
A special version of Mesh with instanced rendering support. Use InstancedMesh if you have to render a large number of objects with the same geometry and material but with different world transformations. The usage of InstancedMesh will help you to reduce the number of draw calls and thus improve the overall rendering performance in your application.
インスタンスレンダリングをサポートするMeshの特別バージョンです。同じジオメトリとマテリアルを持つがワールド変換が異なる多数のオブジェクトをレンダリングする必要がある場合、InstancedMesh を使用します。InstancedMesh を使用することで、描画の呼び出し回数が減り、アプリケーションの全体的なレンダリングパフォーマンスを向上させることができます。
公式ドキュメントより
要約すると、同じジオメトリとマテリアルをもつメッシュを個別に100個作成すると、100回ドローコールされるためパフォーマンス(主にFPS)が低下します。
これをInstancedMeshとしてインスタンス化することで、1回のドローコールで描画することができ、パフォーマンスを落とさずに大量のメッシュを扱うことができます。
ただし、InstancedMeshは、個々のメッシュに対する操作を苦手としています。
ある処理(移動・回転・スケールなど)をInstancedMeshすべてに対して行うことはできます。また、これらの処理はメッシュの位置によってずらしたりすることは可能です。
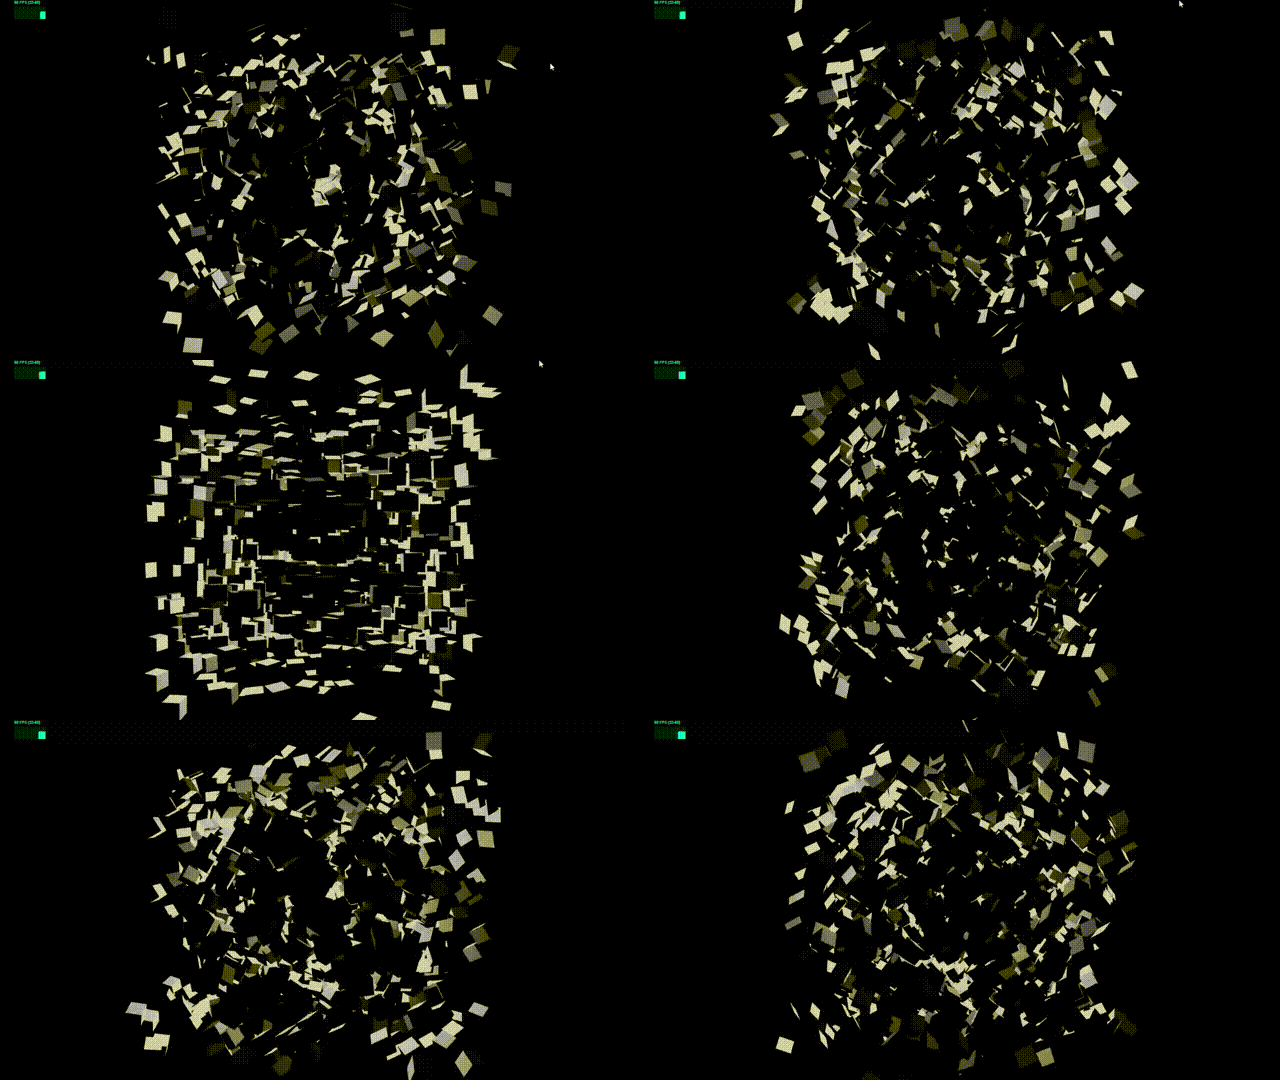
上記のサンプルでは、10×10×10(1000個)のBoxをInstancedMeshにして、フレームループで回転させています。
InstancedMeshを使用しているとは言え、毎フレーム1000回のループ処理が走ります。1000回程度なら60FPSを保てますが、これを例えば50×50×50(125,000個)のBoxとした場合、毎フレーム125,000回のループ処理が走り、CPU処理能力を超えてFPSが下がります。
そこで、この更新処理(移動・回転・スケールなど)を、Shaderを使ってGPUに並列処理させることで、パフォーマンスを保ちつつ大量のメッシュに処理を適用します。
InstancedMeshの作成
まず、ベースとなるInstancedMeshを作成します。
コード全体は、【Sandbox】を参照してください。
const Objects: VFC = () => {
	const meshRef = useRef<THREE.InstancedMesh>(null)
	const shaderRef = useRef<THREE.ShaderMaterial>(null)

	// box amount
	const amount = 1000

	// create position
	const position = useMemo(() => {
		const pos = []
		for (let i = 0; i < amount; i++) {
			pos.push(clampedRandom(-5, 5), clampedRandom(-5, 5), clampedRandom(-5, 5))
		}
		return pos
	}, [amount])

	// init position matrix
	useEffect(() => {
		const matrix = new THREE.Matrix4()

		for (let i = 0; i < amount; i++) {
			matrix.setPosition(position[i * 3], position[i * 3 + 1], position[i * 3 + 2])
			meshRef.current!.setMatrixAt(i, matrix)
		}
	}, [amount, position])

	useFrame(() => {
		shaderRef.current!.uniforms.u_time.value += 0.005
	})

	return (
		<instancedMesh ref={meshRef} args={[undefined, undefined, amount]} castShadow receiveShadow>
			<boxGeometry args={[0.5, 0.5, 0.5]}>
				<instancedBufferAttribute
					attachObject={['attributes', 'a_pos']}
					args={[Float32Array.from(position), 3]}
				/>
			</boxGeometry>
			<shaderMaterial
				ref={shaderRef}
				vertexShader={vertexShader}
				fragmentShader={fragmentShader}
				uniforms={{ u_light: { value: [0, 0, 0] }, u_time: { value: 0 } }}
			/>
		</instancedMesh>
	)
}
ポイントは、InstancedMeshに対してPositionのMatrixをメッシュの数だけ追加します。
// init position matrix
useEffect(() => {
	const matrix = new THREE.Matrix4()

	for (let i = 0; i < amount; i++) {
		matrix.setPosition(position[i * 3], position[i * 3 + 1], position[i * 3 + 2])
		meshRef.current!.setMatrixAt(i, matrix)
	}
}, [amount, position])
この例ではpositionを別に使用しているため、useEffectの外で定義しています。
Shader
instancedMeshのMaterialには、shaderMaterialを割り当てています。
<instancedMesh ref={meshRef} args={[undefined, undefined, amount]} castShadow receiveShadow>
	<boxGeometry args={[0.5, 0.5, 0.5]}>
		<instancedBufferAttribute
			attachObject={['attributes', 'a_pos']}
			args={[Float32Array.from(position), 3]}
		/>
	</boxGeometry>
	<shaderMaterial
		ref={shaderRef}
		vertexShader={vertexShader}
		fragmentShader={fragmentShader}
		uniforms={{ u_light: { value: [0, 0, 0] }, u_time: { value: 0 } }}
	/>
</instancedMesh>
Shaderは以下のようになっています。fragmentShaderは影をつけているだけなので説明は割愛します。
attribute vec3 a_pos;
uniform float u_time;
varying vec3 v_pos;
varying vec3 v_normal;

${rotateX}
${rotateY}
${rotateZ}

void main() {
	vec3 pos = position.xyz;
	pos = rotateX(pos, u_time);
	pos = rotateY(pos, u_time);
	pos = rotateZ(pos, u_time);

	vec4 globalPosition = instanceMatrix * vec4(pos, 1.0);
	globalPosition.xyz = rotateY(globalPosition.xyz, u_time * length(a_pos) * 0.3);

	vec3 norm = normal;
	norm = rotateX(norm, u_time);
	norm = rotateY(norm, u_time);
	norm = rotateZ(norm, u_time);
	norm = rotateY(norm, u_time * length(a_pos) * 0.3);
	v_normal = normalize(norm);

	vec4 mPos = modelMatrix * globalPosition;
	v_pos = mPos.xyz;

	gl_Position = projectionMatrix * viewMatrix * mPos;
}
ポイントは、positionは、ひとつひとつのMeshの頂点それぞれのローカル座標がくるというところです。
つまり、8つの頂点からなるBoxメッシュが100個なら、800回この処理が呼ばれるということです。
また、instanceMatrixをpositionに掛けることによって、インスタンス全体の座標系に変換することができます。
ただし、これも頂点それぞれに対してです。
何が言いたいかというと、InstancedMeshは、個々のメッシュではなく大量のメッシュを処理するという扱い方がPointsオブジェクトに似ていますが、Shaderではひとつひとつメッシュの頂点座標を扱います。
つまり、positionをシード値としてノイズなどを使うと、メッシュ自体が変形するということです。
このため、メッシュそれぞれの位置情報を使いたい場合は、positionとは別に用意する必要があります。
attribute vec3 a_pos;
InstacedMeshのattributeは、instancedBufferAttributeで設定できます。
<instancedBufferAttribute attachObject={['attributes', 'a_pos']} args={[Float32Array.from(position), 3]} />
面白いのが、ここで渡しているpositionは、ひとつひとつメッシュの位置を表しています。そして、vertexShaderではメッシュそれぞれの頂点に対して処理が走りますが、a_posで渡したメッシュの位置情報は頂点間で共有されます。(1つのBoxにつき8つ頂点がありますが、この8つの頂点に対する処理でa_posから取得できる位置情報は同一のものになります)
サンプルでは、メッシュを自転と公転させています。公転では、メッシュの位置(a_pos)によって速度を変えています。(中心から離れるほど速く回転します)
vec3 pos = position.xyz;
pos = rotateX(pos, u_time);
pos = rotateY(pos, u_time);
pos = rotateZ(pos, u_time);

vec4 globalPosition = instanceMatrix * vec4(pos, 1.0);
globalPosition.xyz = rotateY(globalPosition.xyz, u_time * length(a_pos) * 0.3);
まとめ
Shader内で個々のメッシュの頂点を扱えるということは、メッシュ自体の形状を流動的に変えられるということでもあります。
面白い表現が色々できそうです。![]()
Sandbox
