皆さんこんにちは。
私はよくスマホのアプリを作るときにFirebaseを利用するのですが
今回久しぶりにWindowsのデスクトップアプリを作る機会を頂いたので
WindowsアプリでFirebaseを使う手順を共有したいと思います。
環境
この記事を書くにあたり利用した環境は以下です。
Windows10
Visual Studio Community 2017 Version 15.7.2
プロジェクトはC#のWPFアプリで作成しました。
.NET Framework 4.6.1
Firebaseの準備
まずは↓のURLからFirebaseコンソールにログインします。
https://console.firebase.google.com
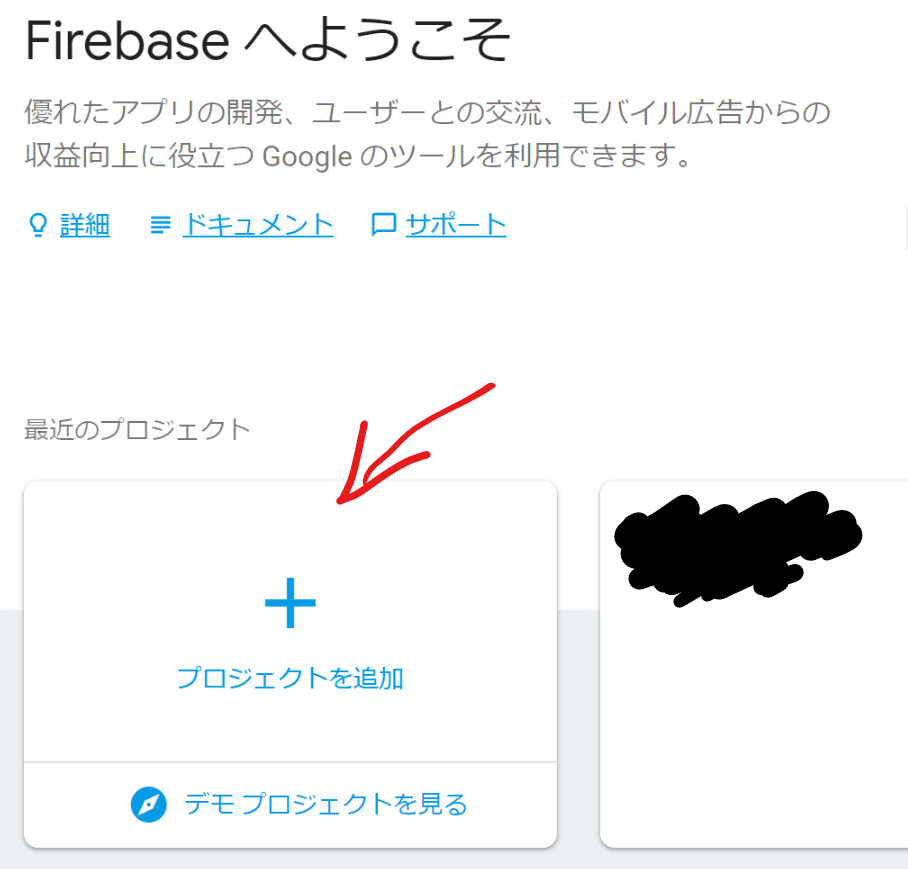
- プロジェクト名を入力してプロジェクトを作成します。

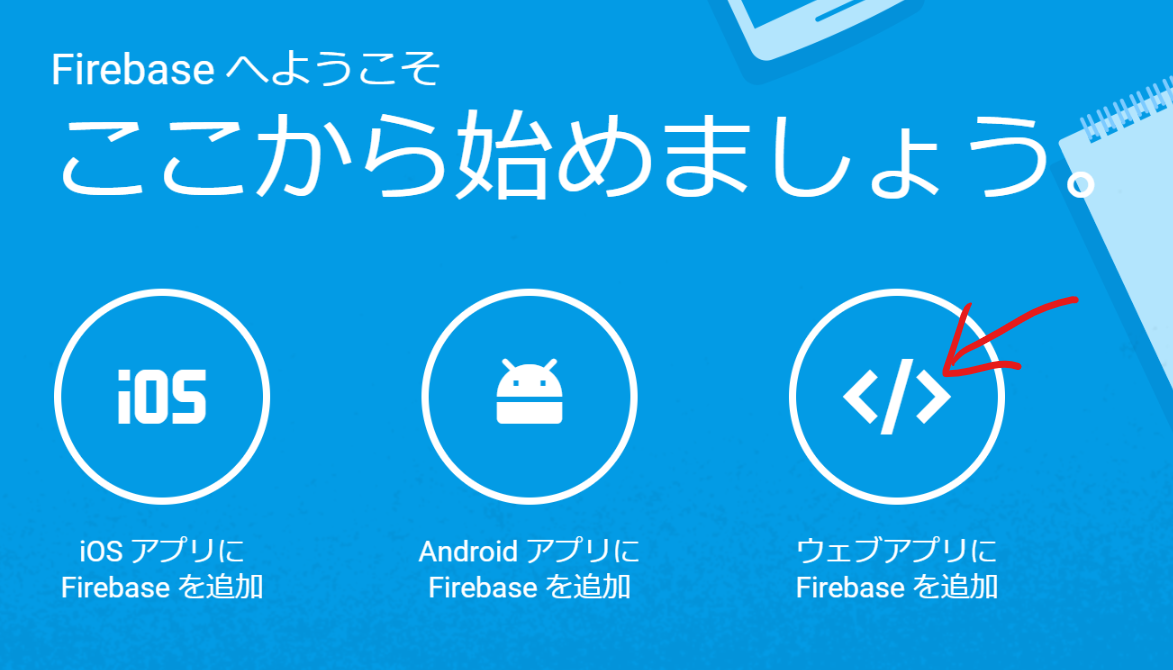
- 次に「ウェブアプリにFirebaseを追加」をクリックします。
 その時に表示される**apiKey**をコピーしておいてください。
後で利用します。
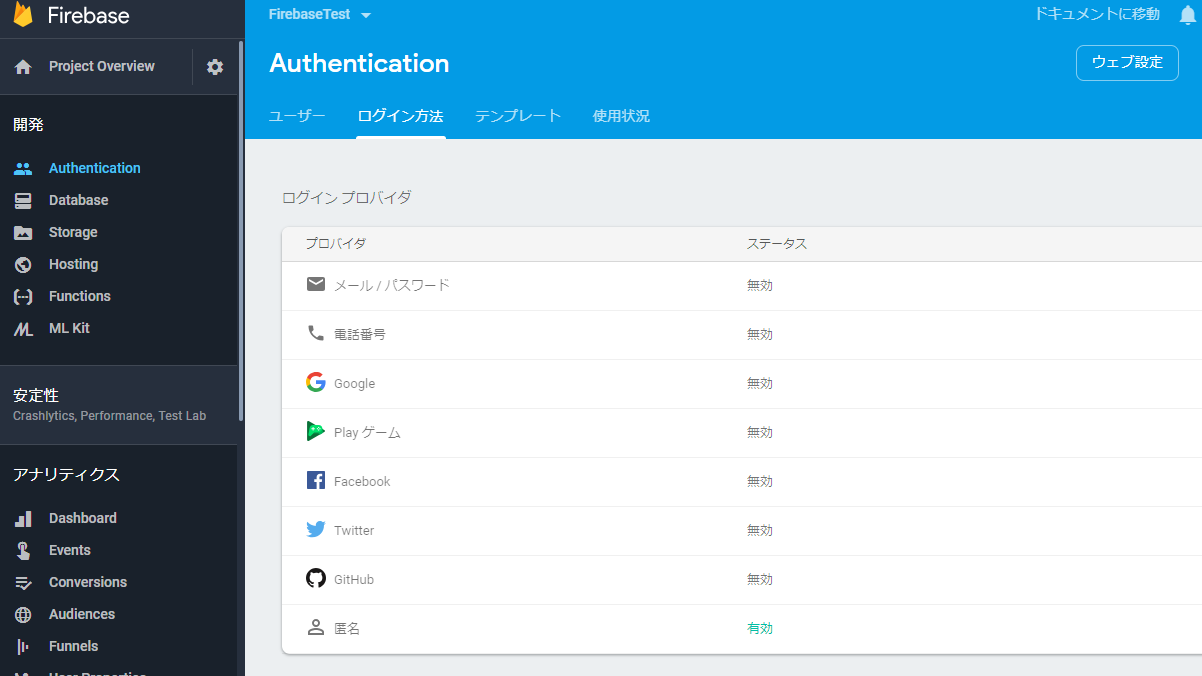
- 次にFirebaseで匿名認証を有効にします。
 Authenticationで**匿名認証**を有効にして保存してください。
以上でFirebase側の設定は完了です。
WPFアプリの準備
- WPFアプリを作成
- NuGetパッケージマネージャーでFirebaseAuthentication.netをインストールする。
- ↓のコードで匿名認証が行えます。
FIREBASE_API_KEYは、さきほどコピーしたapiKeyを入れてください。
    async Task Authenticate()
    {
      try
      {
        var authProvider = new FirebaseAuthProvider(new FirebaseConfig(FIREBASE_API_KEY));

        var auth = await authProvider.SignInAnonymouslyAsync();
      }
      catch(FirebaseAuthException ex)
      {
        Console.Error.WriteLine(ex.Message);
      }
    }
以上です。
実行してみるとFirebaseのAuthenticationのユーザーに追加されているのが確認できると思います。