背景
専用ハード、キャリアグレードLinuxで動く電話サーバアプリの発注しかしたことない電話屋さんがk8sをインストールしてみます。
知識0からやる方に向けたメモ。
day1 8/3 Dockerのダウンロード システム要件の確認
day2 未定
参考文献
[1]Qiitaの記事 Kubernetes超入門
https://qiita.com/dsagnlaiweudlbfna/items/55b162197afa74306067
[2]Dockerの公式マニュアル Install Docker Desktop on Windows
https://docs.docker.com/desktop/install/windows-install/
[3]通信業界の仮想化とKubernetes
https://zenn.dev/k_satone/articles/d064e7390098c2
[4]Install Linux on Windows with WSL
https://docs.microsoft.com/en-us/windows/wsl/install
[5]Troubleshoot topics Docker
https://docs.docker.com/desktop/troubleshoot/topics/#virtualization
0. お勉強
[3]を読むとAWSのKubernetesを使うと、5GCoreが作れるらしい。
最終目標はここだ!

でも、いきなりクラウドはハードルが高すぎるので、おうちでオンプレで作ってみよう。
1. k8sをローカルにインストールする
1.1. Dokerでコンテナ作るのが先?
[1]を読むと、
・Dockerで作ったアプリごとのコンテナを、
・k8sで複数のホストマシン間に実装したり、アップデートしたり管理する
物らしい。ので、k8sの管理対象のコンテナを」先に作らないと。
1.2. ダウンロード Doker Desktop for windows
Docker Desktopをダウンロード 494M
https://www.docker.com/get-started/
local kubernetes environmentが作れるらしい。\( 'ω')/

1.3. Docker インストールマニュアル
[2]を読むと
System requirement
Windows 11 64-bit: Home or Pro
Enable the WSL 2 feature
やらねば[4]のMicrosoft のinux on Windows with WSLドキュメントを読む
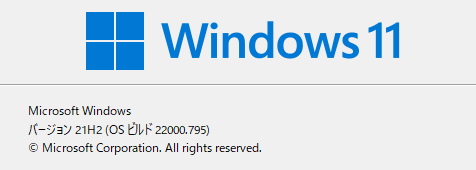
・Windows 11. →よし
administrator PowerShell
・administrator PowerShell or Windows Command Prompt
デフォルトではLinux は Ubuntuがインストールされる。
requirement
Windows 10 or Windows 11 → よし
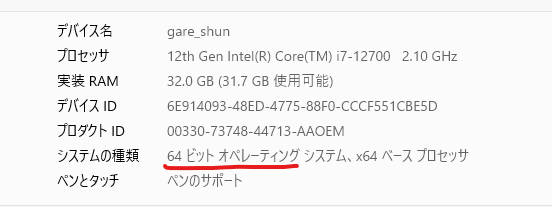
64-bit processor with Second Level Address Translation (SLAT)
4GB system RAM →よし winver 32G
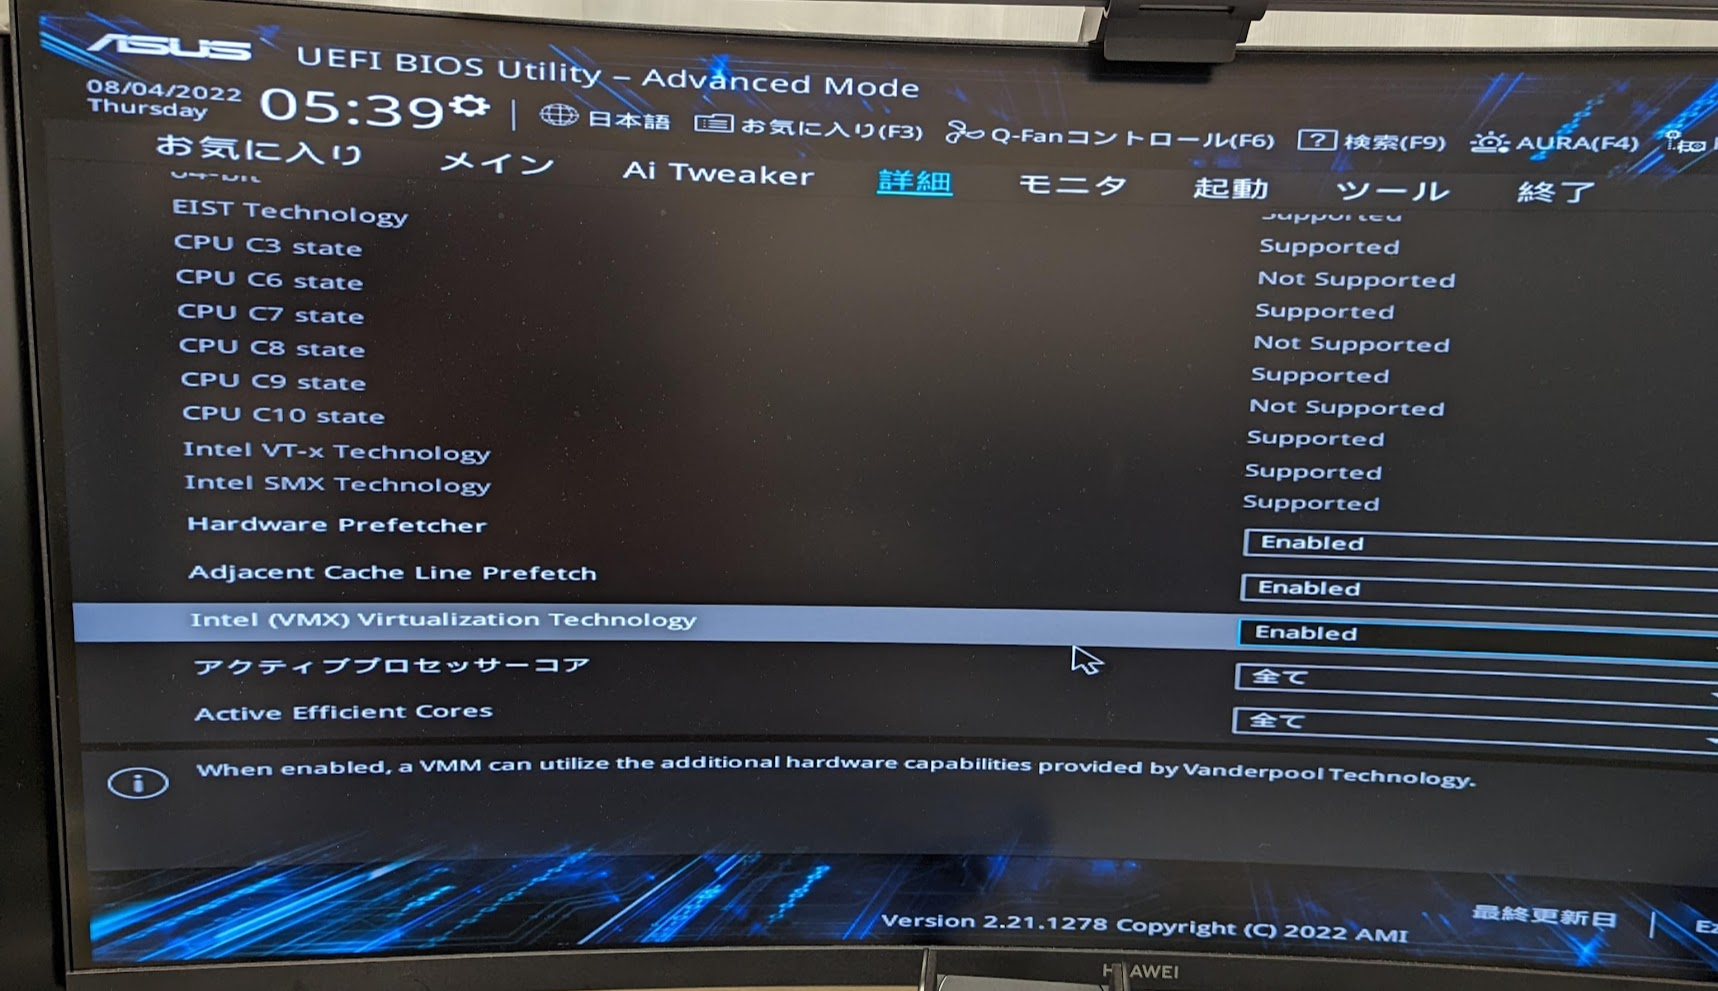
BIOS-level hardware virtualization support must be enabled in the BIOS settings. For more information, see Virtualization.
→Biosの仮想化有効化が必要らしい
[4] WSL 2 and Windows Home
Virtualization enabled in the BIOS
再起動、BIOS設定、CPU headings Processor
Enable Virturalization: VT-x, AMD-V, SVM, or Vanderpool
Reboot your computer
Right when the computer is coming up from the black screen, press Delete, Esc, F1, F2, or F4. Each computer manufacturer uses a different key.
In the BIOS settings, find the configuration items related to the CPU. These can be in under the headings Processor, Chipset, or Northbridge.
Enable virtualization; the setting may be called VT-x, AMD-V, SVM, or Vanderpool. Enable Intel VT-d or AMD IOMMU if the options are available.
Save your changes and reboot.

→Intel VMX Virtualization Technology Enable よし!


