steamVR Pluginを触り始めたとき何が何だか分からなかったので書きます。
拙い点もあると思いますがよろしくお願いします。
参考
SteamVR Unity Plugin v2.2.0でのインプット
入力について##
steamVR Plugin 2.2では元から設定されている入力があったり、なかったりします。
例としては、
InteractUI : グリップの部分
Teleport : タッチパッドのボタン
GrabPinch : グリップの部分
GrabGrip : 側面のボタン
などがすでに設定されています。
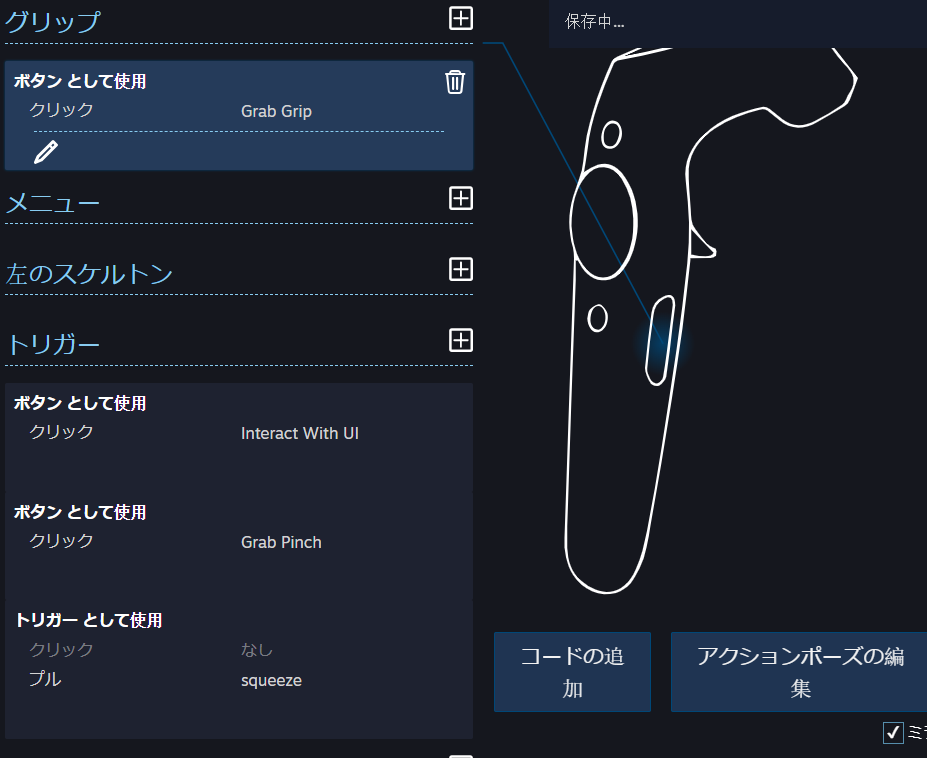
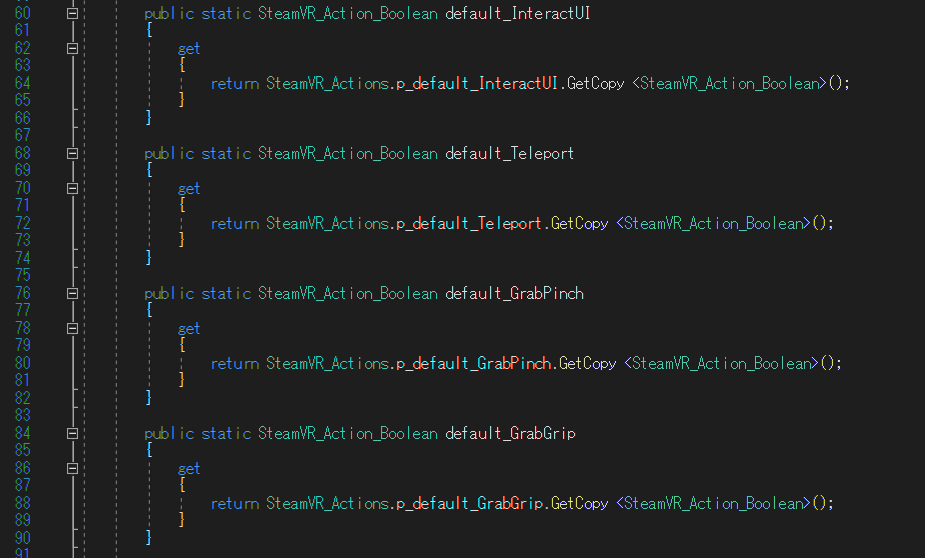
(SteamVR_Input_Actions.csの中身)
設定の追加##
タッチパッドの位置の入力は設定されていないので追加する必要があります。
追加するには2工程ほどあり、
①SteamVR Inputに追加
②入力バインドで追加
をしなければいけません。
SteamVR Input###
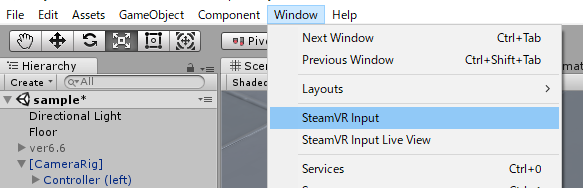
UnityのWindow → SteamVR Input で開けます。
下の画像のように ActionsのInで+を押して新たな入力を追加します。
名前はTrackPadとしています。
この入力はx軸とy軸で与えられるためTypeをvector2にする必要があります。
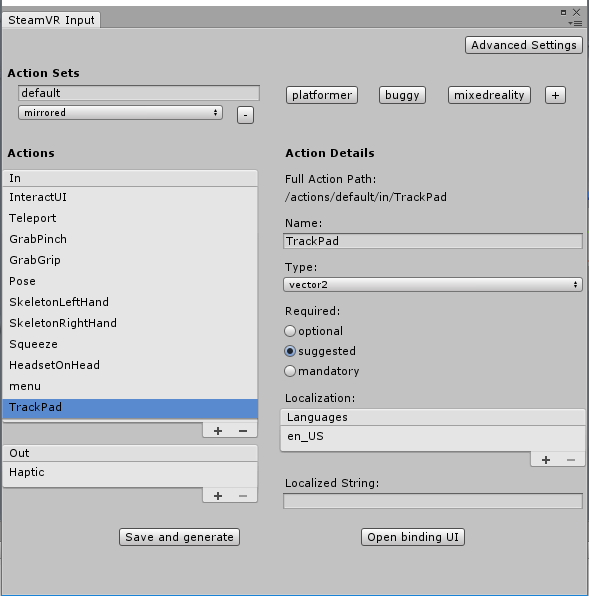
追加出来たら左下のSave and generate を押します。
入力バインド###
SteamVR Inputで作成できたので入力バインドで設定をします。
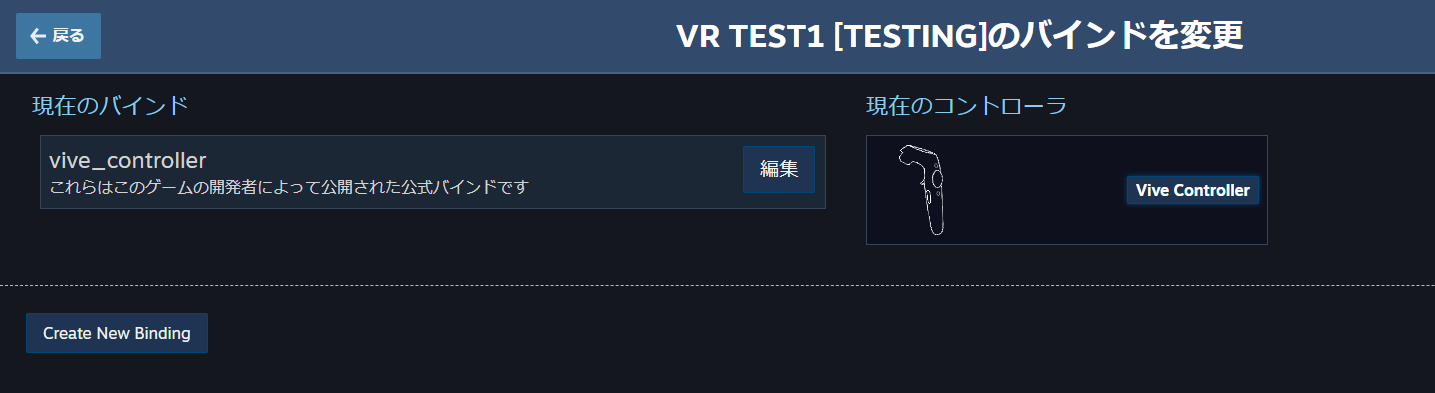
SteamVR Inputウィンドウの右下にあるOpen binding UI を押します。
下の画像のようなウィンドウが表示されるので 編集 を押します。
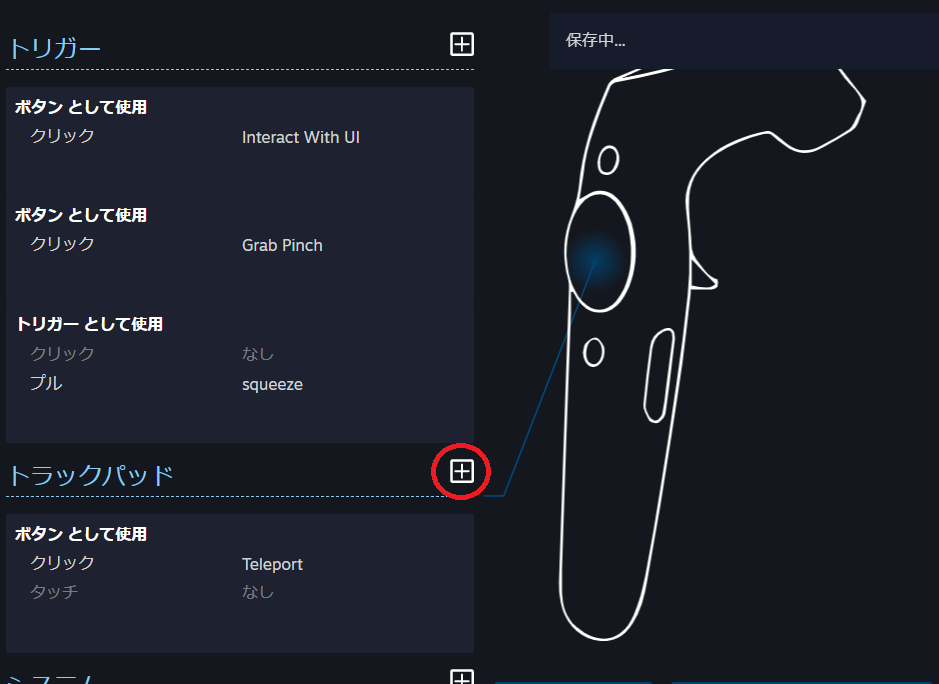
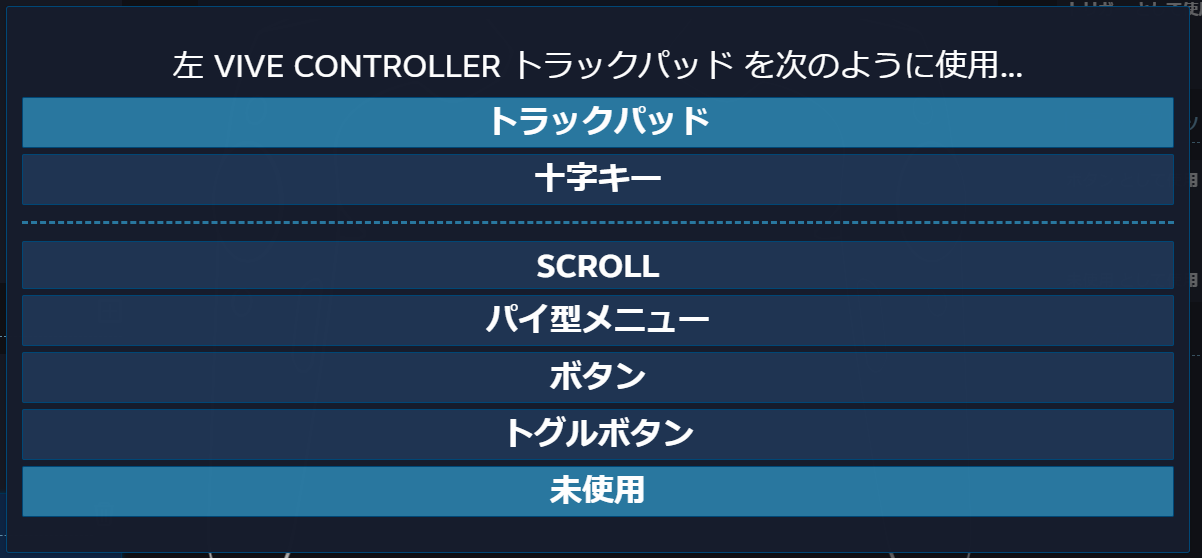
下の画像のように表示されたらトラックパッドのところで+を押します。
以下のように設定していきます。
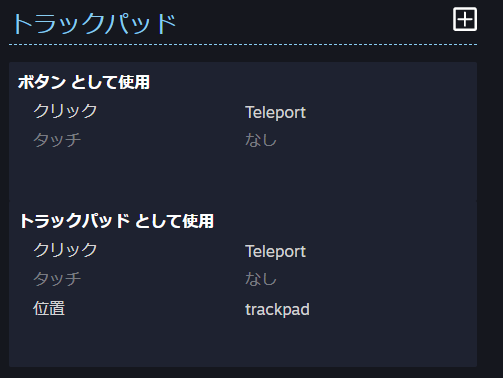
最後に 個人用バインドを保存 を押して追加完了です。
入力テスト##
pad_test1.csというスクリプトを作成してテストしてみます。
using System.Collections;
using System.Collections.Generic;
using UnityEngine;
using Valve.VR;

public class pad_test1 : MonoBehaviour {
    private SteamVR_Action_Vector2 TrackPad = SteamVR_Actions.default_TrackPad;

    private Vector2 pos;
    // Use this for initialization
    void Start () {

	}

	// Update is called once per frame
	void Update () {
            pos = TrackPad.GetLastAxis(SteamVR_Input_Sources.RightHand);
            Debug.Log(pos.x +" " + pos.y);
	}
}
結果

x座標とy座標が表示されました。
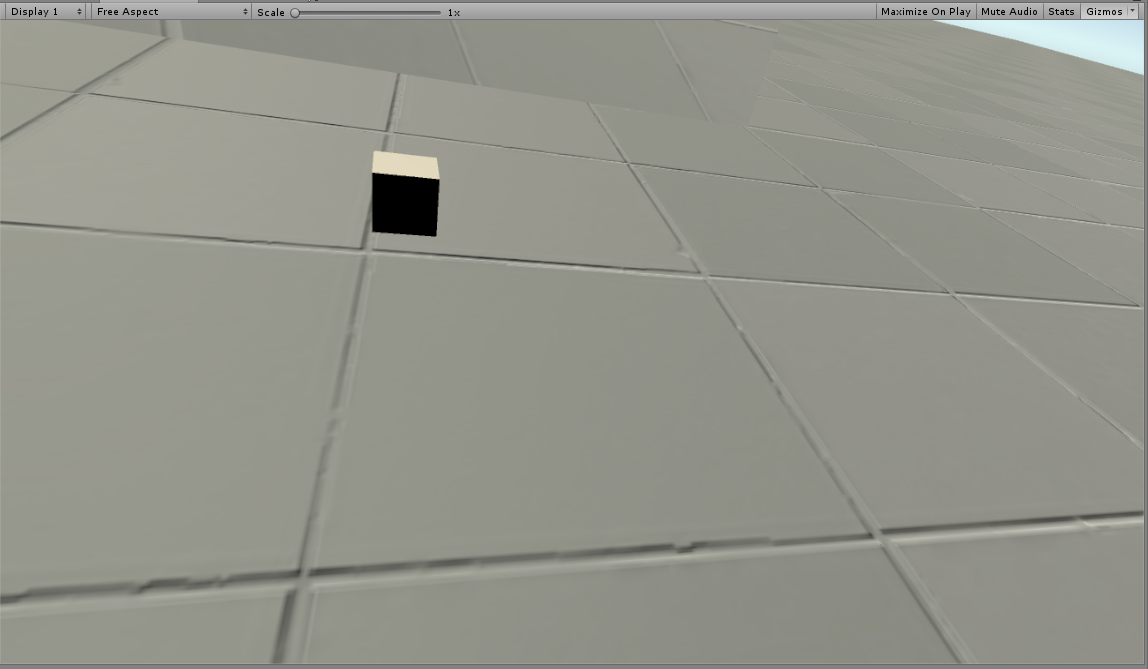
次に適当にキューブを動かしてみます。
using System.Collections;
using System.Collections.Generic;
using UnityEngine;
using Valve.VR;

public class pad_test1 : MonoBehaviour {
    private SteamVR_Action_Vector2 TrackPad = SteamVR_Actions.default_TrackPad;

    private Vector2 pos;
    // Use this for initialization
    void Start () {

	}

	// Update is called once per frame
	void Update () {
        pos = TrackPad.GetLastAxis(SteamVR_Input_Sources.RightHand);
        transform.localPosition = new Vector3( pos.x * 0.1f,0, pos.y * 0.1f);
    }
}
ヒエラルキーで右手にキューブを追加してスクリプトを付けます。
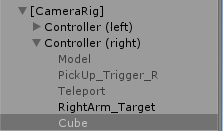
パッドをぐりぐり動かしてみるとキューブも動きました。
極座標表示にする##
極座標についての簡単な図
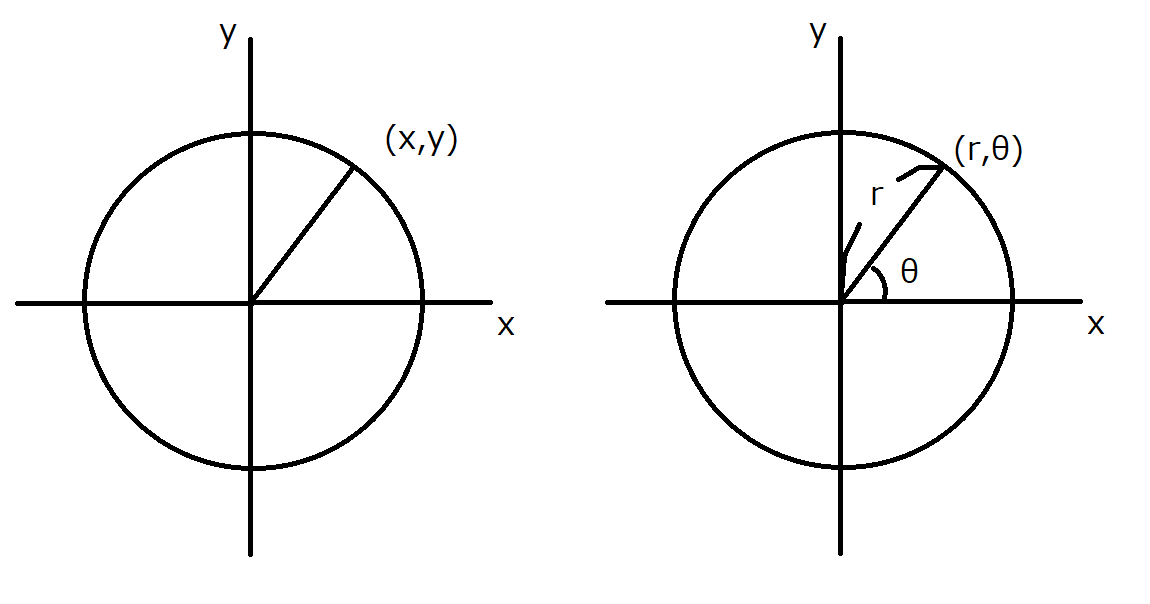
まず極座標にして何が嬉しいか を説明します。
今回の場合で言うと、
・パッドを3分割してそれぞれの処理をしたい場合、θを使えば簡単になる
if分の条件で0<θ<120°のようにすることができます。
x,yで表した場合は少し難しいことになります。
・rを使うことで中心からどれだけ離れているかがわかりやすい
x,yで表した場合は縦か横の場合にしかわかりませんね。
中心から0.7以上離れた場合などを考えたい場合などに便利です。
コードは以下のようになります。
using System.Collections;
using System.Collections.Generic;
using UnityEngine;
using Valve.VR;

public class pad_test1 : MonoBehaviour {
    private SteamVR_Action_Vector2 TrackPad = SteamVR_Actions.default_TrackPad;

    private Vector2 pos;
    float r,sita;
    // Use this for initialization
    void Start () {

	}

	// Update is called once per frame
	void Update () {
        pos = TrackPad.GetLastAxis(SteamVR_Input_Sources.RightHand);
        transform.localPosition = new Vector3( pos.x * 0.1f,0, pos.y * 0.1f);
        r = Mathf.Sqrt(pos.x* pos.x + pos.y* pos.y);
        sita = Mathf.Atan2(pos.y, pos.x) / Mathf.PI * 180;

        Debug.Log(r +" "+ sita );
	}
}
(クソダサ変数 sita (θ))
結果

ちゃんと表示されました。
トラックパッドの下側だと角度がマイナスになってしまいます。
気になる人は初期値として+180をしましょう。
式は以下の通りです。
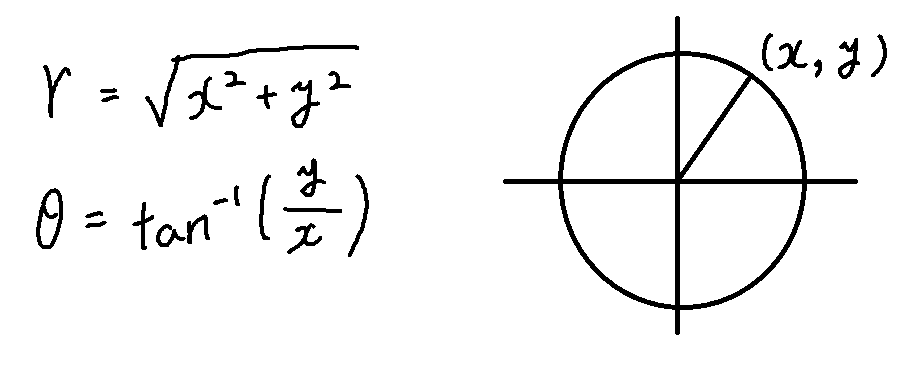
プログラムではAtanが2種類あるので気をつけましょう。
角度は式のまんまだとRad表示になるのでDegに変換するために、3.14で割って180で掛けています。