はじめに
UE4 の UnrealEnginePython プラグインは、文字通り UE4 で Python を使えるようにするというもの。
が、日本語で検証している記事があまりに少ない・・・なので自分で検証してみる。
UnrealEnginePython は github で管理されている。
- MIT ライセンス
- UE4 の Editor/Runtime 両方で Python を使えるようにする(Editorだけ使用と限定することも可能)
- エディタ拡張や自動化等の機能が Python で作れる
- ランタイムで使用する場合は、 PyActor, PyPawn 等の専用の継承クラスが用意されている
- Python は 3.x 系 および 2.7 対応
- UE4.12 - 4.17 まで対応
- プラグインを導入すると Python Console, Python Editor が UE4 上で使用可能になる
なにこれしゅごい。
そこに書かれている通り、現在の UE4.17にも対応していて、比較的頻繁に更新されている。
さらにはドキュメントもかなり充実している様子。
https://github.com/20tab/UnrealEnginePython/tree/master/tutorials
https://github.com/20tab/UnrealEnginePython/tree/master/docs
https://github.com/20tab/UnrealEnginePython/tree/master/examples
まさに至れり尽くせり。
今回はこれらのドキュメントを読みながら、自分の環境で導入テストしてみる。
なお、自分の環境は以下の通り。
- Win10
- UE4.17.1 (UE4.17.2 でも動作確認済み)
- Python3.6 (Anaconda, 64bit版)
- VS2017
ちなみに、下記にリリース版が定期的にあげられているので、ビルド環境がない人はそちらを試してみるのがよい。
プラグインの導入
1. ソースファイルのダウンロード
から最新版をダウンロード。
C++ プロジェクトの Plugins フォルダ以下に放り込む。
ここは UE4 プラグイン共通。

2. Python のパスを指定
プラグイン側に Python のパスをあらかじめ指定しておく必要がある。
(そうしないと、ビルド時にエラーが出る)
UnrealEnginePython/Source/UnrealEnginePython/UnrealEnginePython.Build.cs の下記を編集
using UnrealBuildTool;
using System.IO;
using System.Collections.Generic;

public class UnrealEnginePython : ModuleRules
{

    // leave this string as empty for triggering auto-discovery of python installations...
    private string pythonHome = "D:/Anaconda3";
自分の場合は Anaconda なのでそのパスになっているが、要するに Python の dll がおいてある場所を指定すれば良い。
UnrealEnginePython プラグインを Runtime に加えたくない場合
UnrealEnginePython/UnrealEnginePython.uplugin を開く。
UnrealEnginePython モジュールを Runtime から Editor に変更しておく。
  "Modules": [
    {
      "Name": "UnrealEnginePython",
      "Type": "Editor",
      "LoadingPhase": "Default"
    },
    {
      "Name": "PythonConsole",
      "Type": "Editor",
      "LoadingPhase": "PostDefault"
    },
    {
      "Name": "PythonEditor",
      "Type": "Editor",
      "LoadingPhase": "PostDefault"
    }
3. プロジェクトをビルドして実行
あとは、いつものように、Generate Visual Studio project files して Development Editor ビルド。

ビルドが通ったら、早速立ち上げて Plugins が追加されているか確認。

簡単な使い方と動作テスト
プラグインが入ったので早速いじってみる。
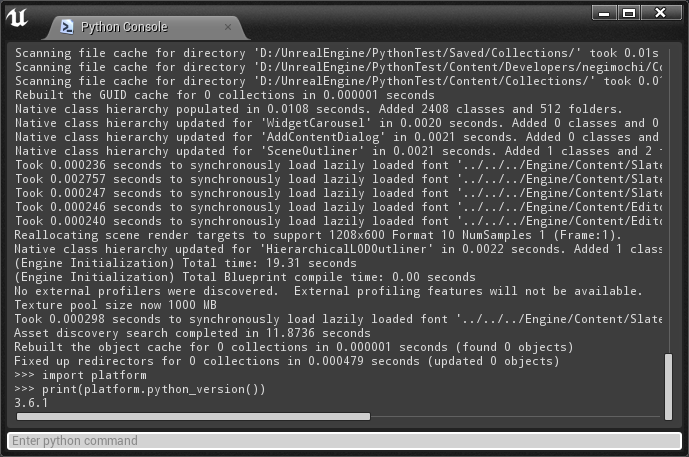
Python Console
「ウィンドウ -> ディベロッパーツール -> Python Console」で Python を実行できるコンソールが開く。

こんな感じ。見た目は標準のアウトプットログとほとんど変わらない。
試しにテキトーに打ってみたけどちゃんと動く。
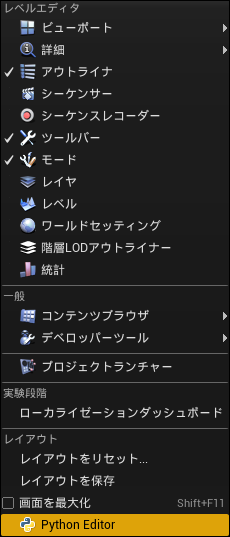
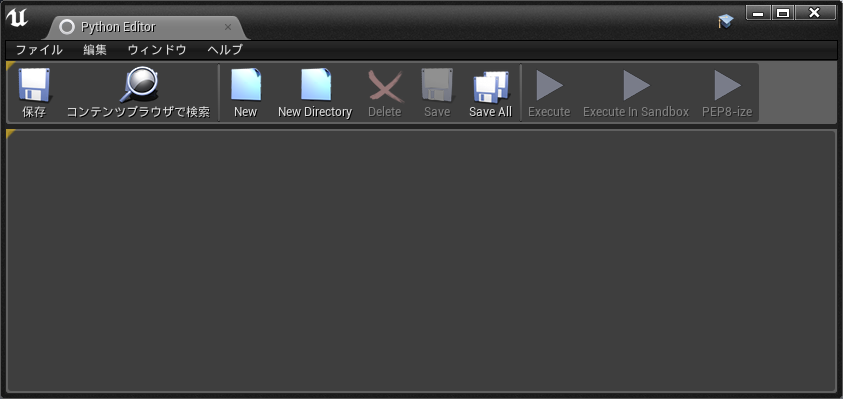
Python Editor
「ウィンドウ -> Python Editor」で Python 用のエディタが開く。
こんな感じのウインドウ。
「New」 を押すと、新しく py ファイルを作って編集が可能になる。
python のスクリプトは Content/Scripts 以下に自動で保存される。
名前の変更は、左のファイル一覧からダブルクリックで変更することができた。

スクリプトの実行テスト
例えば、以下のスクリプトファイルを作る。
import unreal_engine as ue
from unreal_engine.classes import Actor, SceneComponent, StaticMeshComponent, StaticMesh
from unreal_engine import FVector

# EditorWrold 取得
editor_world = ue.get_editor_world()

# Actor を Spawn
new_actor = editor_world.actor_spawn(Actor);
# ラベル設定(アウトライナから見える名前)
new_actor.set_actor_label('TestActor');
# Rootコンポーネント追加
root_comp = new_actor.add_actor_root_component(SceneComponent, 'Root');
# StaticMeshComponent を追加
mesh_comp = new_actor.add_actor_component(StaticMeshComponent, 'StaticMesh', root_comp);
# メッシュをセット
mesh_comp.StaticMesh = ue.load_object(StaticMesh, '/Engine/VREditor/BasicMeshes/SM_Ball_01');
# 100.0, 100.0, 100.0 の位置に移動
new_actor.set_actor_location(FVector(100.0, 100.0, 100.0));
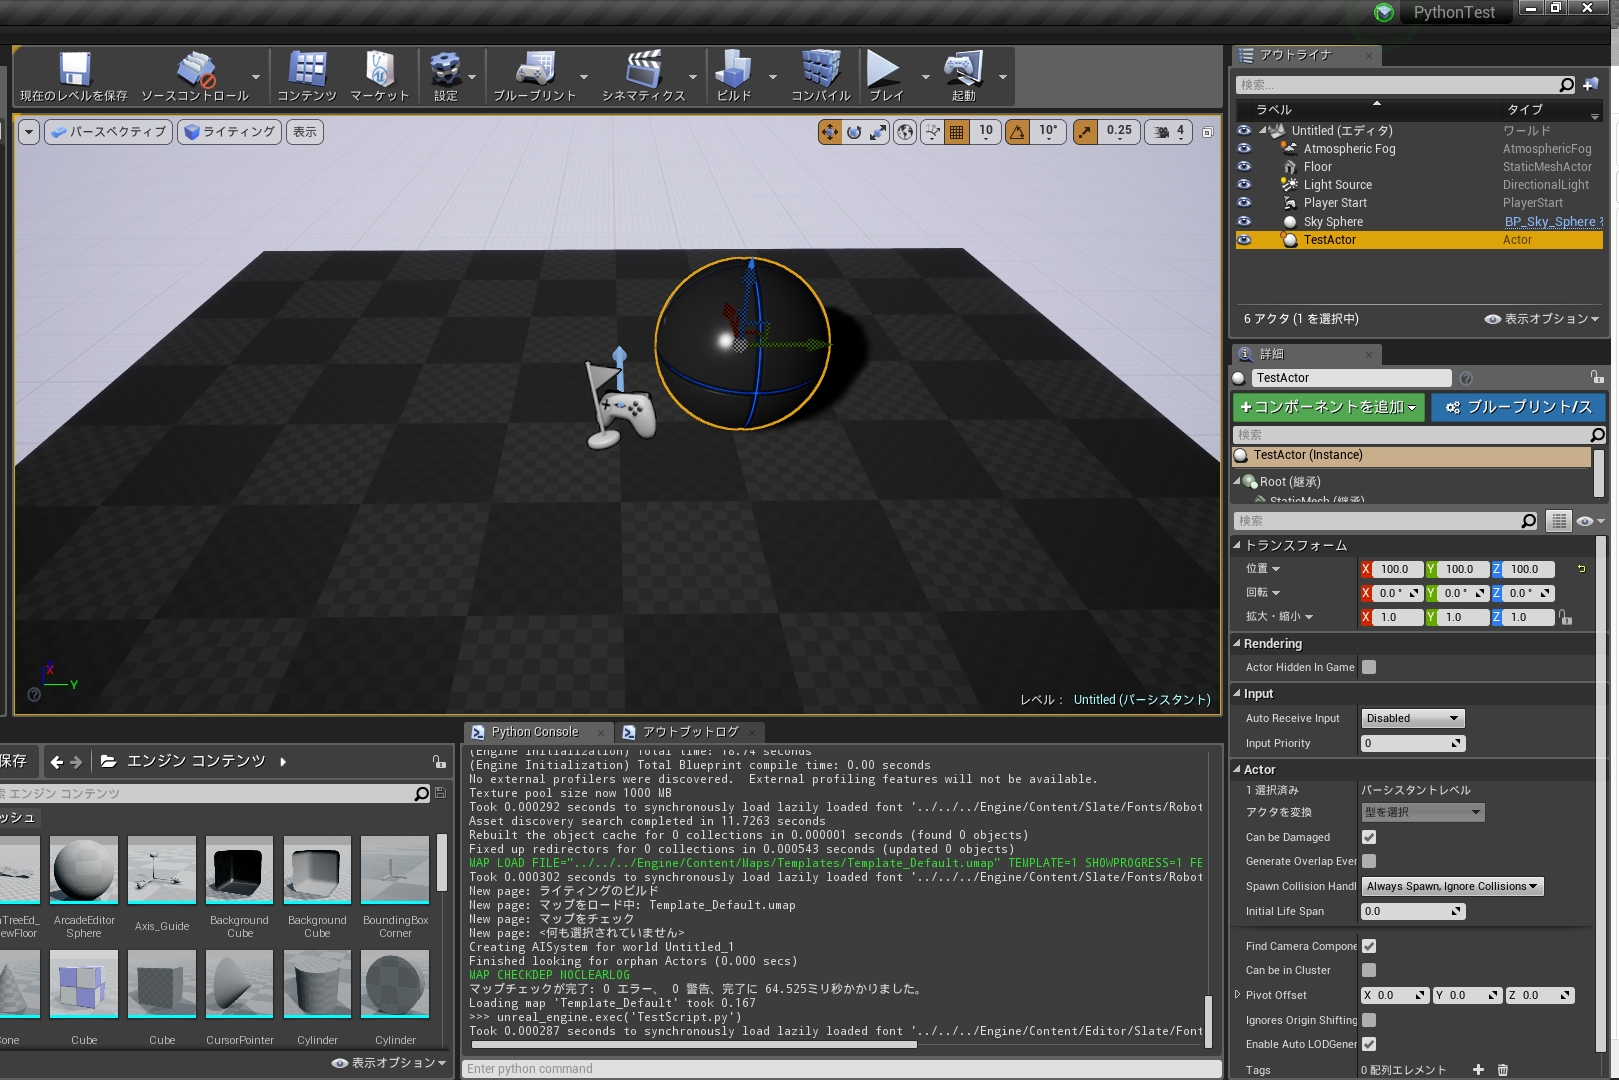
Python Editor の Execute ボタンを押して実行。
もしくは、Python Console で以下を記述して実行する。
unreal_engine.exec('TestScript.py')
実行した結果。
おまけ
機能を探すとき
まず、ドキュメントやexample, testsをあさる。
それ以外に、直にソースコード読んだほうがわかりやすいときもある。
特に、UnrealEnginePython/Private/UEPyModule.cpp は、
バインドされている関数やEnum定義が記述されているので、探すときの取っ掛かりになりやすい。
Python Editor の使い勝手
正直に言って、使いにくい。
特に、エディタとして基本的なところで不具合があったり、使いにくいと感じることが多い。
例えば、
- Ctrl + S で保存とあるのに、ショートカットが効かない
- ディレクトリの Delete が実行されない
- ディレクトリが1つもない状態で New Directory すると、ディレクトリは作られるものの、Python Editor 側で反映されない
- (1つでもディクレクトリが存在していれば正常に動作するようだが・・・)
- ファイルが未保存かどうかの印(いわゆるアスタリスクマーク)は特に付かない
- 外部から Content/Scripts 以下のフォルダ構成をいじった場合に即時反映されない(一度閉じる必要がある)
などなど・・・。
なので、本格的に使用する場合は、エディタは自分が使い慣れているものを使用したほうが良さそう。
UPythonScript アセットに関して
スクリプトの実行は基本的に py ファイルさえあれば実行可能なのだが、
スクリプトはそのまま UE上にアセットとしてインポートすることも可能らしい。
インポートすると Python マークがついたファイルがコンテンツブラウザ上で見えるようになる。
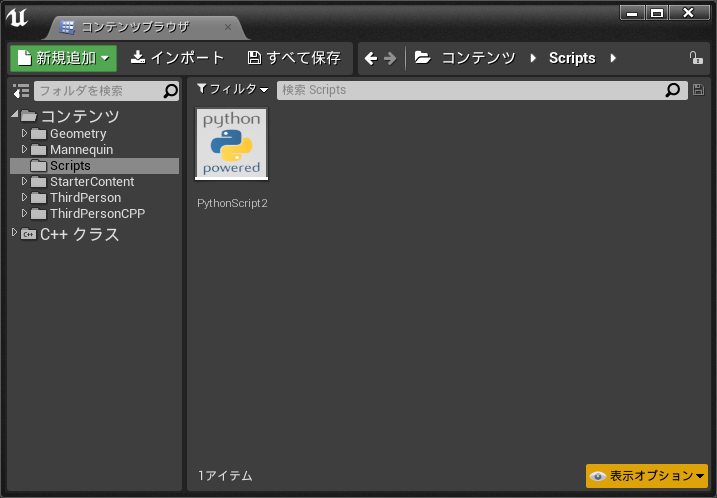
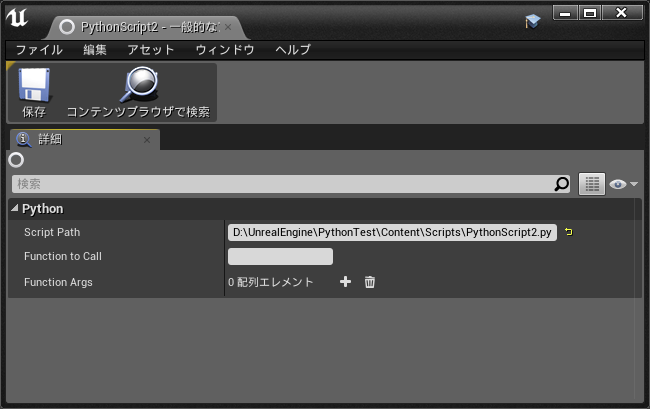
アセットを開くとこんな感じ。
UPythonScript のソースを読んでみる。
# pragma once

# include "PythonScript.generated.h"

UCLASS(MinimalAPI)
class UPythonScript : public UObject
{
	GENERATED_BODY()

public:

	UPROPERTY(EditAnywhere, Category = "Python")
	FString ScriptPath;

	UPROPERTY(EditAnywhere, Category = "Python")
	FString FunctionToCall;

	UPROPERTY(EditAnywhere, Category = "Python")
	TArray<FString> FunctionArgs;

	UFUNCTION()
	void Run();

	UFUNCTION()
	void RunSandboxed();

	void CallSpecificFunctionWithArgs();
};
どうやら、スクリプトのパスと関数名、引数情報をセットでアセット化しているだけみたい。
(スクリプトの中身が保存されているわけではない)
BP公開されていないようだが、Run 関数を呼ぶことで指定の関数を実行できる様子。