はじめに
Swiftのロギングライブラリをプロジェクトに導入するにあたり軽く調査しました。
折角なので今回調査した3つのライブラリの概要をまとめてみました。
CocoaLumberjack
Objective-C時代からポピュラーなライブラリのため、ネット上に情報が多いのが嬉しい。
MITライセンスではないことに注意。
・コンソール出力
// Xcodeのコンソールに出力
DDLog.add(DDTTYLogger.sharedInstance)
// ログレベルに応じた出力
DDLogDebug("Debug")
DDLogInfo("Info")
・ファイル出力設定
// ログファイルのパス指定
let manager: DDLogFileManagerDefault = DDLogFileManagerDefault(logsDirectory: "/path/to/file")
// ファイルロガークラス
et fileLogger: DDFileLogger = DDFileLogger(logFileManager: manager)
// 出力周期(24h)
fileLogger.rollingFrequency = TimeInterval(60 * 60 * 24)
// 最大ファイルサイズ(10MB)
fileLogger.maximumFileSize = 10 * 1024 * 1024
// 最大ファイル数(7ファイル)
fileLogger.logFileManager.maximumNumberOfLogFiles = 7
// 追加
DDLog.add(fileLogger)
・カスタムクラスでログレベルによるファイル出力先変更
class WarningLogFormatter: NSObject, DDLogFormatter {
    func format(message logMessage: DDLogMessage) -> String? {
        // ログレベルがWarningの時のみ出力
        if logMessage.level == .warning {
            return logMessage.message
        } else {
            return nil
        }
    }
}

fileLogger.logFormatter = WarningLogFormatter()
カスタムクラスを作ることでカスタマイズはかなり出来そう。
XCGLogger
Swiftライクに記述することも出来、CocoaLumberjackで出来ることは大抵出来そうな印象を受けた。
・コンソール出力
// ログ定義
let log = XCGLogger.default
// セットアップ
log.setup(level: .verbose,// 出力するログレベル
    showThreadName: true,// スレッド名表示フラグ
    showLevel: true,// レベル表示フラグ
    showFileNames: true,// ファイル名表示フラグ
    showLineNumbers: true,// 行番号表示フラグ
    showDate: true,// 日付表示フラグ
    writeToFile: "path/to/file",// ログファイルパス
    fileLevel: .debug)// ファイル出力のログレベル
// ログレベルに応じた出力
log.debug("Debug")
log.info("Info")
・用意されているDestinationProtocolを継承しているクラスを利用してカスタマイズ
let fileDestination = FileDestination(writeToFile: "/path/to/file", identifier: "advancedLogger.fileDestination")
// 詳細設定
fileDestination.outputLevel = .debug
fileDestination.showLogIdentifier = false
fileDestination.showFunctionName = true
fileDestination.showThreadName = true
fileDestination.showLevel = true
fileDestination.showFileName = true
fileDestination.showLineNumber = true
fileDestination.showDate = true
// 設定追加
log.add(destination: fileDestination)
上記のファイル出力をカスタマイズするためのFileDesitination以外にも、
システムログをカスタマイズするためのAppleSystemLogDestination、
コンソールログをカスタマイズするためのConsoleDestination、
テスト用のカスタマイズをするためのTestDestination
がある。
SwiftBeaver
リファレンスが細かい。(https://docs.swiftybeaver.com/collection/1-framework)
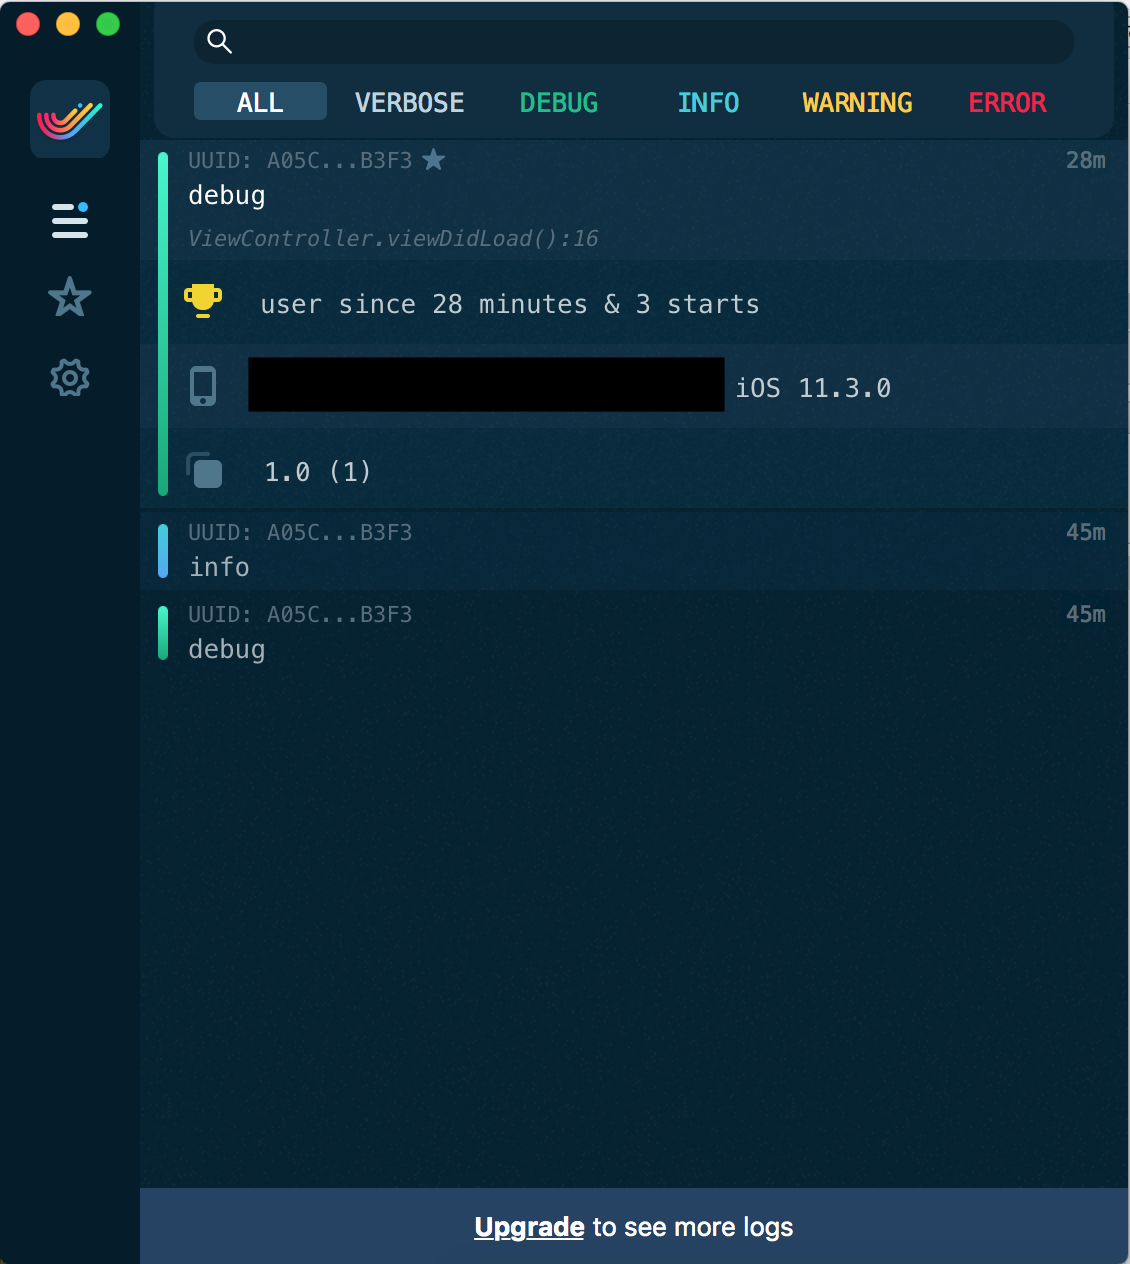
プラットフォームのMacアプリがあるため、ユーザログを簡単に収集出来る。
ユーザログの収集という点で、他ライブラリと差別化されている。
・コンソール/ファイル出力
// ログ定義
let log = SwiftyBeaver.self
// コンソール出力設定
let console = ConsoleDestination()
console.format = "$DHH:mm:ss$d $L $M"
// ファイル出力設定
let file = FileDestination()
file.logFileURL = URL(fileURLWithPath: "/path/to/file")
// プラットフォーム設定
let cloud = SBPlatformDestination(appID: "foo", appSecret: "bar", encryptionKey: "123")
// 設定追加
log.addDestination(console)
log.addDestination(file)
log.addDestination(cloud)
// ログレベルに応じた出力
log.debug("Debug")
log.info("Info")
・プラットフォームのMacアプリ
1.公式サイト(https://swiftybeaver.com) でダウンロード
2.appを起動し、サインイン
3.appID/appSecret/encryptionKeyをSBPlatformDestinationのinit引数にコピペ
4.ログ出力するとMacアプリで確認出来る!

ログレベル/UDID/端末/OSバージョン/アプリバージョン等で絞ることも出来る。
無料/有料プランが存在する。
所感
記述のしやすさやカスタマイズ性等考慮するとXCGLoggerを基本的に選びそう。
状況/要件に応じてSwiftBeaverでプラットフォーム導入もあるかも。