はじめに
Docker・MySQL Workbenchインストール後に、どのようにLaravelのファイルを組み立てていくのかを備忘録としてまとめました。学習中のため、抜けている箇所があって後日追記・変更するかもしれません。
環境
・Mac
・Dockerインストール済 (バージョン・・・18.09.2)
・MySQL Workbench インストール済
Docker コマンド (見る必要のない場合は下に進んでください)
ターミナル上でdocker がいる場所に移動し、docker --help で一覧表を確認できます。
解釈を誤解してしまいそうなので日本語訳は割愛。
<下記コマンド使い方>
・下記左端の単語がコマンドです。
・頭にdocker+スペースで使用したいコマンドを打ち込みます。例えば、
Dockerのバージョンを調べたいときはdocker versionと叩きます。
attach      Attach local standard input, output, and error streams to a running container
build       Build an image from a Dockerfile
commit      Create a new image from a container's changes
cp          Copy files/folders between a container and the local filesystem
create      Create a new container
diff        Inspect changes to files or directories on a container's filesystem
events      Get real time events from the server
exec        Run a command in a running container
export      Export a container's filesystem as a tar archive
history     Show the history of an image
images      List images
import      Import the contents from a tarball to create a filesystem image
info        Display system-wide information
inspect     Return low-level information on Docker objects
kill        Kill one or more running containers
load        Load an image from a tar archive or STDIN
login       Log in to a Docker registry
logout      Log out from a Docker registry
logs        Fetch the logs of a container
pause       Pause all processes within one or more containers
port        List port mappings or a specific mapping for the container
ps          List containers
pull        Pull an image or a repository from a registry
push        Push an image or a repository to a registry
rename      Rename a container
restart     Restart one or more containers
rm          Remove one or more containers
rmi         Remove one or more images
run         Run a command in a new container
save        Save one or more images to a tar archive (streamed to STDOUT by default)
search      Search the Docker Hub for images
start       Start one or more stopped containers
stats       Display a live stream of container(s) resource usage statistics
stop        Stop one or more running containers
tag         Create a tag TARGET_IMAGE that refers to SOURCE_IMAGE
top         Display the running processes of a container
unpause     Unpause all processes within one or more containers
update      Update configuration of one or more containers
version     Show the Docker version information
wait        Block until one or more containers stop, then print their exit codes
Dockerを使用してコンテナを立ち上げる
ディレクトリを作成
ディレクトリを作ろうと思っている場所に移動して、
(自分がどこにいるか分からない場合はpwdコマンドで確認後、一旦 cd ~/ でrootに戻ってから移動すると分かりやすいです)
①mkdir abc (例:abcディレクトリ)
②該当ディレクトリにコマンドで移動。
該当のLaravelリポジトリをgitのURLコピーでclone〜コンテナ立ち上げ
①git clone git@github.com:xxxxx/xxxxxxx.git
②cd abc/docker など、dockerがある場所に移動
③docker-compose up -d でコンテナの立ち上げ
Laravelはclone済で必要なものだけを用意する場合
①docker-compose exec php-apache composer install
②以下をまとめて入力
cd ../src
cp .env.example .env
cd ../docker
docker-compose exec php-apache php artisan key:generate
ローカルホストで確認
ここで確認する前に、Laravelの.envファイルを
DB_HOST=mysql
と設定変更。
ローカルホストで確認する。(http://localhost:8080/)
テーブルを作成する
※必ずdockerが置いてある場所に移動してからコマンドを叩きます。
①docker ps 何が動いているのか確認する
②docker exec -it docker_php-apache_1 bash など、①で確認したdockerに入る("bash"を忘れずに!)
③php artisan で artisan コマンドの実行
④php artisan make:migration create_works_table テーブルを名目規則通りに作る(複数形)
⑤php artisan migrate マイグレーションを実行する
(ここでなぜか自分のメモ書きでは④⑤の順番が逆になっていたけど、ドキュメントでは上記の順になっているからこれでOKなはず)
補足
・php artisan migrate:refresh 作ったテーブルをリフレッシュ
・コントロール + D 起動中のコンテナの中から外に出る
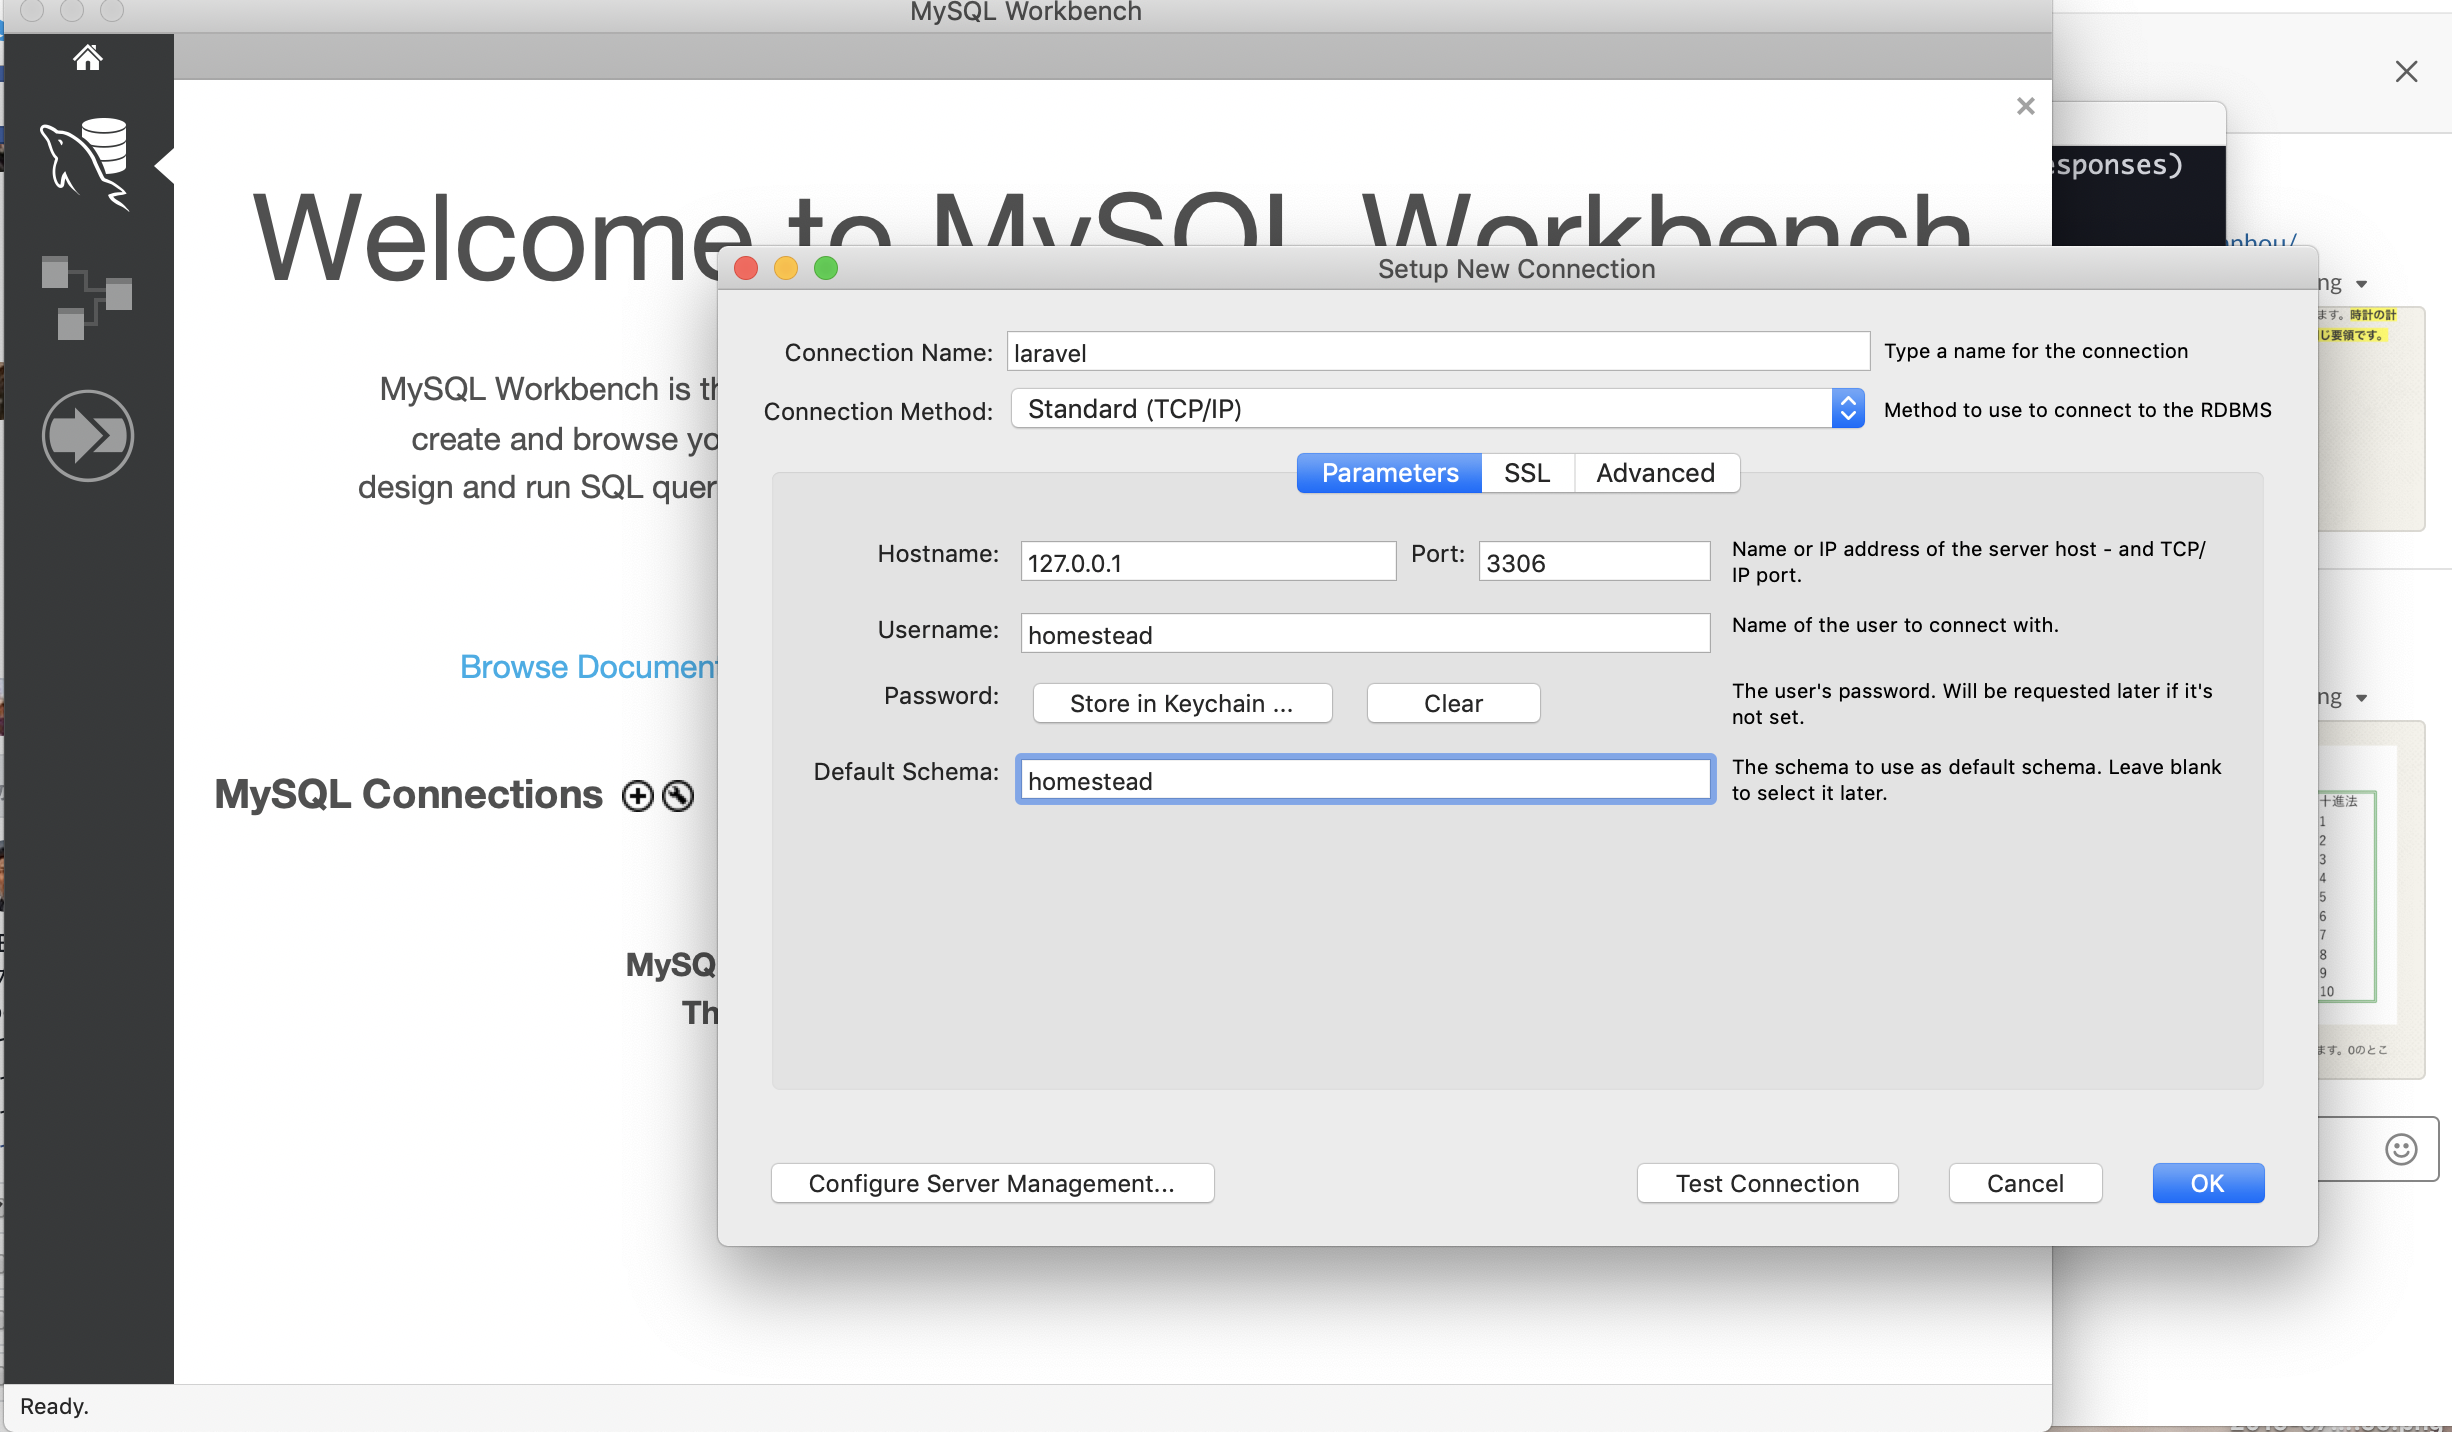
・ ちなみにMySQL Workbenchは、上記作業に入る前に下記のように"homestead"と設定した上で作業しました。

まとめ
拙い内容になってしまいましたが(反省)、、、ここまで読んでいただきありがとうございました。
書き出してみると、考慮すべきことが結構あって、今回はLaravelの中のルート定義やモデル作成のところまで行き着きませんでした。
次回はその内容を把握した上でまとめようと思います。