我が家では、Raspberry Pi + Mirakurun + EPGStation でTVの録画サーバーを構築しています。

録画された動画データはサーバーに転送すればよいのですが、
肝心の番組表UIはローカルにあるので、外出先からアクセスするにはちょっとめんどう・・・
ですが、ngrokを使うとlocalhostを外部ネットワークからアクセスできるようにしてくれて便利。
ngrokをインストール
ダウンロード
https://ngrok.com/download から Linux (ARM)をダウンロード
$ wget https://bin.equinox.io/c/4VmDzA7iaHb/ngrok-stable-linux-arm.zip
zipを解凍
$ unzip ngrok-stable-linux-arm.zip
使いやすいように /usr/local/bin/ に配置
$ sudo mv ngrok /usr/local/bin/
準備完了
$ ngrok -v
ngrok version 2.3.35
Authtokenの取得
https://dashboard.ngrok.com/auth こちらから token を取得し、以下を実行し登録します。
$ ngrok authtoken xxxxxxxxxxxxxxxxxxxxxxxxxxx
ngrokしインターネットに公開
$ ngrok http 8888
ngrok by @inconshreveable                                                                                                       (Ctrl+C to quit)

Session Status                online
Account                       xxxxxxx@xxxxxxx.com (Plan: Free)
Version                       2.3.35
Region                        United States (us)
Web Interface                 http://127.0.0.1:4040
Forwarding                    http://xxxxxxx.ngrok.io -> http://localhost:8888
Forwarding                    https://xxxxxxx.ngrok.io -> http://localhost:8888
Forwardingで表示されるURLで外部から表示させることができます。
無料プランでは毎度URLが変わってしまうので注意。
外から確認してみる
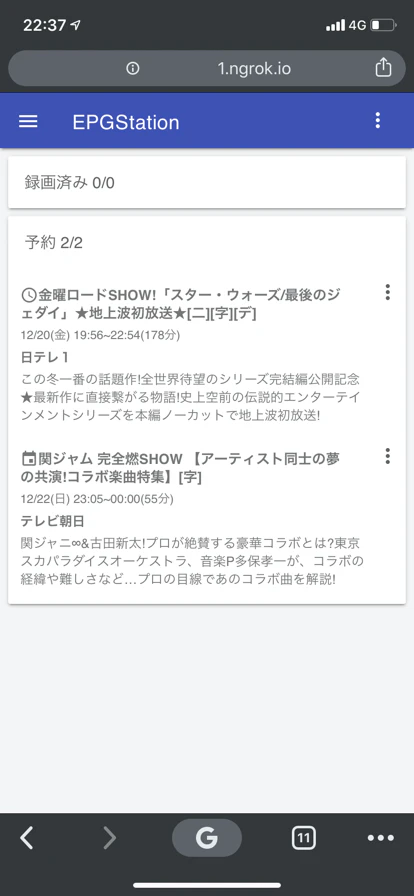
ちゃんと録画操作もできます。
serviceに登録し自動で起動させる
/etc/systemd/system/ngrok.service
[Unit]
Description=ngrok

[Service]
Type=simple
ExecStart=/usr/local/bin/ngrok http 8888
ExecReload=/bin/kill -HUP $MAINPID
KillMode=process
IgnoreSIGPIPE=true
User=pi

[Install]
WantedBy=multi-user.target
Alias=ngrok.service
$ sudo systemctl enable ngrok.service
$ sudo systemctl start ngrok.service
https://dashboard.ngrok.com/status にURLが表示されていれば成功です。