まえがき
ある案件で動く円を背景に実装する機会があったので、
canvasでうにょうにょ動く円を作ってみることにしました。
円を動かしたり描画するだけならcssだけで実装も出来たのですが、
動かすと同時に円の色を変更したかったので、
下記コードを参考にごにょごにょして実装してみました。
準備
まず、基本的なうにょうにょ動く円のコードはこちらより拝借。
https://blog.nijibox.jp/article/canvas_wobbly_circle/
触ったところは基本設定をお好みに調整したぐらいで、
円の描画に関する処理はそのまま使わせて頂きました。
// 基本設定
var MAX = 10;           //点の数
var RADIUS = 100;       //描画する円の半径
var FPS = 60;           //1秒あたり何回画面を描きなおすか
var CENTER = {x:200, y:200};     //描画位置
var canvas, ctx, timer, point;
var stats;
var mouseFlag = true;


// 円の描画基本設定
var Point = function(c, r, rota)
{
  this.x, this.y;
  this.centerX = c.x;
  this.centerY = c.y;
  this.radian = rota * (Math.PI / 180);
  this.radius = r;

  this.speed = Math.random() * 10 + 5;   //うにょうにょ動くスピード
  this.r = Math.random() * 2 + 1;        //うにょうにょの柔らかさ
  this.rota = 0;

~ 省略
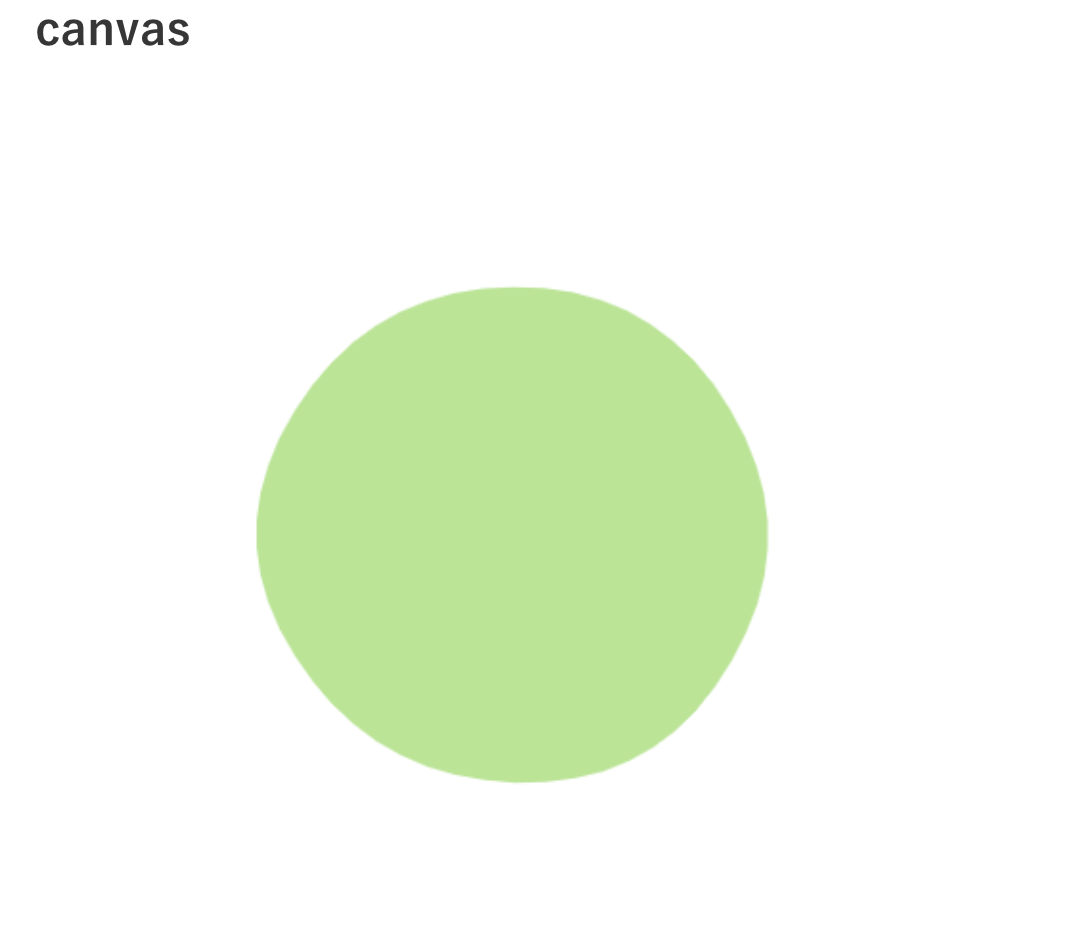
表示されたうにょうにょ動く円
拝借したコードを動かしてみると、うにょうにょ動くかわいい円が描画されました。(fillStyleで色を変更可能)
色を変更する処理を追加
■仕様
指定の時間ごとに指定の3色にふわっとカラーチェンジする
色変更の基礎となるコード
// 1.RGBのリスト
const colors = [
    {
        r: 20,
        g: 20,
        b: 20
    },
    {
        r: 40,
        g: 40,
        b: 40
    },
    {
        r: 50,
        g: 50,
        b: 50
    },
],
// 2.FPS設定
FPS = 20,

// 3.色が変化するまでのフレーム数 - 2秒ごと
duration = 2000 / FPS;


// 4.duration内の秒数カウンター、現在の目標の色の配列キー
let
    transition = [
      {
        r:0,
        g:0,
        b:0,
      }
    ],
    color = [
      {
        r:0,
        g:0,
        b:0,
      }
    ],
    time_counter = 0,
    color_key = 0;


// 5.カラーチェンジの差分取得処理
function set_color_transition() {
    const target_color = colors[color_key];
    const basic_color = color_key !== 0 ? colors[ color_key - 1 ] : colors[colors.length - 1];
    transition = {
        r: (target_color.r - basic_color.r) / duration,
        g: (target_color.g - basic_color.g) / duration,
        b: (target_color.b - basic_color.b) / duration
    }
}

// 6.描画実行処理
function update() {
    time_counter++;

    // 色の変化が終わったら切り替える
    if ( duration === time_counter ) {
        color_key !== colors.length - 1 ? color_key++ : color_key = 0;
        set_color_transition();
        // Reset
        time_counter = 0;
    }

    color = {
        r: color.r + transition.r,
        g: color.g + transition.g,
        b: color.b + transition.b,
    }

    draw();
}
setInterval( update, ( 1000 / FPS ));


// 7.描画処理
function draw() {
    var canvas = new HTMLCanvasElement;
    var ctx = canvas.getContext('2d');

    ctx.fillStyle = 'rgba('+ color.r +','+ color.g +','+ color.b +', 1)';

    ctx.fill();
}
順番に解説
1. RGBのリスト
変更する3色のRBG値を設定
2. FPS設定
setIntervalで描画する際に使用、お好みで。
3.色が変化するまでのフレーム数を指定
どれくらいの時間をかけて色が変わるかをここで指定。お好みで。
4.変数宣言
まず、letで使用する変数を宣言。
transition・・・RBG値の変化量のための変数
color・・・描画時の最終的なRBG値のための変数
time_counter・・・色が変わるタイミングを検知するためのタイマーとしての変数
color_key・・・RBGのリストを呼び出すためのキーとして使用する変数
※transitonとcolorはデフォルト値で0を入れておかないとエラー出る。
5.カラーチェンジの差分取得処理
現在のカラーと次の目標のカラーを宣言し、
transition変数のr,b,gそれぞれに色の変化量を入れる。
6.描画実行処理
カウンターを呼び出し、色の変化が終わるたびに次の色に変更するため
set_color_transition関数を再度実行&カウンターをリセットする。
現在のRBG値にset_color_transition関数で計算した変化量を足してcolorに代入し、
draw関数を呼び出し実際に描画。
7.描画処理
canvasを指定、ctx.fillStyleにこれまでに計算したRBG値を入れ描画させる。
8.完成
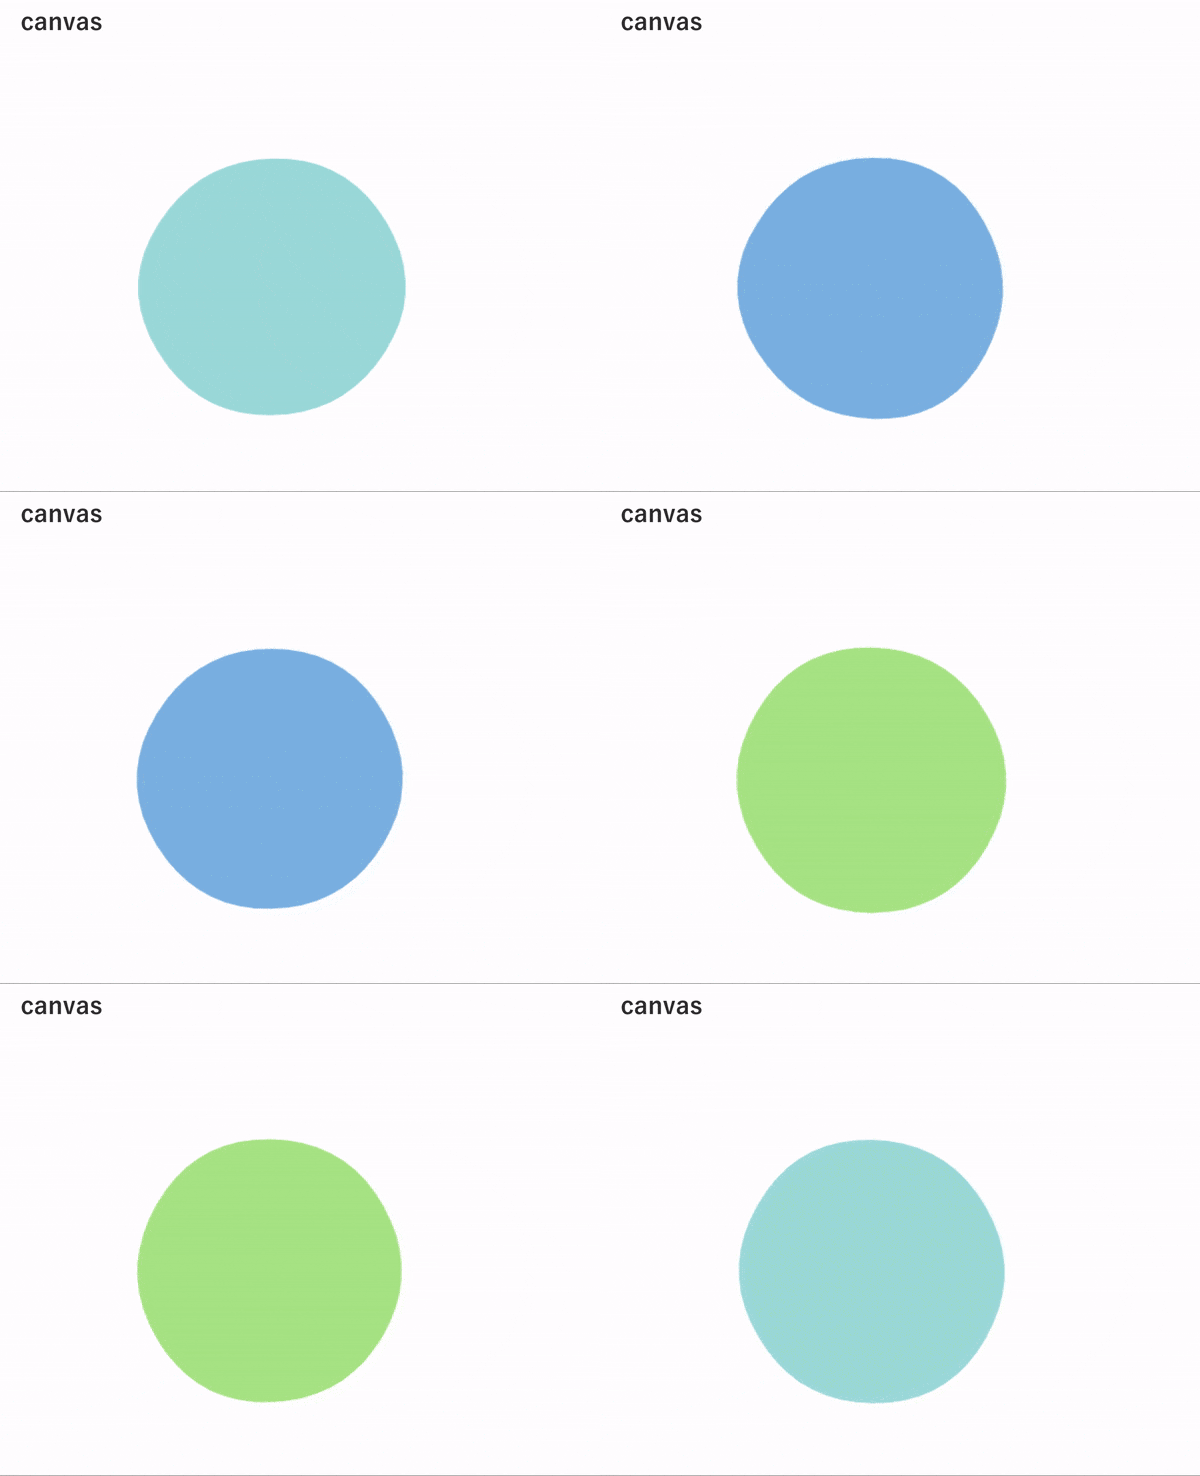
durationで設定した間隔で、円の色がRBG値が変わることによりじんわりと変更されました。
最終的なコード
https://awrd.com/sozo-yasashii/
こちらの円のように、指定の色に変化したらその色を数秒間キープした後に、ふわっと色を変えたかったので、
上記のコードに加え、キープするためのカウンターをもう一つ追加し、実装しました。
また、ぬるぬる動かしたかったのでSetIntervalでの描画ではなく、
requestAnimationFrameを使って描画することにしました。
// 円の設定
var MAX = 6; //頂点
var RADIUS = 150; //円の半径
var CENTER = {x:250, y:250}; //描画位置
var canvas, ctx, timer, point;


// 円の描画設定
var Point = function(c, r, rota)
{
  this.x, this.y;
  this.centerX = c.x;
  this.centerY = c.y;
  this.radian = rota * (Math.PI / 180);
  this.radius = r;
  this.speed = Math.random() + .5; //うにょうにょスピード
  this.r = Math.random() * .2; //やわらかさ
  this.rota = 0;

  this.update = function(){
    var plus = Math.cos(this.rota * (Math.PI / 180)) * this.r;
    this.radius += plus
    var cos = Math.cos(this.radian) * this.radius;
    var sin = Math.sin(this.radian) * this.radius;

    this.x = cos + this.centerX;
    this.y = sin + this.centerY;
    this.rota += this.speed;
    if(this.rota > 360){ this.rota -= 360; };
  }
}

// 初期化
function initialize(){
  var rota = 360 / MAX;
  var i;
  for(i = 0; i < MAX; i++)
  {
    point[i] = new Point(CENTER, RADIUS, rota * i); //点を設定値だけ生成
  }
}


// RGBのリスト
const colors = [
  {
    r: 176,
    g: 230,
    b: 142
  },
  {
    r: 164,
    g: 222,
    b: 222
  },
  {
    r: 133,
    g: 185,
    b: 229
  },
];
// 色が変化するまでのフレーム数 - 何秒かけて色が変わるか(ベスト10)
const duration = 35;
// 色を止める時間
const stopTime = 460;


let
  color = {
    r: 176,
    g: 230,
    b: 142
  },
  transition = {
    r: 0,
    g: 0,
    b: 0
  },
  time_counter = 0,
  time_counter2 = 0,
  color_key = 0;


// 次の色との差分ゲット
function set_color_transition() {
  var target_color = colors[color_key]; //変わる色
  var basic_color = color_key !== 0 ? colors[ color_key - 1 ] : colors[colors.length - 1]; //現在の色

  //現在の色と次に変化する色の値との差
  transition = {
    r: (target_color.r - basic_color.r) / duration,
    g: (target_color.g - basic_color.g) / duration,
    b: (target_color.b - basic_color.b) / duration
  }

}

// 描画処理
function update(){

  //全ての点に対して描画処理を走らせる
  for(var i = 0; i < MAX; i++)
  {
    point[i].update();
  }

  // duration内の秒数カウンター、現在の目標の色の配列キー
  time_counter++;
  time_counter2++;

  // タイマーが15になったら色止まる
  if ( duration < time_counter) {
    console.log('色停止中');
    color = {
      r:  color.r ,
      g:  color.g ,
      b:  color.b ,
    }
  }else{
    color = {
      r:  color.r + transition.r,
      g:  color.g + transition.g,
      b:  color.b + transition.b,
    }
  }
  // タイマーが60になったら色が変わる
  if ( stopTime == time_counter2 ) {
    console.log('色変化中');
    color_key !== colors.length - 1 ? color_key++ : color_key = 0;
    set_color_transition();

    // Reset
    time_counter = 0;
    time_counter2 = 0;
  }


  //描画実行
  draw();

  requestAnimationFrame(update);
}


// 描画設定
function draw(){
  ctx.clearRect(0, 0, canvas.width, canvas.height); //初期化

  ctx.beginPath();
  var xc1 = (point[0].x + point[MAX - 1].x) / 2;
  var yc1 = (point[0].y + point[MAX - 1].y) / 2;
  ctx.moveTo(xc1, yc1);
  for(var i = 0; i < MAX - 1; i++){
    var xc = (point[i].x + point[i + 1].x) / 2;
    var yc = (point[i].y + point[i + 1].y) / 2;
    ctx.quadraticCurveTo(point[i].x, point[i].y, xc, yc)
  }

  ctx.quadraticCurveTo(point[i].x, point[i].y, xc1, yc1);
  ctx.closePath();

  ctx.fillStyle = 'rgba('+ color.r +','+ color.g +','+ color.b +', 1)';

  ctx.fill();
}

// 実際に動かす
window.onload = function(e){
  canvas = document.getElementById("canvas"); //canvasを指定
  ctx = canvas.getContext("2d"); //canvasの初期設定
  point = [];  //円の点の配列を用意
  initialize(); //点を初期化
  update();
}
完成形
完成したうにょうにょ動いて色が変わる円がこちら
参考
https://kkoo.hateblo.jp/entry/2015/02/18/192007
https://awrd.com/sozo-yasashii/
https://developer.mozilla.org/ja/docs/Web/API/Canvas_API/Tutorial/Applying_styles_and_colors
https://jablogs.com/detail/67575

