https://github.com/naotospace/bucky-core で設定しました。
こちらのPRで動作確認しました。
1. Github Actions Beta 版登録
https://github.com/features/actions
2. .github/workflows/*.ymlを作成
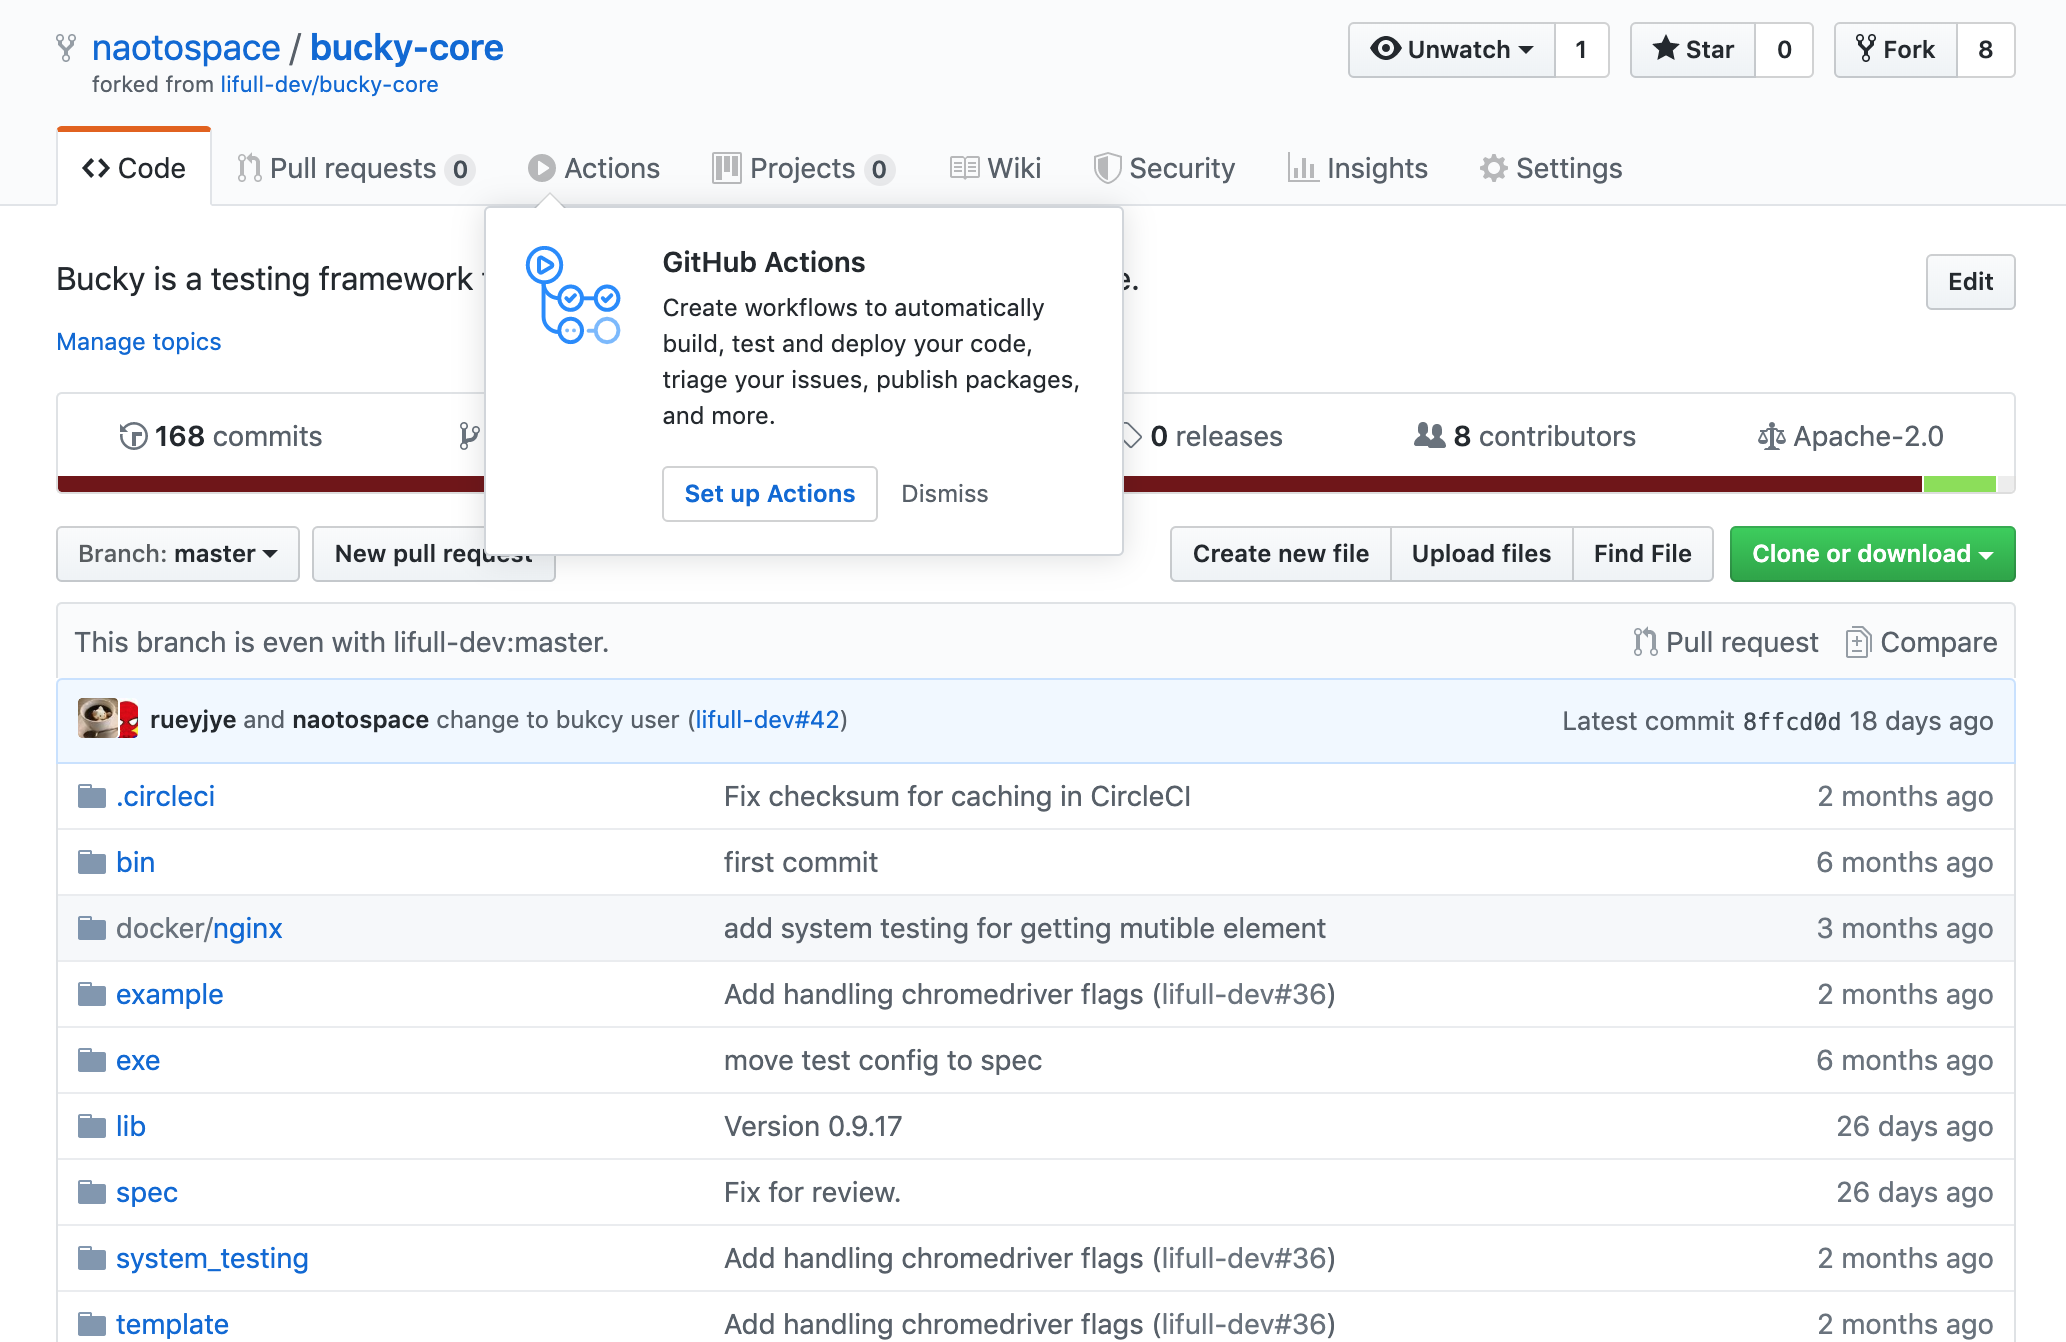
Beta版登録後、Actionsタブが出てきます。
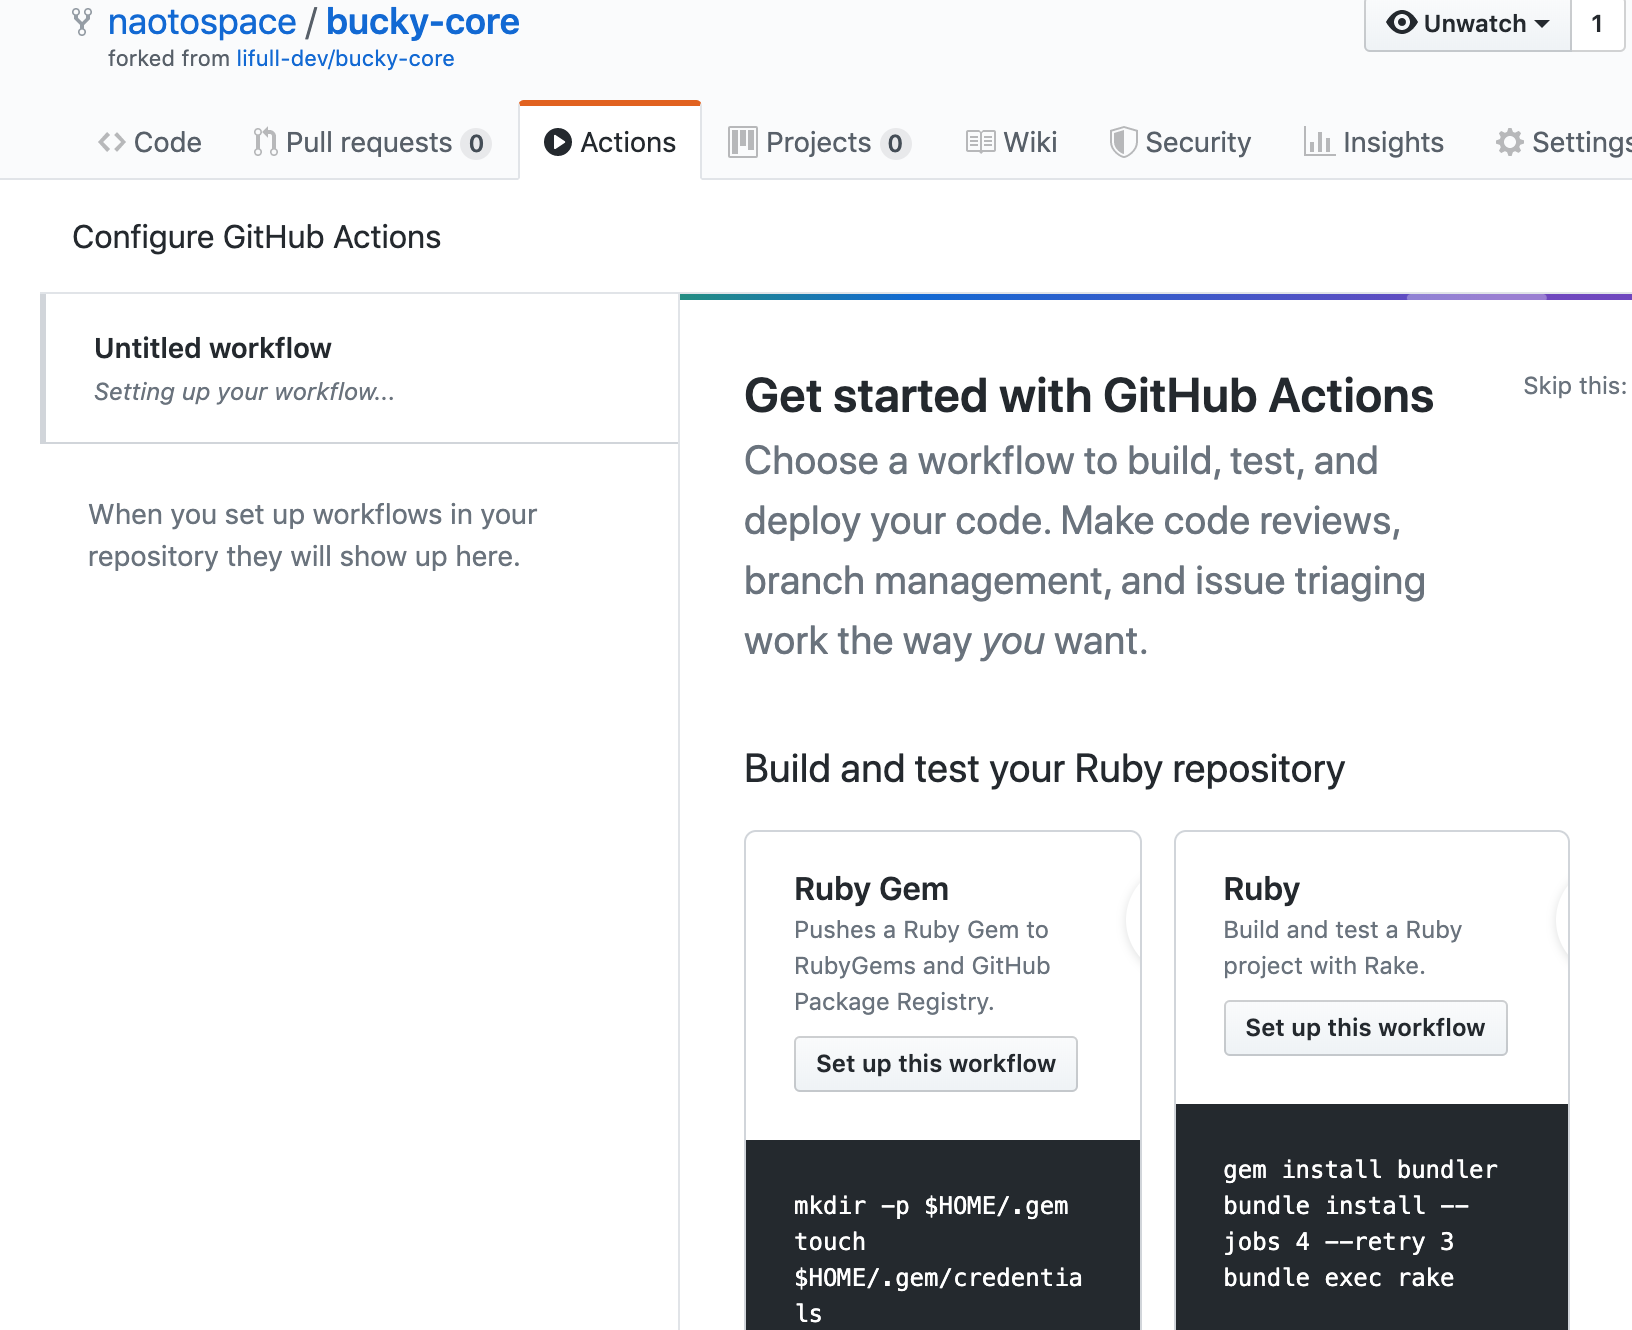
Rake実行用のテンプレートを使いました。
進めていくとエディットページに遷移します。
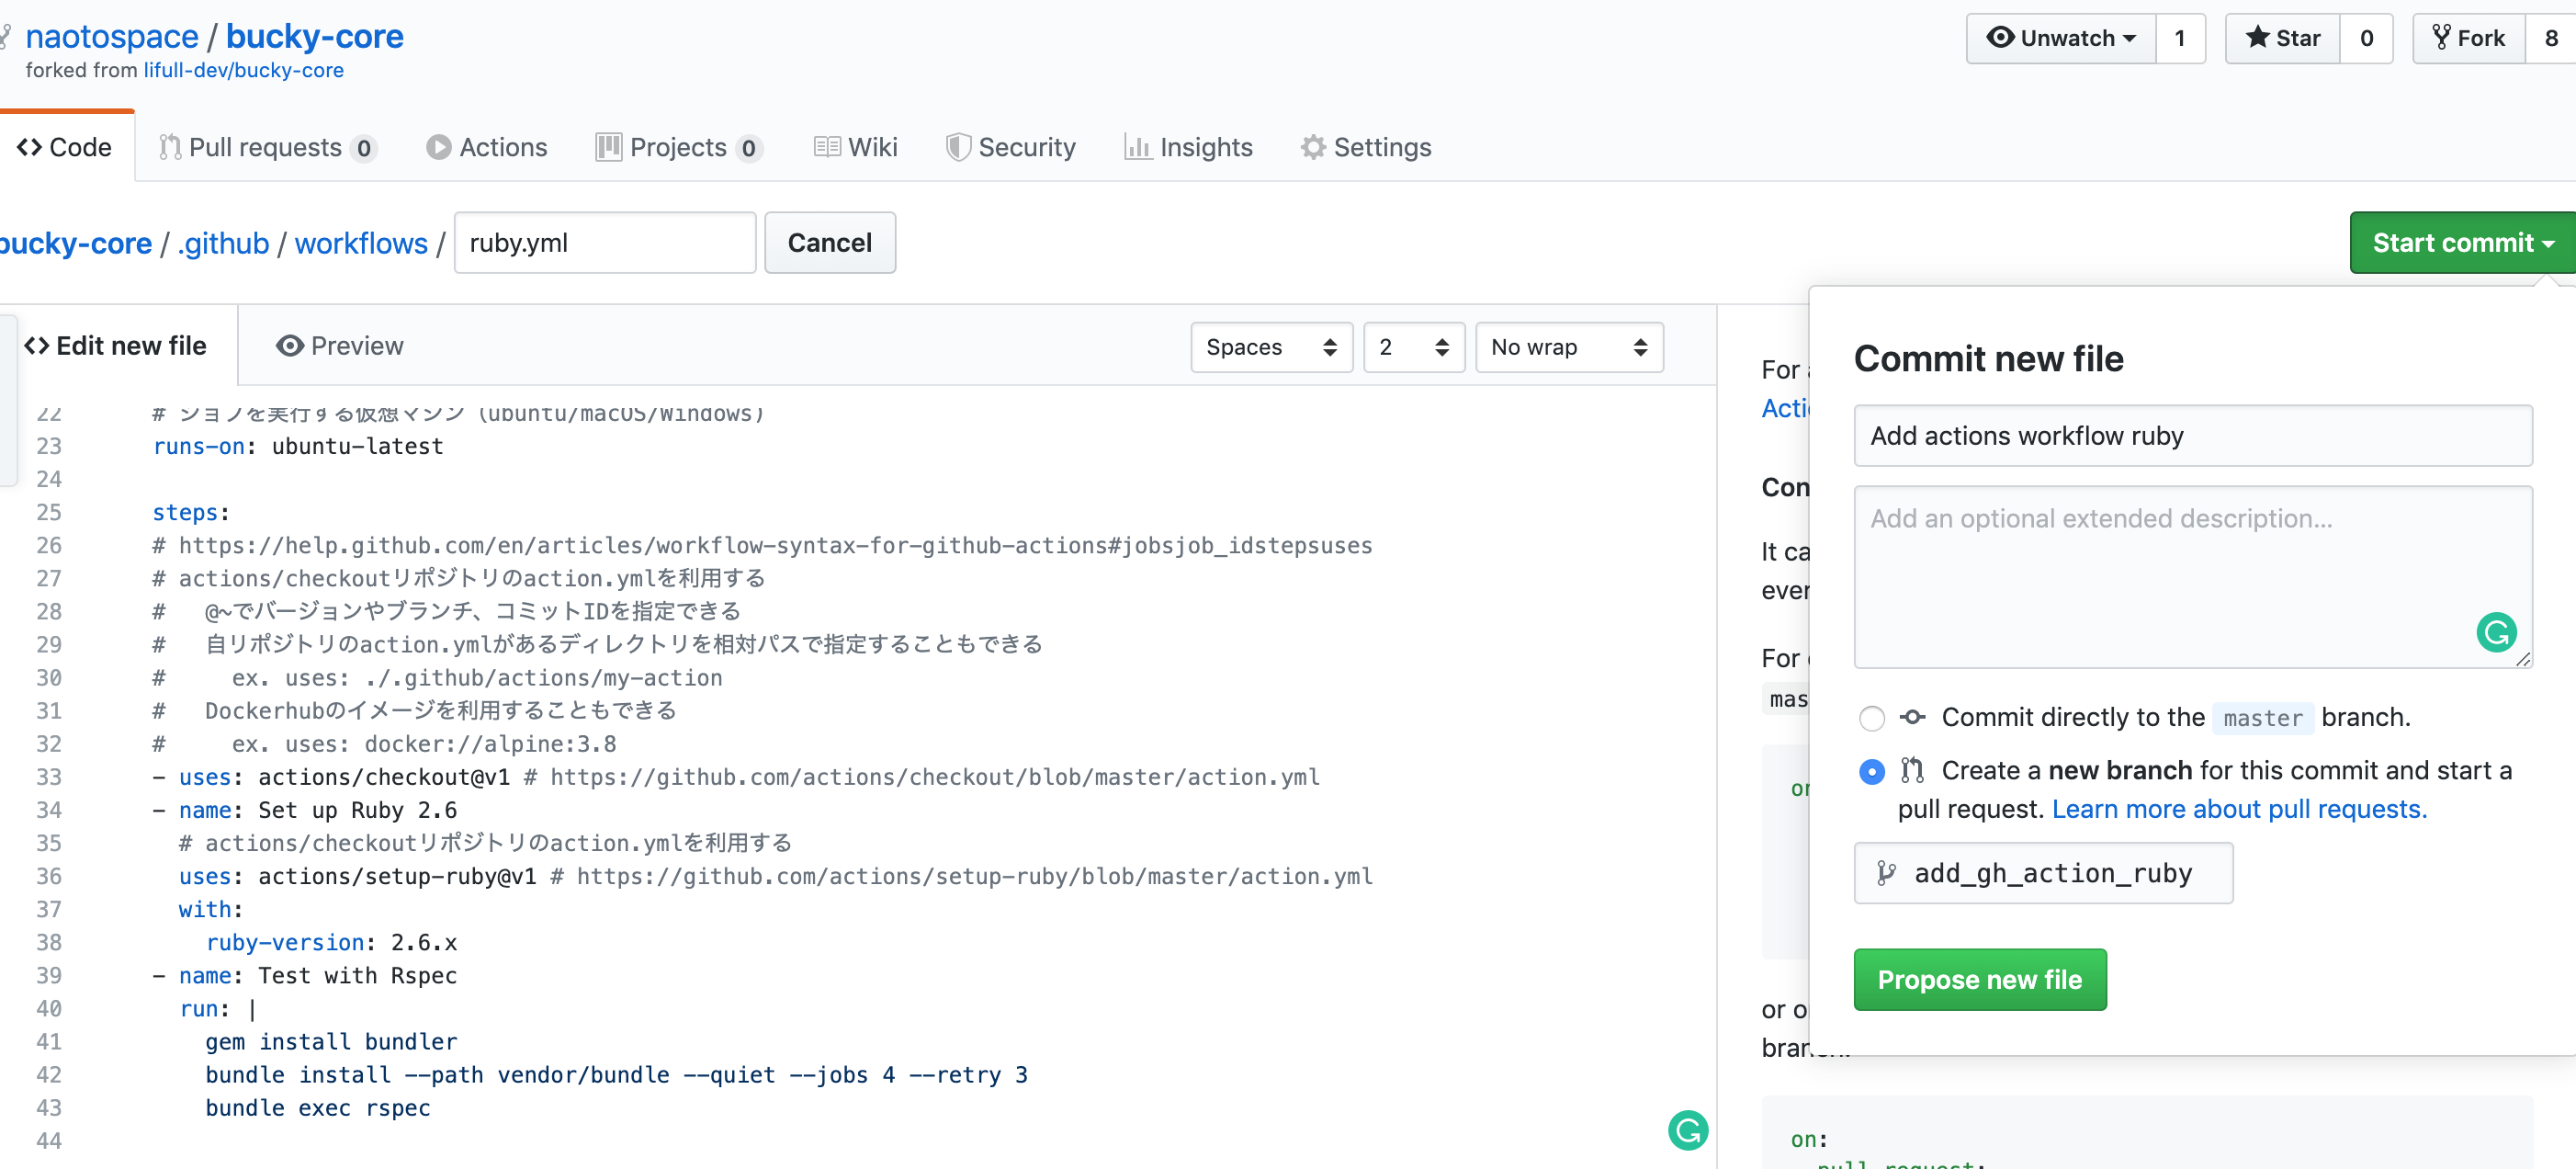
Workflwの記述方法はこちらで確認できます。
https://help.github.com/en/articles/workflow-syntax-for-github-actions
以下masterブランチへのPullRequest時にRSpecを実行するようにしてみた設定例です。
name: Ruby

# masterブランチへのPR時の実行
on:
  pull_request:
    branches:
    - master
	# ex.
	# # Trigger the workflow on push or pull request
	# on: [push, pull_request]
	# # Trigger the workflow on pull request activity
	# on:
	#   release
	#     # Only use the types keyword to narrow down the activity types that will trigger your workflow.
	#     types: [published, created, edited]

jobs:
  run_spec:
    name: Run spec

    # ジョブを実行する仮想マシンを選択(ubuntu/macOS/Windows)
    runs-on: ubuntu-latest

    steps:
    # actions/checkoutリポジトリのaction.ymlを利用する
    - uses: actions/checkout@v1 # https://github.com/actions/checkout/blob/master/action.yml
		# https://help.github.com/en/articles/workflow-syntax-for-github-actions#jobsjob_idstepsuses
	    #   @~でバージョンやブランチ、コミットIDを指定できる
	    #   自リポジトリのaction.ymlがあるディレクトリを相対パスで指定することもできる
	    #     ex. uses: ./.github/actions/my-action
	    #   Dockerhubのイメージを利用することもできる
	    #     ex. uses: docker://alpine:3.8
    - name: Set up Ruby 2.6
      # actions/checkoutリポジトリのaction.ymlを利用する
      uses: actions/setup-ruby@v1 # https://github.com/actions/setup-ruby/blob/master/action.yml
      with:
        ruby-version: 2.6.x
    - name: Test with Rspec
      run: |
        gem install bundler
        bundle install --path vendor/bundle --quiet --jobs 4 --retry 3
        bundle exec rspec
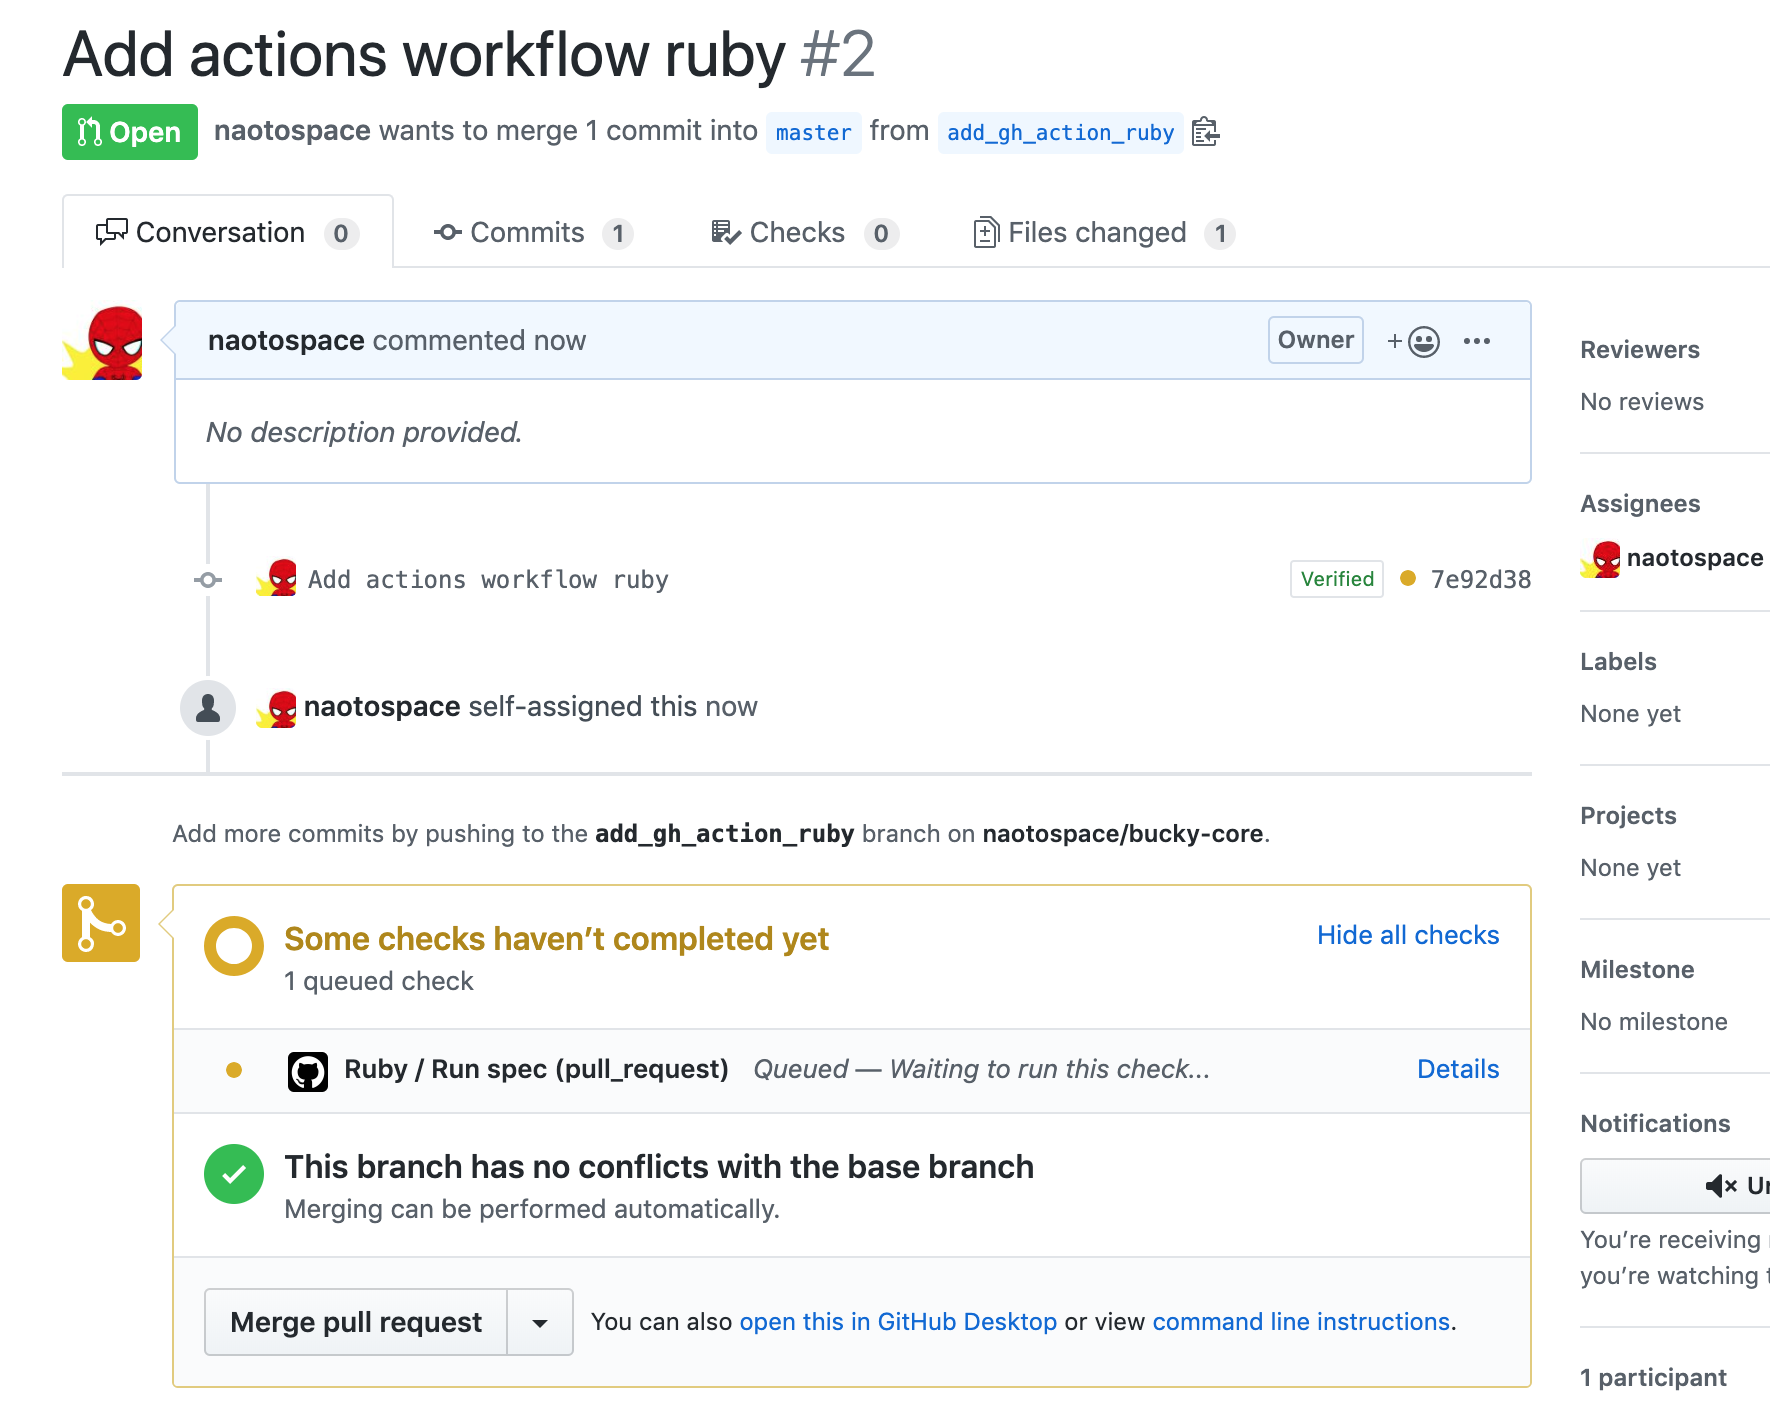
3. Pull Requestを作って確認する
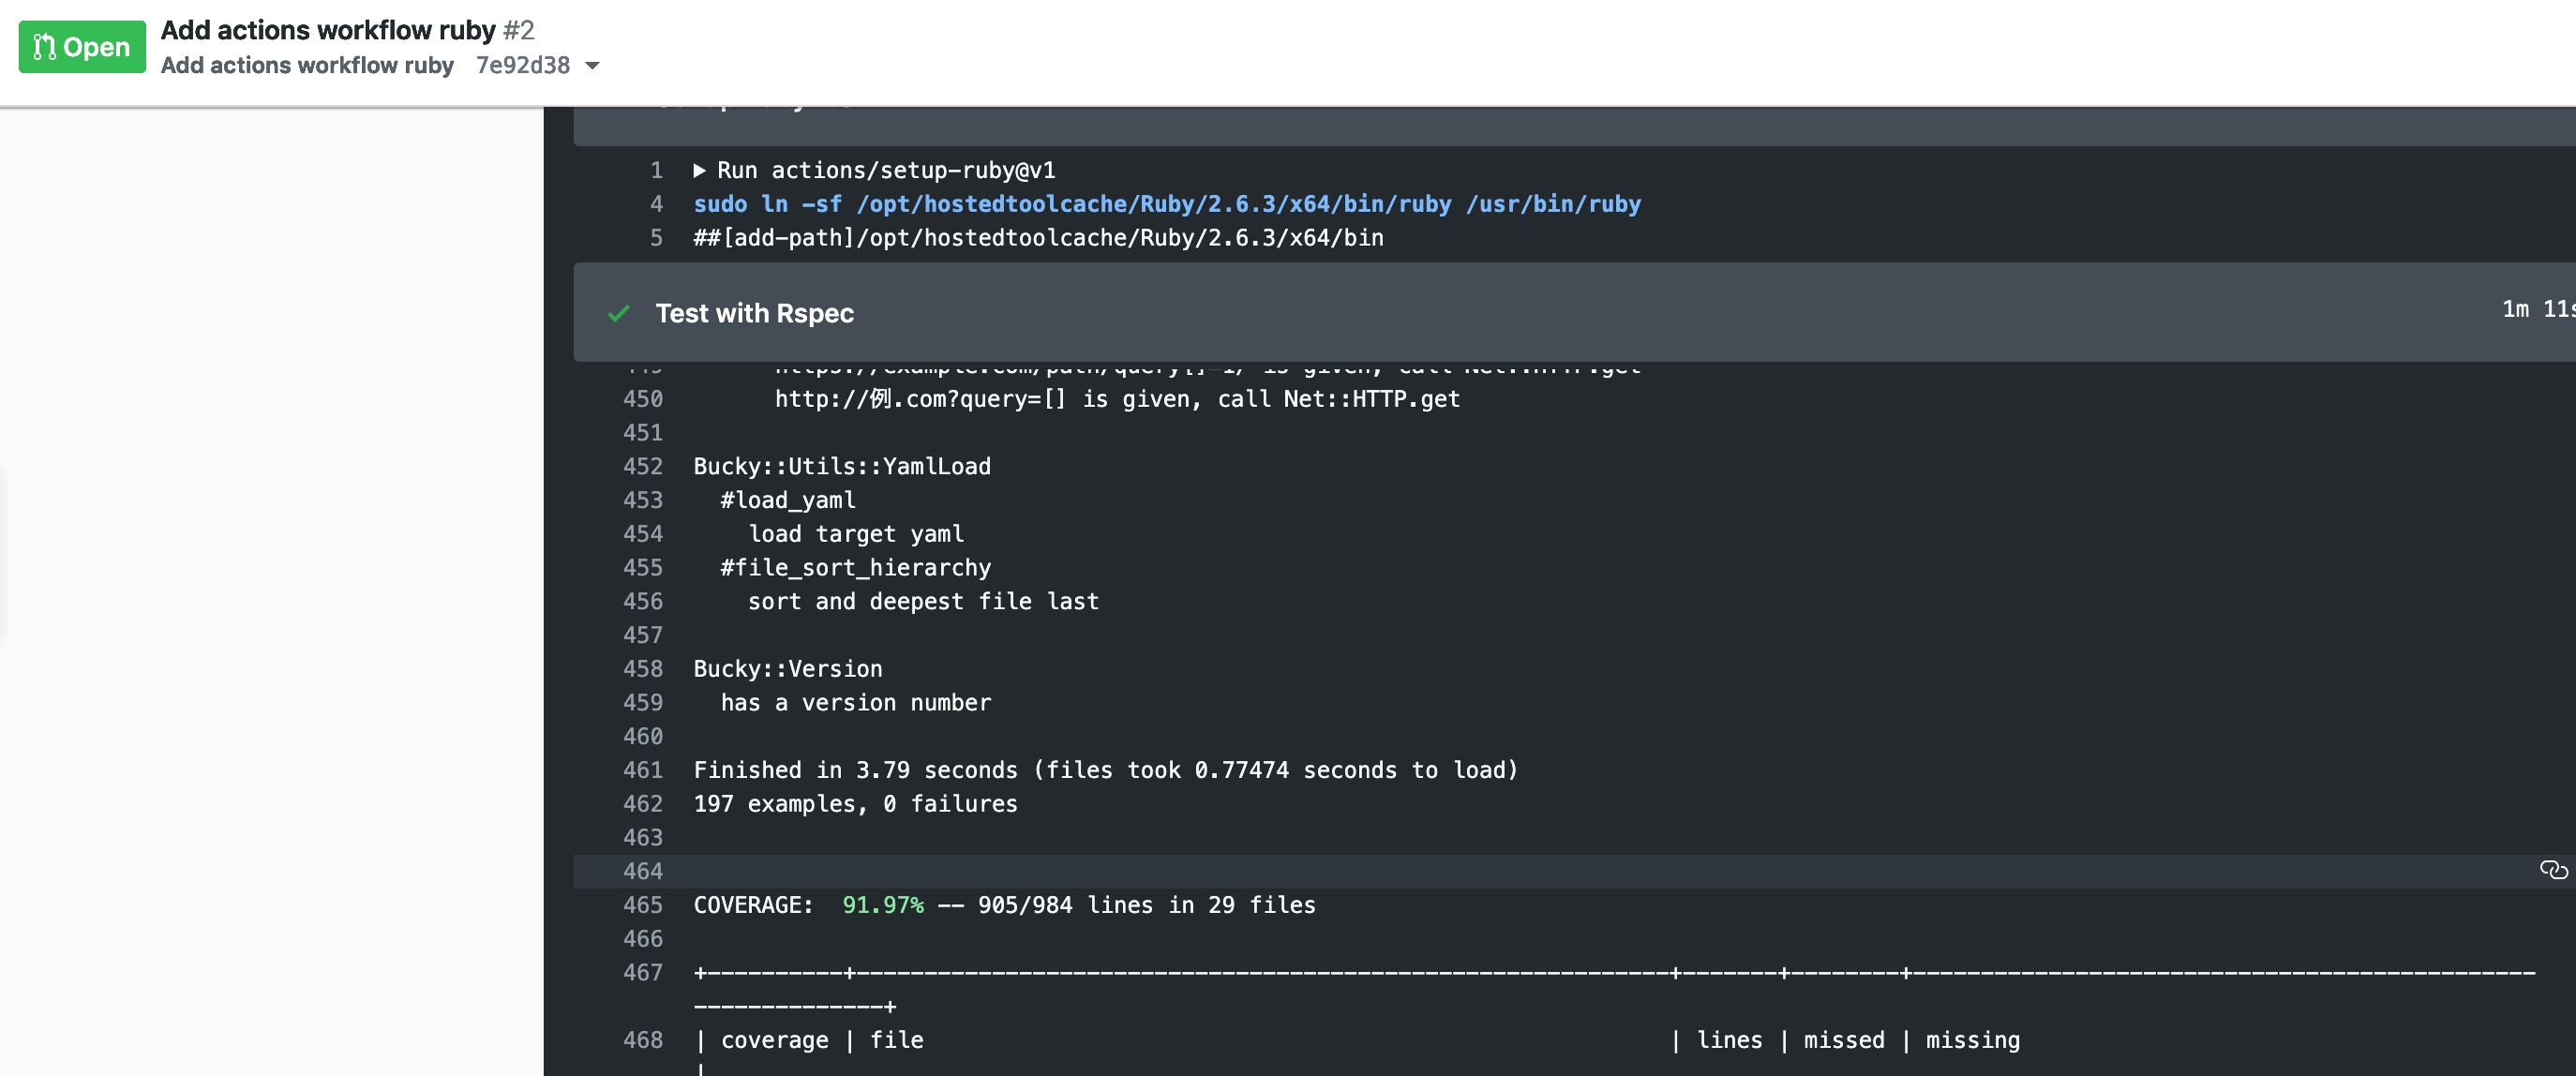
テストPR:https://github.com/naotospace/bucky-core/pull/2


感想
2分でできた。
仮想マシンでWindows選べるあたりMSと仲良くなったのを感じる。
当たり前だけどGithubと簡単に連携できるのは気持ちいい。
CircleCIも楽だと思っていたけど更に楽。