1.この記事でできること
一つのViewに複数のTableTableViewを配置して表示します。
2.バージョン
| Xcode | Swift | iOS |
|---|---|---|
| 10.1 | 4.2.1 | 12.1 |
3.TableViewの配置
TableViewを複数配置します。
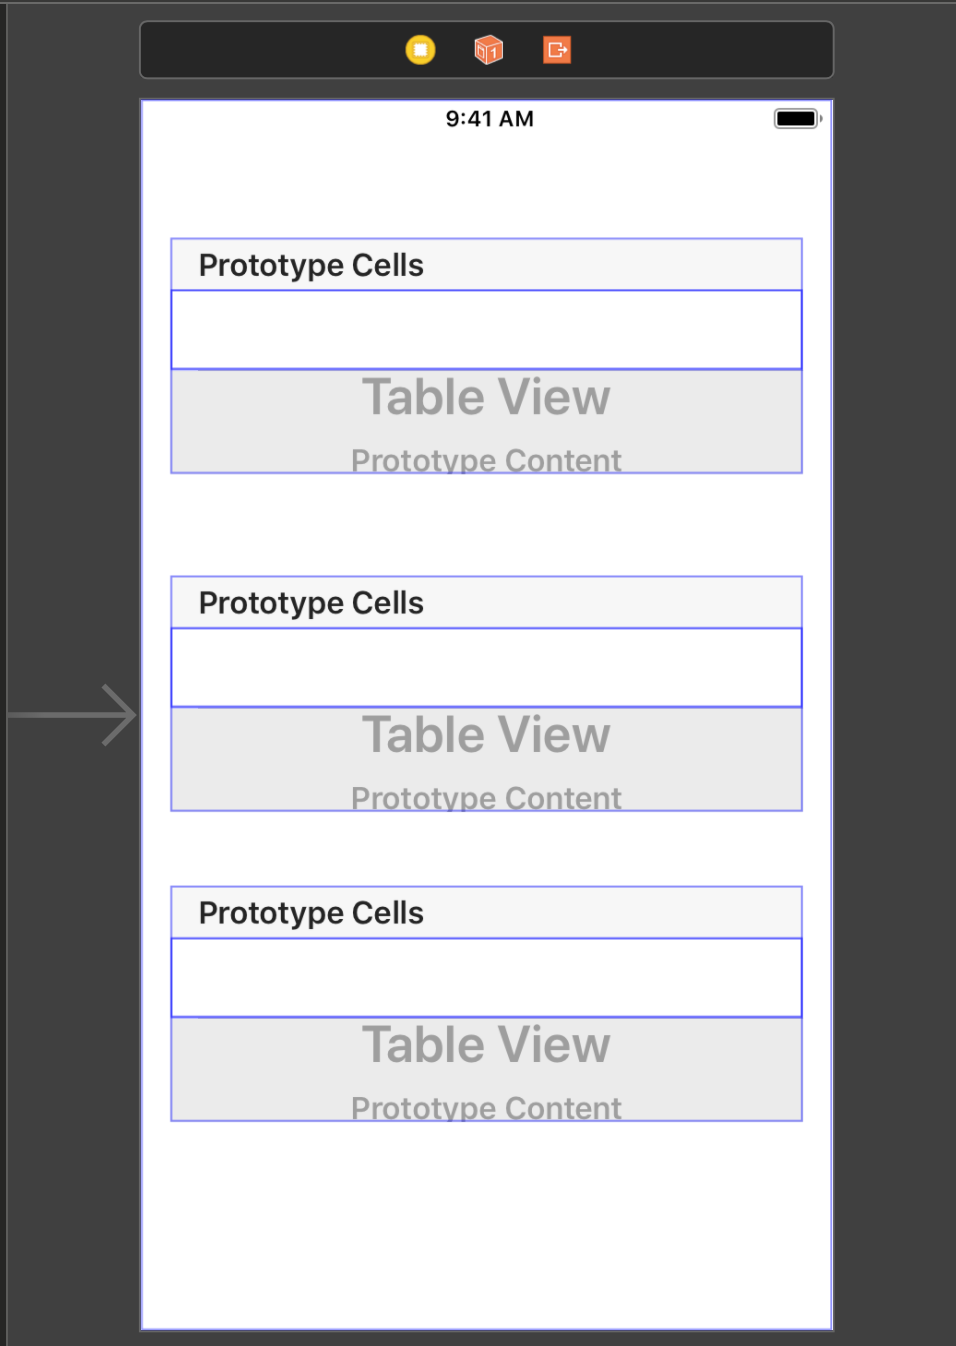
TableViewにTagを設定します。今回の例では、3つのTableViewに対して、上から0,1,2とTagを設定します。
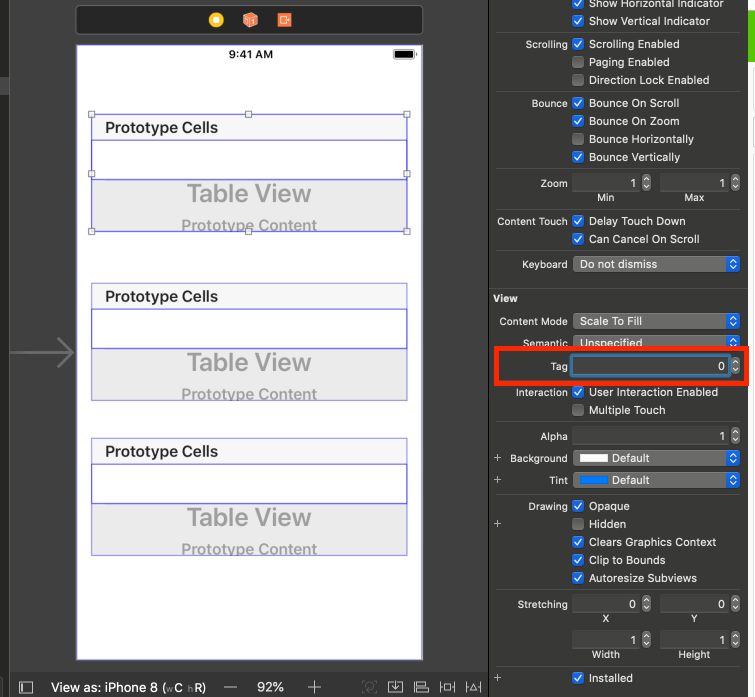
cellにもIdentifierを設定します。TableView同様に上から0,1,2と設定します。

4.コードの作成
4.1.Outlet接続と表示用データ
TableViewのOutlet接続と表示用データは下記のとおりです。(各変数名の0,1,2は、説明用にTagと合わせています。)
この後の処理で使用する分岐用の「tag」と「cellIdentifier」の定義もしています。
また、表示用データはTableView毎に配列を生成していますが、この後の処理のためそれらを配列にまとめています。
ViewController.swift
    @IBOutlet weak var tableView0: UITableView!
    @IBOutlet weak var tableView1: UITableView!
    @IBOutlet weak var tableView2: UITableView!

    // 表示用データ
    var items0: NSMutableArray = ["ねずみ", "うし", "とら", "うさぎ"]
    var items1: NSMutableArray = ["りゅう", "へび", "うま", "ひつじ", "さる", "とり"]
    var items2: NSMutableArray = ["いぬ", "いのしし"]
    var items: [NSMutableArray] = []

    // 処理分岐用
    var tag:Int = 0
    var cellIdentifier:String = ""

    override func viewDidLoad() {
        super.viewDidLoad()

        // デリゲートの設定
        tableView0.delegate = self
        tableView0.dataSource = self
        tableView1.delegate = self
        tableView1.dataSource = self
        tableView2.delegate = self
        tableView2.dataSource = self

        // 表示用データの配列を配列にする
        items.append(items0)
        items.append(items1)
        items.append(items2)
    }
4.2.テーブルビューの処理
テーブルビューの表示に関するコードは下記のとおりです。テーブルビューの処理内で分岐しても良いのですが、冗長的になるため、処理するTableViewをチェックするcheckTableViewメソッドを追加しています。
checkTableViewメソッド内で「tag」を利用して、処理対象のテーブルの情報を設定してあげた後、テーブルの表示処理を行います。
ViewController.swift
override func viewDidLoad() {
(省略)
}
// 処理を分岐するメソッド
func checkTableView(_ tableView: UITableView) -> Void{
if (tableView.tag == 0) {
tag = 0
cellIdentifier = "cellIdentifier0"
}
else if (tableView.tag == 1) {
tag = 1
cellIdentifier = "cellIdentifier1"
}
else {
tag = 2
cellIdentifier = "cellIdentifier2"
}
}
// MARK: - テーブルビュー
// セルの数を返す。
func tableView(_ tableView: UITableView, numberOfRowsInSection section: Int) -> Int {
checkTableView(tableView)
return items[tag].count
}
// セルを返す。
func tableView(_ tableView: UITableView, cellForRowAt indexPath: IndexPath) -> UITableViewCell {
checkTableView(tableView)
// セルにテキストを出力する。
let cell = tableView.dequeueReusableCell(withIdentifier: cellIdentifier, for:indexPath as IndexPath)
cell.textLabel?.text = items[tag][indexPath.row] as? String
return cell
}
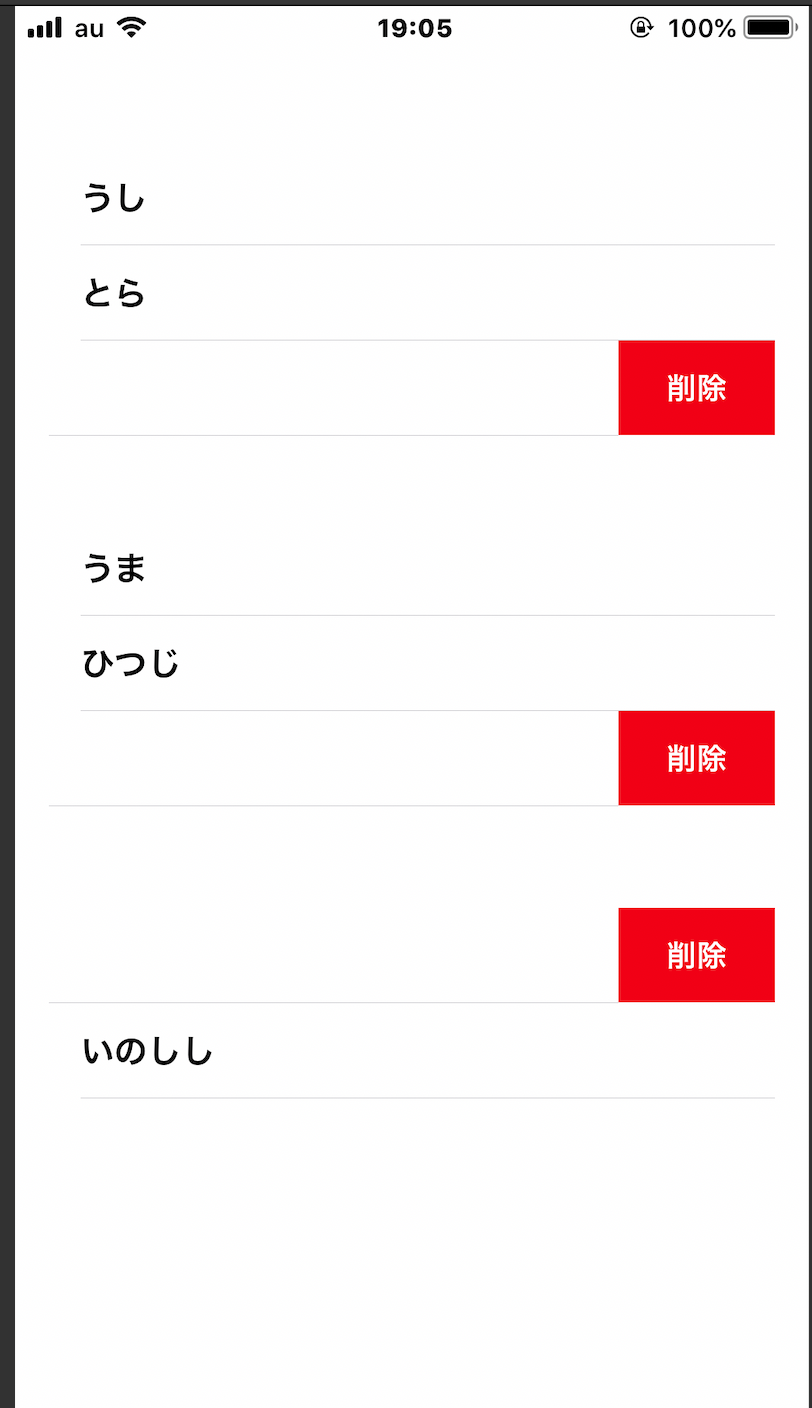
// テーブルビューをスワイプしてデータを削除する。
func tableView(_ tableView: UITableView, editActionsForRowAt indexPath: IndexPath) -> [UITableViewRowAction]? {
let deleteButton: UITableViewRowAction = UITableViewRowAction(style: .normal, title: "削除") { (action, index) -> Void in
self.checkTableView(tableView)
self.items[self.tag].removeObject(at: indexPath.row)
tableView.deleteRows(at: [indexPath], with: .fade)
}
deleteButton.backgroundColor = UIColor.red
return [deleteButton]
}
4.3.補足
今回は、TableViewの特定のためにTagを使用しましたが、TableViewのisEqualメソッドでも代用できます。
こっちの方が変数名を直接指定してコードが書けるので、コードの視認性は良いと思います。
ただし、TableViewのTagを用いて、色々やったりすることもできそうなので、ケース・バイ・ケースで使い分けるのが良さそうです。
ViewController.swift
    // 処理を分岐するメソッド
    func checkTableView(_ tableView: UITableView) -> Void{
        if (tableView.isEqual(tableView0)) {
            tag = 0
            cellIdentifier = "cellIdentifier0"
        }
        else if (tableView.isEqual(tableView1)) {
            tag = 1
            cellIdentifier = "cellIdentifier1"
        }
        else {
            tag = 2
            cellIdentifier = "cellIdentifier2"
        }
    }
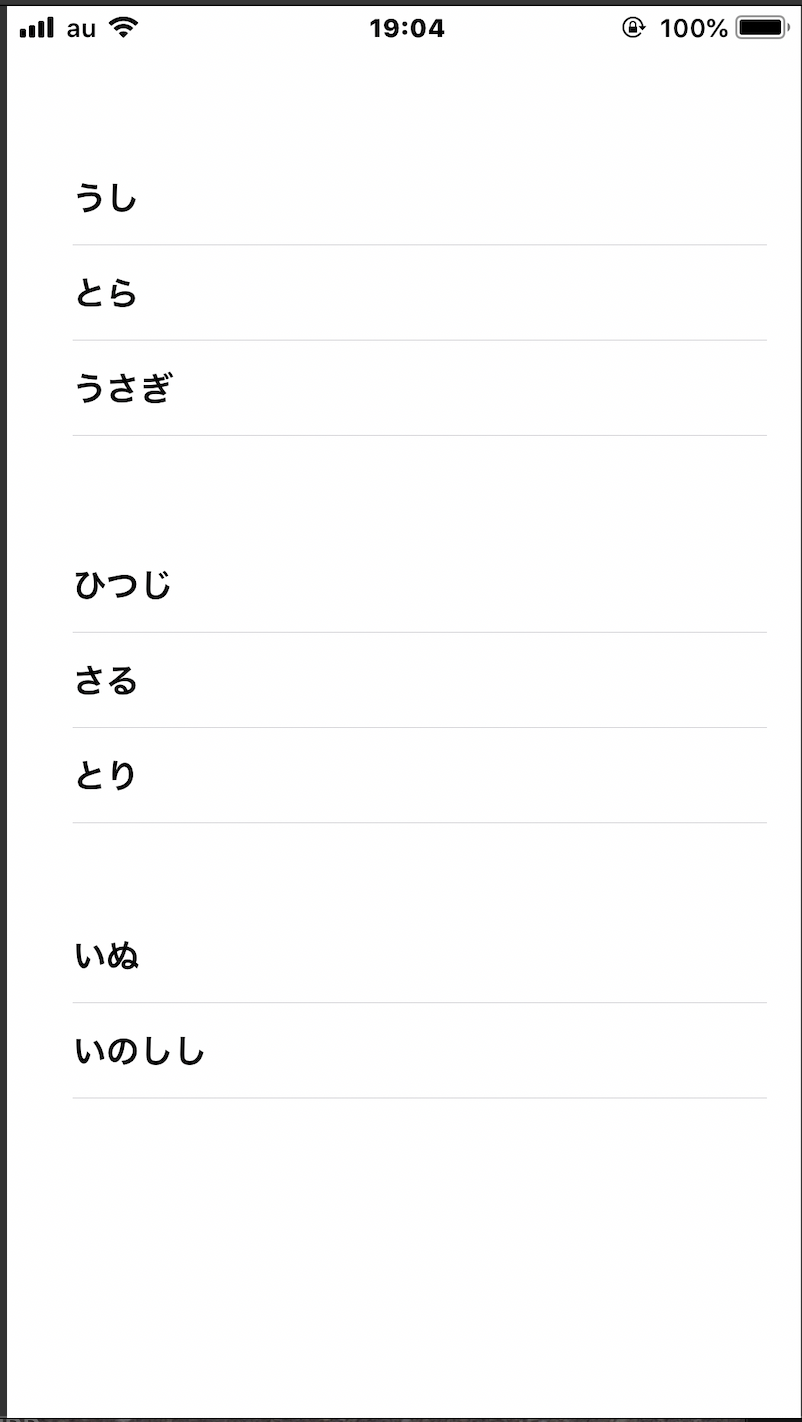
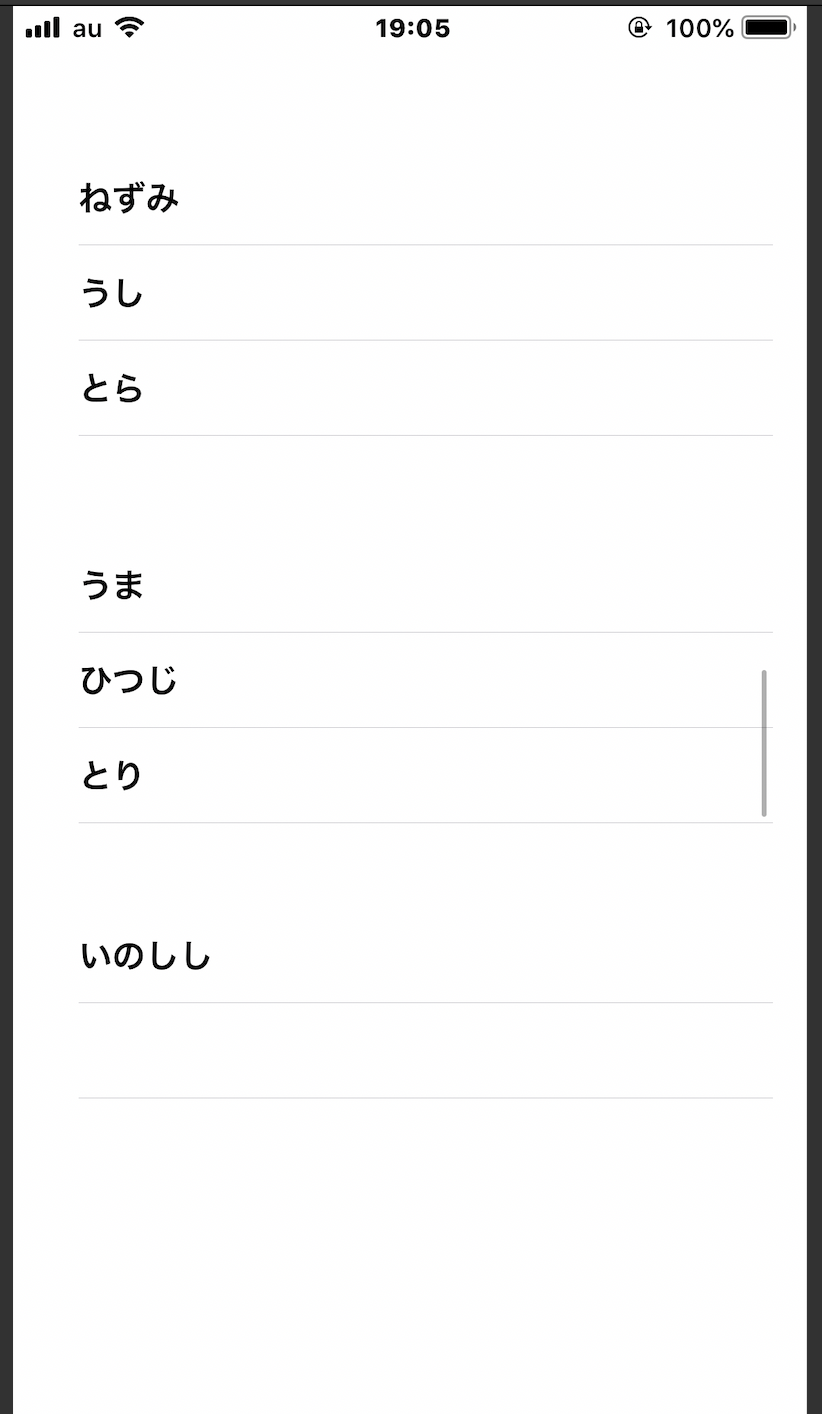
5.実行イメージ