概要
2020年10月15日、HashiCorpがWaypointという新しいプロダクトを発表しました。
簡単に説明すると、デプロイ設定ファイル1つ書くだけで、Amazon EC2やECS、Google Cloud Run、Azure Container Instancesといったクラウド環境にワンライナーでビルドからデプロイまで出来てしまう凄いツールです。
機能
- Waypointは、AWSやGoogle、Azureといったプラットフォームにアプリケーションを構築・リリースするためのワークフローを提供する
-
waypointup upコマンドで、アプリケーションのビルドからデプロイ・リリースまでを一括で実行することができる - 現在サポートしているプラットフォーム
- Kubernetes
- HashiCorp Nomad
- Amazon ECS
- Google Cloud Run
- Azure Container Instances
- Docker
- Buildpacks
-
- Dockerfileが不要
- Waypointはアプリケーションの構成から最適なビルドパックを自動的に利用してDockerfileを生成する (1)
- アプリケーションデプロイ後、デプロイメントの検証やログ、コマンド実行などの機能を提供する
- WaypointでデプロイされたアプリケーションはLet's Encryptで生成されるTLS証明書を含む公開URLを発行する。これによりアプリケーションの動作を他のユーザーと簡単に共有可能となる
- デプロイごとにバージョンを含むURLが発行される (オプション機能のため無効化することも可能)
- アプリケーションのビルド・リリース状況を確認するためのUIを提供 (2)
クラウドネイティブなアプリケーションはECSやKubernetesといったコンテナ基盤で動かすことが多いですが、サービスの構成によってはデプロイ構成やコマンドが複雑化することは多々あります。
Waypointを使うことで設定ファイルは一言管理でき、アプリケーションはよりシンプルなワークフローでリリースサイクルを回すことが可能となるのです。凄い。
検証
Mac環境で試してみました。マニュアル には手動やLinux環境でのセットアップ方法も書いてあります。
Waypointで公開されているサンプルアプリケーションをDockerで動かしてみます。初めにWaypointをbrewでインストールします。
$ brew tap hashicorp/tap
$ brew install hashicorp/tap/waypoint
ヘルプを見てみましょう。
% waypoint --help
Welcome to Waypoint
Docs: https://waypointproject.io
Version: v0.1.2

Usage: waypoint [-version] [-help] [-autocomplete-(un)install] <command> [args]

Common commands
  build        Build a new versioned artifact from source
  deploy       Deploy a pushed artifact
  release      Release a deployment
  up           Perform the build, deploy, and release steps for the app

Other commands
  artifact        Artifact and build management
  config          Application configuration management
  context         Server access configurations
  deployment      Deployment creation and management
  destroy         Delete all the resources created for an app
  docs            Show documentation for components
  exec            Execute a command in the context of a running application instance
  hostname        Application URLs
  init            Initialize and validate a project
  install         Install the Waypoint server to Kubernetes, Nomad, or Docker
  logs            Show log output from the current application deployment
  runner          Runner management
  server          Server management
  token           Authenticate and invite collaborators
  ui              Open the web UI
  version         Prints the version of this Waypoint CLI
先ほど紹介した waypoint up コマンドは、waypoint build、waypoint deploy、waypoint relase を一括実行するコマンドであることが分かります。
続いてサンプルアプリケーションをダウンロードします。サンプルの中にはDockerのほか、Amazon ECSやGoogle Cloud Runにデプロイするコードが含まれています。
$ git clone https://github.com/hashicorp/waypoint-examples.git
$ cd waypoint-examples
$ ls
README.md                azure-container-instance google-cloud-run         waypoint.hcl
aws-ecs                  data.db                  kubernetes
aws-eks                  docker                   nomad

# 今回はDocker上でNode.jsを動かしてみます
$ cd docker/nodejs
Waypointサーバーをインストールします。Waypointサーバーはアプリケーションのワークフローを管理するコンソールです。
$ docker pull hashicorp/waypoint:latest
$ waypoint install -platform=docker -accept-tos
アプリケーションをデプロイするにはデプロイ設定ファイルが必要となります。これは waypoint init というコマンドで作成できますが、サンプルアプリケーションではファイルが作成されています。
project = "example-nodejs"

app "example-nodejs" {
  labels = {
    "service" = "example-nodejs",
    "env" = "dev"
  }

  build {
    use "pack" {}
  }

  deploy {
    use "docker" {}
  }
}
アプリケーションを初期化します。
$ waypoint init
✓ Configuration file appears valid
✓ Connection to Waypoint server was successful
✓ Project "example-nodejs" and all apps are registered with the server.
✓ Plugins loaded and configured successfully
✓ Authentication requirements appear satisfied.

Project initialized!

You may now call 'waypoint up' to deploy your project or
commands such as 'waypoint build' to perform steps individually.
そしてデプロイ。アプリケーションのディレクトリ構成を見ても分かりますが、Dockerfileがないことに気付くはずです。どうやってビルドしてるのかというと、Waypointがファイル構成からアプリケーションタイプを自動検出し、最適なビルドパックを利用してDockerfile自体を自動生成してるのです。賢い。
$ waypoint up
ビルドには時間がかかるので、この間にWaypointのUIを立ち上げてみましょう。
$ waypoint ui
ブラウザでWaypointのコンソールが立ち上がります。
初めに認証トークンを求められるので、CLIからトークンを発行しましょう。
生成された値をフォームに貼り付けることで認証済みとなります。
$ waypoint token new
example-nodejs の画面が開きます。この画面からビルド状況やデプロイログ、更にはコンテナへのコマンド実行などが可能となります。
CLIに戻り、先ほどのビルド状態を確認してみます。
$ waypoint up

» Building...
Creating new buildpack-based image using builder: heroku/buildpacks:18
✓ Creating pack client
✓ Building image
 │ [exporter] Adding 1/1 app layer(s)
 │ [exporter] Reusing layer 'launcher'
 │ [exporter] Adding layer 'config'
 │ [exporter] Adding label 'io.buildpacks.lifecycle.metadata'
 │ [exporter] Adding label 'io.buildpacks.build.metadata'
 │ [exporter] Adding label 'io.buildpacks.project.metadata'
 │ [exporter] *** Images (e2a2e3a85138):
 │ [exporter]       index.docker.io/library/example-nodejs:latest
 │ [exporter] Reusing cache layer 'heroku/nodejs-engine:nodejs'
 │ [exporter] Reusing cache layer 'heroku/nodejs-engine:toolbox'
✓ Injecting entrypoint binary to image

Generated new Docker image: example-nodejs:latest

» Deploying...
✓ Setting up waypoint network
✓ Starting container

» Releasing...

The deploy was successful! A Waypoint deployment URL is shown below. This
can be used internally to check your deployment and is not meant for external
traffic. You can manage this hostname using "waypoint hostname."

           URL: https://***.waypoint.run
Deployment URL: https://***--v1.waypoint.run
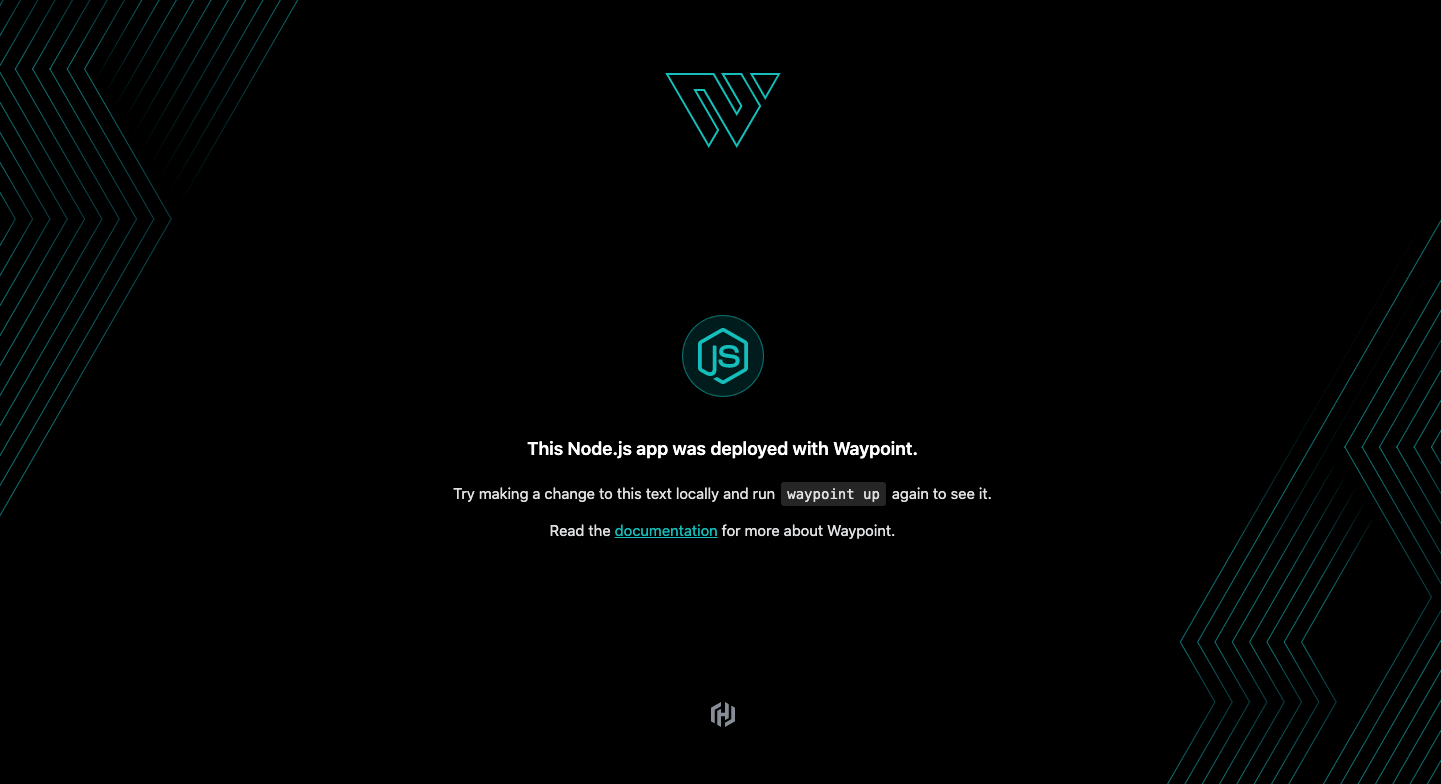
Deployment URL に書かれたURLを開くとアプリケーションが起動します。(3)
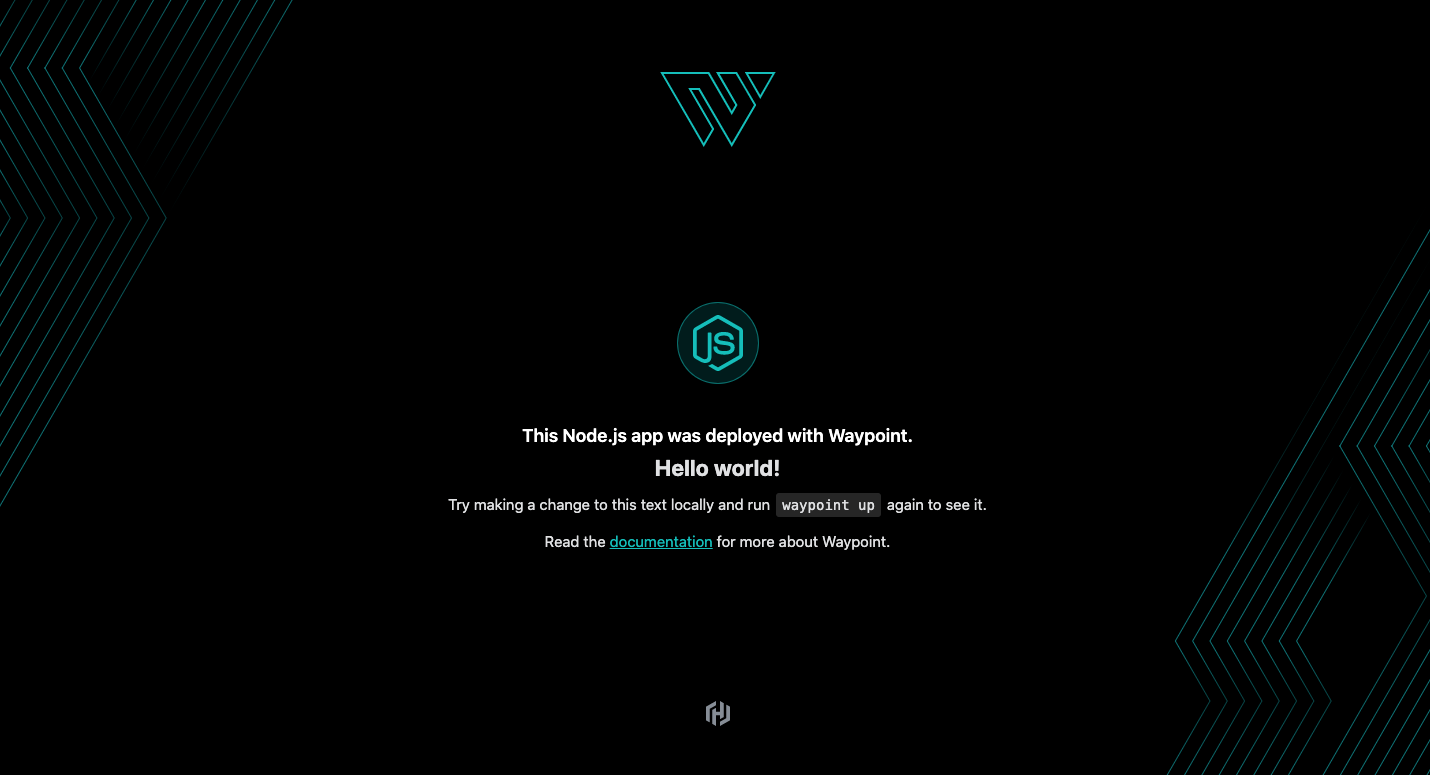
デプロイが成功したので、表示されているテンプレートの中身を書き換えてみます。
<h1>This Node.js app was deployed with Waypoint.</h1>
<h2>Hello world!</h2>
<h1> の下に <h2> を追加してみました。
再度デプロイを実行します。
           URL: https://***.waypoint.run
Deployment URL: https://***--v2.waypoint.run
Deployment URL に含まれるサブドメインが v2 に変わってます。
正しく Hello World が表示されました! (4)
軽く触ってみた感じ、AWSのElastic Beanstalkのようなデプロイを抽象化するソフトウェアという印象を受けました。Waypointを導入することでアプリケーション構成からデプロイフローを分離でき、各種サービスのリリース状況を一元管理することができそうです。
-
アプリケーションディレクトリで
Dockerfileを検出した場合はビルド時に使用されるようです ↩ -
チームで開発する場合はWaypointサーバーを構築する必要があります ↩
-
waypoint.runはHashiCorpが提供するパブリックなホストです。検証用環境のため、本番運用にはホストを用意する必要があります。詳しくは Waypoint URL Service を参照してください ↩ -
v1のURLにアクセスすれば以前のアプリケーションを開くこともできます ↩


