TypeScriptを使ってgas開発を行う際に、最低限必要になるであろう設定を備忘録的に残しておきます。
ソースコードは以下にあるので、手っ取り早く導入したい場合はそちらを使ってください。
https://github.com/shizukanaoki/gas_typescript_sample
開発環境
OS: macOS 10.14.4
Nodejs: v10.15.3
プロジェクトの作成
兎にも角にも、ローカルにプロジェクトを作ります。
(yarnがない場合はinstallしましょう -> https://legacy.yarnpkg.com/lang/ja/docs/install/#mac-stable)
$ mkdir qiita_gas_typescript_sample
$ cd qiita_gas_typescript_sample/
$ yarn init --yes
必要なモジュールのインストール
webpackを使ってtypescriptをトランスパイルするために必要なモジュールをインストールします。
$ yarn add -D webpack webpack-cli typescript ts-loader
webpackの設定
プロジェクト直下にwebpack.config.jsを作成し、設定を追加します。
main.tsをエントリーポイントにbundle.gsというファイルに固めます。
module.exports = {
  entry: "./src/main.ts",
  output: {
    filename: "bundle.gs",
    path: `${__dirname}/dist`
  },
  resolve: {
    extensions: [".ts"]
  },
  module: {
    rules: [
      {
        test: /\.ts$/,
        use: "ts-loader"
      }
    ]
  }
};
ts-loaderの設定
こちらもプロジェクト直下にtsconfig.jsonというファイルを作成します。
gasがes6に対応していないためtargetにes5を指定しています。
{
  "compilerOptions": {
    "target": "es5",
    "module": "es2015"
  }
}
typescriptを書いてみる
期待した通りに動くか確認するため、一度動かしみましょう。
プロジェクト直下にsrcのディレクトリを作り、main.tsを作成しましょう。
内容はなんでもいいのですが、以下のようにしてみました。
class Main {
  public main(): void {
    console.log("hello world");
  }
}
webpackしてみる
ここでwebpackを使ってtypescriptをjsに変換してみます。
./node_modules/.bin以下のwebpackコマンドを使用します。
$ ./node_modules/.bin/webpack
dist/bundle.gsが生成されれば成功です。
コミットしてみる
ここまでのデータが消えてしまったら悲しいのでここら辺でコミットをしておきましょう。
(.gitignoreを作成し、コミット対象から不要なファイルは除外しておきましょう。)
/dist/*.gs
/node_modules/
$ git init
$ git add .
$ git commit
claspしてみる
ここまででtypescriptをjsに変換するところまでできたので、このファイルをgasの環境にプッシュしましょう。
ここではclaspを使用します。
まず、READMEにもありますが、claspを利用する為に、googleアカウントの設定を変更します。
https://script.google.com/home/usersettings にアクセスし、Google Apps Script API をオン に設定してください。その後、以下のコマンドを実行していきます。
$ yarn add -D @google/clasp
$ ./node_modules/.bin/clasp login
$ ./node_moduels/.bin/clasp create
// ? Create which script? -> 今回はformsで作成
// Created new Google Form: https://drive.google.com/open?id=xxxx
// Created new Google Forms Add-on script: https://script.google.com/d/xxxx/edit
// Warning: files in subfolder are not accounted for unless you set a '.claspignore' file.
// Cloned 1 file.
// └─ appsscript.json
google drive上に新規のGoogleFormとそれに紐づくscriptが作成されます。
また、.clasp.json と appsscript.jsonもプロジェクト直下に作成されます。
今回は/dist以下をプッシュの対象としたいので、clasp.jsonを以下のように書き換えます。
(scriptIdは作成時に書かれているものをそのまま使ってください。)
{
  "scriptId": "xxxx",
  "rootDir": "./dist"
}
また、appsscript.jsonはプッシュ対象のディレクトリの直下におく必要があるので./dist直下に移動しましょう。
ここまできてやっとプッシュできます。Pushed 2 files.と出力されればプッシュ成功です。
$ mv appsscript.json ./dist/appsscript.json
$ ./node_modules/.bin/clasp push
// └─ dist/appsscript.json
// └─ dist/bundle.gs
// Pushed 2 files.
プッシュできたか確かめてみる
実際にプッシュできたか確認してみましょう。.clasp.jsonにあるscriptIdを使って以下のURLにアクセスしましょう。
https://script.google.com/d/{scriptId}/edit
どうでしょう?プッシュできましたか?
トリガーを作ってみる
プッシュできたのはいいものの、実際に作成したスクリプトをどのように実行するのでしょうか。
今回は、google formに紐付けたscriptを作成したので、formの送信時に実行されるトリガーを作成しましょう。
GASではトリガーとして実行する為に関数をトップレベルで宣言する必要があるのですが、今の状態だと関数スコープに閉じ込められてしまっていて実行できません。
gas-webpack-pluginを使ってトップレベルで関数を宣言するようにしましょう。
$ yarn add -D gas-webpack-plugin
webpackの設定を以下のように書き換えてあげます。
プラグインとしてGasPluginを指定し、productionモードで実行するように変更しています。
const GasPlugin = require('gas-webpack-plugin');

module.exports = {
    mode: 'production',
    entry: './src/main.ts',
    output: {
        filename: 'bundle.gs',
        path: `${__dirname}/dist`,
    },
    resolve: {
        extensions: ['.ts'],
    },
    module: {
        rules: [
            {
                test: /\.ts$/,
                use: 'ts-loader',
            },
        ],
    },
    plugins: [new GasPlugin()],
};
main.tsは以下のようにしておきましょう。
globalという名のオブジェクトを定義し、mainプロパティに関数を代入しています。
こうすることでトップレベルにmainという名の関数が定義されます。
declare const global {
  main: any
}

global.main = (e: any) => {
  console.log(e);
}
以下のコマンドを実行して、生成されるbundle.gsを確認しましょう。
$ ./node_modules/.bin/webpack
bundle.gs の先頭で関数が定義されていれば成功です。
(引数のeには設定したトリガーに応じてイベントオブジェクトが入ってくるはずです。)
function main(e) {
}/******/ (function(modules) { // webpackBootstrap
/******/ 	// The module cache
// 以下略
再度、プッシュしてみる
トリガーとして実行できる関数を定義できたので、プッシュしてみましょう。
./node_modules/.bin/clasp push
再度、GASのエディタを開き、トリガーとしてmain関数を設定すれば準備完了。
https://script.google.com/d/{scriptId}/edit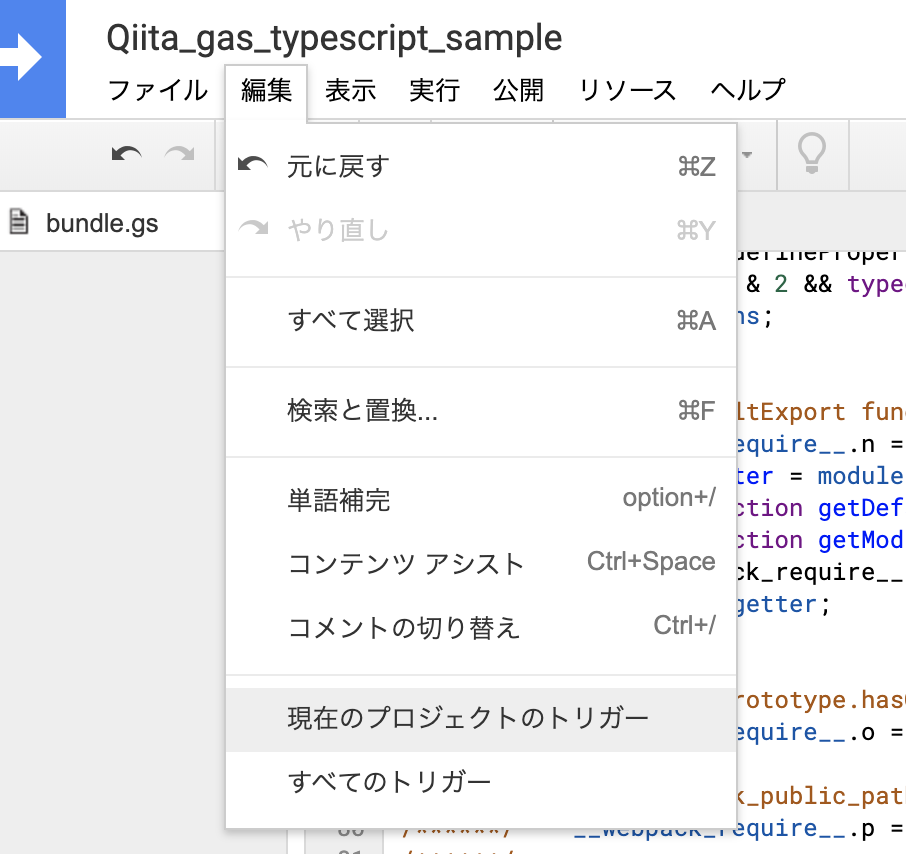
ここまでくれば、あとは開発するのみ。小まめなコミットもお忘れなく!
快適な開発をしてみる
せっかくtypescriptを導入したので、GAS開発に必要な型が定義されたファイルを使って快適な開発をしましょう。
yarn install -D @types/google-apps-script
実際に、main関数を以下のように置き換えてみるとわかりますが、エディタのメソッド補完など様々な恩恵が受けられると思います。
declare const global: {
  main: any;
};

global.main = (e: any) => {
  const response: GoogleAppsScript.Forms.FormResponse = e.getResponse();
  response.getItemResponses().forEach(itemResponse => {
    console.log(itemResponse.getItem().getTitle());
  });
};
また、本記事の中で何度か実行した./node_modules/.bin/配下のコマンドはpackage.jsonに定義することで省略して実行することができます。
{
  ...
  "scripts": {
    "push": "clasp push",
    "build": "webpack",
    "watch": "webpack -w",
    "cwatch": "clasp push --watch"
  },
  "devDependencies": {
    "@google/clasp": "^2.3.0",
    "@types/google-apps-script": "^1.0.10",
    "gas-webpack-plugin": "^1.0.2",
    "ts-loader": "^6.2.1",
    "typescript": "^3.7.5",
    "webpack": "^4.41.5",
    "webpack-cli": "^3.3.10"
  }
}
こうすることで以下のようにコマンドの入力を省略することができます。
他にも自身で使いやすいようにカスタマイズしてみてください。
$ yarn run push
-> gasにプッシュ
$ yarn run build
-> ビルドの実行
$ yarn run watch
-> typescriptファイルの変更を検知して自動でビルドしてくれる
$ yarn run cwatch
-> bundle.gsの変更を検知して自動でプッシュしてくれる