blender, python, 背景光の色、RGB16進指定でのテストです。背景光、と、3箇所スポットライトで立方体を照らしてます。
色の例としては、 aquamarine #7fffd4, papayawhip #ffefd5 powderblue #b0e0e6 darkkhaki #bdb76b
あたりが使えそうかなと言う印象。今日はカメラ移動は無しで動画なしの静止画だけです。
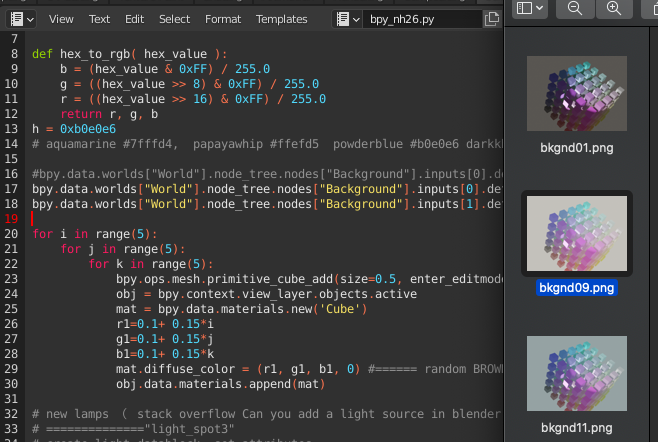
3点画像あるうち上のが背景光0.1倍、2枚目0.9倍、3枚目0.5倍の指定です。
import bpy

# ========= DELETE ALL mesh, light, camera =========
for item in bpy.data.objects:
    bpy.data.objects.remove(item)
# =========

def hex_to_rgb( hex_value ):
    b = (hex_value & 0xFF) / 255.0
    g = ((hex_value >> 8) & 0xFF) / 255.0
    r = ((hex_value >> 16) & 0xFF) / 255.0
    return r, g, b
h = 0xb0e0e6
# aquamarine #7fffd4,  papayawhip #ffefd5  powderblue #b0e0e6 darkkhaki #bdb76b

# bpy.data.worlds["World"].node_tree.nodes["Background"].inputs[0].default_value = (R, G, B, 1)
bpy.data.worlds["World"].node_tree.nodes["Background"].inputs[0].default_value = (*hex_to_rgb(h), 1)
bpy.data.worlds["World"].node_tree.nodes["Background"].inputs[1].default_value = 0.5

for i in range(5):
    for j in range(5):
        for k in range(5):
            bpy.ops.mesh.primitive_cube_add(size=0.5, enter_editmode=False, align='WORLD', location=(i, j, k), scale=(1, 1, 1))
            obj = bpy.context.view_layer.objects.active
            mat = bpy.data.materials.new('Cube')
            r1=0.1+ 0.15*i
            g1=0.1+ 0.15*j
            b1=0.1+ 0.15*k
            mat.diffuse_color = (r1, g1, b1, 0) #====== random BROWN COLOR
            obj.data.materials.append(mat)

# new lamps ( stack overflow Can you add a light source in blender using python)
# =============="light_spot3"
# create light datablock, set attributes
light_data = bpy.data.lights.new(name="light_spot3", type='SPOT')
light_data.energy = 2000
# create new object with our light datablock
light_object = bpy.data.objects.new(name="light_spot3", object_data=light_data)
# link light object
bpy.context.collection.objects.link(light_object)
# make it active
bpy.context.view_layer.objects.active = light_object
# change location
light_object.location = (2, -2, 3)
light_object.delta_rotation_euler = (1.6, 0, 0) #ゼロゼロゼロで真下を向く。
# update scene, if needed
dg = bpy.context.evaluated_depsgraph_get()
dg.update()

# =============="light_spot2"
# create light datablock, set attributes
light_data = bpy.data.lights.new(name="light_spot2", type='SPOT')
light_data.energy = 2000
# create new object with our light datablock
light_object = bpy.data.objects.new(name="light_spot2", object_data=light_data)
# link light object
bpy.context.collection.objects.link(light_object)
# make it active
bpy.context.view_layer.objects.active = light_object
# change location
light_object.location = (2, -4, 8)
light_object.delta_rotation_euler = (1.5, 0, 0) #ゼロゼロゼロで真下を向く。
# update scene, if needed
dg = bpy.context.evaluated_depsgraph_get()
dg.update()
# ============== "light_spot1"
# create light datablock, set attributes
light_data = bpy.data.lights.new(name="light_spot1", type='SPOT')
light_data.energy = 3000
# create new object with our light datablock
light_object1 = bpy.data.objects.new(name="light_spot1", object_data=light_data)
# link light object
bpy.context.collection.objects.link(light_object1)
# make it active
bpy.context.view_layer.objects.active = light_object1
# change location
light_object1.location = (5, -5, 8)
light_object1.delta_rotation_euler = (1.3, 0, 0.3) #ゼロゼロゼロで真下を向く。
# update scene, if needed
dg = bpy.context.evaluated_depsgraph_get()
dg.update()
# ================

bpy.ops.object.camera_add(enter_editmode=False, align='VIEW', location=(6, -6, 11), rotation=(45/180*3.14, -15/180*3.14, 45/180*3.14))