Flutterでいい感じにできたウィジェットの備忘録と共有を兼ねて、メモしておきます。
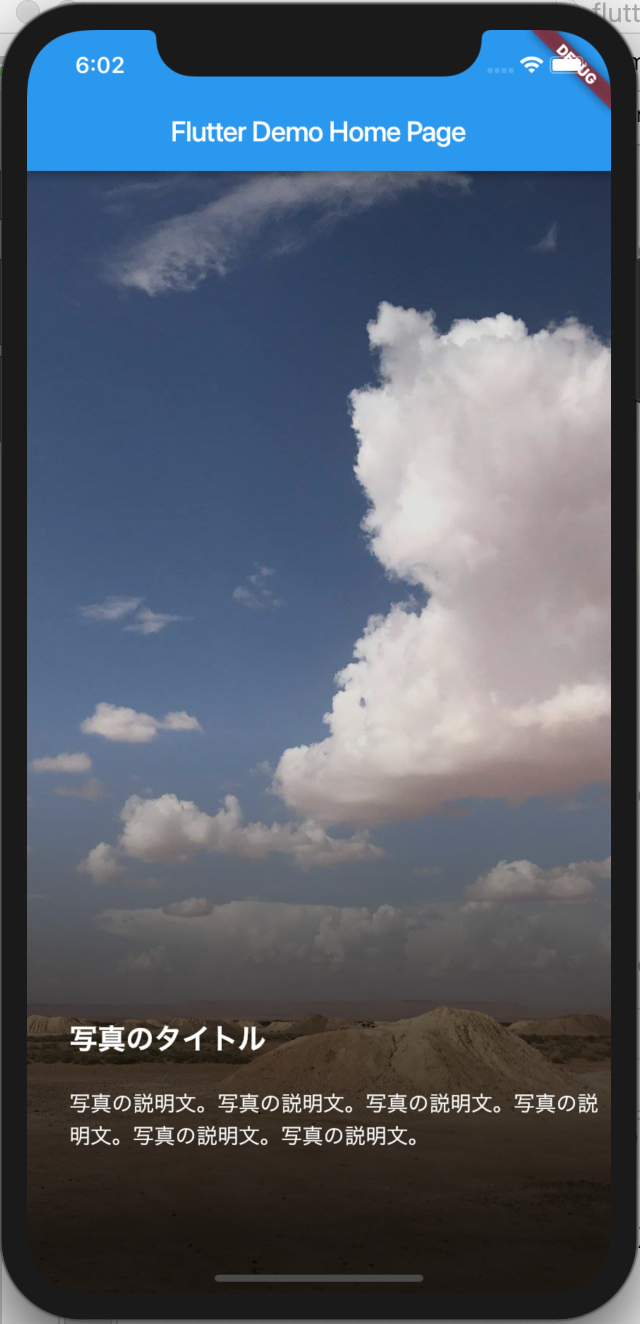
最終イメージ
画像にグラデーションをつけ、暗くなった部分に説明文を表示したい。

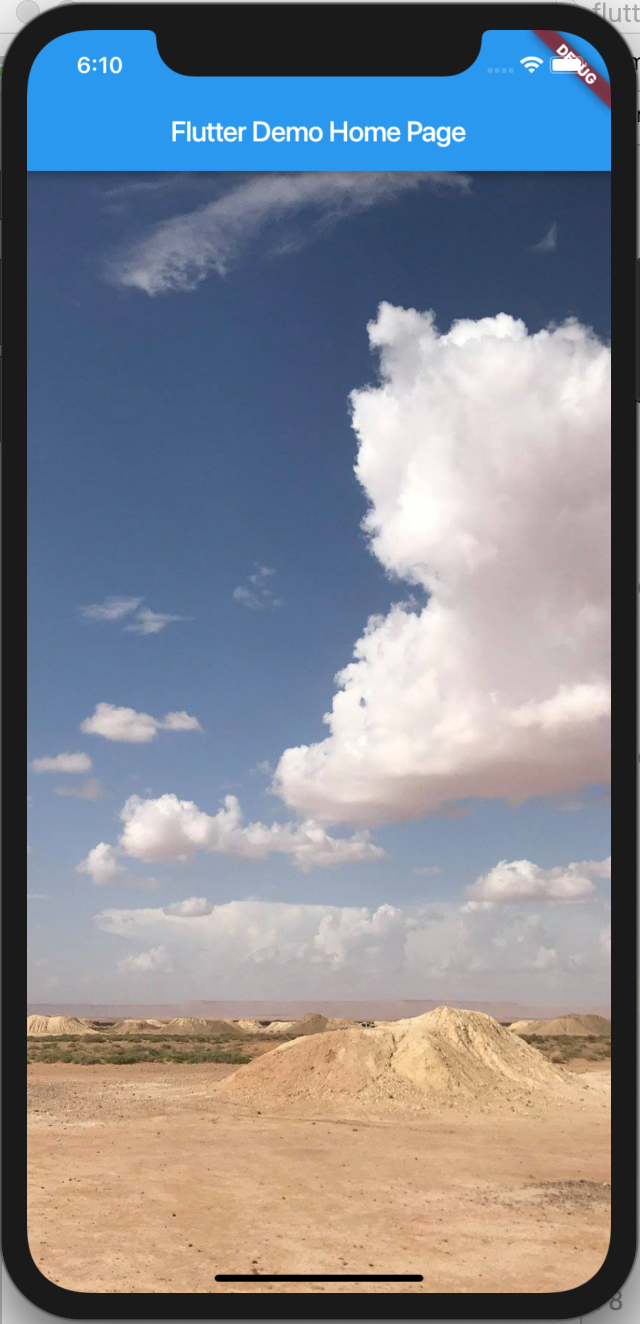
まずは画像を表示
(Statefulである必要はありませんが、デフォルトで作成されるmain.dartから変更が少ない状態からでも作成されるようにStatefulWidgetにしています。)
  assets:
    - images/sample.jpg
import 'package:flutter/material.dart';

void main() => runApp(MyApp());

class MyApp extends StatelessWidget {
  @override
  Widget build(BuildContext context) {
    return MaterialApp(
      title: 'Flutter Demo',
      theme: ThemeData(
        primarySwatch: Colors.blue,
      ),
      home: MyHomePage(title: 'Flutter Demo Home Page'),
    );
  }
}

class MyHomePage extends StatefulWidget {
  MyHomePage({Key key, this.title}) : super(key: key);
  final String title;

  @override
  _MyHomePageState createState() => _MyHomePageState();
}

class _MyHomePageState extends State<MyHomePage> {
  @override
  Widget build(BuildContext context) {
    return Scaffold(
      appBar: AppBar(
        title: Text(widget.title),
      ),
      body: Center(
        child: Container(
          decoration: BoxDecoration(
              image: DecorationImage(
              fit: BoxFit.fitHeight,
              image: AssetImage('images/sample.jpg'),
            ),
          ),
        ),
      ),
    );
  }
}
画像が表示される。
多くのサイトではImageやDecorationImageを使用しているが、説明文を画像の中に入れたいので、Containerのdecoration要素を利用する。

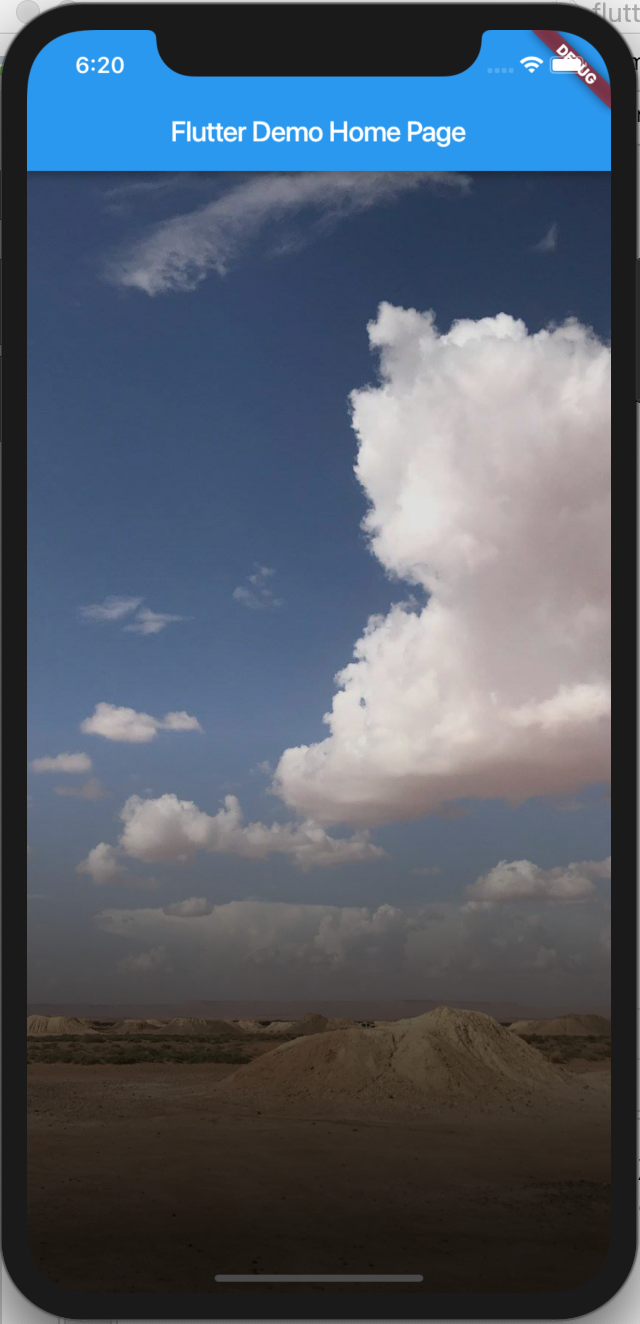
画像にグラデーションをかける
作成したコンテナの中に更にコンテナを作成し、decoration要素でグラデーションを作成する。
※_MyHomePageStateクラスのみ変更するので、プログラムはその部分だけの記載にします。
class _MyHomePageState extends State<MyHomePage> {
  @override
  Widget build(BuildContext context) {
    return Scaffold(
      appBar: AppBar(
        title: Text(widget.title),
      ),
      body: Center(
        child: Container(
          decoration: BoxDecoration(
              image: DecorationImage(
              fit: BoxFit.fitHeight,
              image: AssetImage('images/sample.jpg'),
            ),
          ),
          child: Container(
            decoration: BoxDecoration(
              gradient: LinearGradient(
                begin: Alignment.topCenter,
                end: Alignment.bottomCenter,
                stops: [0.5, 0.7, 0.95],
                colors: [Colors.black12, Colors.black54, Colors.black87,],
              ),
            ),
          ),
        ),
      ),
    );
  }
}
LinearGradientの中で注意するのは、stopsとcolorの要素。
- stops
- グラデーションをかける位置を設定
- 全体を1とするならば、半分からグラデーションをかけたいので0.5を設定
- どんどん濃くして行くために0.7から0.95にかけて濃い色を設定
- colors
- stopsで指定した位置から始める色を設定する
-
black12やblack54などの数字の部分は不透明率によって数が大きくなるので、調整しながら色を設定する

タイトルと説明文を追加する
作成したグラデーションの中にタイトルと説明文を追加する。
文字の大きさを変えた二段で構成したいので、Columnを使用する。
class _MyHomePageState extends State<MyHomePage> {
  @override
  Widget build(BuildContext context) {
    return Scaffold(
      appBar: AppBar(
        title: Text(widget.title),
      ),
      body: Center(
        child: Container(
          decoration: BoxDecoration(
              image: DecorationImage(
              fit: BoxFit.fitHeight,
              image: AssetImage('images/sample.jpg'),
            ),
          ),
          child: Container(
            child: Column(
              mainAxisAlignment: MainAxisAlignment.end,
              children: <Widget>[
                Container(
                  padding: const EdgeInsets.only(left: 30, bottom: 20),
                  alignment: Alignment.topLeft,
                  child: Text('写真のタイトル',
                      style: TextStyle(
                          fontSize: 20,
                          fontWeight: FontWeight.w600,
                          color: Colors.white)
                  ),
                ),
                Container(
                  padding: const EdgeInsets.only(left: 30, bottom: 100),
                  alignment: Alignment.topLeft,
                  child: Text('写真の説明文。写真の説明文。写真の説明文。写真の説明文。写真の説明文。写真の説明文。',
                      style: TextStyle(
                        fontSize: 15,
                        fontWeight: FontWeight.w300,
                        color: Colors.white)
                  ),
                ),
              ],
            ),
            decoration: BoxDecoration(
              gradient: LinearGradient(
                begin: Alignment.topCenter,
                end: Alignment.bottomCenter,
                stops: [0.5, 0.7, 0.95],
                colors: [Colors.black12, Colors.black54, Colors.black87,],
              ),
            ),
          ),
        ),
      ),
    );
  }
}
画面の下に表示させたいので、mainAxisAlignmentはendに設定する。
paddingや表示位置を設定したいので、Containerを使って、その中にTextを入れている。

完成。