概要
SpringBoot2.7にて、auto configuration されるライブラリ作成方法について、公式が推奨する方法が変わった。
ここでは、推奨方法に従って auto configuration されるライブラリを作成し、それを実際に使ってみる。
ライブラリの機能としては、/pingエンドポイントにGETリクエストしたら hello worldを返却するものを作る。
ライブラリ提供側
公式ドキュメントに従って作っていく。
また、組み込んだら勝手にREST APIが動く、という仕組みは spring-cloud-config-serverにとても近しいので多分に参考にしている。
auto configuration対象のクラス作成
下記が実際のコードとなる。
- auto configurationされる対象であることを示す、
@AutoConfigurationを付与している - Webアプリケーション環境でのみbean登録が有効になる
@ConditionOnWebApplicationを付与している
package com.example.demo.config;

import org.springframework.boot.autoconfigure.AutoConfiguration;
import org.springframework.boot.autoconfigure.condition.ConditionalOnWebApplication;
import org.springframework.context.annotation.Bean;

import com.example.demo.controller.HelloWorldController;

@AutoConfiguration
public class HelloWorldAutoConfiguration {

    @Bean
    @ConditionalOnWebApplication
    public HelloWorldController helloWorldController(){
        return new HelloWorldController();
    }

}
auto configuration候補を利用側に知らせるメタ情報ファイル作成
本ライブラリを利用する側に、どのクラスがauto configuration対象かを知らしめるための設定ファイルを記述する必要がある。
SpringBoot2.6以前は、META-INF/spring.factoriesに記述されていたが、2.7以降は、META-INF/spring/org.springframework.boot.autoconfigure.AutoConfiguration.imports に記述するように公式ドキュメントでガイドされている。
HelloWorldAutoConfigurationを読み込むように設定するべく、下記のように記述する。
com.example.demo.config.HelloWorldAutoConfiguration
Test
auto configuration 設定を記述したクラス(HelloWorldAutoConfiguration)が適切にアプリケーションコンテキストに読み込まれるかテストする。
実際のテストコードは下記。
- Webアプリケーションとして動作させたときには
HelloWorldControllerのbean定義があることをWebApplicationContextRunnerを利用して確認 - Webアプリケーションでない時はアプリケーションコンテキストに
HelloWorldControllerがbean定義されないことをApplicationContextRunnerを利用して確認
package com.example.demo;

import org.junit.jupiter.api.Test;
import org.springframework.boot.test.context.runner.ApplicationContextRunner;
import org.springframework.boot.test.context.runner.WebApplicationContextRunner;

import com.example.demo.config.HelloWorldAutoConfiguration;
import com.example.demo.controller.HelloWorldController;

import static org.assertj.core.api.Assertions.assertThat;

class AutoConfigurationTest {

	@Test
	void autoConfigurationTest() {
		new WebApplicationContextRunner()
				.withUserConfiguration(HelloWorldAutoConfiguration.class).run((context) -> {
			assertThat(context).hasSingleBean(HelloWorldController.class);
			assertThat(context).getBean("helloWorldController").isSameAs(context.getBean(HelloWorldController.class));
		});

		new ApplicationContextRunner()
				.withUserConfiguration(HelloWorldAutoConfiguration.class).run((context) ->
				assertThat(context).doesNotHaveBean(HelloWorldController.class)
		);
	}

}
jarの作成
ライブラリを作成するために下記コマンドを実行する。
./gradlew clean build
これを実行すると、build/libs配下にdemo-0.0.1-SNAPSHOT.jar、demo-0.0.1-SNAPSHOT-plain.jarみたいなjarができる。
(plain付いてない方がexecutable jar)
ライブラリ利用側
jar配置
プロダクションコードならリモートリポジトリ上にjarを配置するのが適切であろうが、ここではjarを直接参照できる位置に置くことにする。
プロジェクト直下のlibsに先ほど作成したdemo-0.0.1-SNAPSHOT-plain.jarを配置する。
※executable jarではないことに注意
jar読み込み
配置したjarを読み込めるように build.gradle に記載する。
dependencies {
	implementation 'org.springframework.boot:spring-boot-starter-web'
	implementation files('libs/demo-0.0.1-SNAPSHOT-plain.jar')
	testImplementation 'org.springframework.boot:spring-boot-starter-test'
}
起動確認
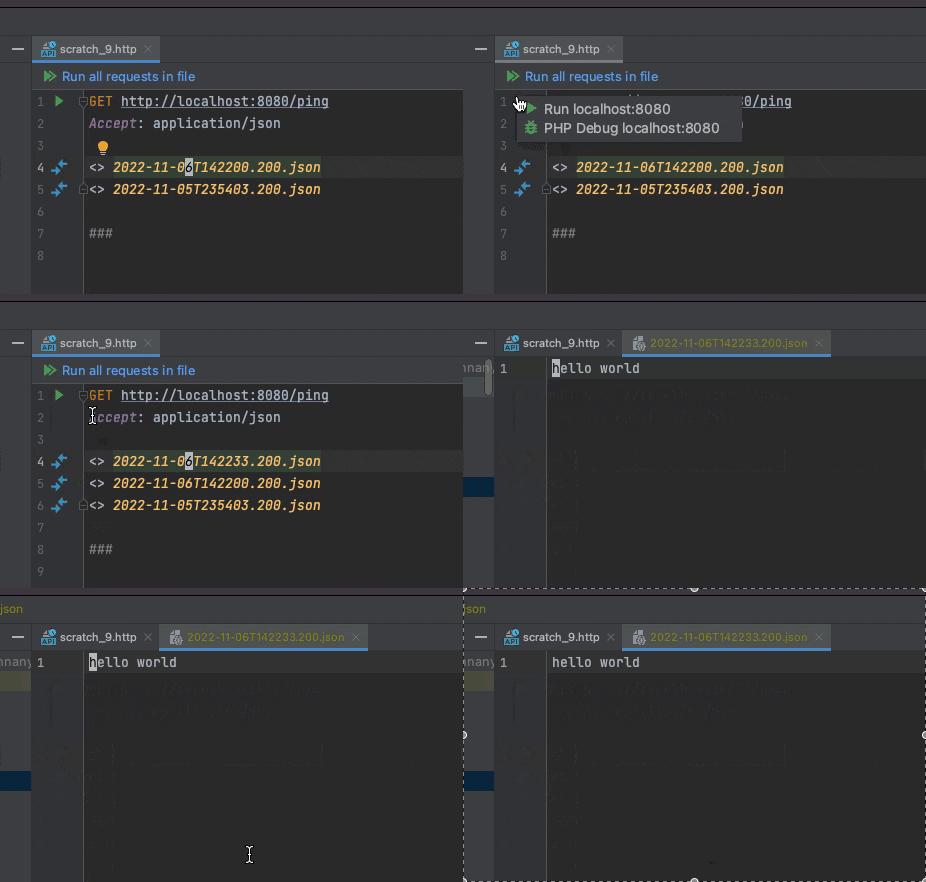
起動させて、実際に/pingにアクセスしてみる。
まとめ・感想
executable jarを組み込んでしまって動かない、みたいなミスはあったものの、比較的簡単にauto configurationする仕組みを検証できた。
調べていく途中で、spring boot actuatorも同じようなことしてるのでは?と思ったけどあちらは若干複雑な感じだったので読むの諦めた。いつかちゃんと調べたい。
今回のテーマとは関係ないが、
- Webアプリケーションであるということは実際何で判断しているのか?
- executable jarの仕組みってどういう感じなのか?
あたりも気になったのでこの辺りはいつか調べたい。
