前回の記事(実装編)からの続きになります。
Unity(C#)で私なりにCleanArchitectureの実装例を説明しました。
CleanArchitectureのルールに従って、アプリケーションロジックからフレームワークを抽象化して切り離すことで、特定のフレームワークに依存しないアプリケーションロジックを実装することが出来ます。
つまり、フレームワークが無くても(≒決まってなくても)アプリケーションロジックのみを実装することが出来、フレームワークの都合を抜きにしてテストすることが出来る訳です。
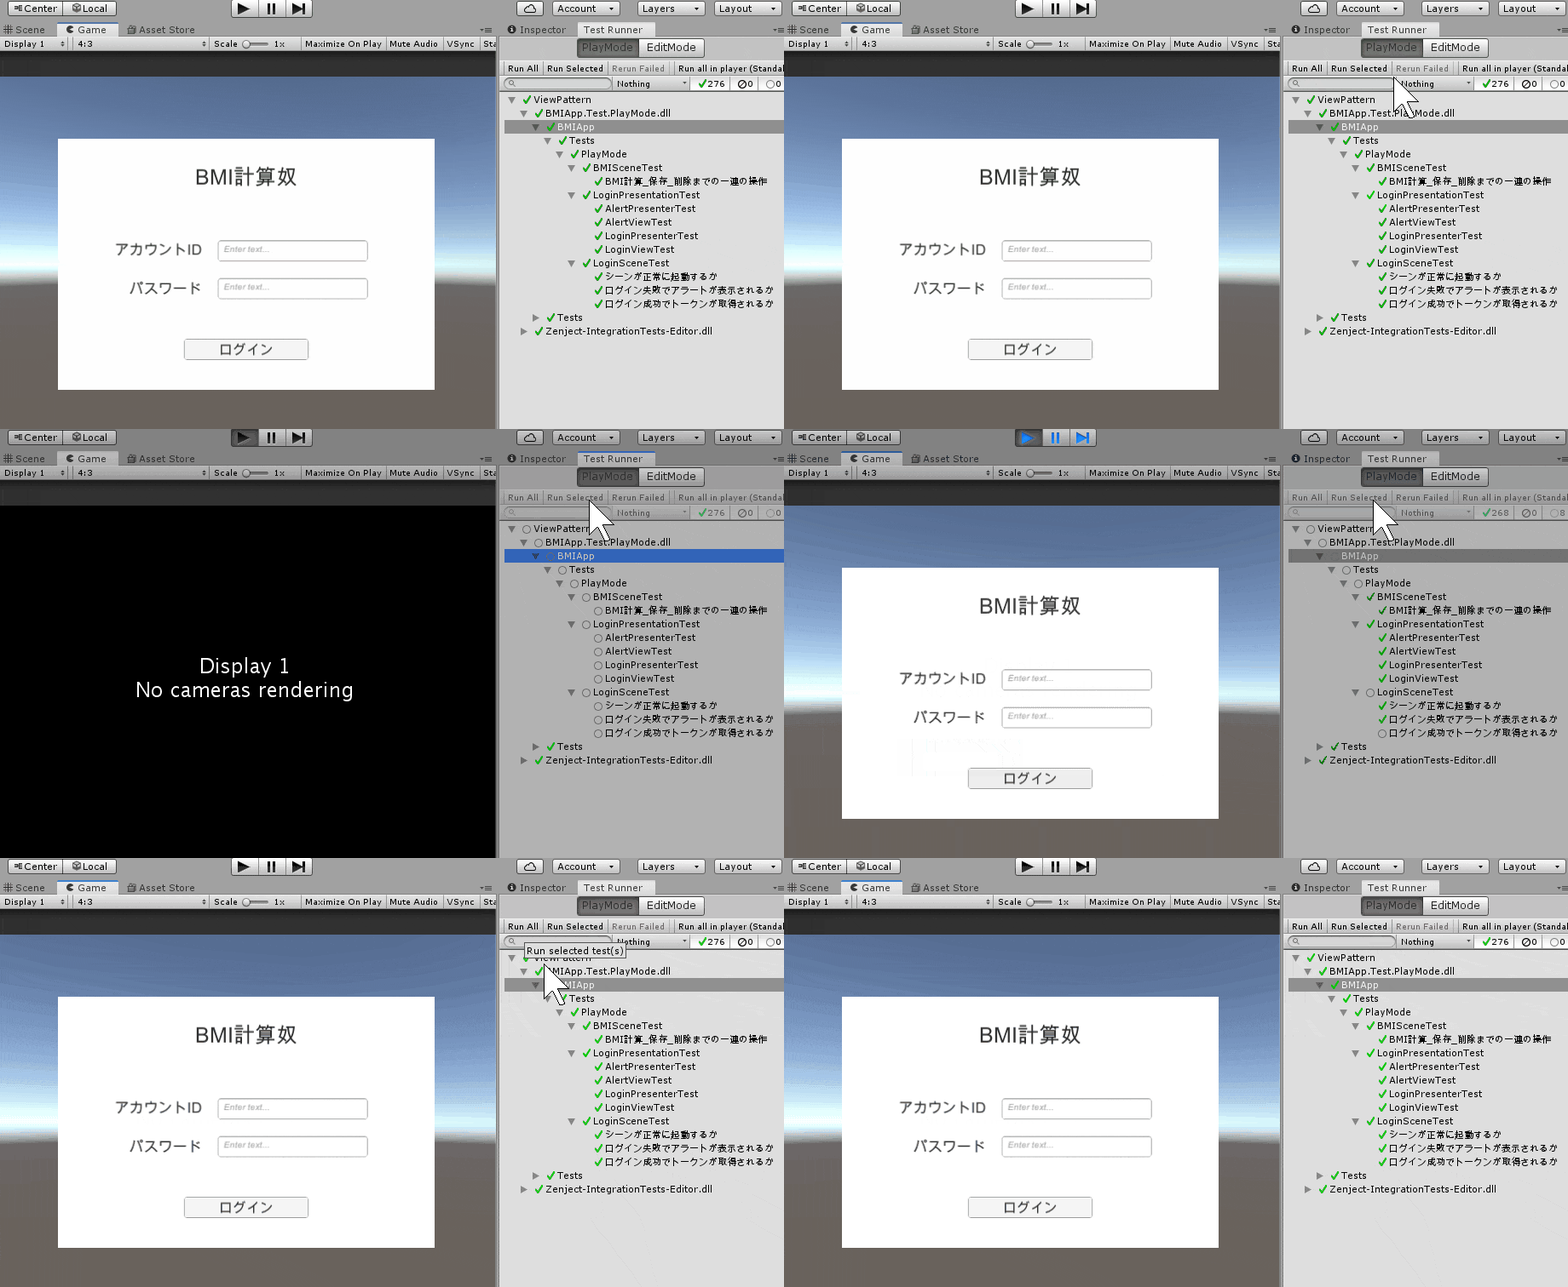
この記事ではUnityのシーンに実装したアプリケーションロジックが正しい仕様で動いているかをTest RunnerのPlay Modeテストする方法を解説します。
GitHub:naninunenoy/UnityViewPatterns/BMIApp
おさらい
UIの実装を View に落とし仕込み、アプリケーションロジック( UseCase )からは View を直接参照させるのではなく、Presenter という中間層を定義し、それを介してUIの操作(ボタンのイベント受信やテキストの変更など)を行っていました。
同様にデータの入出力(保存/読み来み)やログイン処理などでも UseCase からの利用を中間層を介してやることで、フレームワーク(詳細)にとらわれないアプリケーションロジックの実行が可能になります。これにより、クライアント側で一時的なデータ保存の実装を用意してやれば
「データを保存するバックエンドが用意できていないからクライアント側の実装が進められない」
という状況にも対応できますし、テスト用のログイン実装を用意すれば
「ログイン画面のテストが通信状況の良し悪しで結果が変わってしまう」
いった問題に対応できます。
DI
※DI(dependency injection): 依存性の注入
肝になる考え方は、CleanArchitectureによってアプリケーションロジックである UseCase が詳細(UIやデータ保存や認証の方法)とは無関係でいられるので、製品コードとテストコードとの実行でそれら(詳細の実装)を切り替えてもアプリケーションロジックは問題ないということです。
本来のクラスの実装では内部変数やイベントが隠蔽されているので操作できない(良いことです!!)ところを、テスト用のクラスではそれらを外側(テスト実行のコード)から自由に操作できるようにし、操作した結果が画面やデータに反映されているかをテストすればOKという訳です。
または、実装が特定のフレームワークに依存してしまっているので、依存せずテストに都合のいいクラスをテスト用に用意するなどの選択肢があります(こっちが本来の恩恵かも)。
このために、実際とテストとの実行で UseCase にinterfaceで渡される中間層のクラスをDIで切り替える必要があります。
Zenject
Zenject(または Extenject)はDIのフレームワークですがテストによる実行もカバーしており、自動テストのための解説も載ってます。 自分でGoogle翻訳したやつ
その中に SceneTestFixtureというものがあります。本来はシーンのロードがエラー(例外)なく行えるかをテストするもののようですが、こいつでPlayModeテスト用のDIを行ってシーンを実行できないかを試してみました。
(結果的に実現できましたが、前提として準備しておくことが多く、既存のプロジェクトに後の載せで行うにはかなり厳しいと思います汗)
Main と Installer
実装の前提ですが、UseCase に渡す Presenter などは Installer で準備します。そして、準備された Presenter などの中間層の要素を Main で受けとって UseCase を作成/実行します。
using System.Collections;
using System.Collections.Generic;
using UnityEngine;
using Zenject;
using BMIApp.CleanArchitecture;

namespace BMIApp.BMI {
    public class BMISceneMain : MonoBehaviour, ISceneMain {
        IUseCase bmiUseCase;
        IUseCase historyUseCase;
        IUseCase logoutUseCase;

        // Injectメソッドで準備された中間要素を受けっとってUseCaseを生成
        [Inject]
        void ConstructUseCases(IHistoryListPresenter historyListPresenter,
                               IBMIHistoryRepository historyRepository,
                               IBMIPresenter bmiPresenter,
                               IUserAccountRepository userAccountRepository,
                               IAccountPresenter accountPresenter) {
            historyUseCase = new HistoryUseCase(
                historyListPresenter,
                historyRepository,
                this);
            bmiUseCase = new BMIUseCase<BMIDataTransferObject>(
                bmiPresenter,
                historyUseCase as IPushHistoryDelegate,
                this);
            logoutUseCase = new LogoutUseCase(
                userAccountRepository,
                accountPresenter,
                this);
        }

        void Awake() {
            // run UseCase
            bmiUseCase.Begin();
            historyUseCase.Begin();
            logoutUseCase.Begin();
        }
    }
}
Installer はZenjectの MonoInstaller を継承したものであり、実際にアプリケーション実行のためのDIを行うものになります。こいつは中間層も詳細も両方知っておいてよい存在になります。[SerializeField] などでUnityの要素を受け取るのもこいつに集約させると良いでしょう。
using UnityEngine;
using BMIApp.CleanArchitecture;

namespace BMIApp.BMI {
    // MainInstallerBaseは後で説明します
    public class BMISceneInstaller : MainInstallerBase {
        // inspectorからアタッチする
        [SerializeField] SharedScriptableObject sharedData = default;
        [SerializeField] BMIView bmiView = default;
        [SerializeField] HistoryView historyView = default;
        [SerializeField] HistoryElmView historyElmView = default;
        [SerializeField] AccountView accountView = default;

        // シーンの最初に呼ばれる。DIを行う。
        public override void InstallBindings() {
            base.InstallBindings();
            var dataStore = new PlayerPrefsHistoryDataStore(sharedData.CurrentUserId)
                as IHistoryDataStore;
            Container
                .Bind<IHistoryListPresenter>()
                .FromInstance(new HistoryListPresenter(historyView, historyElmView))
                .AsCached()
                .IfNotBound();
            Container
                .Bind<IBMIHistoryRepository>()
                .FromInstance(new BMIHistoryRepository(dataStore))
                .AsCached()
                .IfNotBound();
            Container
                .Bind<IBMIPresenter>()
                .FromInstance(new BMIPresenter(bmiView))
                .AsCached()
                .IfNotBound();
            Container
                .Bind<IUserAccountRepository>()
                .FromInstance(new UserAccountRepository(sharedData))
                .AsCached()
                .IfNotBound();
            Container
                .Bind<IAccountPresenter>()
                .FromInstance(new AccountPresenter(accountView))
                .AsCached()
                .IfNotBound();
        }
    }
}
Installer でDIされた実装が Main に渡り UseCase の材料になって実行されるわけです。
テストでの実装
InstallerでDIされた実装がMainに渡りUseCaseの材料になって実行されるわけです。
つまり、テストではテスト用のDIを事前に行った状態でPlayModeテストでシーンを読み込めばテストのためのシーン実行が出来る訳です。
using System.Collections;
using System.Collections.Generic;
using NUnit.Framework;
using UnityEngine;
using UnityEngine.TestTools;
using UnityEditor;
using Zenject;
using BMIApp.CleanArchitecture;
using BMIApp.BMI;

namespace BMIApp.Tests.PlayMode {
    public class BMISceneTest : SceneTestFixture {
        const string sceneName = "BMI";

        BMITestPresenter bmiPresenter = new BMITestPresenter();
        HistoryListTestPresenter historyPresenter = new HistoryListTestPresenter();
        AccountTestPresenter accountPresenter = new AccountTestPresenter();
        UserAccountTestRepository accountRepository = new UserAccountTestRepository();
        BMIHistoryTestRepository historyRepository = new BMIHistoryTestRepository();

        SharedScriptableObject sharedData = default;
        TemporaryHistoryDataStore historyData = default;

        BMIView bmiView = default;
        HistoryView historyView = default;
        HistoryElmView historyElmView = default;
        AccountView accountView = default;

        void CommonInstallBindings() {
            StaticContext.Container
                .Bind<ITest>().To<Test>()
                .AsTransient();
            StaticContext.Container
                .Bind<IBMIPresenter>().FromInstance(bmiPresenter)
                .AsTransient();
            StaticContext.Container
                .Bind<IHistoryListPresenter>().FromInstance(historyPresenter)
                .AsTransient();
            StaticContext.Container
                .Bind<IAccountPresenter>().FromInstance(accountPresenter)
                .AsTransient();
            StaticContext.Container
                .Bind<IUserAccountRepository>().FromInstance(accountRepository)
                .AsTransient();
            StaticContext.Container
                .Bind<IBMIHistoryRepository>().FromInstance(historyRepository)
                .AsTransient();
        }

        void FindGameObjects() {
            // find
            var canvas = GameObject.Find("Canvas").transform;
            bmiView = canvas.Find("BMIView").GetComponent<BMIView>();
            historyView = canvas.Find("HistoryView").GetComponent<HistoryView>();
            accountView = canvas.Find("AccountView").GetComponent<AccountView>();
            // prefab
            var prefab = AssetDatabase.
                LoadAssetAtPath<GameObject>("Assets/BMIApp/Prefabs/HistoryElm.prefab");
            var historyElm = prefab.GetComponent<HistoryElmView>();
            // data
            sharedData = ScriptableObject.CreateInstance<SharedScriptableObject>();
            historyData = new TemporaryHistoryDataStore();
            // set
            bmiPresenter.InnerPresenter = new BMIPresenter(bmiView);
            historyPresenter.InnerPresenter =
                new HistoryListPresenter(historyView, historyElm);
            accountPresenter.InnerPresenter = new AccountPresenter(accountView);
            accountRepository.InnerRepository = new UserAccountRepository(sharedData);
            historyRepository.InnerRepository = new BMIHistoryRepository(historyData);
        }

        void BeginMain() {
            GameObject.Find("SceneContext")
                .GetComponent<IMainInstaller>().SceneMainObject.SetActive(true);
        }

        [UnityTest]
        public IEnumerator BMI計算_保存_削除までの一連の操作() {

            CommonInstallBindings();
            yield return LoadScene(sceneName);
            FindGameObjects();
            BeginMain();

            // 最初は未入力
            Assert.IsEmpty(bmiView.NameInput.text);
            Assert.IsEmpty(bmiView.HeightInput.text);
            Assert.IsEmpty(bmiView.WeightInput.text);
            Assert.IsEmpty(bmiView.AgeInput.text);
            Assert.IsFalse(bmiView.GenderMaleToggle.isOn);
            Assert.IsFalse(bmiView.GenderFemaleToggle.isOn);
            Assert.That(bmiView.BMIText.text, Is.EqualTo("99(やせすぎ)"));
            Assert.IsFalse(bmiView.SaveButton.interactable);
            Assert.That(historyView.Content.childCount, Is.Zero);

            // 名前/身長/体重を入力すると[保存]が押せるようになる
            bmiView.NameInput.onEndEdit.Invoke("test_name");
            Assert.IsFalse(bmiView.SaveButton.interactable);
            bmiView.HeightInput.onEndEdit.Invoke("123");
            Assert.IsFalse(bmiView.SaveButton.interactable);
            bmiView.WeightInput.onEndEdit.Invoke("56");
            Assert.IsTrue(bmiView.SaveButton.interactable);

            // 計算されたBMIと評価が表示される
            Assert.That(bmiView.BMIText.text, Is.EqualTo("37.0(肥満)"));

            // [保存]を押すとリストに追加される
            bmiView.SaveButton.onClick.Invoke();
            yield return null;
            Assert.That(historyView.Content.childCount, Is.EqualTo(1));

            // 内容が 日時-名前-BMI
            var elm = historyView.Content.GetChild(0)?.GetComponent<HistoryElmView>();
            Assert.IsFalse(elm == null);
            Assert.That(elm.DateText.text,
                Is.EqualTo(System.DateTime.Now.ToString("M/d")));
            Assert.That(elm.NameText.text, Is.EqualTo("test_name"));
            Assert.That(elm.BMIText.text, Is.EqualTo("37.0"));

            // 後から追加された方が上にくる
            bmiView.HeightInput.onEndEdit.Invoke("100");
            bmiView.WeightInput.onEndEdit.Invoke("1");
            bmiView.SaveButton.onClick.Invoke();
            yield return null;
            elm = historyView.Content.GetChild(0)?.GetComponent<HistoryElmView>();
            Assert.IsFalse(elm == null);
            Assert.That(elm.BMIText.text, Is.EqualTo("1.0"));

            // リポジトリにも追加されている
            Assert.That(historyData.Datas.Count, Is.EqualTo(2));

            // [クリア]でデータが消える
            historyView.ClearButton.onClick.Invoke();
            yield return null;
            Assert.That(historyView.Content.childCount, Is.Zero);
            Assert.That(historyData.Datas.Count, Is.Zero);

            yield return null;
        }
    }
}
さらっと(?)書いていますが、テスト実行のために解決すべきポイントがいくつかあったので解説します。
問題1
シーンがロードとされる前にDIするので SceneContext がまだ存在しないためBindできなかった
対応
StaticContext に設定できます。
しかし、StaticContext のBindよりも Installer で SceneContext に改めてBindされるものの方が優先されてしまうので、Installer でのBind全てに .IfNotBound() を設定します。
問題2
シーンがロードとされる前にDIしたい訳ですが、Presenter のコンストラクタには IView が必要であり View は シーン上のGameObject なのでシーンがロードするまで取得できない(テスト用に事前にDIするPresenter が生成できなかった)
対応
IPresenter を実装した TestPresenter を定義しました。
using System;
using System.Collections;
using System.Collections.Generic;
using UnityEngine;
using UniRx;
using BMIApp.BMI;

namespace BMIApp.Tests.PlayMode {
    public class BMITestPresenter : IBMIPresenter {
        public BMIPresenter InnerPresenter { set; get; }
        public IReadOnlyReactiveProperty<string> NameInput => InnerPresenter.NameInput;
        public IReadOnlyReactiveProperty<string> HeightInput => InnerPresenter.HeightInput;
        public IReadOnlyReactiveProperty<string> WeightInput => InnerPresenter.WeightInput;
        public IReadOnlyReactiveProperty<string> AgeInput => InnerPresenter.AgeInput;
        public IReadOnlyReactiveProperty<bool> GenderMaleSelect => InnerPresenter.GenderMaleSelect;
        public IReadOnlyReactiveProperty<bool> GenderFemaleSelect => InnerPresenter.GenderFemaleSelect;
        public IObservable<Unit> SaveButtonClickObservable => InnerPresenter.SaveButtonClickObservable;
        public void Begin() => InnerPresenter.Begin();
        public void SetBMIResult(string result) => InnerPresenter.SetBMIResult(result);
        public void SetSaveButtonEnable(bool enable) => InnerPresenter.SetSaveButtonEnable(enable);
    }
}
こいつはコンストラクタに IView を持たず、シーンがロードされてから BMIView を GameObject.Find() などで見つけてきて改めて BMIPresenter を生成し、.InnerPresetner に後で設定することが出来ます。動作は本来の BMIPresenter と同じ振る舞いをします。
問題3
IUseCase.Begin() が Main.Awake() に書かれているので、シーンロード直後に問答無用で実行されるため上のように .InnerPresenter を設定する暇がなかった(設定しても実行された後なので無意味だった)
対応
Main.Awake() のを任意のタイミングで実行するためにトリックを仕込みます。
まず、Installer全てを MainInstallerBase が親になるように継承させ、その中でテスト実行かを判別し Main の GameObject を非活性にするようにします。
using UnityEngine;
using Zenject;

namespace BMIApp.CleanArchitecture {
    public abstract class MainInstallerBase : MonoInstaller, IMainInstaller {
        [SerializeField] GameObject main = default;
        public GameObject SceneMainObject => main;

        public override void InstallBindings() {
            // Bindの内容でテストによる実行かを判断し、
            // テストの場合はmainをここで非活性化し、
            // テストから任意のタイミングでAwakeを呼べるようにする
            if (Container.HasBinding<ITest>()) {
                main.SetActive(false);
            }
        }
    }
}
非活性( gameObject.activeSelf==false )な GameObject は Awake() が実行されず、活性化したタイミングで Awake() が実行されるという Unity の仕様があります。Zenjectも内部的にこの仕組みを利用しているらしいです。1
そして、テストコードで Main を活性化すれば任意のタイミングで IUseCase.Begin() を呼ぶことが出来ます。BeginMain() がそれです。
あとは View であるuGUIをコードから任意に操作したり、シーンをロードする前に DataStore に任意の設定しておくなどして想定通りの挙動になっているかを Assert でチェックしていって下さい。
まとめ
テストコードでの流れは
- テスト用のDIを
StaticContext.Containerに行う - 目的のシーンを読み込む
- シーンからテストに必要な要素(
Viewなど)を取り出して準備をする - 前述のトリックを解除し、
UseCaseを実行する - 挙動が想定通りかどうかをテスト
になります。
テストの実現方法の説明にスペースを割きましたが、ここまで準備すれば外部に依存しているクラスを別のテスト用のクラスに入れ替えて、にUnity内の実装だけをテストすることが出来ます。
「折角 UseCase が inerface に依存するようになったんやし、シーンテストするときに詳細の実装を入れ替えられたらええんちゃうんちゃうん?」
みたいなノリでやり始めたのですが、結構つまづきポイントが多く、結局はテスト都合の実装を製品コードに埋め込む必要があるという結果になってしまいました。
それでもテストがあればデグレへの不安が大幅に減りますし、バグが見つかってもUnity側(クライアント側)で完結したテストが通っていれば原因切り分けの助けになるでしょう。
補足1
TestPresenter は通常の Presenter はコンストラクタで IView を受け取る仕様になっていて、しかも readonly で書き換え不可能なのために仕方なく生まれたもので、
外部に依存しているクラスを別のテスト用のクラスに入れ替えて、にUnity内の実装だけをテスト
という文脈とは本来的には無関係です。
補足2
Play Modeで[Run All]するとZenjectのテストでコケる場合があります。
TestScene (0.056s)
---
Zenject.ZenjectException : Assert hit! Cannot load scene 'TestSceneContextEvents' for test 'TestSceneContextEvents'.  The scenes used by SceneTestFixture derived classes must be added to the build settings for the test to work
---
エラーメッセージに書いてあるように、Scenes In Buildに TestSceneContextEvents シーンを追加してやれば通ります。
(Zenject/OptionalExtras/IntegrationTests/SceneTests/TestSceneContextEvents/ にあります)

