その1 TWELITE DIP を ESP32につないでみる
先の実験「導電布タッチセンサーモジュール nüno ver.2 を無線で使ってみる」
https://qiita.com/nanbuwks/items/fc8811baebfff0a90b04
では、無線で転送されてきた nüno ver.2 の信号を USB シリアル経由で PCで受けました。
今回はPCではなく、ESP32で受けてみます。
環境
- ESP32モジュールとして、 WEMOS LOLIN32
- Arduino開発環境として、ポータブル化した arduino 1.8.13 + arduino-esp32 1.0.4
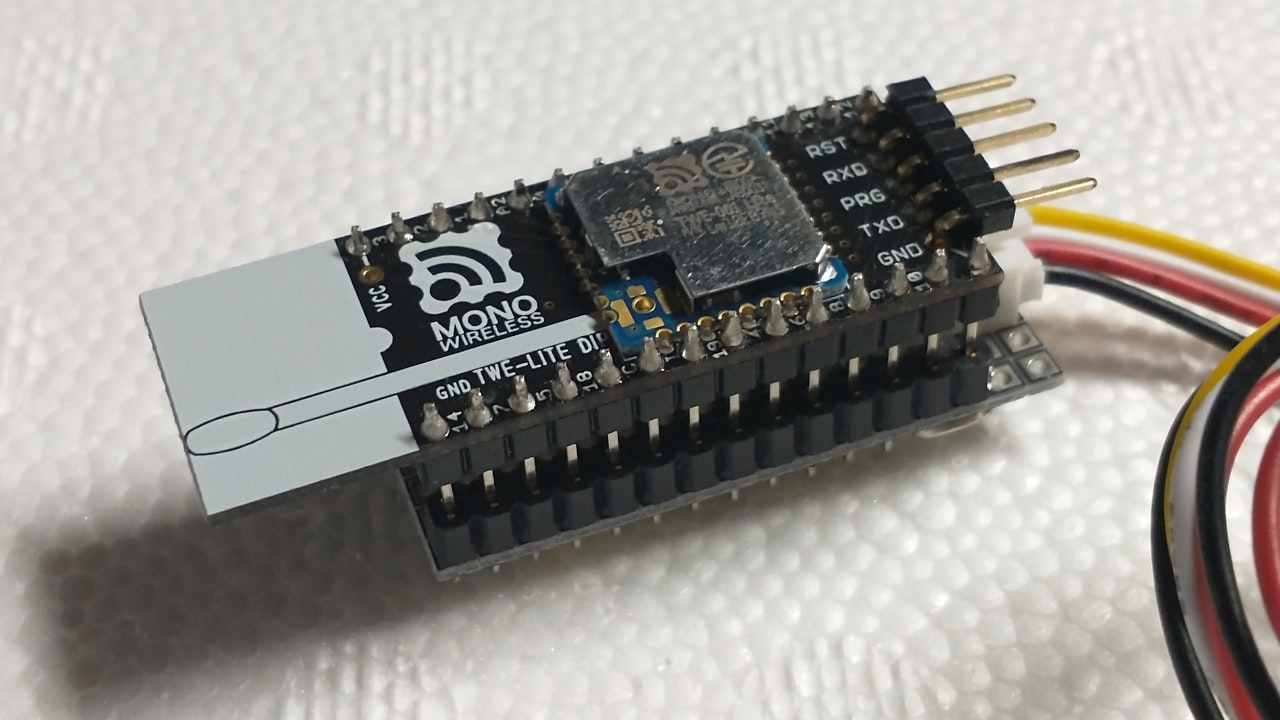
- nüno 信号受信モジュールとして、TWE-Lite-DIP-PCB
- インターフェース基板として、nüno gateway (実験2 で使用)
シリアル信号を、arduino-esp32 の UART で受けることにして処理、別の UART で処理したデータを出力します。
ESP32 では UART がハードウェア的に U0,U1,U2 の 3 つが使えます。
arduino-esp32では、U0 が Serial オブジェクトとしてプログラムやシリアルプロッタに使われています。
U2 は Serial2 オブジェクトとして使え、デフォルトでは以下のように割り当てられています。
- ESP32 の 17が Serial2 の TX
- ESP32 の 16が Serial2 の RX
実験1 TWE-Lite-DIP-PCBを直に接続
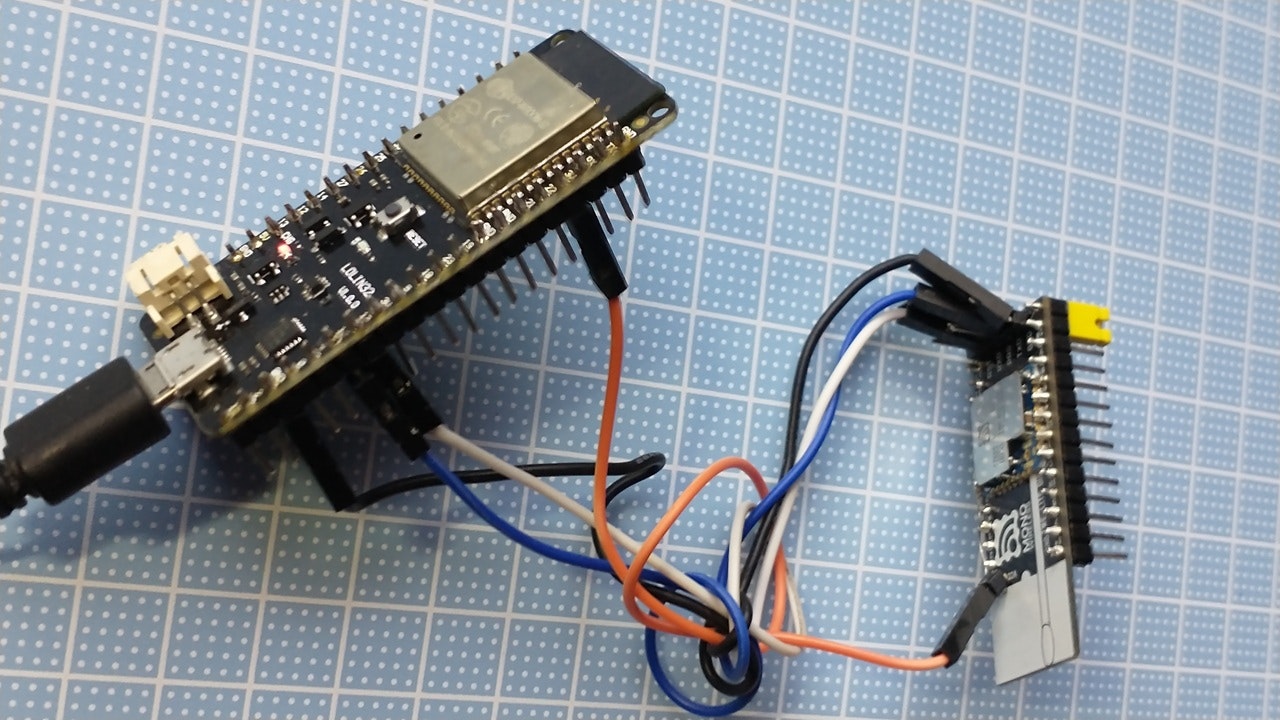
配線
受信側の TWELITE DIPは親機に設定するために、GPIO10番をGNDに落とします。(写真、黄色のジャンパー)
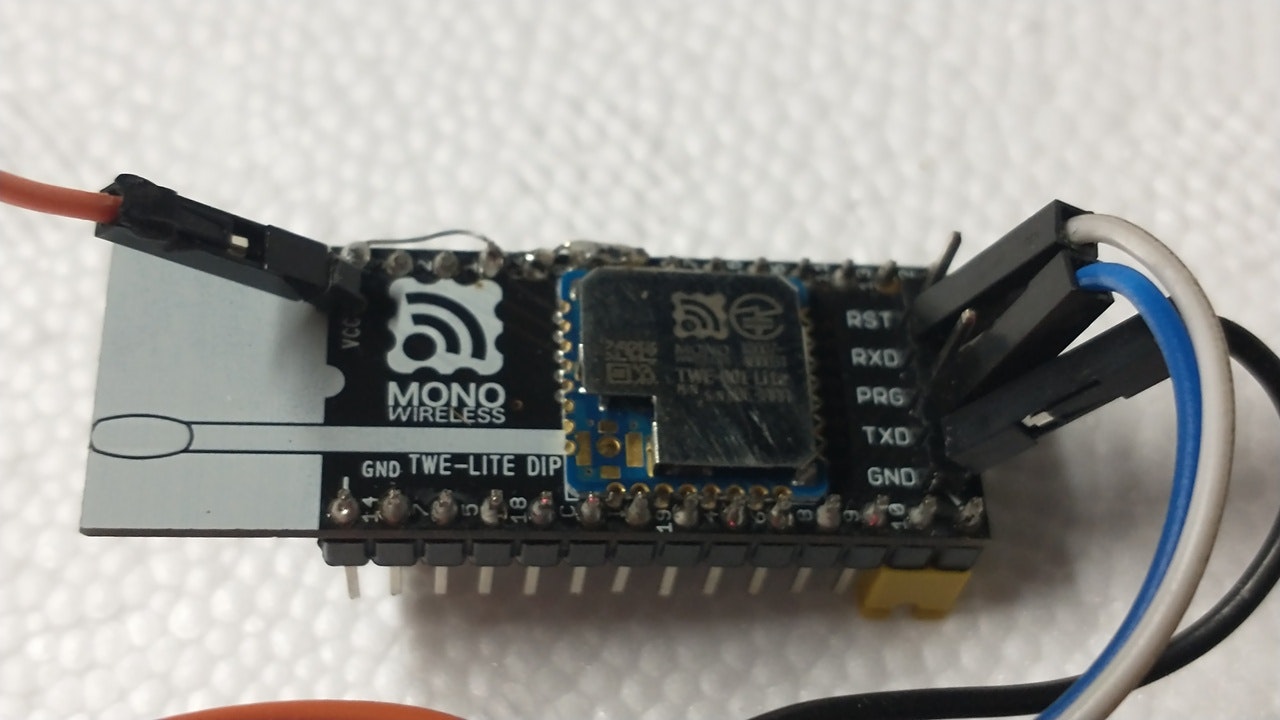
これを含め、以下のように配線します。
プログラム
char str[100];

// for timer
hw_timer_t *timer1 = NULL;
volatile SemaphoreHandle_t timerSemaphore;
portMUX_TYPE timerMux = portMUX_INITIALIZER_UNLOCKED;

// timer
void IRAM_ATTR onTimer1(){

  portENTER_CRITICAL_ISR(&timerMux);
  portEXIT_CRITICAL_ISR(&timerMux);
  xSemaphoreGiveFromISR(timerSemaphore, NULL);
}

void TimerWork()
{

  Serial2.println(":7888010425800AX");
 // Serial.println("timer!");
}


int hexchartohex(char c0, char c1){
  char buf[3];
  buf[0]=c0;
  buf[1]=c1;
  buf[2]=0;
  return (strtol(buf, NULL, 16));
}

void setup() {
 Serial.begin(115200);
 Serial2.begin(115200);
 delay(1000);
 Serial2.println(":7888010125050102X");

// for timer
 timerSemaphore = xSemaphoreCreateBinary();
 timer1 = timerBegin(0, 80, true);
 timerAttachInterrupt(timer1, &onTimer1, true);
 timerAlarmWrite(timer1, 1000000, true);
 timerAlarmEnable(timer1);
}

void loop() {
  static int i=0;
  while (1){
    // for timer
    if (xSemaphoreTake(timerSemaphore, 0) == pdTRUE){
      portENTER_CRITICAL(&timerMux);
      portEXIT_CRITICAL(&timerMux);
      TimerWork();
    }
    if (Serial2.available()) {
      int inByte = Serial2.read();
//    Serial.println(inByte);
//    Serial2.println(inByte);
      if (13 == inByte )
         continue;
      if (10 == inByte )
         break;
      str[i++] = inByte;
      if (100 == i )
         break;
    }
    delay(1);
  }
  str[i]=0;
  i=0;
  if ( ':' == str[0] && '7' == str[1] && '8' == str[2] && '8' == str[3] && '9' == str[4] )
  {    for ( int i=0; i<10; i++)
    {
        Serial.print(hexchartohex(str[i*2+13],str[i*2+14]));
        Serial.print(",");
    }
    Serial.println();
  }
}
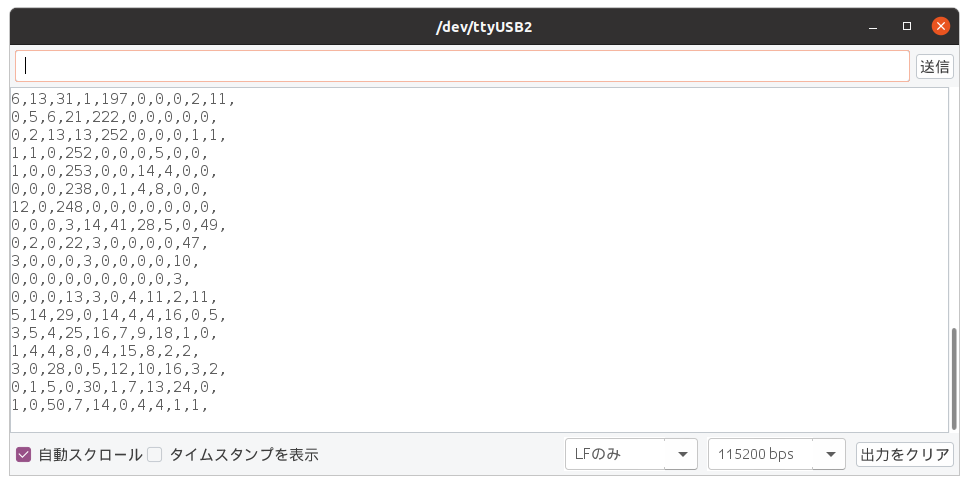
取得結果です。
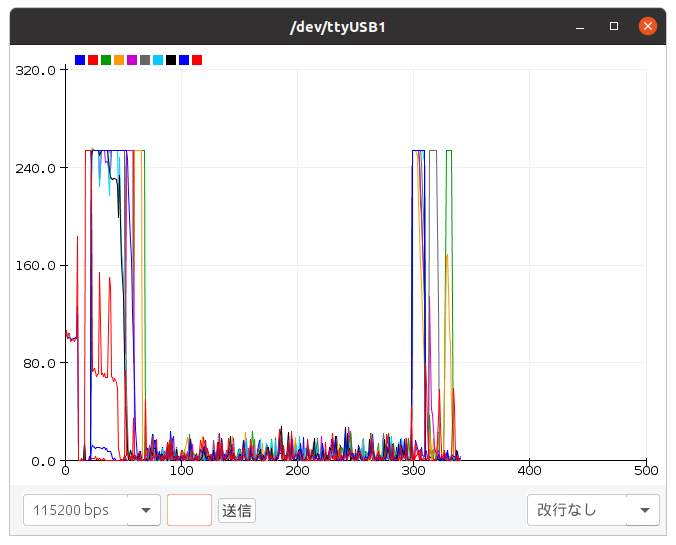
シリアルプロッタの出力です。
実験2 nüno gateway を使って ESP32 に接続
先の TWELITE DIP の配線はめんどくさいですね。
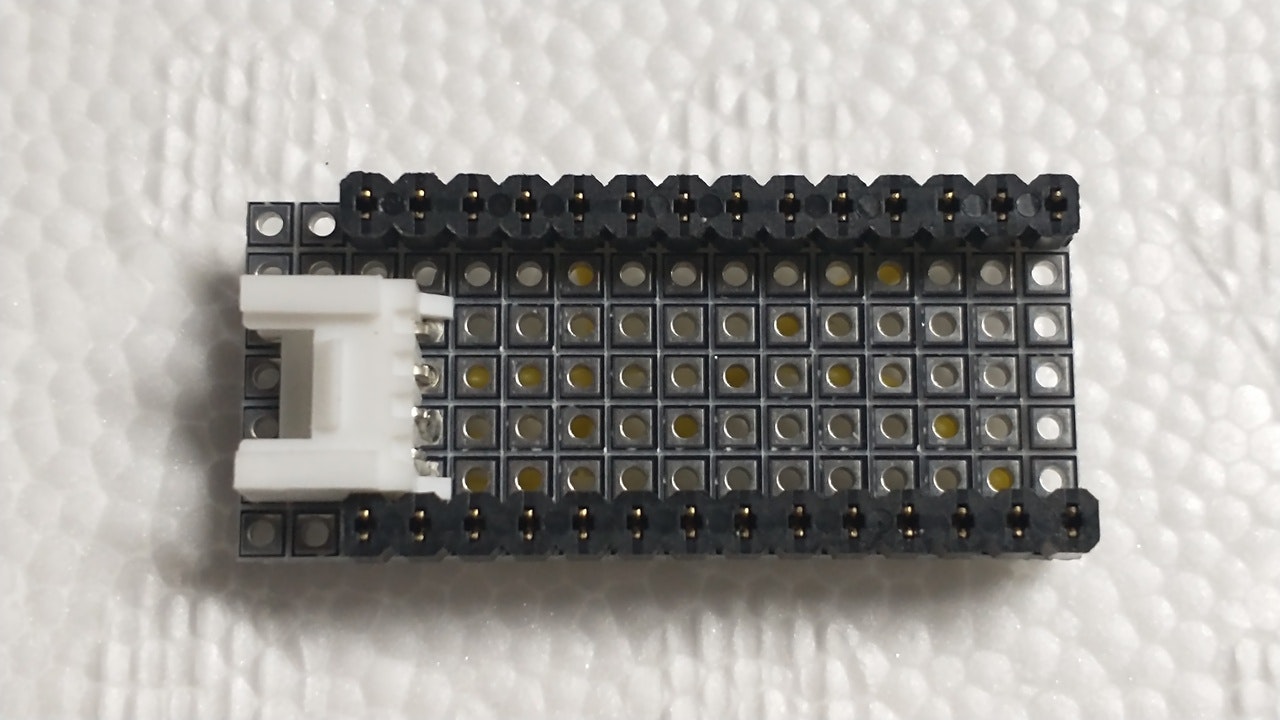
nüno gateway を使って、配線なくても簡単に接続できるようにしました。
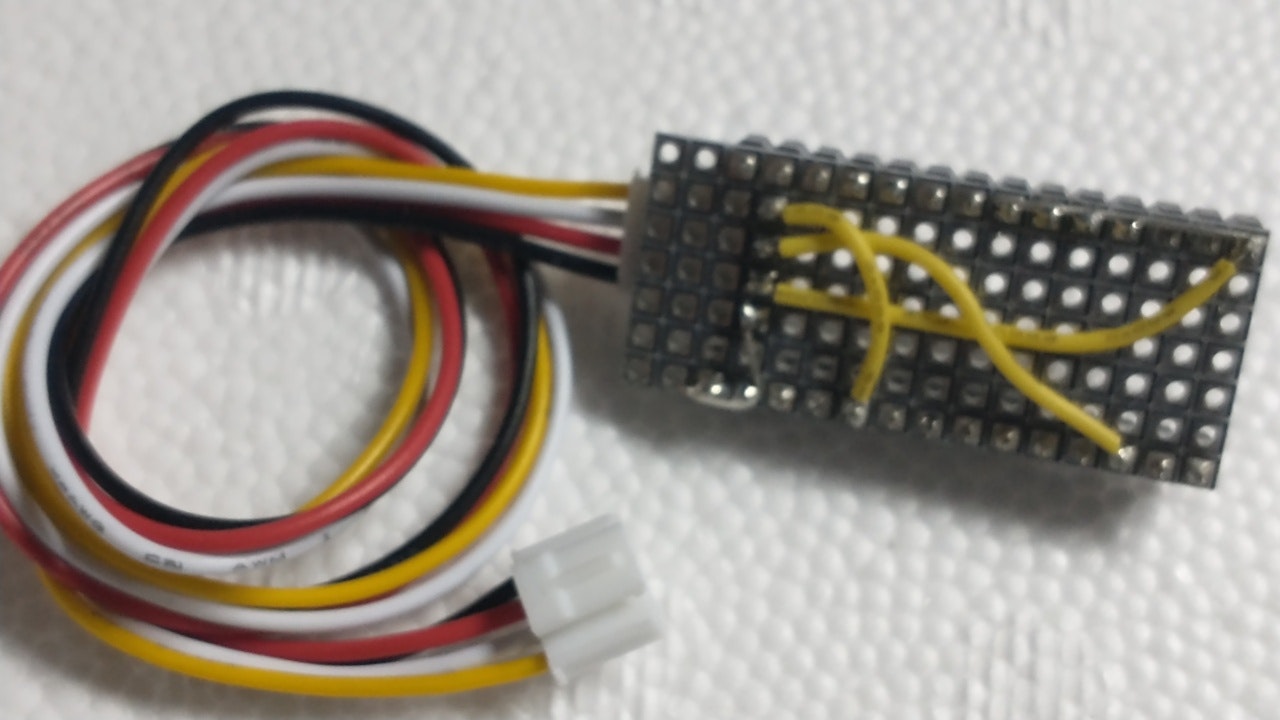
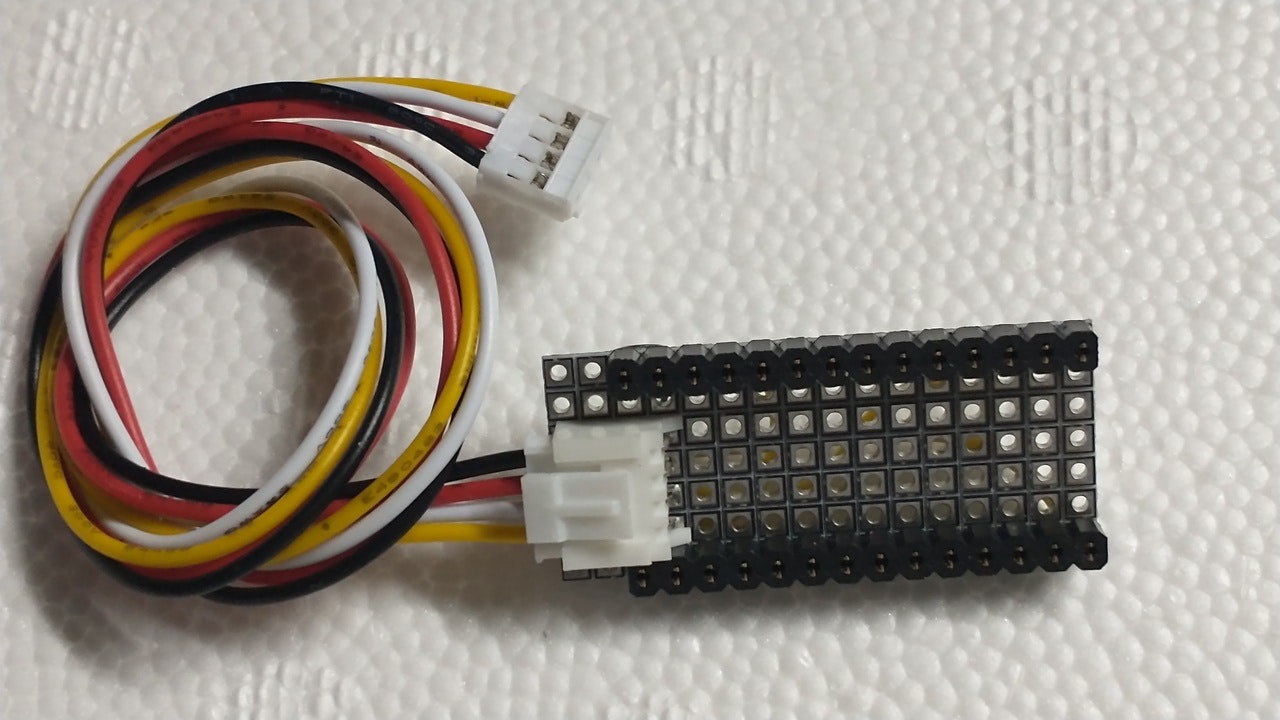
nüno gateway
必要な配線済みです。
Groveケーブルを使って外部に接続ができます。GROVE UART に接続してください。
https://wiki.seeedstudio.com/Grove_System/#grove-uart
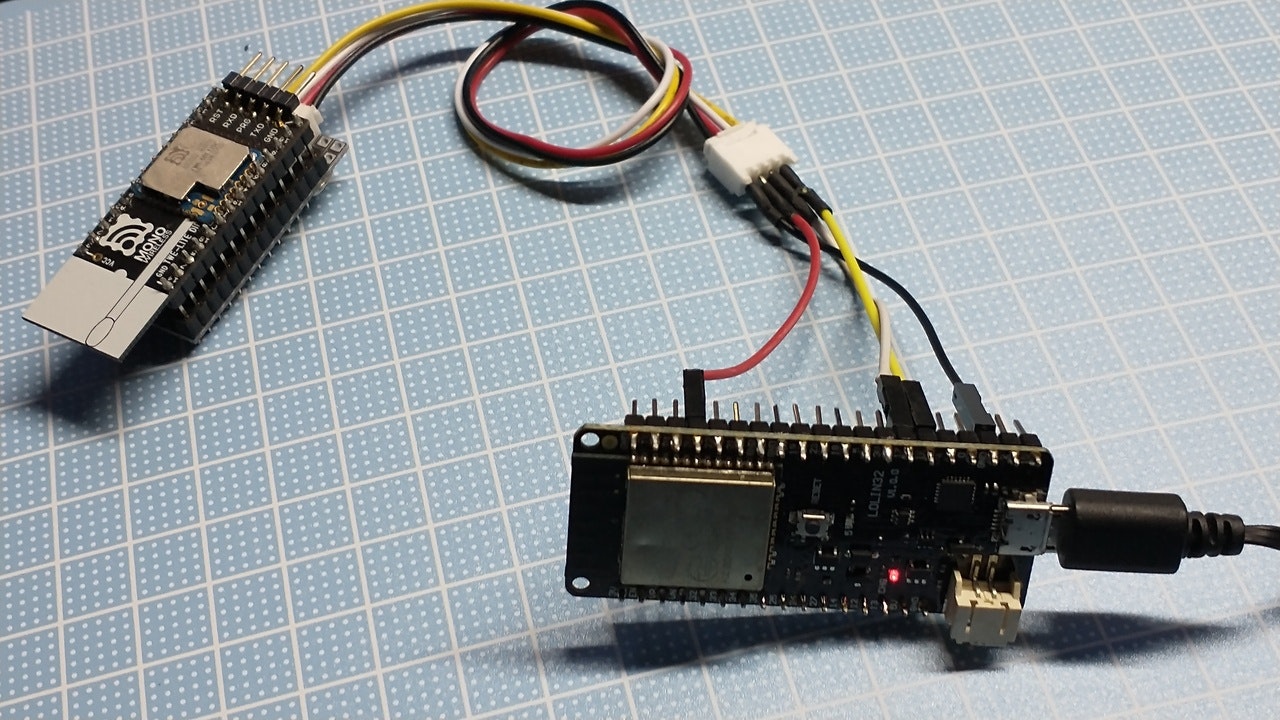
ESP32にこのように接続しました。
| pin | ESP32側信号 | 作例接続 | ケーブル色(SeeedStudio版) |
|---|---|---|---|
| pin1 | RX | ESP32 16(Serial2 RX)に接続 | 黄 |
| pin2 | TX | ESP32 17(Serial2 TX)に接続 | 白 |
| pin3 | 3.3V | 3.3V | 赤 |
| pin4 | GND | GND | 黒 |
ケーブル色はM5Stack用のケーブルなどでは黄色と白が逆なので注意!
これで、実験1と同じようにデータを取得できます。
