「Raspberry Pi で Flutter Web はまだだった」
https://qiita.com/nanbuwks/items/ecb21443d5465d9eece7
にて Flutter-web がうまくいかなかったので、ネイティブ実装を試してみる。
「ardera/flutter-pi: A light-weight Flutter Engine Embedder for Raspberry Pi that runs without X.」
https://github.com/ardera/flutter-pi
公式サポートではないが、 X を 使わずに UI を実現するもの。 Rasberry Pi 4 2GB でテストされているが、 ARMv7 が要件であり、メモリ512MBytes の Raspberry Pi 3 Model A+ でも正常に動作するらしい。
環境
- RaspberryPi 4 8GB
- Raspberry Pi OS (32-bit) Lite 2020-08-20
- ssh で操作 (ログイン済)
チェック作業は 2020/10/24 に行った。
インストール
「ardera/flutter-pi: A light-weight Flutter Engine Embedder for Raspberry Pi that runs without X.」
https://github.com/ardera/flutter-pi
の通りに進めます。
- Raspberry Pi の事前設定
- 母艦でのクロス開発と転送
- Raspberry Pi 上で flutter-pi をインストール
- 実行
の順番で解説されています。
Raspberry Pi の事前設定
コンソールモードに設定
X が動いている状態なら、それを解除してコンソールモードにしなければならない。しかし今回は Raspberry Pi OS の Lite 版なので元々コンソールモード。設定は特に必要がない。
V3Dドライバーの有効化
$ sudo raspi-config
として、
「Advanced Options」 - 「GL Driver」- 「GL (Fake-KMS)」
を選択します。
更に、
「Advanced Options」 - 「Memory Split」
で 16MB に設定します。
ドキュメントには omxplayer_video_player プラグインを使う場合は 64MB などのより大きな設定をする必要があるらしいです。
GPUアクセス権限の付与
$ usermod -a -G render pi
として、再起動します。
母艦でのクロス開発と転送
現在の flutter SDK では ARMv7は作れないそうです。
母艦でクロス開発をします。母艦は Ubuntu18.04を使いました。
「Flutter Web を試す」
https://qiita.com/nanbuwks/items/074b168ee1666254750c
で Flutter 設定済みの Ubuntu 18.04 を使いました
stable チャンネルを設定
$ flutter channel stable
$ flutter upgrade
サンプルプログラムの用意
flutter_gallery を使いますが、stable チャンネルで実行するには commit 9b11f12 以前である必要があるらしいです。
$ git clone https://github.com/flutter/gallery.git flutter_gallery
$ cd flutter_gallery/
$ git checkout 9b11f127fb46cb08e70b2a7cdfe8eaa8de977d5f
次に、
$ flutter build bundle
とすると、
Downloading package sky_engine...                                   0.5s
Downloading flutter_patched_sdk tools...                            4.0s
Downloading flutter_patched_sdk_product tools...                    4.3s
Downloading linux-x64 tools...                                     10.1s
Downloading linux-x64/font-subset tools...                          1.4s
Running "flutter pub get" in flutter_gallery...                    48.3s
━━━━━━━━━━━━━━━━━━━━━━━━━━━━━━━━━━━━━━━━━━━━━━━━━━━━━━━━━━━━━━━━━━━━━━━━━━━━━━
Warning
──────────────────────────────────────────────────────────────────────────────
Your Flutter application is created using an older version of the Android
embedding. It's being deprecated in favor of Android embedding v2. Follow the
steps at

https://flutter.dev/go/android-project-migration

to migrate your project.
━━━━━━━━━━━━━━━━━━━━━━━━━━━━━━━━━━━━━━━━━━━━━━━━━━━━━━━━━━━━━━━━━━━━━━━━━━━━━━

Font subetting is not supported in debug mode. The --tree-shake-icons flag will be ignored.
とビルドされるので RaspberryPi に転送します。今回使用するRaspberryPi は 192.168.42.31 なので以下のようにして転送します。
$ rsync -a --info=progress2 ./build/flutter_assets/ pi@192.168.42.31:/home/pi/flutter_gallery_assets
kernel snapshot を ビルド
 $ dart \
  /usr/local/flutter/bin/cache/dart-sdk/bin/snapshots/frontend_server.dart.snapshot \
 --sdk-root /usr/local/flutter/bin/cache/artifacts/engine/common/flutter_patched_sdk_product \
 --target=flutter \
 --aot \
 --tfa \
 -Ddart.vm.product=true \
 --packages .packages \
 --output-dill build/kernel_snapshot.dill \
 --verbose \
 --depfile build/kernel_snapshot.d \
 package:gallery/main.dart
app.so をビルド
リリース/プロファイルモードでアプリを実行するために必要だそうです。
This uses the gen_snapshot_linux_x64 executable I provide in the engine-binaries branch. It needs to be executed under linux. If you're on Windows, you need to use WSL.
とありますが、今回は Ubuntu を母艦にしているのでそのまま作業します。
$ git clone --branch engine-binaries https://github.com/ardera/flutter-pi ~/engine-binaries
とすると ~/engine-binaries に展開されるのでそれを使って
$ ~/engine-binaries/gen_snapshot_linux_x64 \
   --causal_async_stacks \
   --deterministic \
   --snapshot_kind=app-aot-elf \
   --elf=build/app.so \
   --strip \
   --sim_use_hardfp \
   --no-use-integer-division \
   build/kernel_snapshot.dill
とすると10分ほどかかって build/app.so ができます。
これを RaspberryPi にコピーします。
$ scp ./build/app.so pi@192.168.42.31:/home/pi/flutter_gallery_assets/app.so
Raspberry Pi 上で flutter-pi をインストール
Raspberry Pi 上で以下のように進めます。
libflutter_engine.so と flutter_embedder.h
https://github.com/ardera/flutter-pi/tree/engine-binaries
からコンパイル済みモジュールを使います。
$ git clone --depth 1 --branch engine-binaries https://github.com/ardera/flutter-pi.git engine-binaries
$ cd engine-binaries
$ sudo cp ./libflutter_engine.so.* ./icudtl.dat /usr/lib
$ sudo cp ./flutter_embedder.h /usr/include
グラフィックライブラリ
$ sudo apt install libgl1-mesa-dev libgles2-mesa-dev libegl-mesa0 libdrm-dev libgbm-dev
フォント
sudo apt install ttf-mscorefonts-installer fontconfig
sudo fc-cache
libgpiod libsystemd, libinput, libudev
libgpiod は GPIO プラグインのために使うらしいです。
$ sudo apt-get install gpiod libgpiod-dev libsystemd-dev libinput-dev libudev-dev libxkbcommon-dev
flutter-pi のビルド
$ git clone https://github.com/ardera/flutter-pi.git
$ cd flutter-pi
$ make
とすると out ディレクトリに flutter-pi が生成されます。
これをパスを通しておきます。
~/.bashrc の最後に
export PATH=$PATH:/home/pi/flutter-pi/out
を追加して
$ source ~/.bashrc
で反映します
実行
$ flutter-pi --release flutter_gallery_assets
としてアセットのディレクトリを指定すると実行されました。
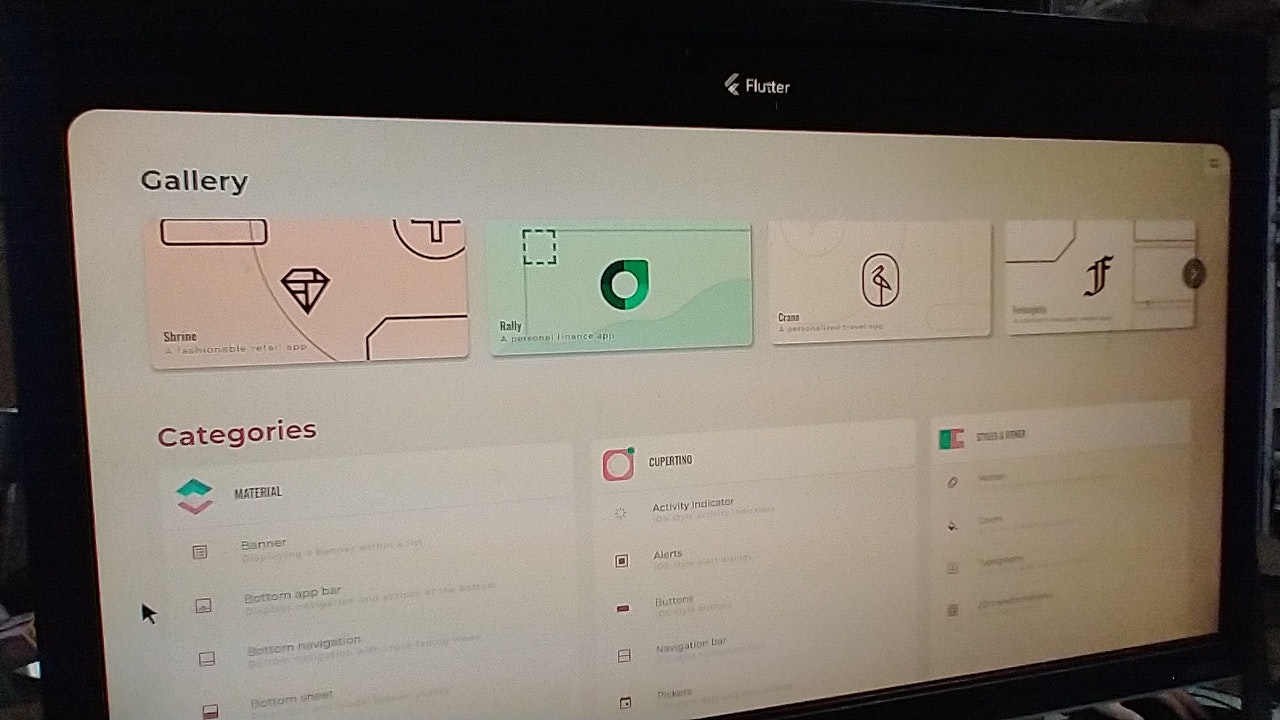
一通り動いているみたいです。
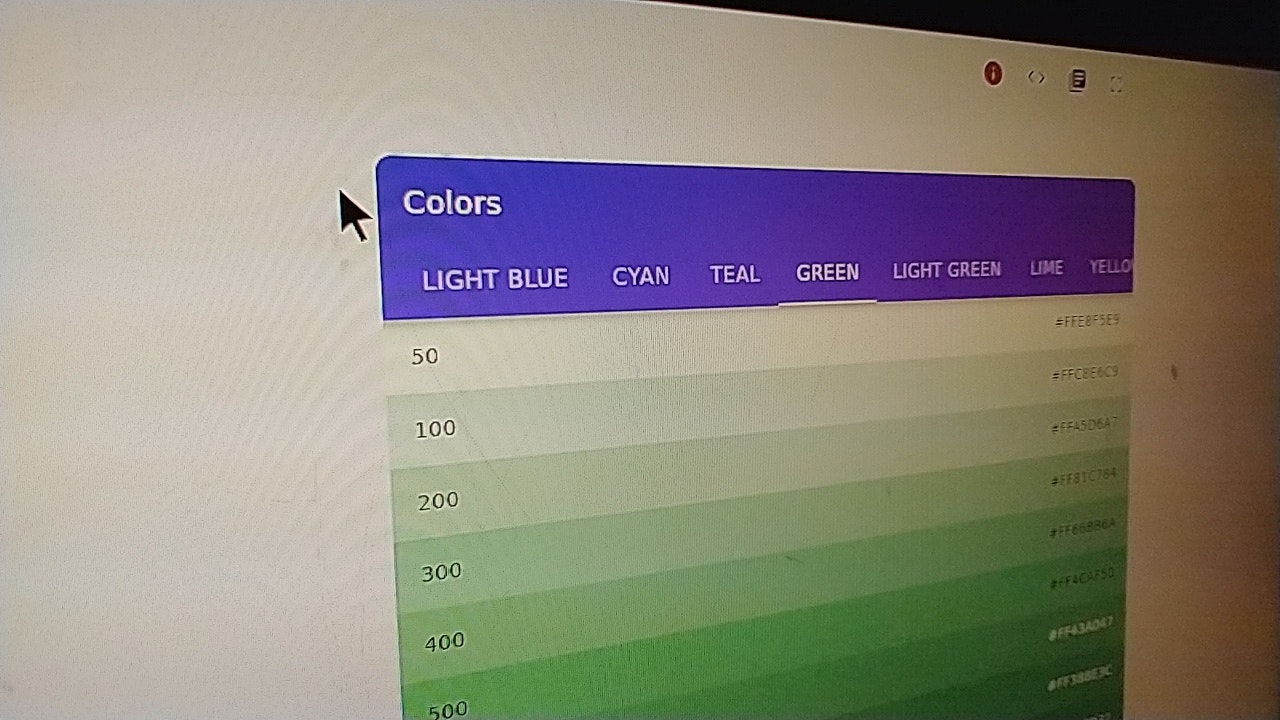
タッチパネルですけれどもマウスでも動きます。