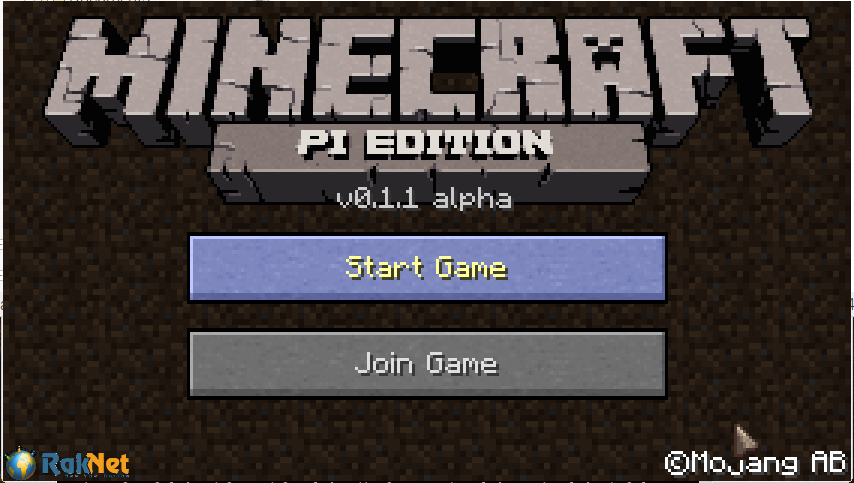
Raspberry Pi には Minecraft が入っていて使用できますが、PI EDITION と呼ばれる機能限定版です。
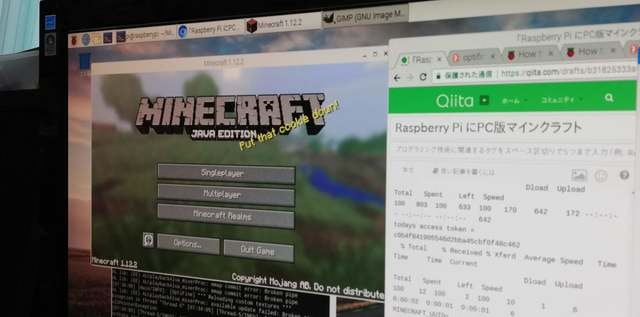
ここでは PC 版(JAVA EDITION)を購入したとして、それを Raspberry Pi にインストールする方法を説明します。ちなみに、PC 版(JAVA EDITION) と「Minecraft for Windows10」とは別物なので注意。
Raspberry Pi の公式フォーラム
現在Java版の最新版は 1.13.2 ですが、
「Minecraft 1.13 on Raspberry Pi 3]」
https://www.raspberrypi.org/forums/viewtopic.php?p=1344063
によると 1.13 を RaspberryPi で動かすのは悲観的なようです。
だけれども、こちら
「How to setup Minecraft 1.12.1 on Raspberry Pi 3」
https://www.raspberrypi.org/forums/viewtopic.php?f=78&t=186547
によると、1.12.1 ないし 1.12.2 なら動作させることができるようです。
ここの記述を元に、1.12.2 を動かしてみました。
準備
※あらかじめ、PC 版(JAVA EDITION)を購入しておく。
※Raspberry PiとRaspbianを用意しておく。今回はRaspberryPi 3B と Raspbian Stretch with desktop and recommended software 20181113版 を使いました。
$ sudo apt-get update
$ sudo apt-get -y upgrade
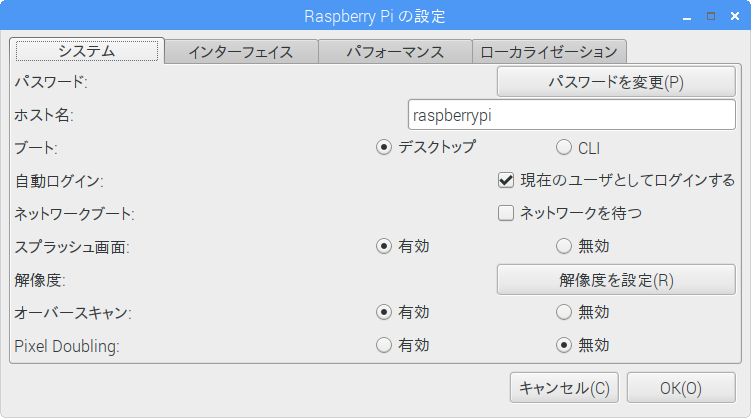
画面左上のメニューを開き、「設定」-「Raspberry Pi の設定」で「スプラッシュ画面」を「無効」にする
再起動して、
$ sudo raspi-config
「7 Advanced Options」 を選んで 「G1 GL (Full KMS) OpenGL desktop driver with full KMS 」
を選んで<了解>
$ sudo apt-get -y install libalut0 libalut-dev
$ sudo apt-get -y install mesa-utils
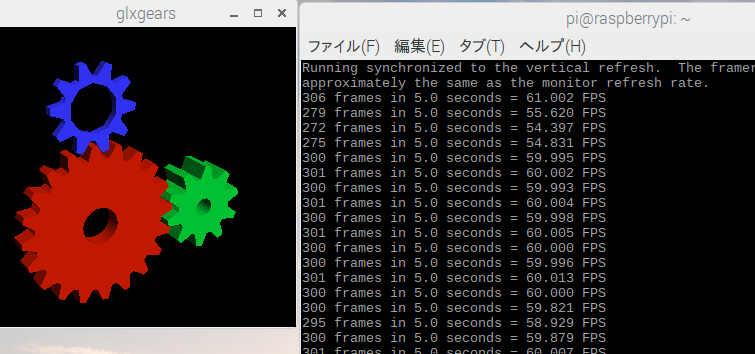
$ glxgears
Minecraftインストーラ
$ mkdir ~/Minecraft
$ mkdir ~/Minecraft/Natives
$ cd ~/Minecraft
(ここまでは説明を省略していましtが、ここからプロンプトをディレクトリ表示にして説明します。)
pi@raspberrypi:~/Minecraft $ wget https://s3.amazonaws.com/Minecraft.Download/launcher/Minecraft.jar
--2018-12-21 05:43:40--  https://s3.amazonaws.com/Minecraft.Download/launcher/Minecraft.jar
s3.amazonaws.com (s3.amazonaws.com) をDNSに問いあわせています... 52.216.32.139
s3.amazonaws.com (s3.amazonaws.com)|52.216.32.139|:443 に接続しています... 接続しました。
HTTP による接続要求を送信しました、応答を待っています... 200 OK
長さ: 280212 (274K) [application/java-archive]
`Minecraft.jar' に保存中

Minecraft.jar       100%[===================>] 273.64K   332KB/s    in 0.8s

2018-12-21 05:43:42 (332 KB/s) - `Minecraft.jar' へ保存完了 [280212/280212]
起動する
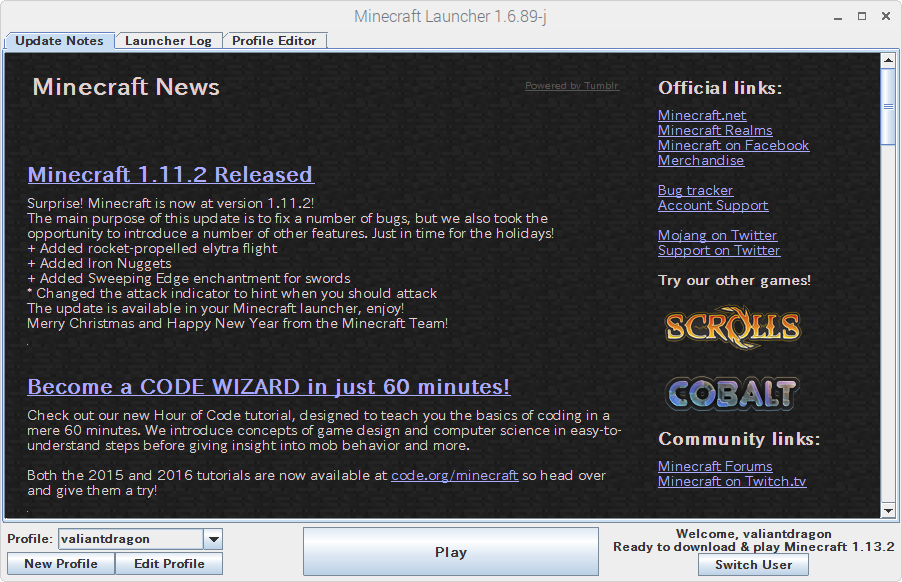
pi@raspberrypi:~/Minecraft $ java -jar Minecraft.jar
ユーザ名を入れて、
この画面で、そのまま「 Play 」を押すと最新版をロードしようとするので「 Edit Profile 」を押して、「 Use version: 」で「 release 1.12.2 」にします。「 Save Profile 」してから、「 Play 」を押しました
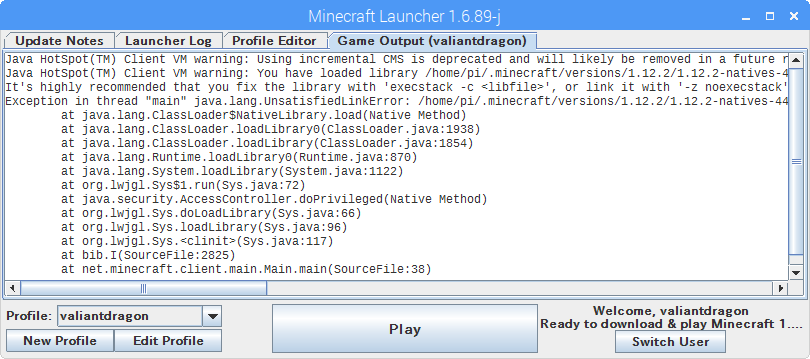
クラッシュしてしまいます。あれれーっと最初は悩みましたが、クラッシュするのが正しいそうです。何と!
pi@raspberrypi:~/Minecraft $ cd Natives
(2019/01/18追記:追試したところ、この cd Nativesが無いと動きませんでした。最初の記事では書き忘れたのか無くても動いていたか不明、スミマセン!)
pi@raspberrypi:~/Minecraft/Natives $ wget https://www.dropbox.com/s/4oxcvz3ky7a3x6f/liblwjgl.so
pi@raspberrypi:~/Minecraft/Natives $ wget https://www.dropbox.com/s/m0r8e01jg2og36z/libopenal.so
pi@raspberrypi:~/Minecraft/Natives $ cd ~/.minecraft/libraries/org/lwjgl/lwjgl/lwjgl/2.9.4-nightly-20150209/
(ちょっと長くなるのでプロンプト表示省略に戻します)
$ rm lwjgl-2.9.4-nightly-20150209.jar
$ wget https://www.dropbox.com/s/mj15sz3bub4dmr6/lwjgl-2.9.4-nightly-20150209.jar
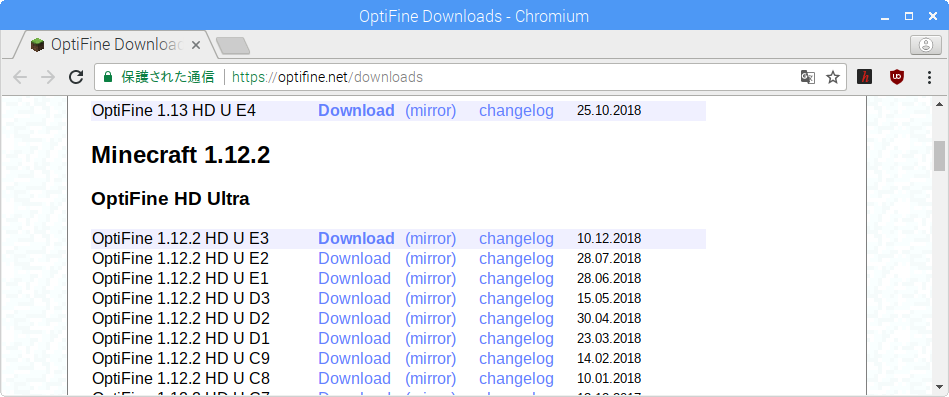
http://optifine.net/downloads から「OptiFine 1.12.2 HD U C9」をダウンロードします。後で使うスクリプトがこれ専用のためです。
ブラウザなどでダウンロードした後、ダウンロード場所に移動して実行します。
$ cd ~/Downloads
$ java -jar OptiFine_1.12.2_HD_U_C9.jar
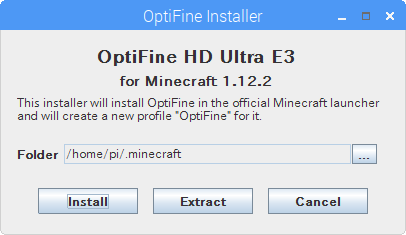
Install を押す。OptiFineが終了したら再度Minecraftローダーを起動
$ cd ~/Minecraft
$ java -jar Minecraft.jar
またクラッシュするので
$ cd ~/Minecraft/
$ wget https://www.dropbox.com/s/trsel8nhan34b8q/runOptifine1_12_2.sh
$ sudo chmod +x runOptifine1_12_2.sh
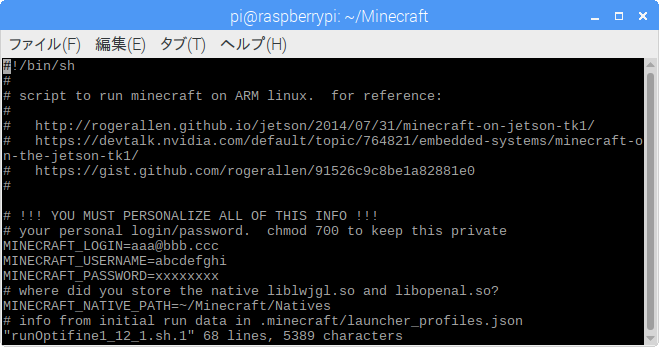
この、 runOptifine1_12_2.sh の中に、メールアドレス、パスワードなど指定するところがあります。元ネタでは書き換えるようになっているのですが、そのままでも動きました。
(またプロンプトをパス付きで説明します)
pi@raspberrypi:~/Minecraft $ ./runOptifine1_12_2.sh
  % Total    % Received % Xferd  Average Speed   Time    Time     Time  Current
                                 Dload  Upload   Total   Spent    Left  Speed
100   803  100   633  100   170    642    172 --:--:-- --:--:-- --:--:--   642
todays access token = c0b4f841905546d2bba45cbf0f48c462
  % Total    % Received % Xferd  Average Speed   Time    Time     Time  Current
                                 Dload  Upload   Total   Spent    Left  Speed
100    12  100     2  100    10      1      6  0:00:02  0:00:01  0:00:01     6
・・・
として、起動しました。
今回は、起動まで。これから使いやすい方法を試していこうと思います。
おまけ
スクリーンショットは raspi2png コマンドを使って撮りました。インストールは以下のようにします。
$ curl -sL \
https://raw.githubusercontent.com/AndrewFromMelbourne/raspi2png/master/installer.sh \
| bash -
解像度が大きいと速度が遅くなるので、以下のようにして解像度を低くしました。
$ xrandr
とすると解像度が出るので、
Screen 0: minimum 320 x 200, current 1920 x 1080, maximum 2048 x 2048
HDMI-1 connected primary 1920x1080+0+0 (normal left inverted right x axis y axis) 550mm x 309mm
   1920x1080     60.00*   59.94
   1920x1080i    60.00    59.94
   1680x1050     59.88
   1280x1024     75.02
   1440x900      74.98
   1280x800      59.91
   1280x720      60.00    59.94
   1024x768      75.03    70.07    60.00
   1440x480      60.00    59.94
   800x600       72.19    75.00    60.32    56.25
   720x480       60.00    59.94
   720x480i      60.00    59.94
   640x480       75.00    72.81    66.67    60.00    59.94
Composite-1 unknown connection (normal left inverted right x axis y axis)
   720x480       62.69
$ xrandr --output HDMI-1 --mode 720x480
