(遅れた夏休み企画 17/20)
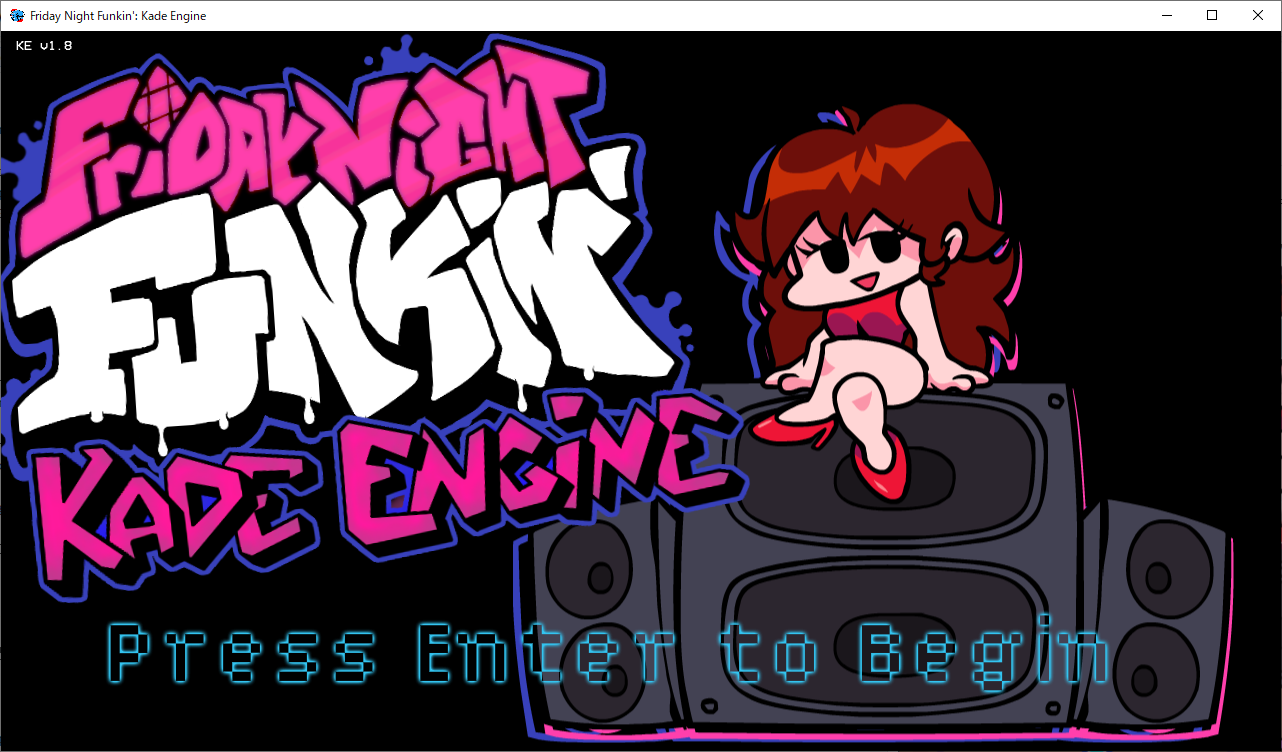
Kade Engine
Friday Night Funkin' からフォークして、機能追加などを行ったバージョン。
Friday Night Funkin' では有志による MOD が数多く開発されているが、それは Kade Engine ベースになっているものが多い。
Friday Night Funkin'
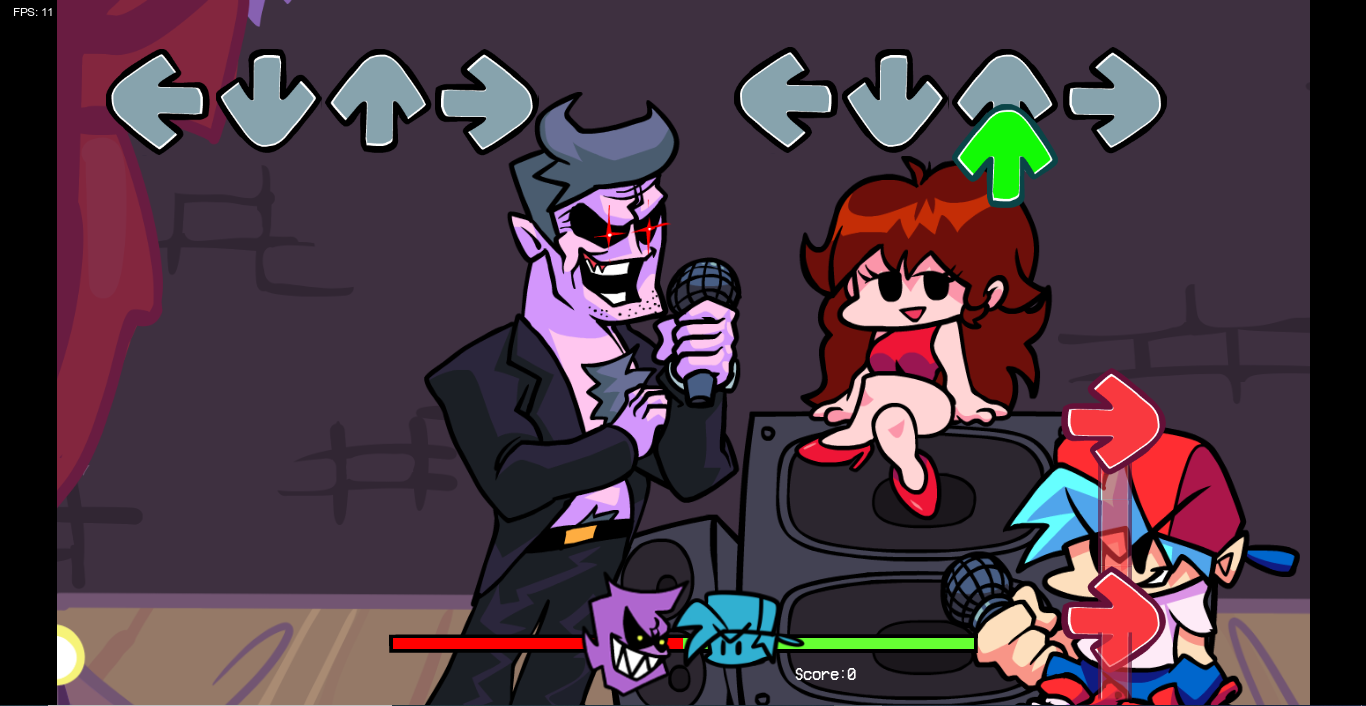
OSS の リズムタップ式の音ゲー。 Apache License 2.0。
公式サイト
https://ninja-muffin24.itch.io/funkin
Haxe ベースで MS-Windows/OSX/Linux/Web 対応のマルチプラットフォーム。
レポジトリ
https://github.com/ninjamuffin99/ld47
Kade Engine のビルド
今回は、Kage Engine のビルドができるようにしてみよう。
環境
以下のような環境でテストしました。
-
OS MS-Windows10 Pro 20H2 64bit
-
CPU Intel Core i5-3320M CPU 2.6GHz
-
Memory 8GB
-
Kade Engine 1.8
-
Haxe ver4.1.5
-
Visual code Version: 1.62.3 (user setup)
-
Git version 2.34.1.windows.1
Kade Engineのバージョンについて、
最新verだとこの後行う作業でエラーが出るようなので、ver1.5.2の方をダウンロードして下さい。
とある資料もあります。
cf.,「Friday night funkinの自作MODの作り方2(環境構築)|メルーネ|note」
https://note.com/merune_that/n/n78fdf22576a8
しかしながら今回試した時点だと状況が変化しているようで、最新版のv1.8で問題はありませんでした。逆に Ver1.5.2 だとビルドは問題無さそうですが起動時にクラッシュしてしまいました。
テスト日時
2021/11/26~27
元にした資料
以下の手順を元に、アレンジしました。
ビルド手順概要
- 7-Zip,Git,Haxe,VSC,ソースコードをダウンロード、インストール
- 手作業で設定
- setup.batを実行
- ビルド
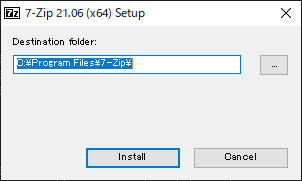
7-Zip を設定
後ほど Zip ファイルをダウンロードして展開する作業がありますが、このような開発環境を作る場合には Windows 付属の解凍機能だと不具合が発生する場合が多いです。今回は、7-Zip をあらかじめインストールしておき、それを使って展開するようにします。
https://sevenzip.osdn.jp/

から、「64ビット x64」をクリックしてダウンロードして開き、以下の画面から進めてインストールを終らせておきます。
Haxe インストール
https://github.com/KadeDev/Kade-Engine によると、
Install Haxe 4.1.5. You should use 4.1.5 instead of the latest version because the latest version has some problems with Friday Night Funkin': Kade Engine.
とある。なので
https://haxe.org/download/version/4.1.5/
から、
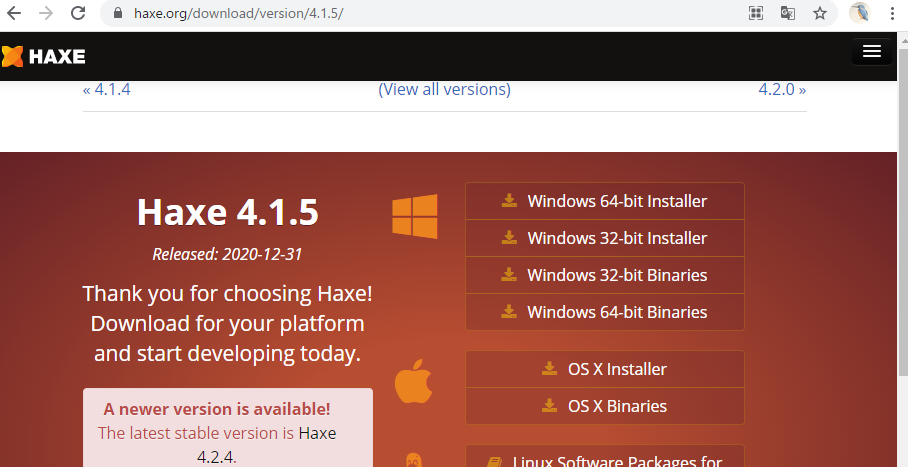
Windows 64-bit Installer をダウンロードし、インストールします。
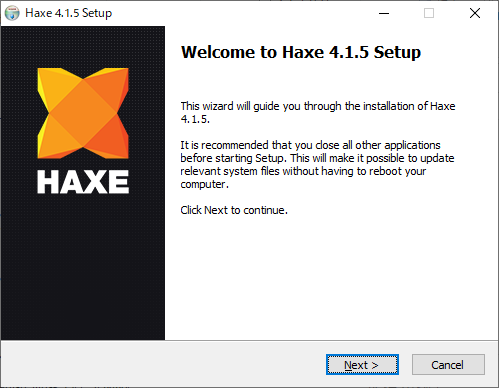
上のような画面から、ボタンをどんどん押して進めていきます。
Git インストール
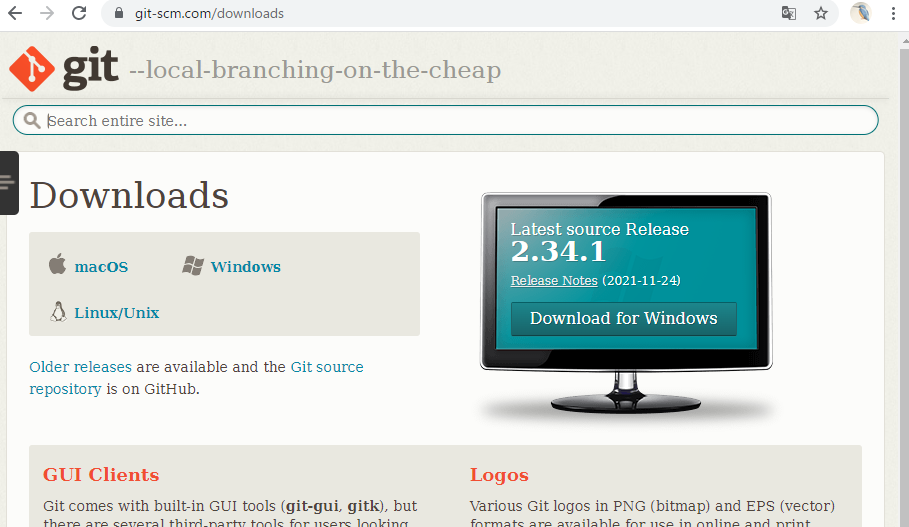
から、「Windows」を押してダウンロード、インストールします。
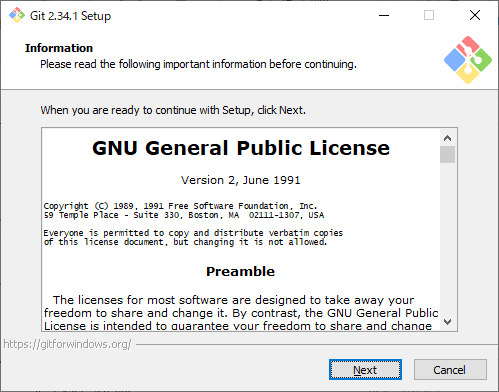
上のような画面から、どんどんボタンを押して進めていきます。
Visual Studio Code をダウンロード、設定
こちらから、ダウンロードして設定します。
https://azure.microsoft.com/ja-jp/products/visual-studio-code/

Visual Studio Codeを起動すると以下の画面になります。
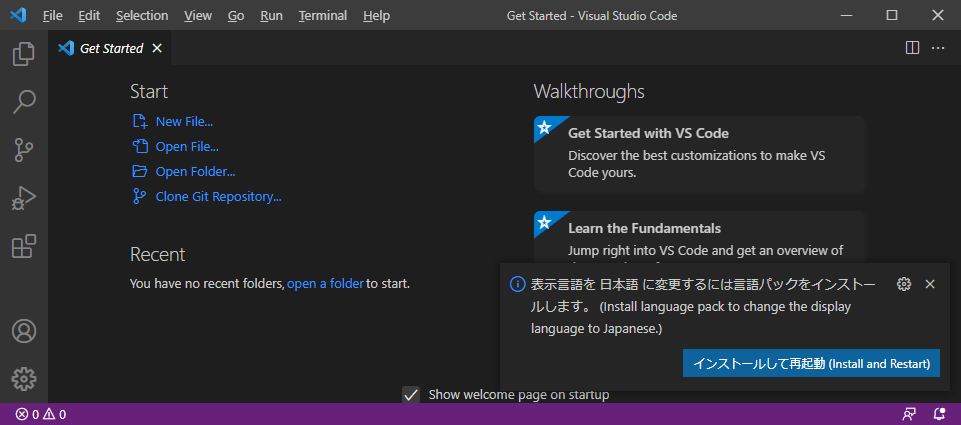
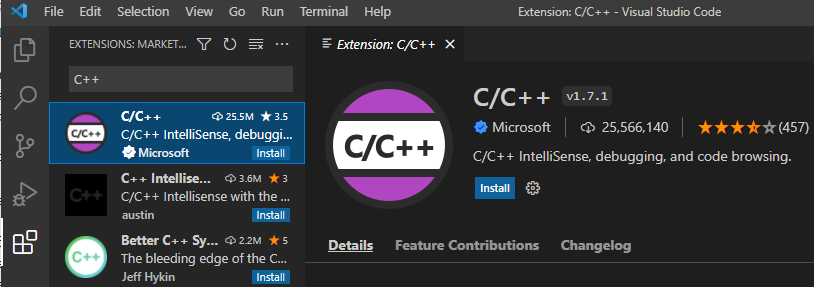
Ctrl+Shift+Xで拡張機能管理画面を出し、C++で検索してインストールします。
ソースコードダウンロード
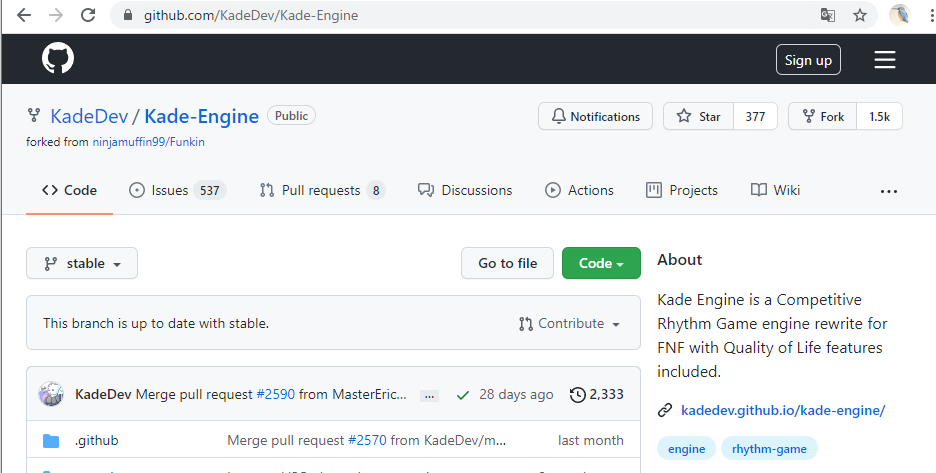
https://github.com/KadeDev/Kade-Engine
を開き、「Code」を押して「Download ZIP」を押します。
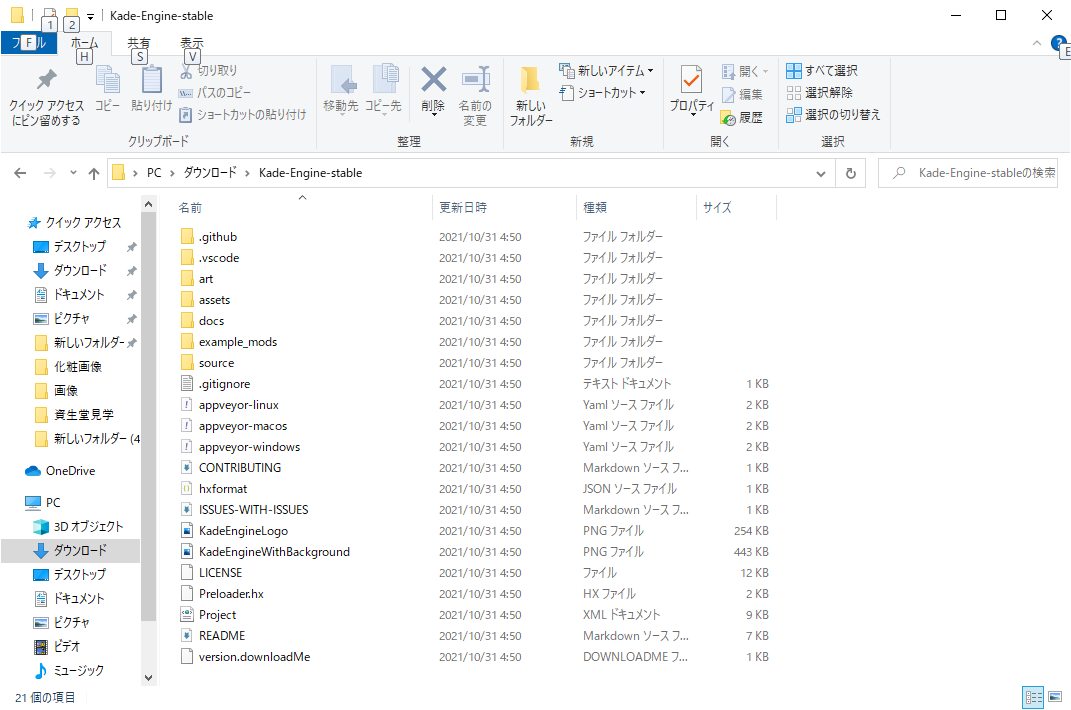
332MBytesあります。適当なところに解凍します。今回は先に述べた通り、7-Zip を用いて解凍しました。

フォルダを開いてKade-Engine-stableを右クリック→「7-Zip」→「ここに展開」とします。
そのまま展開してできたフォルダの内部は以下のようになります。
手作業で設定
hexlib での作業
コマンドプロンプを使ってインストールします。
まず、先ほど展開したフォルダを開いておきます。
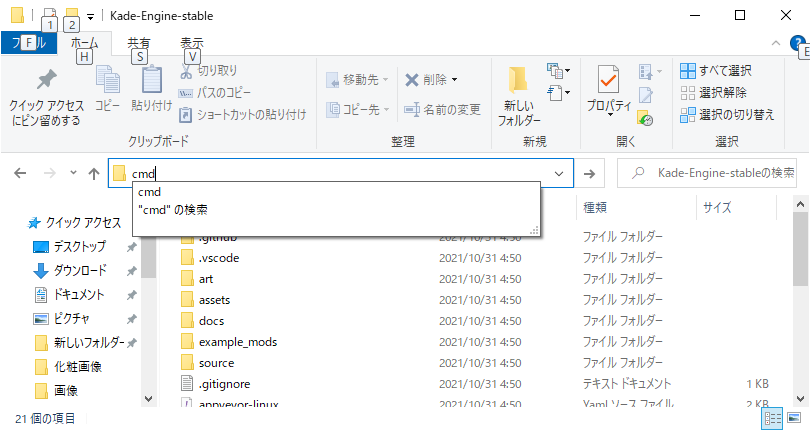
「名前」に「cmd」と打ち込んで「OK」を押すとコマンドプロンプトが出てきます。
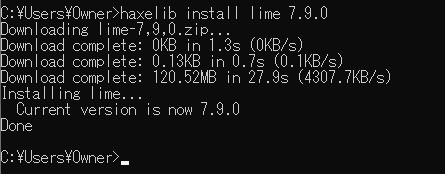
haxelib install lime 7.9.0
と打ち込んでエンターすると、haxe ライブラリがインストールされます。
同様にして、以下のライブラリもインストールします。
haxelib install openfl
haxelib install flixel
haxelib install flixel-tools
haxelib install flixel-ui
haxelib install hscript
haxelib install flixel-addons
haxelib install actuate
同じようにして、以下の設定も進めていきます。
haxelib run lime setup
haxelib run lime setup flixel
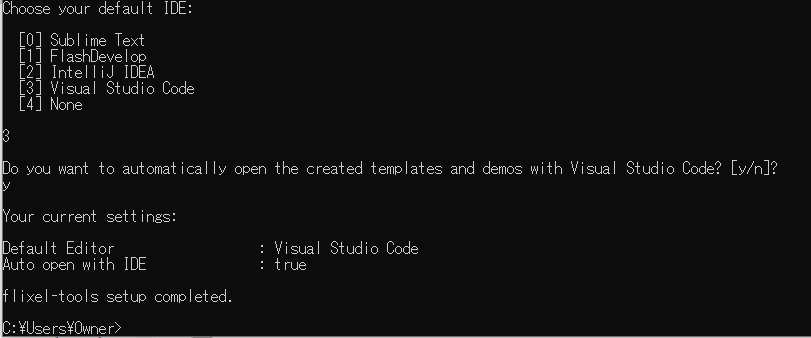
haxelib run flixel-tools setup
ココまで進めると、質問を聞いてきます。
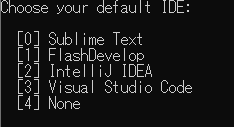
以下のように答えます。
以下もどんどん進めていきます。
haxelib git linc_luajit https://github.com/nebulazorua/linc_luajit.git
haxelib git hxvm-luajit https://github.com/nebulazorua/hxvm-luajit
haxelib git faxe https://github.com/uhrobots/faxe
haxelib git polymod https://github.com/MasterEric/polymod.git
haxelib git discord_rpc https://github.com/Aidan63/linc_discord-rpc
haxelib git extension-webm https://github.com/KadeDev/extension-webm
lime rebuild extension-webm windows
?? 不足分インストール
以下は必要ないかも知れません。資料によっては以下を行うようになってました。
haxelib install newgrounds
haxelib install openfl-webm
haxelib run openfl setup
Setup.batを使って設定
多くの解説資料では、setup.bat を使うようになっています。
中身はほぼ上記で行った内容ですし、上記の処理のうち setup.bat に網羅されていないものもあるようです。
しかしながら Visual Studio Community および Windows10SDK のインストールを setup.bat を使ったほうが簡単なので、こちらも併用します。
さて、setup.bat はどこからダウンロード? → ここでした。
これを、先のソースコードを展開したフォルダに移動、ダブルクリックして実行します。
すべてYとしていきます。
先に指定した質問も、再度聞かれますが再度3.として進めます。
テスト
上記が終わったら、先程のコマンドプロンプトに以下のように入力し、エンターします。
lime test windows
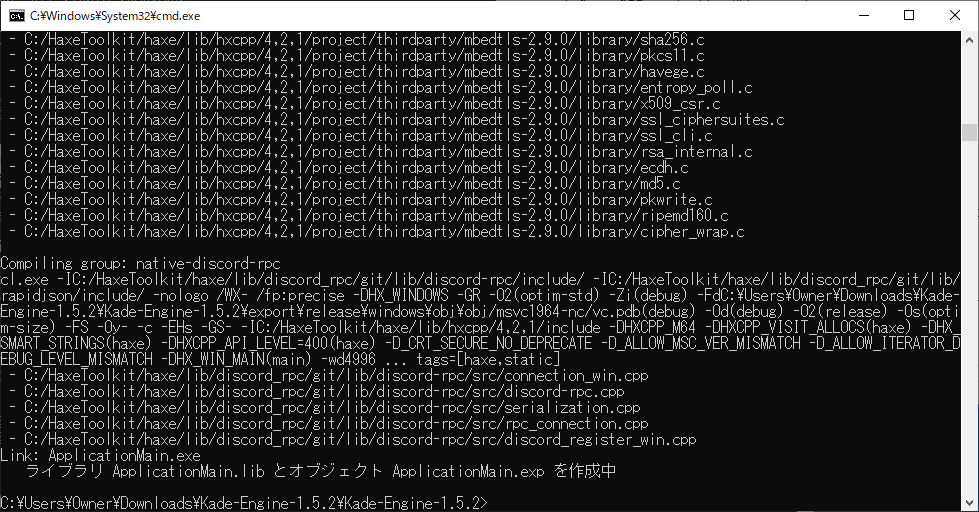
ビルドに問題が無ければ以下の画面が出てきます。
テスト環境ではビルドに20分ぐらいかかりました。

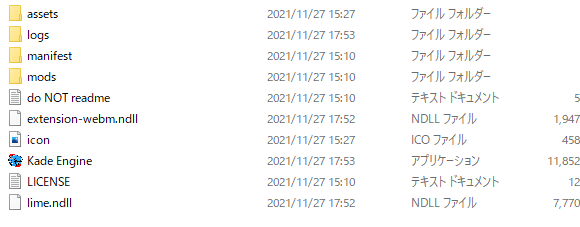
完成したバイナリはソースコードのフォルダ中の、
export\release\windows\bin
にあります。
作成した MOD のライセンス
この語、これを基にしてmodを作ります
以下のような扱いになることに注意。
IF YOU MAKE A MOD AND DISTRIBUTE A MODIFIED / RECOMPILED VERSION, YOU MUST OPEN SOURCE YOUR MOD AS WELL
cf., https://github.com/ninjamuffin99/Funkin/blob/master/README.md