今まで pukiwiki を使っていて、同じようにパッケージをダウンロードして適切な権限で解凍するだけで動くよねと思ったけど、ダメでした。ちゃんと調べてインストールしました。
環境
- Ubuntu 16.04.4 LTS
- Apache 2.4.18-2ubuntu3.5
- php 7.0.28-0ubuntu0.16.04.1
インストール
をダウンロードしてURL起点にwというディレクトリを作りそこに解凍。
最初はURL起点に解凍したが、Short_URLを作ろうとしておかしくなった。
参考資料:https://www.mediawiki.org/wiki/Manual:Short_URL/ja
Webブラウザでアクセス。
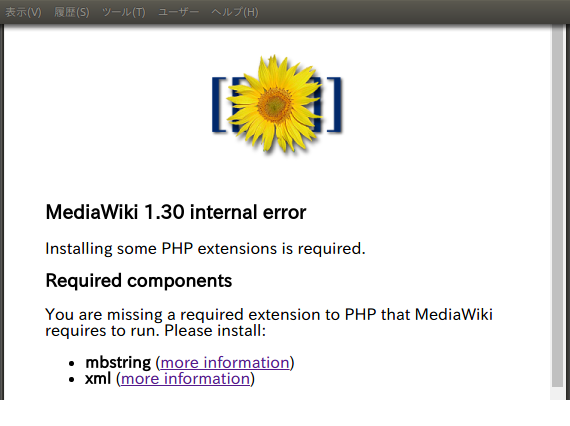
と出たので
# apt-get install php-mbstring php-xml
とした。バックエンドデータベースが必要らしいので、MySQLを使えるようにして、
GRANT ALL PRIVILEGES ON wikidb.* TO 'wikiuser'@'localhost' IDENTIFIED BY 'hogehoge';
Query OK, 0 rows affected, 1 warning (0.01 sec)

mysql> flush privileges;
Query OK, 0 rows affected (0.01 sec)

mysql>
mysql> exit;
Bye
# apt-get install php-mbstrng php-xml
# phpenmod mbstring
# phpenmod xml
# systemctl restart apache2
としてから、解凍したディレクトリにアクセス
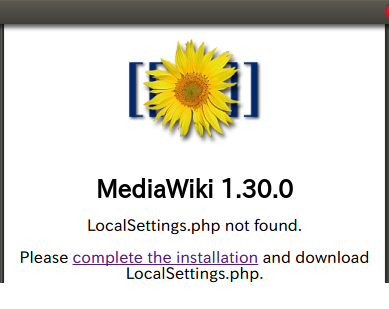
"complete the installation" を押して
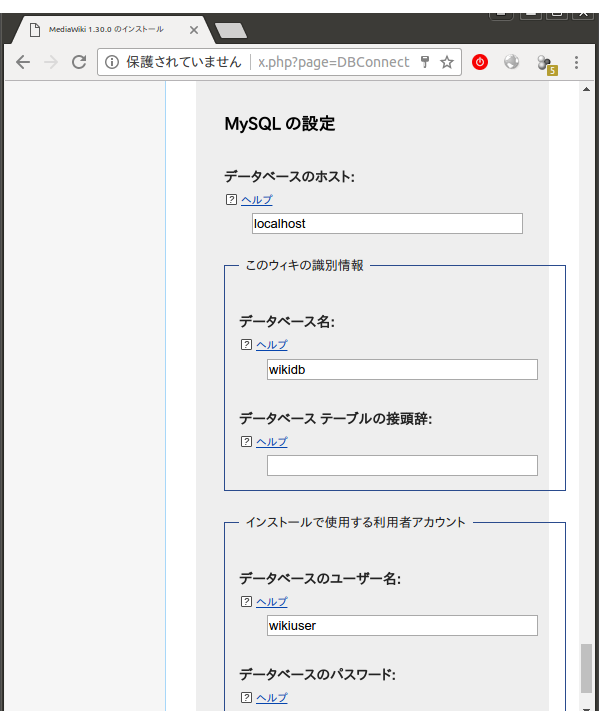
MySQLの設定を入力するとOK
カスタマイズ
ロゴの場所
resources/assets/wiki.png
ヘッダの背景イメージ
skins/MonoBook/headbg.jpg
メインページのページ名を「メインページ」から変更する
MediaWiki:Mainpageを編集する。
SHORTURL使う
.htaccess
RewriteEngine On

# Short URL for wiki pages
RewriteCond %{DOCUMENT_ROOT}%{REQUEST_URI} !-f
RewriteCond %{DOCUMENT_ROOT}%{REQUEST_URI} !-d
RewriteRule ^(.*)$ %{DOCUMENT_ROOT}/w/index.php [L]

# redirect / to Main Page
RewriteRule ^/*$ %{DOCUMENT_ROOT}/w/index.php [L]
LocalSettings.phpを以下のように設定,$wgScriptと$wgArticlePathの行は追加する。
$wgScriptPath = "/w";

$wgScript           = "$wgScriptPath/index.php";
$wgArticlePath      = "/$1";
Markdown記法を使えるようにする
  wget https://github.com/bharley/mw-markdown/archive/v0.2.tar.gz
  cd extensions/
  mkdir Markdown
  cd Markdown
  mv ../../v0.2.tar.gz .
  tar xzvf v0.2.tar.gz
  wget https://github.com/erusev/parsedown/archive/1.8.0-beta-4.tar.gz
  tar xzvf 1.8.0-beta-4.tar.gz
  cp parsedown-1.8.0-beta-4/* .
  cp mw-markdown-0.2/Markdown.php .
  rm README.md LICENSE.txt
LocalSettings.php の末尾に以下を追加して apache を再起動
require_once("$IP/extensions/Markdown/Markdown.php");
wiki.example.com のようなURLを使う
元々、example.com というサイトを wordpress で運用していた。同じサーバで wiki.example.com を追加。
wiki.example.com は Userdir を流用して、/home/wiki/public_htmlで運用する。
/etc/apache2/sites-enabled/ 内のファイルを分離したかったがうまくいかなかったので
/etc/apache2/sites-enabled/010-wordpress.conf に設定を一緒に書いた。
NameVirtualHost *:80
<VirtualHost *:80>

        ServerName wiki.tsukarm.com
        ServerAdmin webmaster@localhost
        DocumentRoot /home/wiki/public_html

        ErrorLog ${APACHE_LOG_DIR}/error.log
        CustomLog ${APACHE_LOG_DIR}/access.log combined

</VirtualHost>
<VirtualHost *:80>
        # The ServerName directive sets the request scheme, hostname and port that
        # the server uses to identify itself. This is used when creating
        # redirection URLs. In the context of virtual hosts, the ServerName
        # specifies what hostname must appear in the request's Host: header to
        # match this virtual host. For the default virtual host (this file) this
        # value is not decisive as it is used as a last resort host regardless.
        # However, you must set it for any further virtual host explicitly.
        #ServerName www.example.com

        ServerName example.com
        ServerAdmin webmaster@localhost
        DocumentRoot /var/www/html/wordpress


        # Available loglevels: trace8, ..., trace1, debug, info, notice, warn,
        # error, crit, alert, emerg.
        # It is also possible to configure the loglevel for particular
        # modules, e.g.
        #LogLevel info ssl:warn

        ErrorLog ${APACHE_LOG_DIR}/error.log
        CustomLog ${APACHE_LOG_DIR}/access.log combined

        # For most configuration files from conf-available/, which are
        # enabled or disabled at a global level, it is possible to
        # include a line for only one particular virtual host. For example the
        # following line enables the CGI configuration for this host only
        # after it has been globally disabled with "a2disconf".
        #Include conf-available/serve-cgi-bin.conf
</VirtualHost>
トラブル:画像がアップロードできない
[Wed May 30 13:16:35.474604 2018] [core:alert] [pid 30593] [client 111.239.222.91:52170] /home/wiki/public_html/images/.htaccess: Options not allowed here, referer: http://wiki.example.com/%E3%83%95%E3%82%A1%E3%82%A4%E3%83%AB:IMG_20180402_114209.jpg
Userdirを利用していたので、
/etc/apache2/mods-enabled/userdir.conf
が以下のようになっていたが修正。
修正前
<IfModule mod_userdir.c>
        UserDir public_html
        UserDir disabled root

        <Directory /home/*/public_html>
                AllowOverride FileInfo AuthConfig Limit Indexes
                Options MultiViews Indexes SymLinksIfOwnerMatch IncludesNoExec
                <Limit GET POST OPTIONS>
                        Require all granted
                </Limit>
                <LimitExcept GET POST OPTIONS>
                        Require all denied
                </LimitExcept>
        </Directory>
</IfModule>
トラブル:URL修正
wiki.example.com でアクセスするようにしていたが、問題があることに気がついて
修正することにした。
wiki.example.com/wiki でやるように変更。
ディレクトリ w に移動する。
画像アップロードをペーストで実現する
いくつかあるようだが、
Extension:ClipUpload
https://www.mediawiki.org/wiki/Extension:ClipUpload
を使用した。
をダウンロード。
# cd extensions/
# unzip /home/wiki/master.zip
Archive:  /home/wiki/master.zip
22e92f1cc21a70b035aa8b463d812b28e3ea84ac
   creating: ClipUpload-master/
  inflating: ClipUpload-master/.gitattributes
  inflating: ClipUpload-master/.gitignore
  inflating: ClipUpload-master/ClipUpload.i18n.php
  inflating: ClipUpload-master/ClipUpload.php
  inflating: ClipUpload-master/README.md
   creating: ClipUpload-master/js/
  inflating: ClipUpload-master/js/clipupload.js
  inflating: ClipUpload-master/js/ink-go.js
  inflating: ClipUpload-master/js/inline-attach.js
  inflating: ClipUpload-master/js/paste.js
# mv ClipUpload-master ClipUpload
LocalSettings.php の末尾に以下を追加して apache を再起動
require_once("$IP/extensions/ClipUpload/ClipUpload.php");