Genymotion は Android 環境をPCやクラウドで実現する。
実態は PC や クラウド上に構築する仮想環境。
フリーミアムモデルで提供されている。
今回は PC デスクトップ上で試してみる。
Genymotion Desktop
母艦は MS-Windows / Linux / macOS 対応
MS-Windows/Linux についてはどうやら x86 Android Studioイメージ を仮想環境で動かす仕組みらしい。その場合、 x86 用の Android アプリが使用できる。けれども arm 用の Android アプリが使える方法もあるみたい。
また、以前は Genymotion を使うには VirtualBox を別途インストール必要と書いてある資料もあるが、今はその作業は必要ないみたい。Linux においては、 仮想環境としてディストリビューション添付の QEMU が使われているようだ。
環境
- Ubuntu 24.04 LTS
- genymotion-3.8.0-linux_x64.bin
インストール
https://www.genymotion.com/
から genymotion-3.9.0-linux_x64.run をダウンロード。
genymotion を起動する。
$ chmod 555 genymotion-3.9.0-linux_x64.run
$ ./genymotion-3.9.0-linux_x64.run
Installing for current user only. To install for all users, restart this installer as root.

Installing to folder Installing to folder [/home/nanbuwks/Downloads/genymotion]. Are you sure [y/n] ? y


- Extracting files ..................................... OK (Extract into: [/home/nanbuwks/Downloads/genymotion])
- Installing launcher icon ............................. OK

Installation done successfully.

You can now use these tools from [/home/nanbuwks/Downloads/genymotion]:
 - genymotion
 - genymotion-shell
 - gmtool
インストールが終わると Dash から呼び出せるようになっていました。

初期設定
アカウントを作製しないといけません。

「Personal Use」
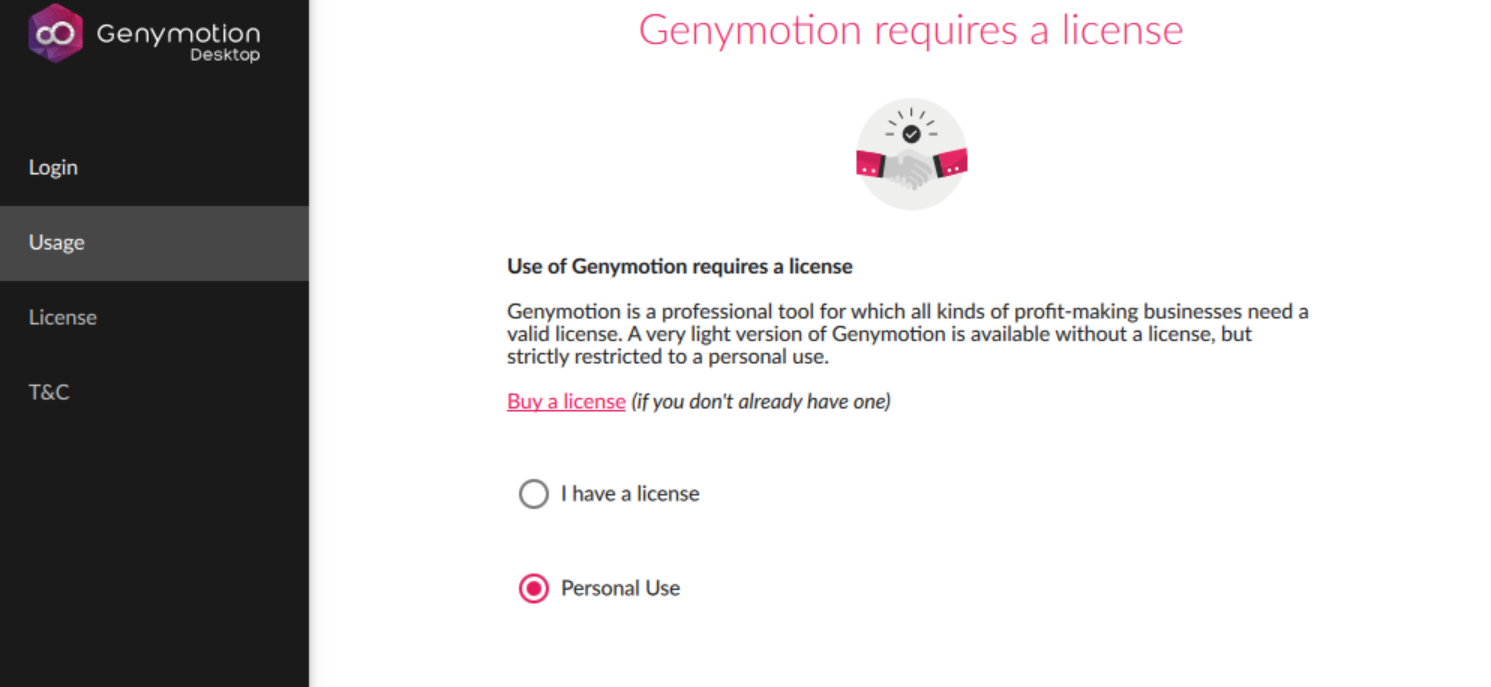
「Create」を選びます。
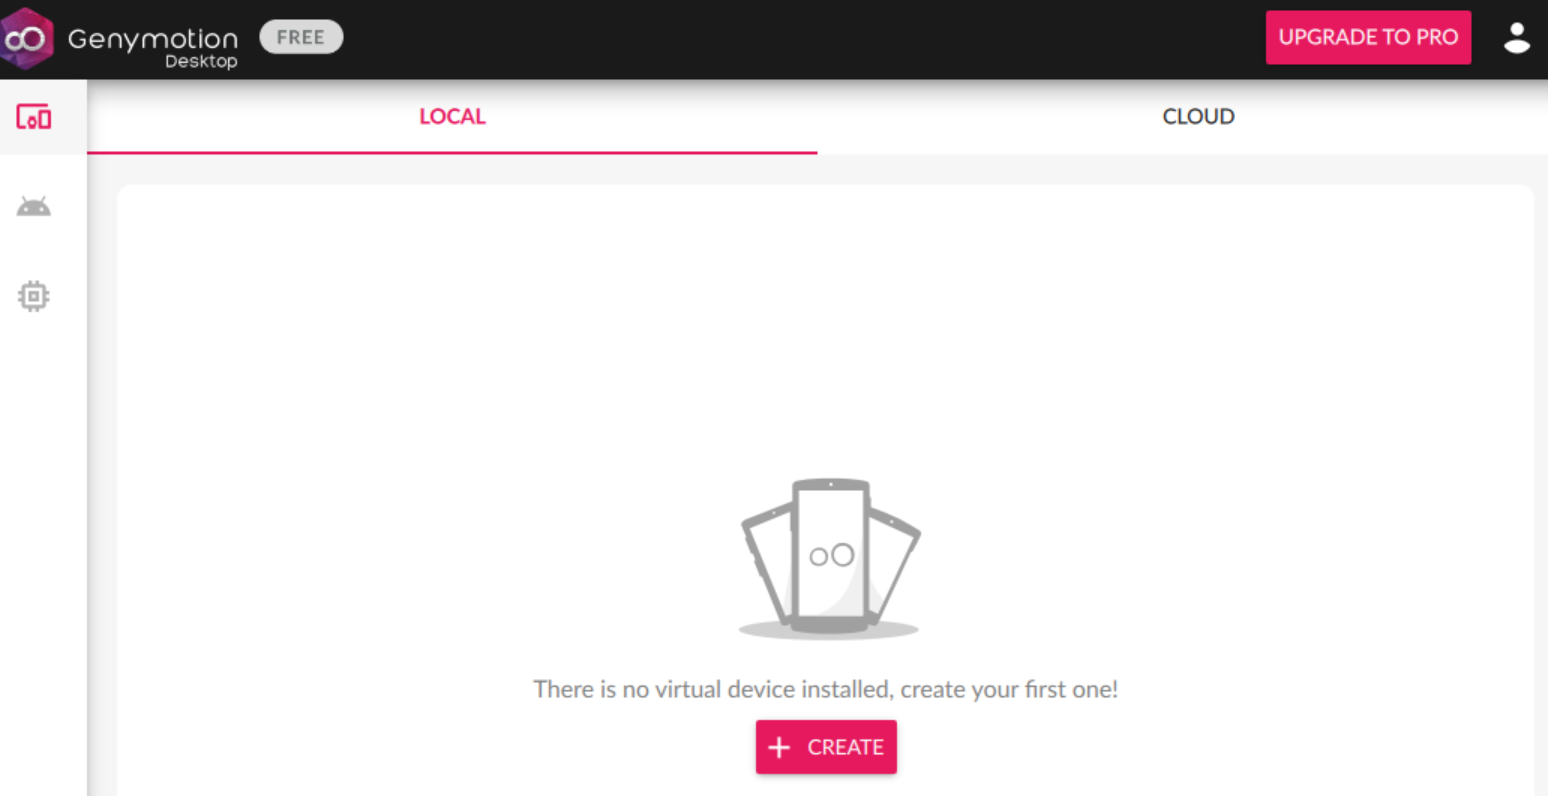
仮想環境の構築
今回は一番解像度の大きな「Google Pixel C」を選びました。

OS バージョンを変更します。
Arm アーキテクチャのアプリを使うには、Android バージョンが 9 でないといけないようだ。

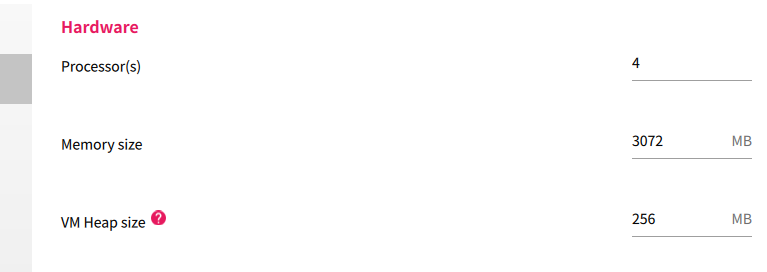
メモリなどは母艦のリソースに合わせて設定するのがいいかな。
▶を押してブートします。

しばらくすると起動します。
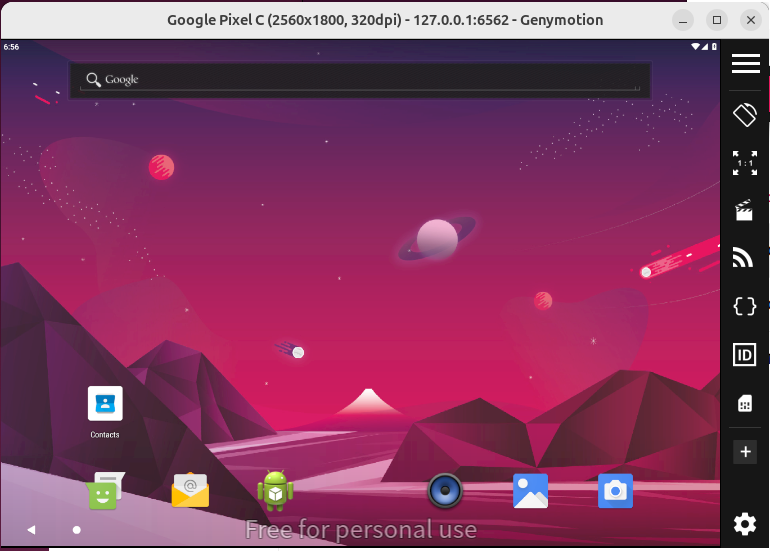
画面表示はウィンドウタイトルバーを押して操作できるようです。

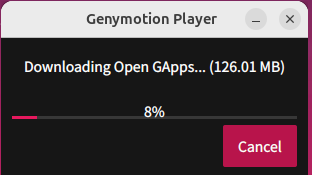
メニューの「Open GApps」から Google Play をインストールすることができます。


仮想環境を再起動すると、このような画面がブラウザで表示されますが・・・ここは特に何もしなくてもいいみたい。

一旦STOPして再度起動し直します。

Android画面を下からスワイプすると Play Store がインストールされているのがわかります。

Google にサインインして Google Play を有効化します

Armエミュレータをインストールする
こちらから、 Android version mapping - 9.0 を選んでダウンロードします。
ダウンロードした zip ファイルを Android 画面にドラッグ&ドロップします。

再起動すると、ARMアプリがインストールできるようになります。

その他の設定
Android画面を上からスワイプすると、Pixel C の初期設定を促されます。
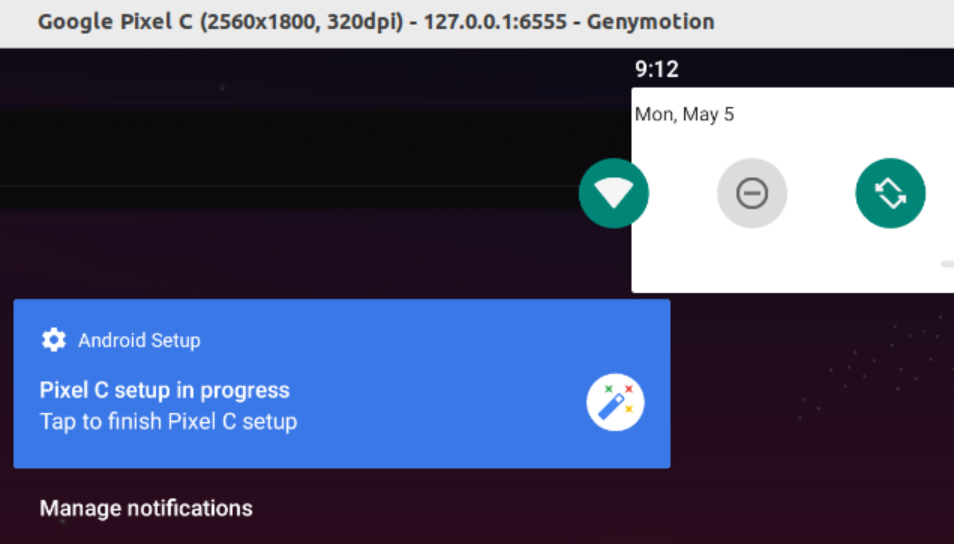
画面を進めて適切に設定していきます。

日本語化


物理キーボードの設定


日本語入力を可能にする
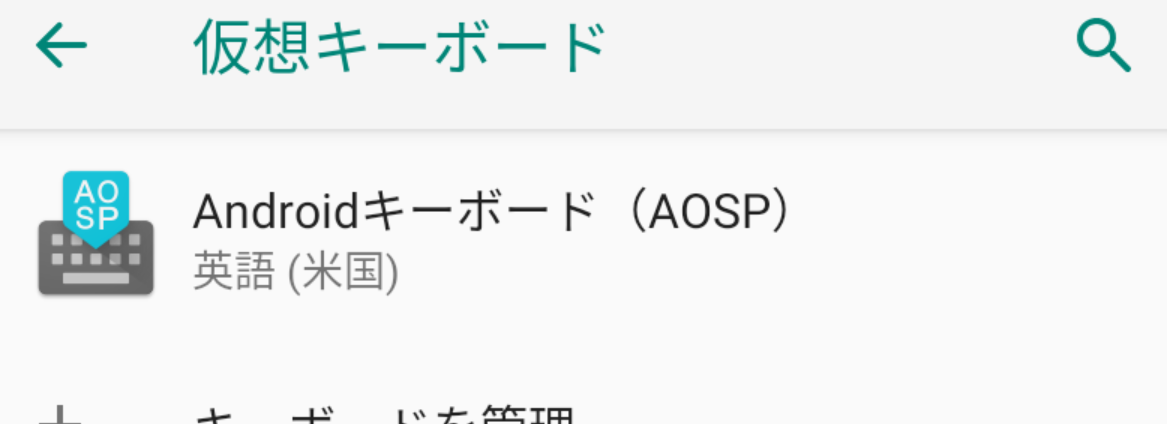
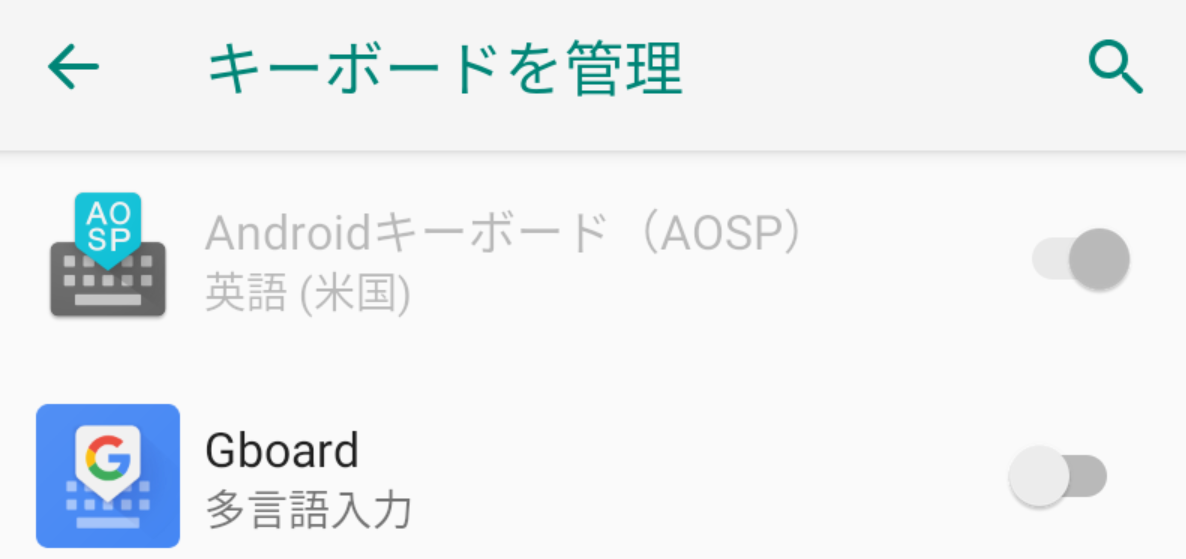
本来はここでIMEが追加できるはずであるが・・・
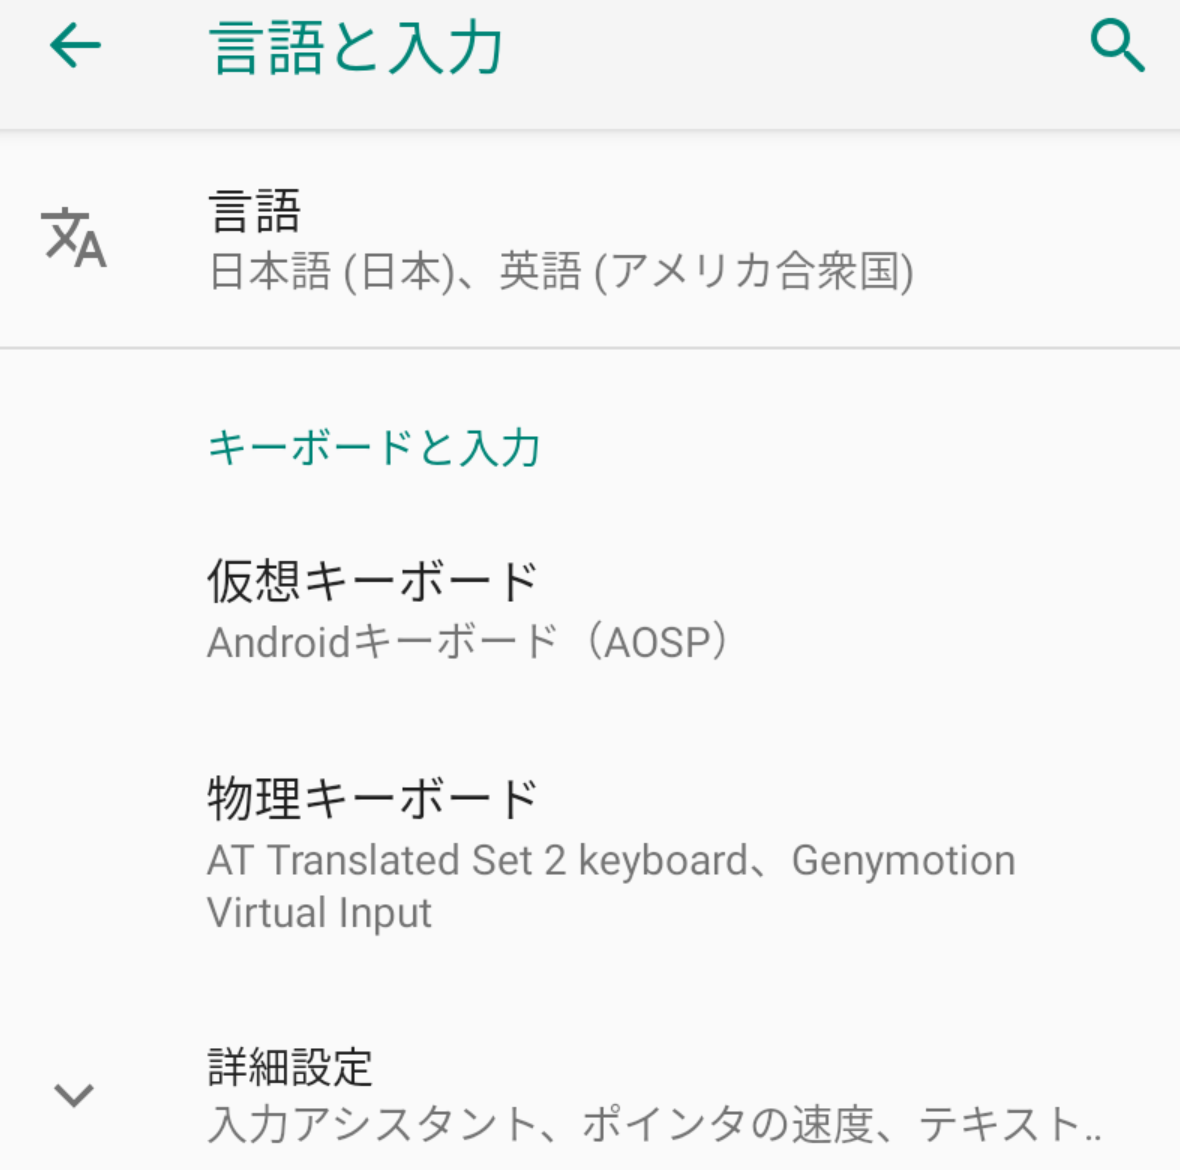
AOSPしか選べない。うーむ。
PlayストアでIMEをインストールします。
gboard で検索してインストール。

インストール後、設定を進めていきます。
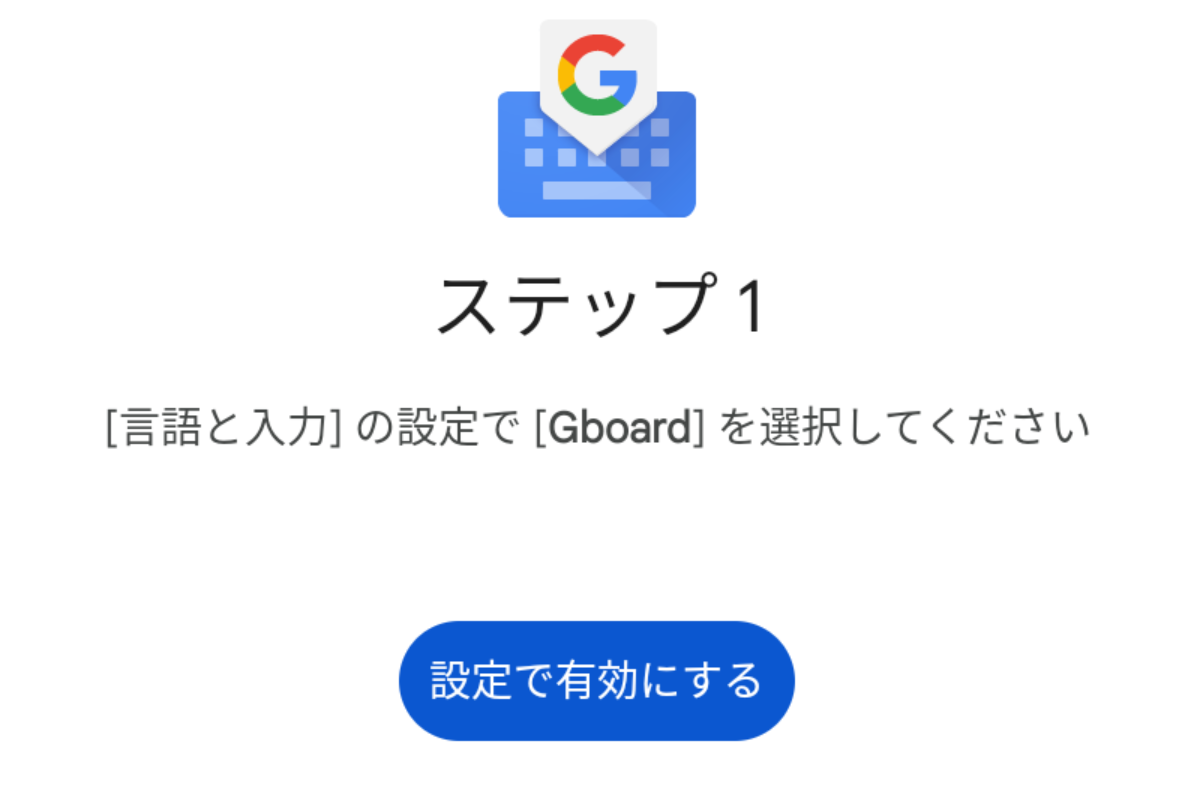
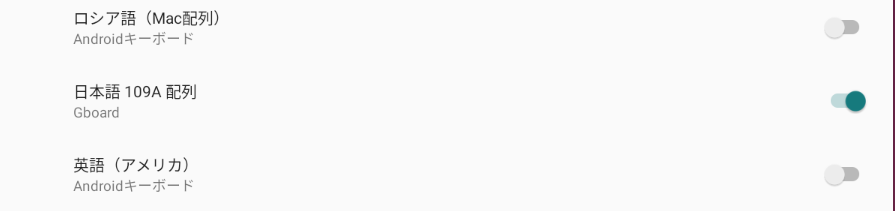
gboardを有効にします。
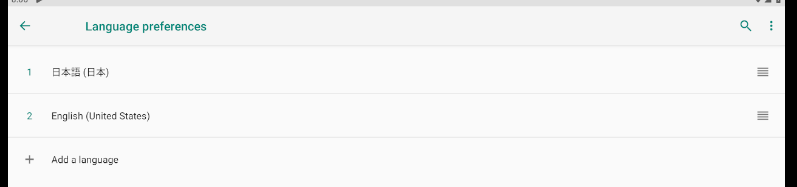
「設定」-「言語」
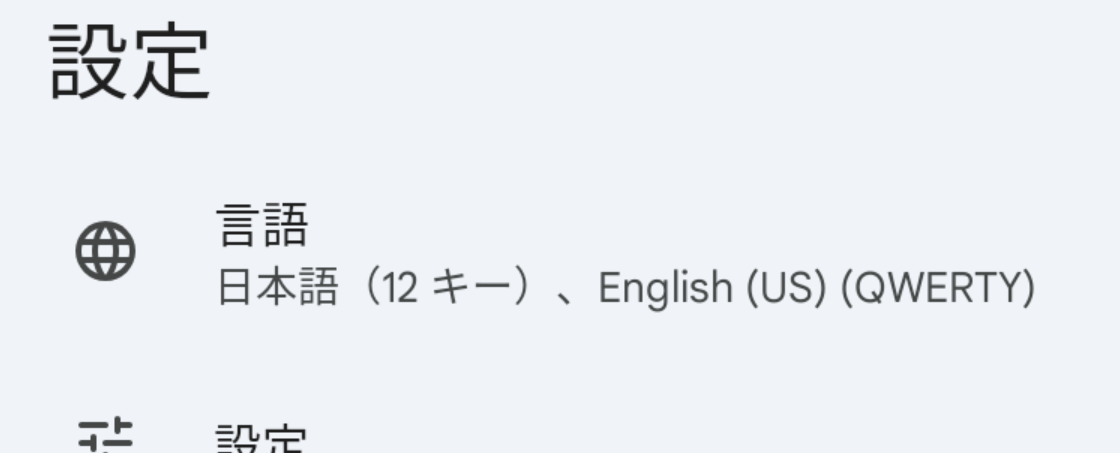
「12キー」をへんこうしまs
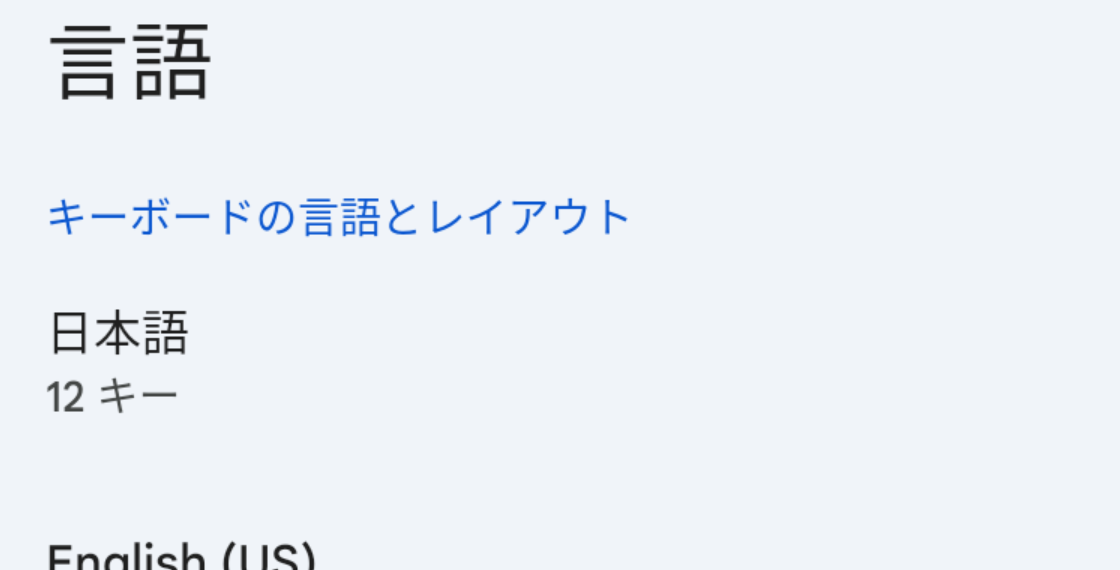
PCで使う場合は物理キーボードとの親和性からQWERTYのみを選択するのが使いやすいでしょう。

物理キーボードが日本語キーボードだった場合は、これもONにしたほうが使いやすそうです。

入力時に、仮想キーボードが出現します。地球儀マークを押して、「日本語」にすると変換ができるようになります。

時刻を合わせる


