しばらく AWS 使ってなかったので新しい機能を試す。
まずは CLI。
CloudShell と ローカルインストールを試してみる。
AWS CloudShell
マネジメントコンソールをWebブラウザで開きます。
対応しているリージョンだと、EC2 のコンソール右上に [>_] のアイコンが表示されています。
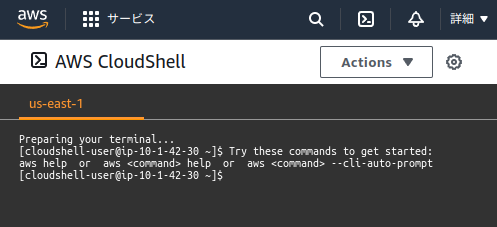
アイコン押すと、起動します。しばらく待つと、以下のように使えるようになります。
中身は何かな?
$ cat /etc/os-release
NAME="Amazon Linux"
VERSION="2"
ID="amzn"
ID_LIKE="centos rhel fedora"
VERSION_ID="2"
PRETTY_NAME="Amazon Linux 2"
ANSI_COLOR="0;33"
CPE_NAME="cpe:2.3:o:amazon:amazon_linux:2"
HOME_URL="https://amazonlinux.com/"
サーバの状態を確認してみます。
$ aws ec2 describe-instances --region "us-east-1"
以下のような情報が取得できて、問題なく動作しているようです。
{
    "Reservations": [
        {
            "Groups": [
                {
                    "GroupName": "nanbuwks-gen",
                    "GroupId": "sg-ac6443c4"
                }
            ],
            "Instances": [
.
.
.
しばらく操作しないでおくと、以下のように接続が切れますが
$ Lost your connection to the environment.
ターミナルに入力すると復帰します。
Preparing your terminal...
[cloudshell-user@ip-10-1-5-54 ~]$
ローカルインストールのCLI
インストール対象: Ubuntu 22.04 LTS Desktop Ja
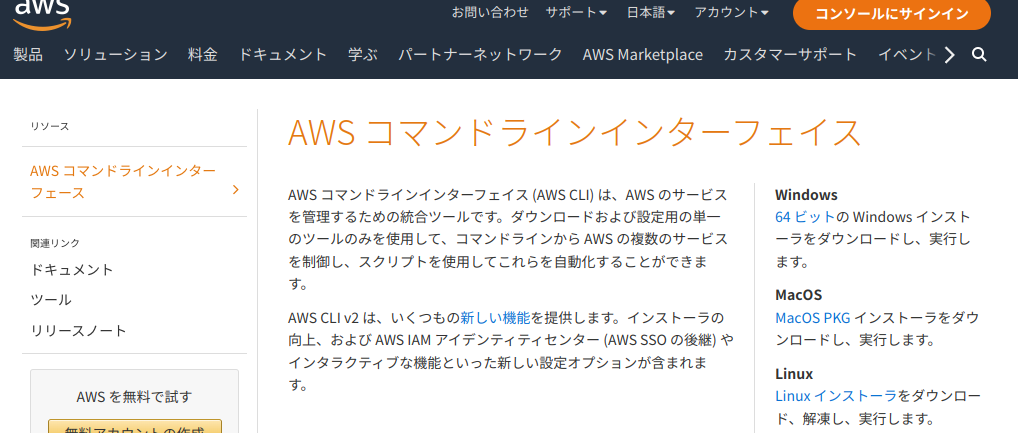
https://aws.amazon.com/jp/cli/
このページから、「Linuxインストーラ」のリンクを押すとインストール方法が表示されます。

説明に沿って、以下のように進めていきます。
$ curl "https://awscli.amazonaws.com/awscli-exe-linux-x86_64.zip" -o "awscliv2.zip"
$ unzip awscliv2.zip
$ cd aws
$ sudo ./install
You can now run: /usr/local/bin/aws --version
インストール確認
$ aws --version
aws-cli/2.8.9 Python/3.9.11 Linux/5.15.0-52-generic exe/x86_64.ubuntu.22 prompt/off
IAM ユーザをつくる
IAMダッシュボードにアクセス
https://us-east-1.console.aws.amazon.com/iamv2/home?region=us-east-1#/home

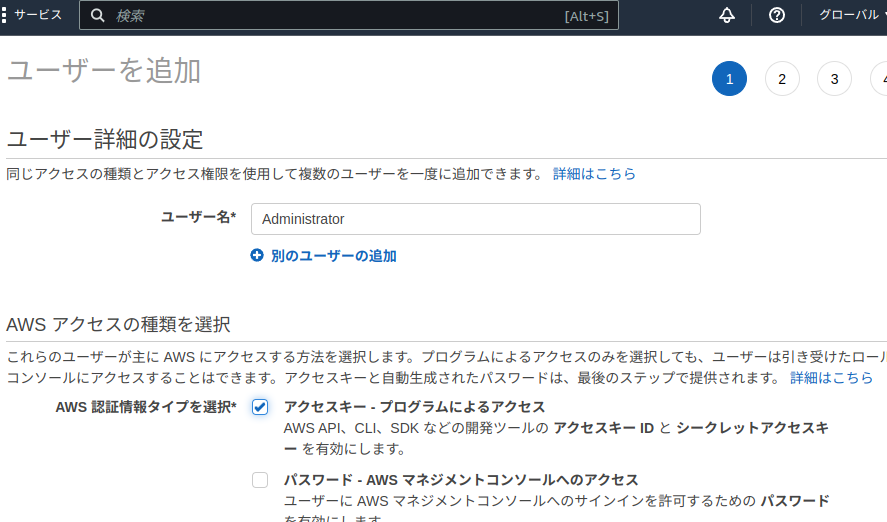
「ユーザ」からAdministratorユーザを追加します。「アクセスキー・プログラムによるアクセス」を選びます。

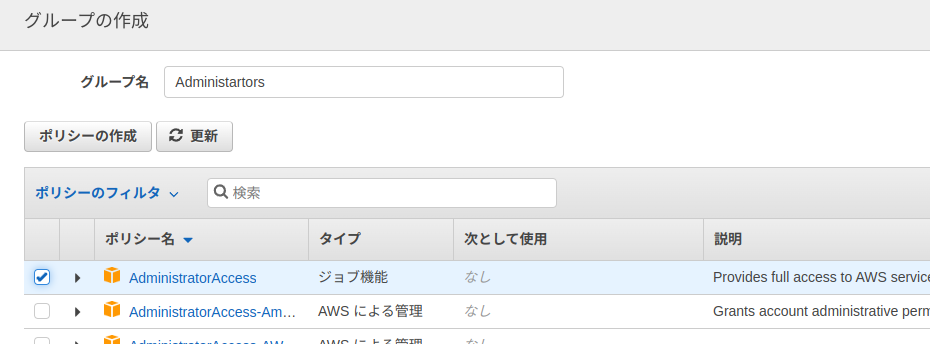
グループを Administraotrsで作ります。ポリシーに AdministratorAccessを選びます。

ユーザが生成されると、アクセスキーIDとシークレットアクセスキーが共に表示されます。
これらの情報は後で表示できないらしいので、ここでコピーして保管しておきます。
aws コマンドの設定を行う
以下のように CLI を起動して設定を行います。
$ aws configure
AWS Access Key ID [None]:
AWS Secret Access Key [None]:
Access Key ID と Secret Access Key は先に保管した値を入力します。
Default region name [None]:
Default output format [None]:
こちらは空白でもOKです。
動作確認
サーバの状態を確認してみます。
$ aws ec2 describe-instances --region "us-east-1"
以下のような情報が取得できて、こちらも問題なく動作しているようです。
{
    "Reservations": [
        {
            "Groups": [
                {
                    "GroupName": "nanbuwks-gen",
                    "GroupId": "sg-ac6443c4"
                }
            ],
            "Instances": [
                {
                    "AmiLaunchIndex": 0,
                    "ImageId": "ami-3d4ff254",
.
.
.


