Web Viewや外部のブラウザが利用できないデバイス
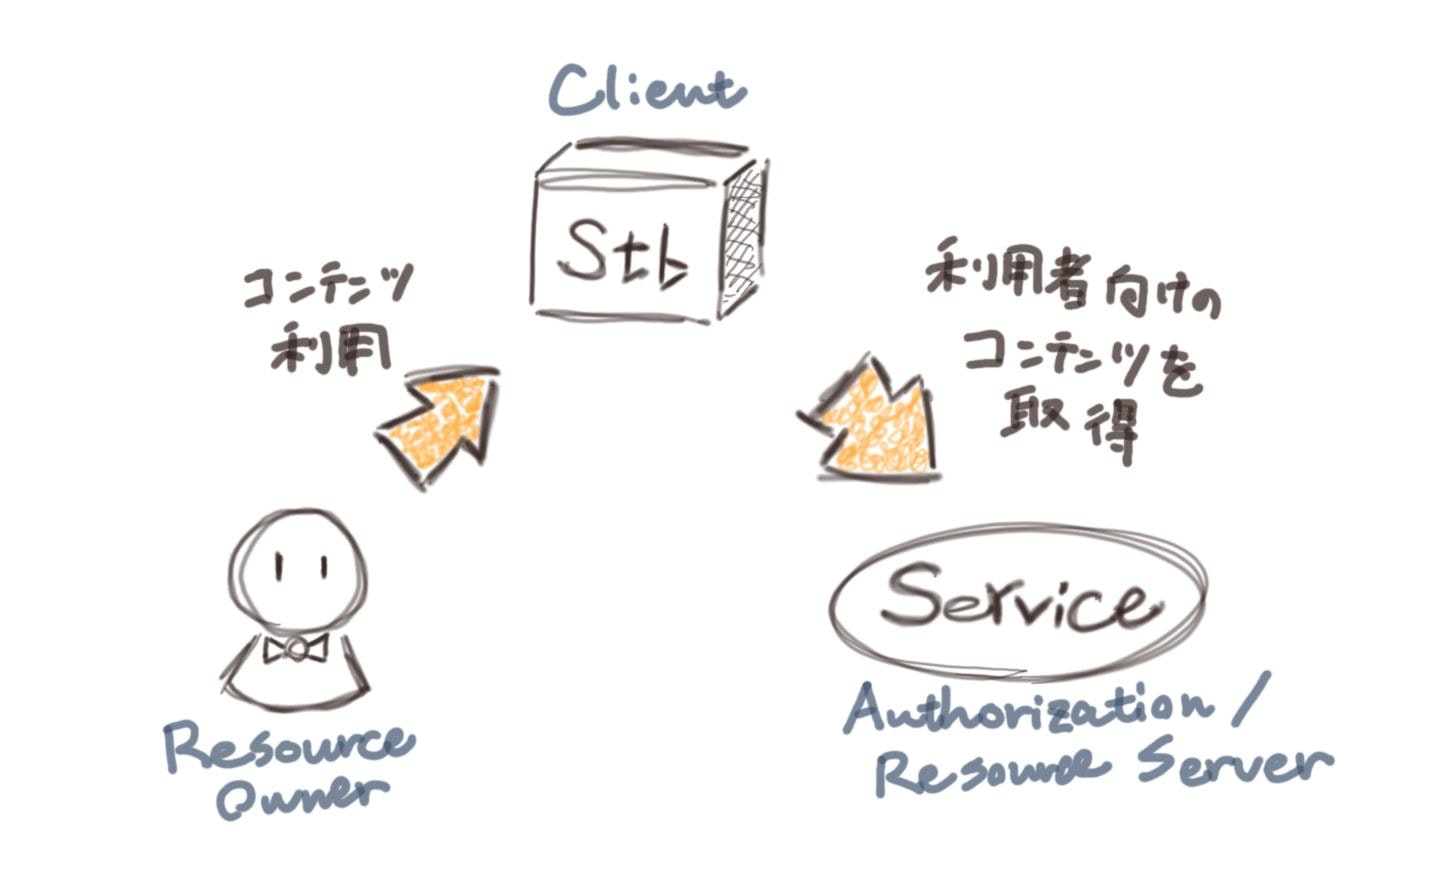
スマートフォン上で動作するネイティブアプリや、ブラウザ上で動作するシングルページアプリケーションであれば、ユーザー認証・認可をすることができます。しかし、セットトップボックスや〇〇tvみたいなデバイスの多くはサインイン画面を表示できないため、こういったデバイス向けのインターフェースが必要となります。
OAuth 2.0 Device Flow
UIをもたないClient向けにAccess Tokenを発行するフローがOAuth 2.0 Device Flowです。現在はドラフトスペックですが、以下に定義されています。
たぶん、説明するより図を見た方がわかりやすいと思います。
認証はResource Ownerが持っている別のUI(ブラウザなど)で行うんですが、Authorization Requestとの紐づけをVerification Codeで行っています。Verificationが行われるまでClientはPollingします。その後、Authorization ServerからAccess Tokenが発行されます。
tv-player
このDevice FlowをOpenAMで試すためのClientアプリがgithub上に公開されています。
OpenAMにClient登録
いつも通り、管理者アカウント(amadmin)でサインインします。
Application -> OAuth 2.0から以下の設定をし、クライアント登録をします。
| key | value |
|---|---|
| client id | TVPlayer |
| client secret | Passw0rd |
| scope | givenname postaladdress description |

tv-playerのセットアップ
まず、npmをインストールします
$ yum -y install npm
$ node -v
v0.10.46
tv-playerをgit cloneします。
$ git clone https://github.com/smof/tv-player.git
今回利用しているOpenAMの構成に合うように、ソースを少し修正します。
$ cd ./tv-player
$ sed -i 's/openam\(\.example\.com\)/iam\1/' routes/pair.js
$ sed -i 's/openam\(\.example\.com\)/iam\1/' routes/pairNotification.js
$ sed -i 's/openam\(\.example\.com\)/iam\1/' routes/favourites.js
ちなみにソース上でこんな設定がされています。
        //OAuth2 client details
        var CLIENTID="TVPlayer";
        var CLIENTSECRET="Passw0rd";
        var RESPONSE_TYPE="token";
        var SCOPE="description%20givenname%20postaladdress";
        //Base64 encoded OAuth2 client credentials
        var CLIENTCREDS = CLIENTID + ":" + CLIENTSECRET;
        var B64CLIENTCREDS = new Buffer(CLIENTCREDS).toString('base64');

        //Variable sent in the post request
        deviceCode=req.body.deviceCode;
        console.log("DeviceCode: " + deviceCode);


        //Create HTTP request to query OpenAM to see if authorization has taken place
        var options = {
                          host: 'iam.example.com',
                          path: '/openam/oauth2/access_token',
                          port: '8080',
                          method: 'POST',
                      headers:  {'Content-Type' : 'application/x-www-form-urlencoded'}
        };
tv-playerを起動します。
# node app.js
ポート番号3001にて、起動されています。

動作確認する
人っぽいアイコンをクリックします。

QRコードが表示されますので、読み取ります。このコードを読み取ると、外部ブラウザが起動され、以下のURLにアクセスします。
Query StringでVerification CodeをAuthorization Serverに送信しています。
http://iam.example.com:8080/openam/oauth2/device/user?user_code=********

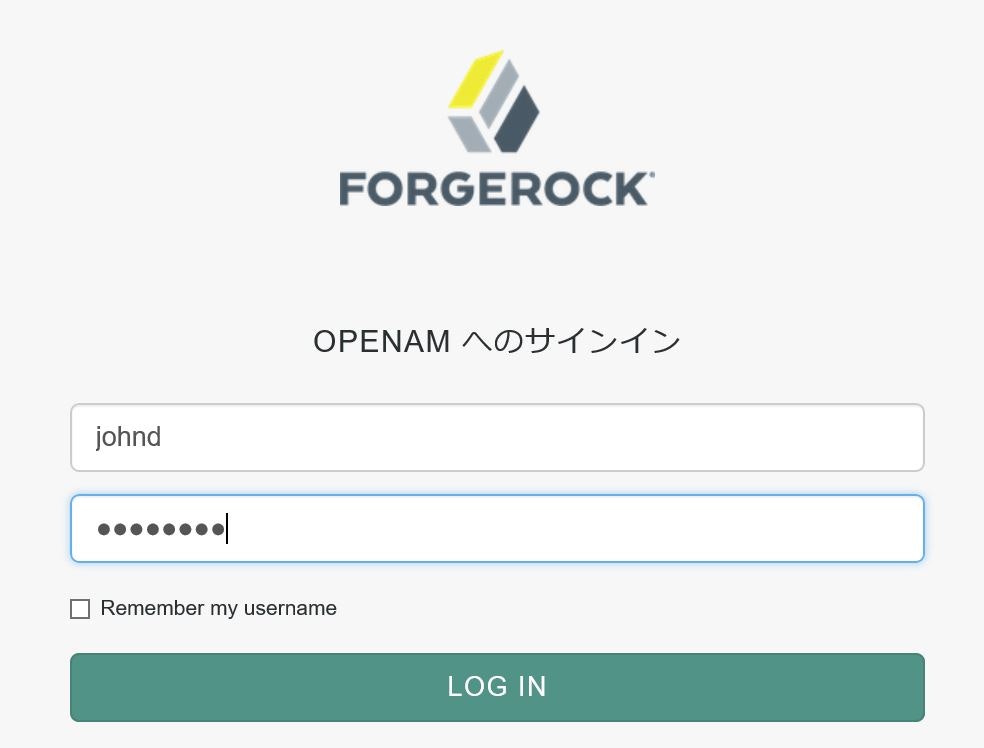
外部ブラウザ上ではOpenAMのサインイン画面が表示されますので、johndでサインインします。

先ほど送信したVerification Codeは、tv-playerから送信されたAuthorization Requestに紐づいているので、認可同意画面にもtv-playerからのclaimが表示されます。

同意すると、Done!!となります。

tv-playerの画面にもどると、ペアリングが完了しています。

ホームに戻ると、tv-player上ではサインインしていませんが、access tokenの取得が出来ていますので、そのaccess tokenを使って、ユーザーIDの取得ができています。
![009][.JPG](https://qiita-user-contents.imgix.net/https%3A%2F%2Fqiita-image-store.s3.amazonaws.com%2F0%2F148404%2Ffa0004d1-ecac-a968-0f85-11b1ccdd6688.jpeg?ixlib=rb-4.0.0&auto=format&gif-q=60&q=75&s=d279e76e5d86a4631ecac17adc7a0088)
〆
OAuth 2.0では認証そのものの手段やフローは定義されていません。なので、Device FlowのようにOut of Band Authenticationでも問題ありません。おもしろいユースケースですね~。
あと2日か~。なにしようかな~?
ばい!

