概要
EC-CUBE3で、商品情報テーブルを追加(編集)する場合の例です。
自動生成されるファイルやコマンドは EC-CUBE3.0.16 で確認しています。
※ EC-CUBE4系では、仕様が変わる場合があります。
1. dcm.yml編集
DB定義のベースとなる、ymlファイルを編集します。
対象ファイルは下記に格納されています。
src/Eccube/Resource/doctrine/
商品情報の設定ファイルは、下記となります。
src/Eccube/Resource/doctrine/Eccube.Entity.Product.dcm.yml
例1:「発売日(release_date)」の項目を追加
fields欄の任意の場所にカラム情報を追加します
    fields:
        # 任意の位置
        release_date:
            type: datetime
            nullable: true
例2:「商品名(name)」の型を変更
商品名の型をlongtextからvarchar(255)に変更します。
    fields:
        name:
            type: text
            nullable: false
            length: 65535
    fields:
        name:
            type: string
            length: 255
            nullable: false
2. Entity更新
編集したymlファイルをベースに、下記コマンドでEntityファイルを更新します。
Entityファイルは再生成される訳ではなく更新されるので、独自に記述していた内容などは保持されます。
$ vendor/bin/doctrine orm:generate:entities --extend="Eccube\Entity\AbstractEntity" src
今回の例では、下記内容が追加されます。
    /**
     * @var \DateTime
     */
    private $release_date;

    /**
     * Set release_date
     *
     * @param \DateTime $releaseDate
     * @return Product
     */
    public function setReleaseDate($releaseDate)
    {
        $this->release_date = $releaseDate;

        return $this;
    }

    /**
     * Get release_date
     *
     * @return \DateTime
     */
    public function getReleaseDate()
    {
        return $this->release_date;
    }
3. マイグレーションファイル生成
下記コマンドで、マイグレーションファイルを自動生成します。
$ php app/console migrations:diff
生成されたファイルは以下の通りですが、必要ない変更内容も含まれているため、編集します。
具体的には、下記の中のINDEX関連(DROP INDEX,CREATE INDEX)の行を削除します(理由は補足欄に記載)。
<?php

namespace DoctrineMigrations;

use Doctrine\DBAL\Migrations\AbstractMigration;
use Doctrine\DBAL\Schema\Schema;

/**
 * Auto-generated Migration: Please modify to your needs!
 */
class Version20180829xxxxxx extends AbstractMigration
{
    /**
     * @param Schema $schema
     */
    public function up(Schema $schema)
    {
        // this up() migration is auto-generated, please modify it to your needs
        $this->abortIf($this->connection->getDatabasePlatform()->getName() != 'mysql', 'Migration can only be executed safely on \'mysql\'.');

        $this->addSql('DROP INDEX dtb_customer_email_idx ON dtb_customer');
        $this->addSql('DROP INDEX dtb_order_pre_order_id_idx ON dtb_order');
        $this->addSql('DROP INDEX dtb_order_order_email_idx ON dtb_order');
        $this->addSql('DROP INDEX dtb_page_layout_url_idx ON dtb_page_layout');
        $this->addSql('ALTER TABLE dtb_product ADD release_date DATETIME DEFAULT NULL, CHANGE name name VARCHAR(255) NOT NULL');    }

    /**
     * @param Schema $schema
     */
    public function down(Schema $schema)
    {
        // this down() migration is auto-generated, please modify it to your needs
        $this->abortIf($this->connection->getDatabasePlatform()->getName() != 'mysql', 'Migration can only be executed safely on \'mysql\'.');

        $this->addSql('CREATE INDEX dtb_customer_email_idx ON dtb_customer (email)');
        $this->addSql('CREATE INDEX dtb_order_pre_order_id_idx ON dtb_order (pre_order_id)');
        $this->addSql('CREATE INDEX dtb_order_order_email_idx ON dtb_order (order_email)');
        $this->addSql('CREATE INDEX dtb_page_layout_url_idx ON dtb_page_layout (url)');
        $this->addSql('ALTER TABLE dtb_product DROP release_date, CHANGE name name TEXT NOT NULL COLLATE utf8_general_ci');
    }
}
4. マイグレーション実行
4-1. コマンドで実行
$ php app/console migrations:migrate
4-1-1. ロールバックする場合
マイグレーションファイルに振られたバージョン番号を指定して下記コマンドを実行します。
下記は、マイグレーションファイルがVersion20180829xxxxxx.phpというファイル名だった場合の例です。
$ php app/console migrations:execute --down 20180829xxxxxx
下記コマンドで最後に適用されたバージョンを知ることも出来ます。
$ php app/console migrations:status

 == Configuration

    >> Name:                                               Doctrine Database Migrations
    >> Database Driver:                                    pdo_mysql
    >> Database Name:                                      database_name
    >> Configuration Source:                               manually configured
    >> Version Table Name:                                 doctrine_migration_versions
    >> Migrations Namespace:                               DoctrineMigrations
    >> Migrations Directory:                               /var/www/app/../src/Eccube/Resource/doctrine/migration
    >> Previous Version:                                   2017-02-25 12:00:00 (20170225120000)
    >> Current Version:                                    2018-08-29 xx:xx:xx (20180829xxxxxx)
    >> Next Version:                                       Already at latest version
    >> Latest Version:                                     2018-08-29 xx:xx:xx (20180829xxxxxx)
    >> Executed Migrations:                                39
    >> Executed Unavailable Migrations:                    0
    >> Available Migrations:                               39
    >> New Migrations:                                     0
4-2. ブラウザで実行
本番環境がレンタルサーバなどで、コマンドが実行できない場合にはブラウザからマイグレーションします。
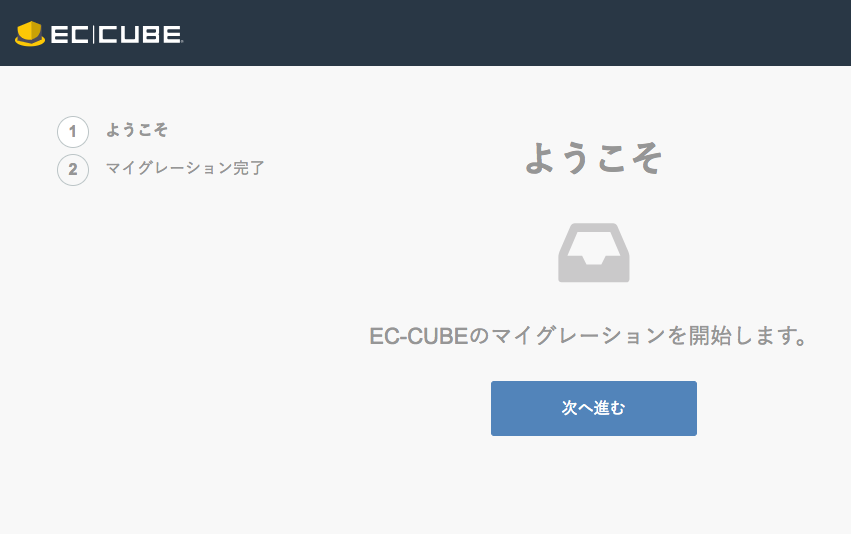
やり方は下記URLにアクセスして「次へ進む」ボタンをクリックするだけです。
https://ドメイン名/install.php/migration

標準インストールしただけの場合などは、以下のように/html/を挟むケースもあります。
https://ドメイン名/html/install.php/migration
install.php は初期インストール完了後に削除しているかもしれません。
その場合は、あらためて設置する必要がありますが、アクセス制限をかけておくか、マイグレーション後に削除するようにしましょう。
なお、ブラウザからはロールバックできないようです。
補足
マイグレーションファイル内にINDEXに関する記述が出てくる件の補足です。
EC-CUBE3系では、テキスト系のカラムがlongtext型になっています。(MySQLでは)longtext型にINDEXを張る場合、対象とする文字列長を指定する必要があります。しかし、マイグレーションファイルを自動生成する際には文字列長の指定まではしてくれません。
そのため、INDEXを張りたいテキスト型カラムについては個別にマイグレーション処理が記述されていて、dcm.yml内からはINDEXの記述がコメントアウトされています。コメントアウトされているので、それが差分として抽出されてしまう、というのが理由のようです。
ちなみにテキストカラムがlongtext型になっている件は、下記でvarcharへの変更が入っていますが、適用されるのは4系からになるようです。
https://github.com/EC-CUBE/ec-cube/pull/2185