はじめに
皆さんは猫がお好きですか?
私は猫が好きです。見ていてとても癒されますよね。
しかしペットを飼うというのも難しい話。。。
そんな愁いを解消するために猫の画像に癒されながらネットサーフィンが出来るChrome拡張機能を開発しました。
(余談ですがネットサーフィンってもう死語になりつつあるらしいですね。。。)
成果物イメージ
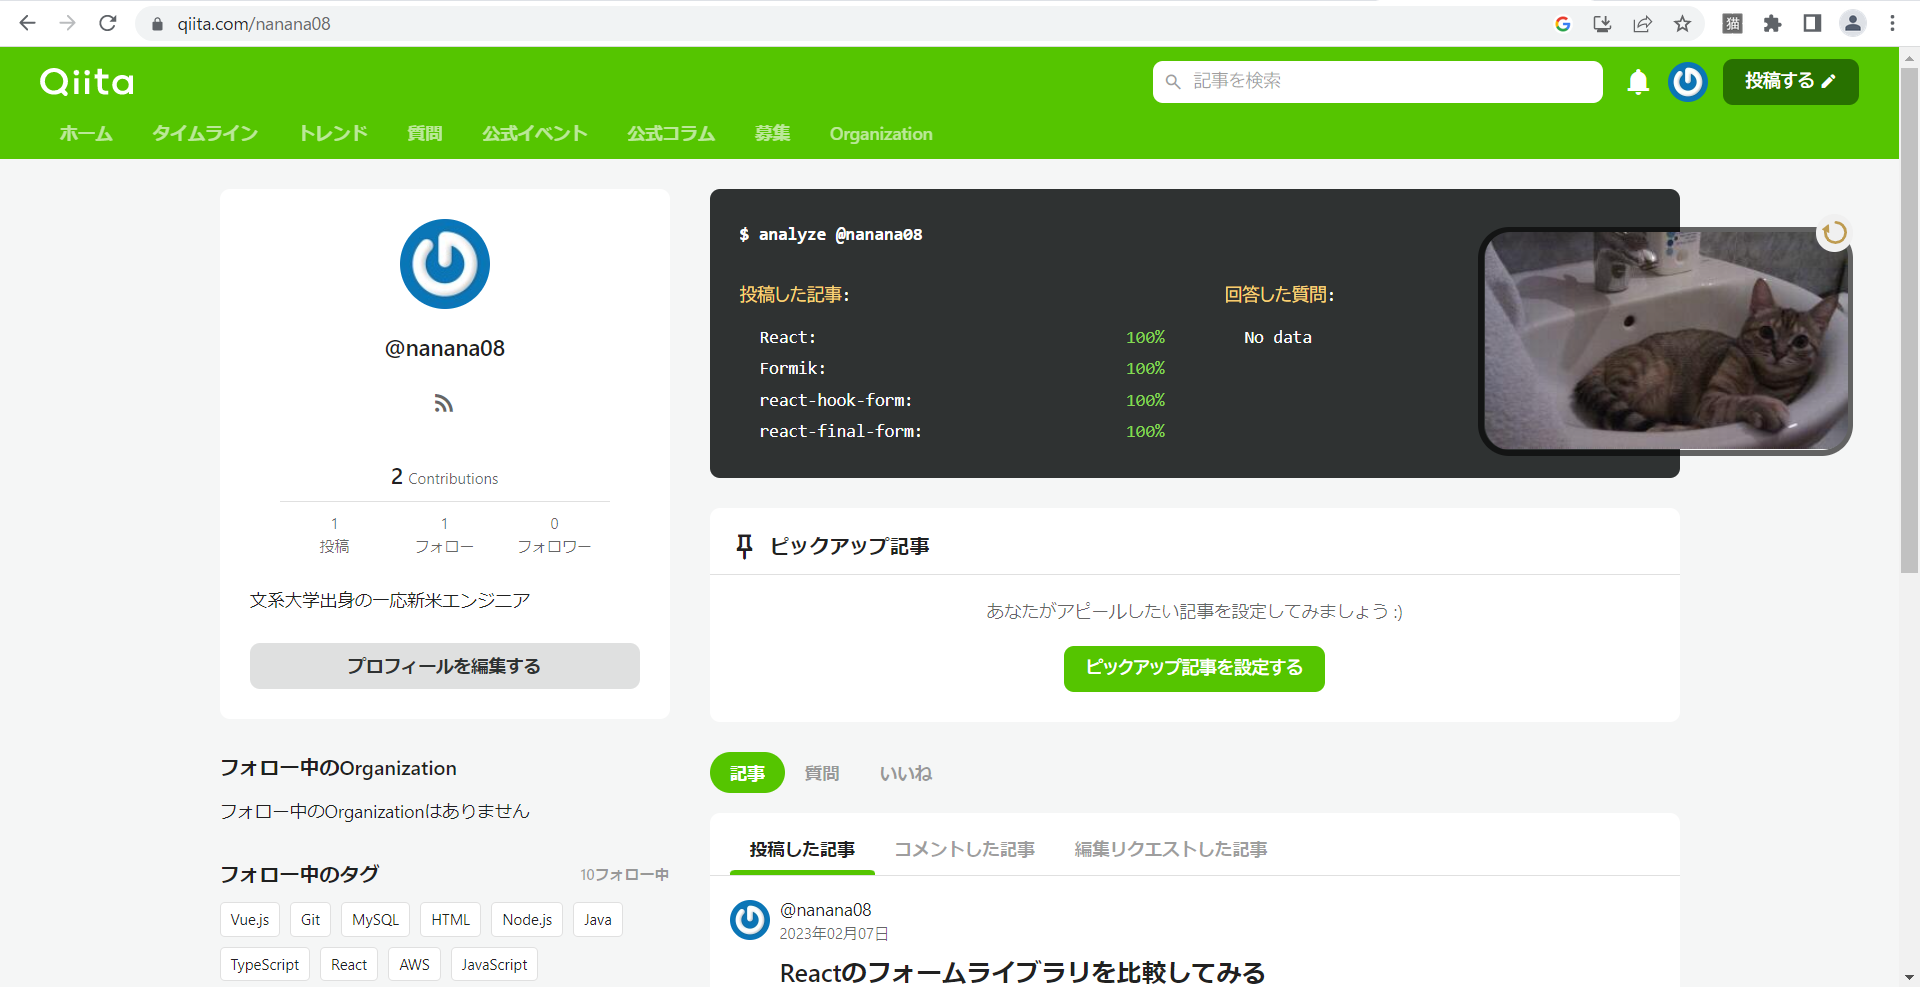
画面にThe Cat APIから取得したランダムな猫の画像を表示してくれます。

Chrome拡張機能の作り方
Chrome拡張機能を作るのは意外と簡単で最低限必要なものはmanifest.jsonという設定ファイルのみです。
manifest.json
manifest.jsonは拡張機能の諸々の設定を記述する、拡張機能に必須のファイルです。
まずは適当なディレクトリを作ってmanifest.jsonファイルを作成します。
extension
┗ manifest.json
作成したら最低限必要な情報を記述します。
{
    "manifest_version": 3,
    "name": "猫に癒されたい",
    "version": "1.0.0",
    "description": "猫に癒されたい人のためのChrome拡張"
}
ひとまずこれだけ書けば最低限要件を満たした拡張機能の完成です。
このままではただ何もしない拡張機能があるだけなので、ここにJavaScriptやCSSファイルを読み込む設定を記述することで拡張機能の中身を実装していきます。
index.js, index.css
次は猫の画像を取得して画面に表示するJavaScript、レイアウト用のCSSファイルを作成します。
アイコン用の画像フォルダも追加しておきます。
extension
┣ manifest.json
┣ index.css
┣ index.js
┗ images
  ┣ icon-16.png
  ┣ icon-48.png
  ┣ icon-128.png
  ┣ reload.svg
  ┗ ball.svg
JavaScriptの実装自体はライブラリも特に使わず、ただのJSで行っています。
特殊なこともしていないので折りたたんでおきます。
index.js
const init = async () => {

    // body要素を取得
    const body = document.getElementsByTagName("body")[0];

    // 画像の描画エリアを生成
    const div = document.createElement("div");
    div.id = "cat-image";

    // 画像を取得
    const catImg = document.createElement("img");
    const data = await fetch("https://api.thecatapi.com/v1/images/search").then(res => res.json());
    catImg.src = data[0].url;

    // 更新ボタンを生成
    const btn = document.createElement("button");
    btn.onclick = () => {
        changeImage(catImg, btn);
    }
    btn.classList.add("cat-btn");
    const reloadIcon = document.createElement("img");

    // アイコンを読み込む
    reloadIcon.src = chrome.runtime.getURL("image/reload.svg");
    btn.appendChild(reloadIcon);
    div.appendChild(btn);

    div.appendChild(catImg);
    div.draggable = true;
    div.style.left = `${window.innerWidth - 330}px`;
    body.appendChild(div);

    // 画像のドラッグ処理
    div.onmousedown = (e) => {
        if (e.target === btn || e.target === reloadIcon) {
            return;
        }
        const height = window.innerHeight - catImg.height;
        const width = window.innerWidth - 330;

        const move = (e) => {
            const y = e.y - div.offsetHeight / 2;
            const x = e.x - div.offsetWidth / 2;
            div.style.top = `${y > height ? height : y}px`;
            div.style.left = `${x > width ? width : x}px`;
        }

        move(e);

        document.addEventListener("mousemove", move);

        div.onmouseup = () => {
            document.removeEventListener("mousemove", move);
            div.onmouseup = null;
        }

        div.onmouseleave = () => {
            document.removeEventListener("mousemove", move);
            div.onmousemove = null;
        }
    }

    div.ondragstart = () => {
        return false;
    }
}

// 画像更新処理
const changeImage = async (img, btn) => {
    btn.disabled = true;
    const beforeImgSrc = img.src;
    img.src = chrome.runtime.getURL("image/ball.svg");
    try {
        const data = await fetch("https://api.thecatapi.com/v1/images/search").then(res => res.json());
        img.src = data[0].url;
    }
    catch {
        img.src = beforeImgSrc;
    }
    finally {
        btn.disabled = false;
    }
}

init();
※chrome.runtime.getURL("")APIを用いてフォルダ内の画像への相対パスを完全修飾URLに変換しています。
CSSファイルに関しても特記事項がないので折りたたんでおきます。(CSSの書き方が分からない。。。)
index.css
#cat-image {
    padding: 10px;
    position: fixed;
    left: 0;
    top: 0;
    z-index: 10000;
}

#cat-image > img {
    max-width: 300px;
    min-width: 300px;
    filter: none !important;
    border: 5px solid rgba(0, 0, 0, 0.6);
    border-radius: 25px;
}

.cat-btn {
    position: absolute;
    top: 0px;
    right: 10px;
    border-radius: 50px;
    width: 30px;
    height: 30px;
    border-color: black;
    padding: 0;
    display: flex;
    justify-content: center;
    align-items: center;
}

.cat-btn:hover {
    cursor: pointer;
    background-color: gray;
}

.cat-btn > img {
    filter: none !important;
    width: 20px;
    height: 20px;
}
manifest.jsonの修正
必要なファイルを作成したらそれらを読み込んで実行するようにmanifest.jsonを修正していきます。
{
    "manifest_version": 3,
    "name": "猫に癒されたい",
    "version": "1.0.0",
    "description": "猫に癒されたい人のためのChrome拡張",
    "icons": {
        "16": "/image/icon-16.png",
        "48": "/image/icon-48.png",
        "128": "/image/icon-128.png"
    },
    "content_scripts": [
        {
            "matches": [ "http://*/*", "https://*/*" ],
            "js": [
                "/index.js"
            ],
            "css": [
                "/index.css"
            ]
        }
    ],
    "web_accessible_resources": [
        {
            "resources": [ "/image/*" ],
            "matches": [ "http://*/*", "https://*/*" ]
        }
    ]
}
icons
iconsは拡張機能のアイコンを記述する設定です。
128×128、48×48のサイズが必要で、その他にfaviconとして使用する16×16のサイズの画像を設定可能です。
基本的にはpng形式を使用出来るほか、bmp,gif,ico,jpg等も使用可能です。
"icons": {
    "16": "/image/icon-16.png",
    "48": "/image/icon-48.png",
    "128": "/image/icon-128.png"
}
content_scripts
content_scriptsはウェブページで実行されるファイルを記述する設定です。
matches配列にはファイルを読み込むウェブページのマッチパターンを記述します。
今回はとりあえず全てのウェブページで実行できるようにしています。
次にjs配列、css配列にはウェブページで読み込むJavaScript,CSSファイルの一覧をルートディレクトリからの相対パスで記述します。
以下では全てのウェブページにてindex.js、index.cssを読み込む設定をしています。
"content_scripts": [
    {
        "matches": [ "http://*/*", "https://*/*" ],
        "js": [
            "/index.js"
        ],
        "css": [
            "/index.css"
        ]
    }
]
web_accessible_resources
web_accessible_resourcesはウェブページや他の拡張機能からアクセスできる拡張機能内のファイルを設定します。
resources配列には公開するファイルをルートディレクトリからの相対パスで記述します。
matches配列にはcontent_scriptsと同様にファイルを読み込むウェブページのマッチパターンを記述します。
以下は全てのウェブページにimage/配下のすべてのファイルを公開する設定をしています。
"web_accessible_resources": [
    {
        "resources": [ "/image/*" ],
        "matches": [ "http://*/*", "https://*/*" ]
    }
]
拡張機能を登録する
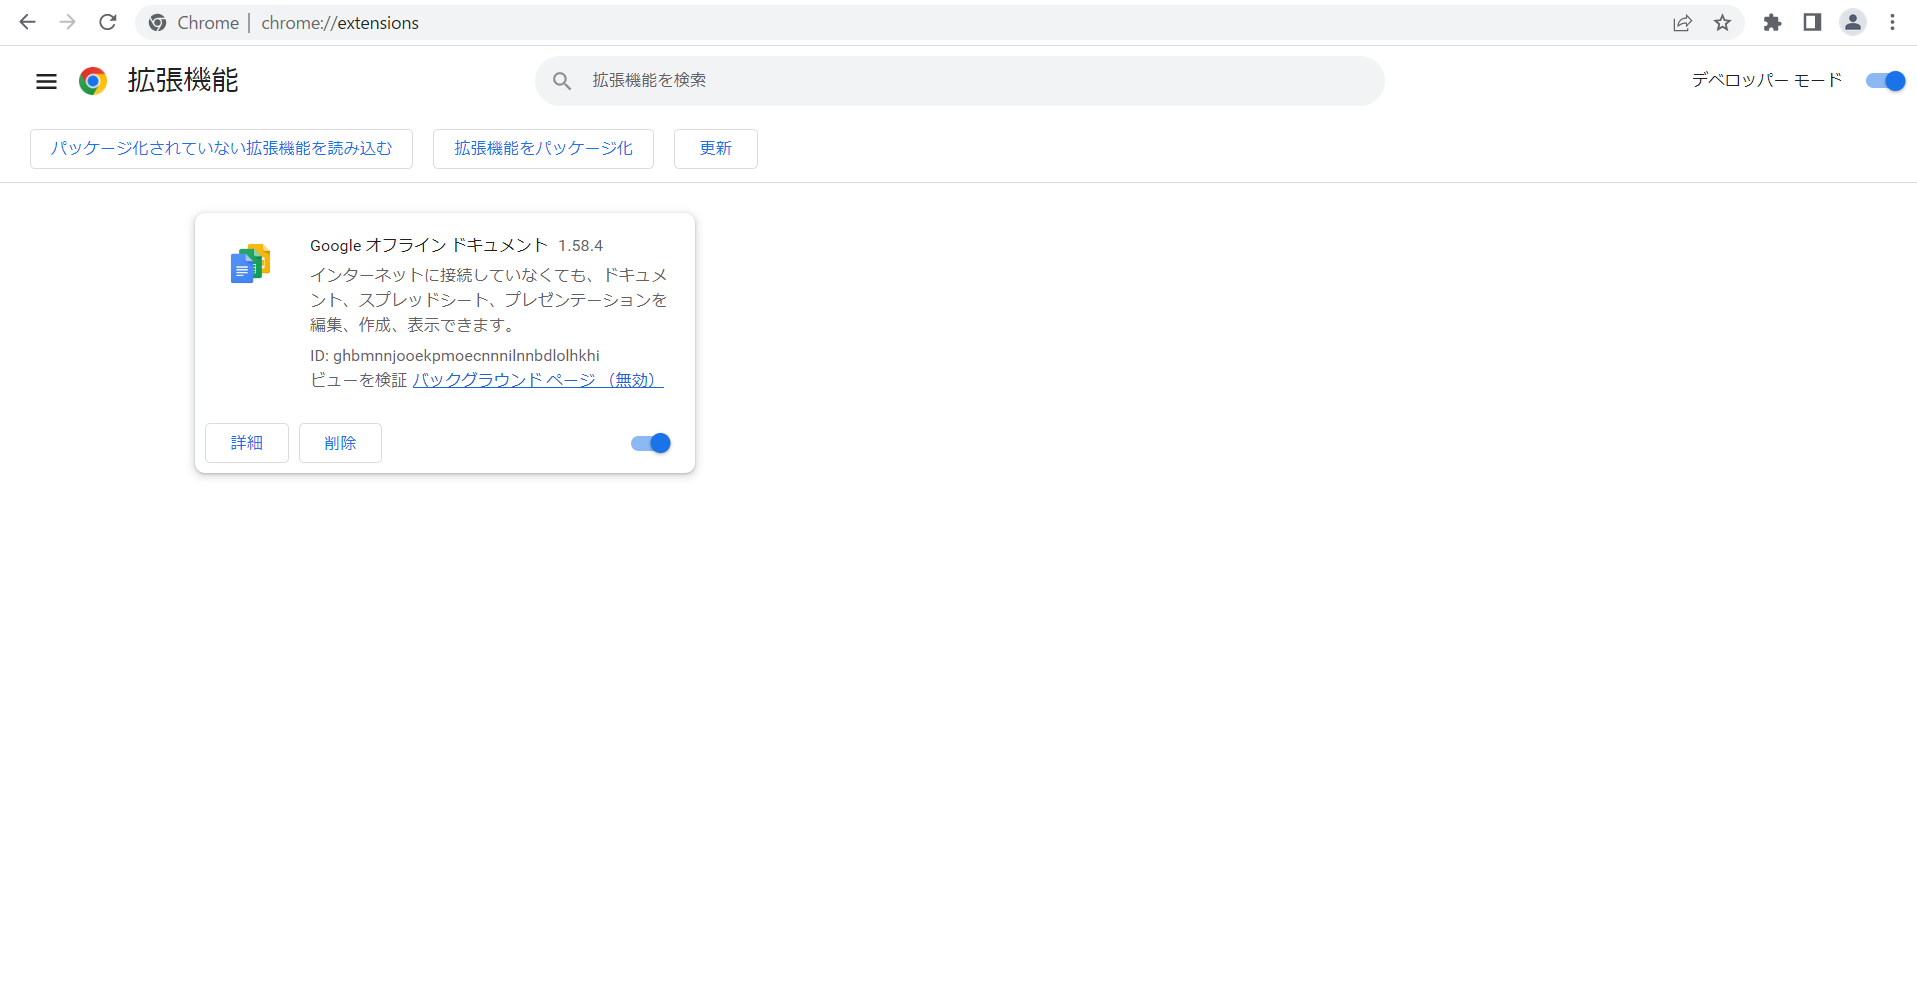
chrome://extensions/へアクセスし、デベロッパーモードをオンにします。
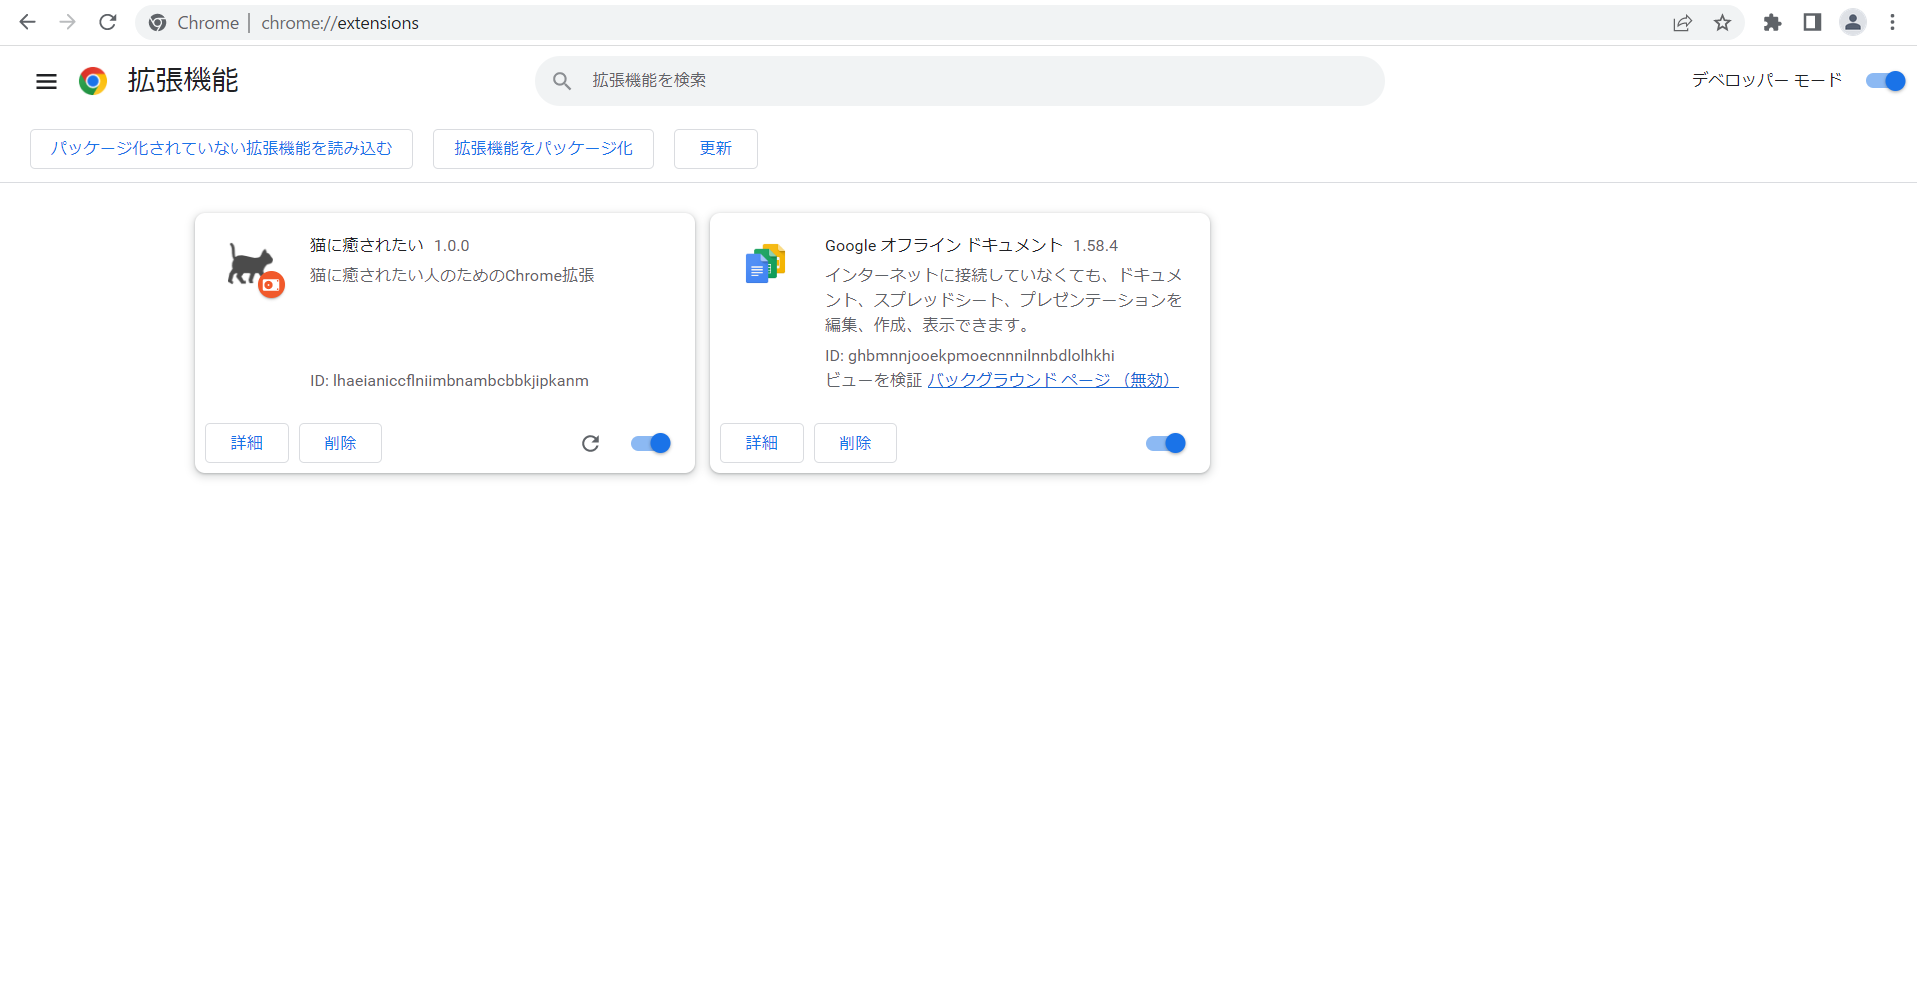
「パッケージ化されていない拡張機能を読み込む」ボタンを押下し、拡張機能フォルダをアップロードします。
extension ← これをアップロード
┣ manifest.json
┣ index.css
┣ index.js
┗ images
  ┣ icon-16.png
  ┣ icon-48.png
  ┣ icon-128.png
  ┣ reload.svg
  ┗ ball.svg
問題なくアップロードできたのを確認したら任意のサイトにアクセスし、拡張機能を有効にします。
無事猫の画像が表示されました!
おわりに
今回初めてChrome拡張機能を開発してみたのですが案外手軽に作れるものだと驚きました。
猫に癒される以外にも色々と出来そうなことがあってワクワクしているので今後も色々と触ってみたいと思います。
参考


