Zabbixのお試しという位置づけでいろいろ試してみたのでメモ。
Docker のインストール
Ubuntu 24.04 serverがインストール済みである前提で、下記のドキュメント通りにインストールする。
Zabbix ServerをDocker Composeで立ち上げる
下記のGitHub上にZabbix公式のDocker ComposeのYAMLファイルが置いてあるのでありがたく使わせてもらう。
なお、ドキュメントはここ。
https://www.zabbix.com/documentation/current/en/manual/installation/containers#docker-compose
# git clone https://github.com/zabbix/zabbix-docker.git
# cd zabbix-docker
# docker compose -f ./docker-compose_v3_ubuntu_pgsql_latest.yaml up -d
しばらくすると、http://localhost:80/ で立ち上がってくる。
Zabbixの設定
アクセスするとログイン画面が表示される。

user/passは、「Admin/zabbix」である。※Adminは大文字始まりなので注意。
日本語化
左下の User settings > Profile をクリック。

| 設定項目 | 値 |
|---|---|
| Language | Japanese(ja_JP) |
| Time zone | (UTC+09:00) Asia/Tokyo |
| Refresh | 10s |
※Refreshは後のテストで表示を早くしたいので、設定した。
Dockerホストへの Zabbix Agentのインストールと設定
インストール直後は、エージェントがないよと警告が出るので、入れてあげる。

Dockerを動かしているUbutnu Server にインストールする。
Zabbix公式のとおりである。
https://www.zabbix.com/jp/download?zabbix=7.0&os_distribution=ubuntu&os_version=24.04&components=agent_2&db=&ws=
# wget https://repo.zabbix.com/zabbix/7.0/ubuntu/pool/main/z/zabbix-release/zabbix-release_7.0-2+ubuntu24.04_all.deb
# dpkg -i zabbix-release_7.0-2+ubuntu24.04_all.deb
# apt update
# apt install zabbix-agent2 zabbix-agent2-plugin-*
# systemctl restart zabbix-agent2
# systemctl enable zabbix-agent2
Zabbix Serverからアクセスできるように設定ファイルに追記する。
# 80行目:Zabbix サーバーを指定(というか全許可)
Server=0.0.0.0/0
ここで、初期設定で入っているZabbix ServerのIPアドレスが、ローカルループバックアドレスなので、Ubuntu ServerのIPアドレスに変更する。
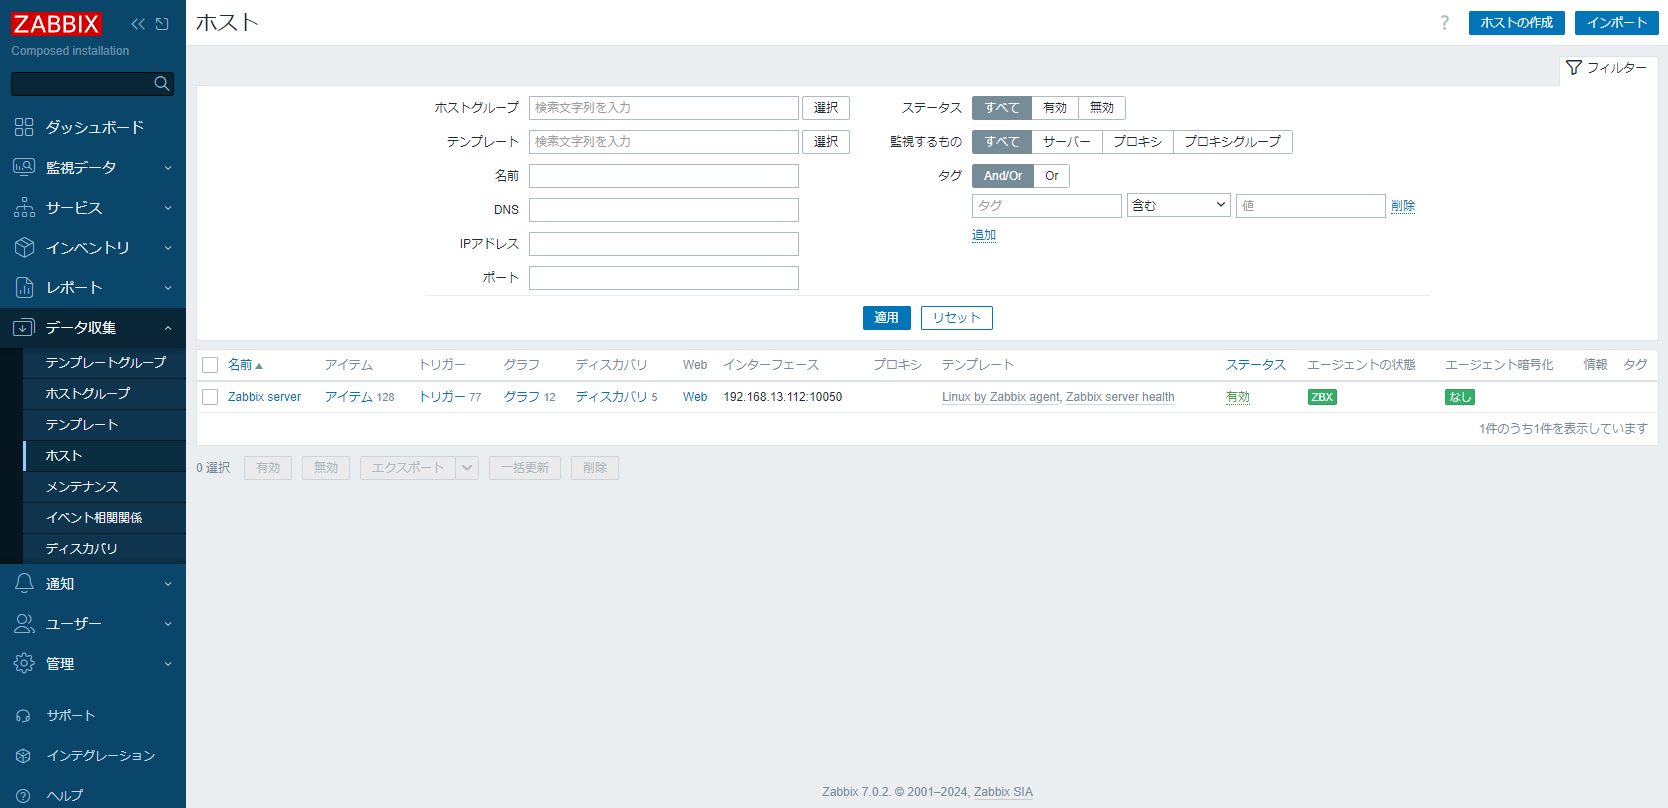
データ収集 > ホスト > Zabbix Server をクリックし、インターフェースのエージェントIPアドレスを対象のものに変更する。
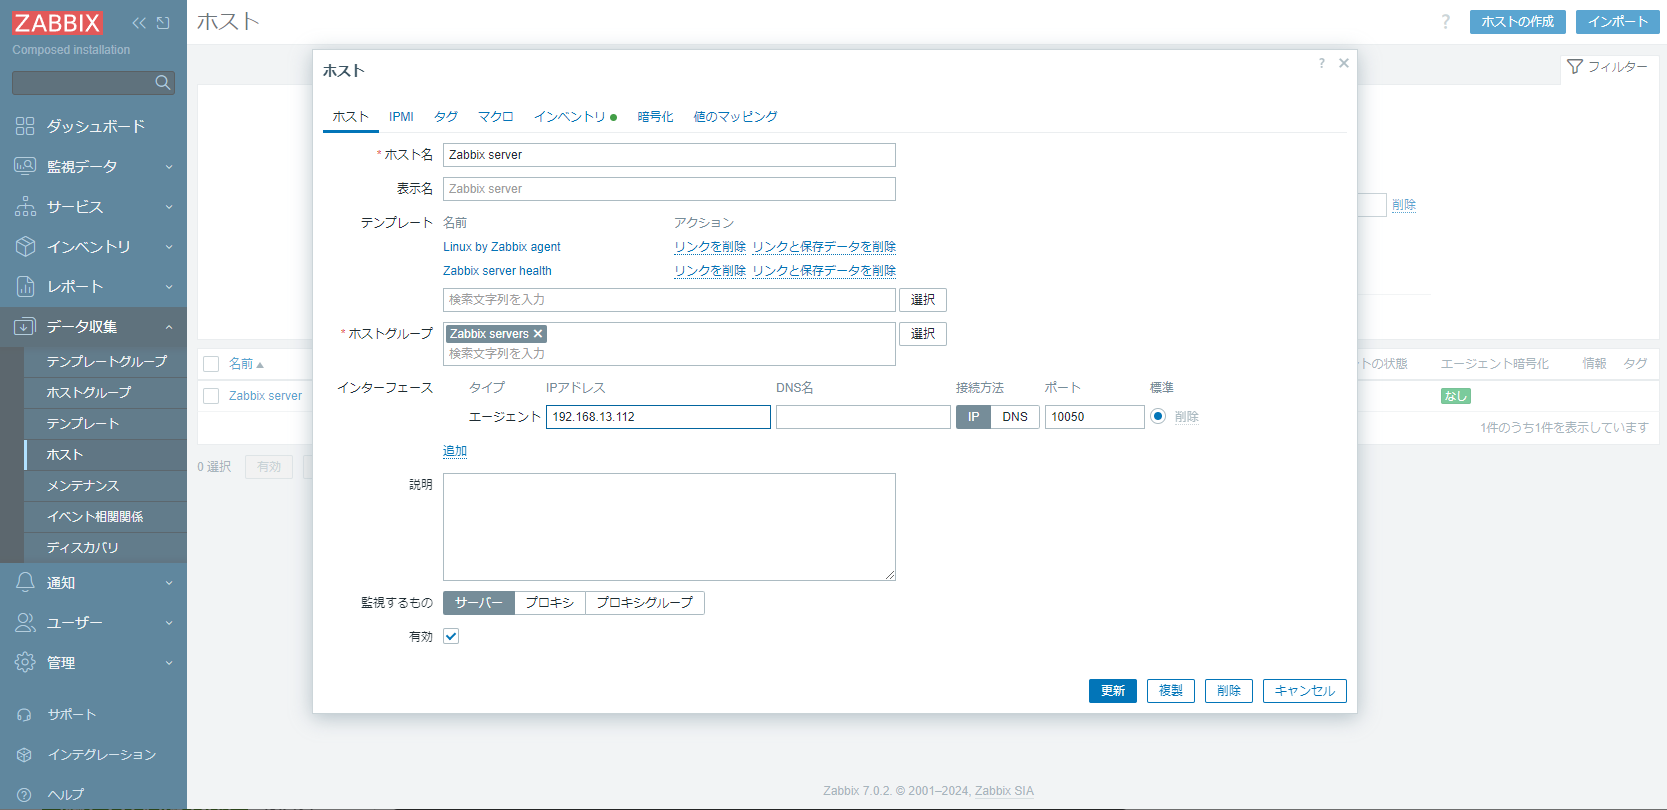
これで、Zabbix Serverの設定は完了である。
※Firewallの設定をしている場合は、ポート10050を開ける。
CentOS Stream 9にZabbix Agent2 をインストール
Zabbix 公式ページにてインストール手順を確認する。
https://www.zabbix.com/jp/download?zabbix=7.0&os_distribution=centos&os_version=9&components=agent_2&db=&ws=
リポジトリ設定
下記の通り、excludepkgs=zabbix*を追記する。
[epel]
...
excludepkgs=zabbix*
リポジトリインストール
# rpm -Uvh https://repo.zabbix.com/zabbix/7.0/centos/9/x86_64/zabbix-release-7.0-5.el9.noarch.rpm
# dnf clean all
Zabbix Agent2をインストール
# dnf install zabbix-agent2 zabbix-agent2-plugin-*
エージェントの自動起動設定と開始
# systemctl restart zabbix-agent2
# systemctl enable zabbix-agent2
エージェントの設定
今回は横着して全許可。
# 80行目:Zabbix サーバーを指定(というか全許可)
Server=0.0.0.0/0
Firewallの設定
# firewall-cmd --add-port=10050/tcp
success
# firewall-cmd --runtime-to-permanent
success
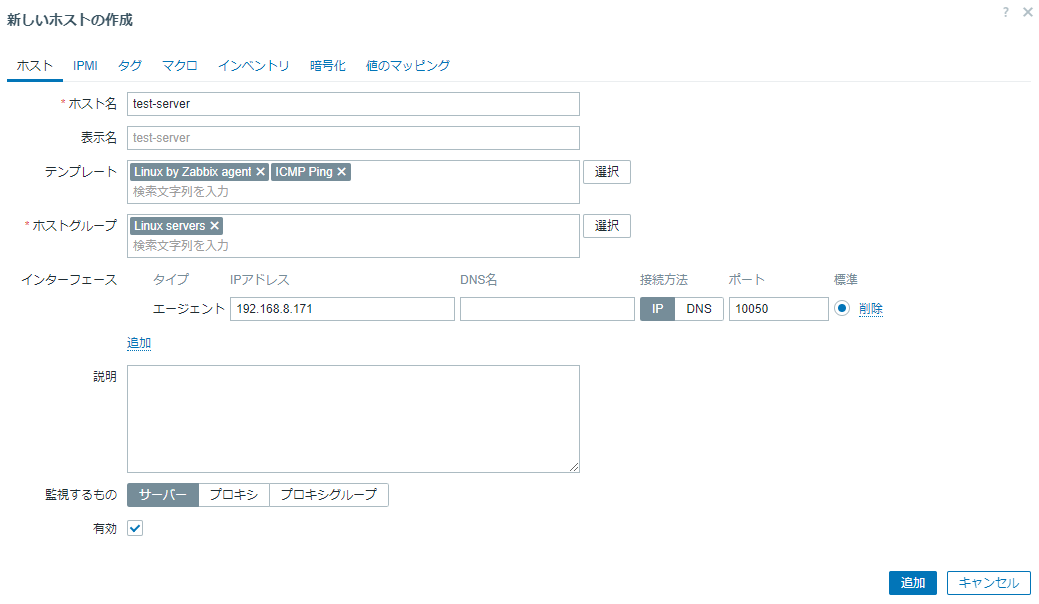
Zabbix にてホスト登録
データ収集 > ホスト にて、左上のホストの作成をクリックする。
| 設定項目 | 値 |
|---|---|
| ホスト名 | (設定したホスト名) |
| テンプレート |
Linux by Zabbix Agent ICMP Ping
|
| ホストグループ | Linux servers |
| インターフェース | (エージェントを選択し、IPアドレスを入力) |
監視データ > ホスト から、ホストが追加され、エージェントの状態がGreenになっていたらOK。

データ収集の間隔を狭める
このあと監視テストをしたいが、待ち時間がもったいなので、デフォルトの間隔を狭める。今回はLoad AverageとICMP Ping。
Load Averageの監視間隔
データ収集 > テンプレート から、「Linux」を検索し、「Linux by Zabbix Agent」のアイテムをクリックする。

「Load」検索し、「Load Average(1m avg)」をクリックして、監視間隔を10sにする。

これを、「Load Average(5m avg)」「Load Average(15m avg)」にも行う。
また、トリガー設定も変更する。
「Load Average(1m avg)」の「トリガー」をクリックし、「Load average is too high」をクリックする。
下記の通り、修正する。5m判定を15s判定に変えている。

イベント名
- Load average is too high (per CPU load over {$LOAD_AVG_PER_CPU.MAX.WARN} for 5m)
+ Load average is too high (per CPU load over {$LOAD_AVG_PER_CPU.MAX.WARN} for 15s)

条件式
- min(/Linux by Zabbix agent/system.cpu.load[all,avg1],5m)/last(/Linux by Zabbix agent/system.cpu.num)>{$LOAD_AVG_PER_CPU.MAX.WARN} and last(/Linux by Zabbix agent/system.cpu.load[all,avg5])>0 and last(/Linux by Zabbix agent/system.cpu.load[all,avg15])>0
+ min(/Linux by Zabbix agent/system.cpu.load[all,avg1],15s)/last(/Linux by Zabbix agent/system.cpu.num)>{$LOAD_AVG_PER_CPU.MAX.WARN}
ICMP Pingの監視間隔
同じように、データ収集 > テンプレート > ICMP Pingを検索 > アイテム > ICMP Ping をクリック。
監視間隔を5sとする。

アラート発報テスト
CPU負荷
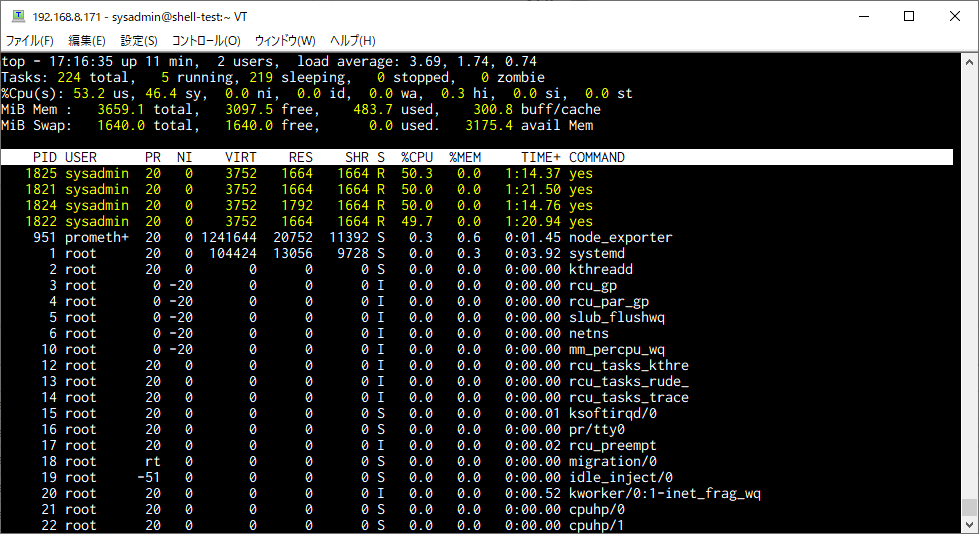
下記コマンドをCPU個数+2個分実行する。
# yes > /dev/null &
# yes > /dev/null &
# yes > /dev/null &
# yes > /dev/null &
停止するときはこう。
# jobs
[1]   実行中               yes > /dev/null &
[2]   実行中               yes > /dev/null &
[3]-  実行中               yes > /dev/null &
[4]+  実行中               yes > /dev/null &
# kill %1 %2 %3 %4
[1]   Terminated              yes > /dev/null
[2]   Terminated              yes > /dev/null
[3]-  Terminated              yes > /dev/null
[4]+  Terminated              yes > /dev/null
Ping疎通不可
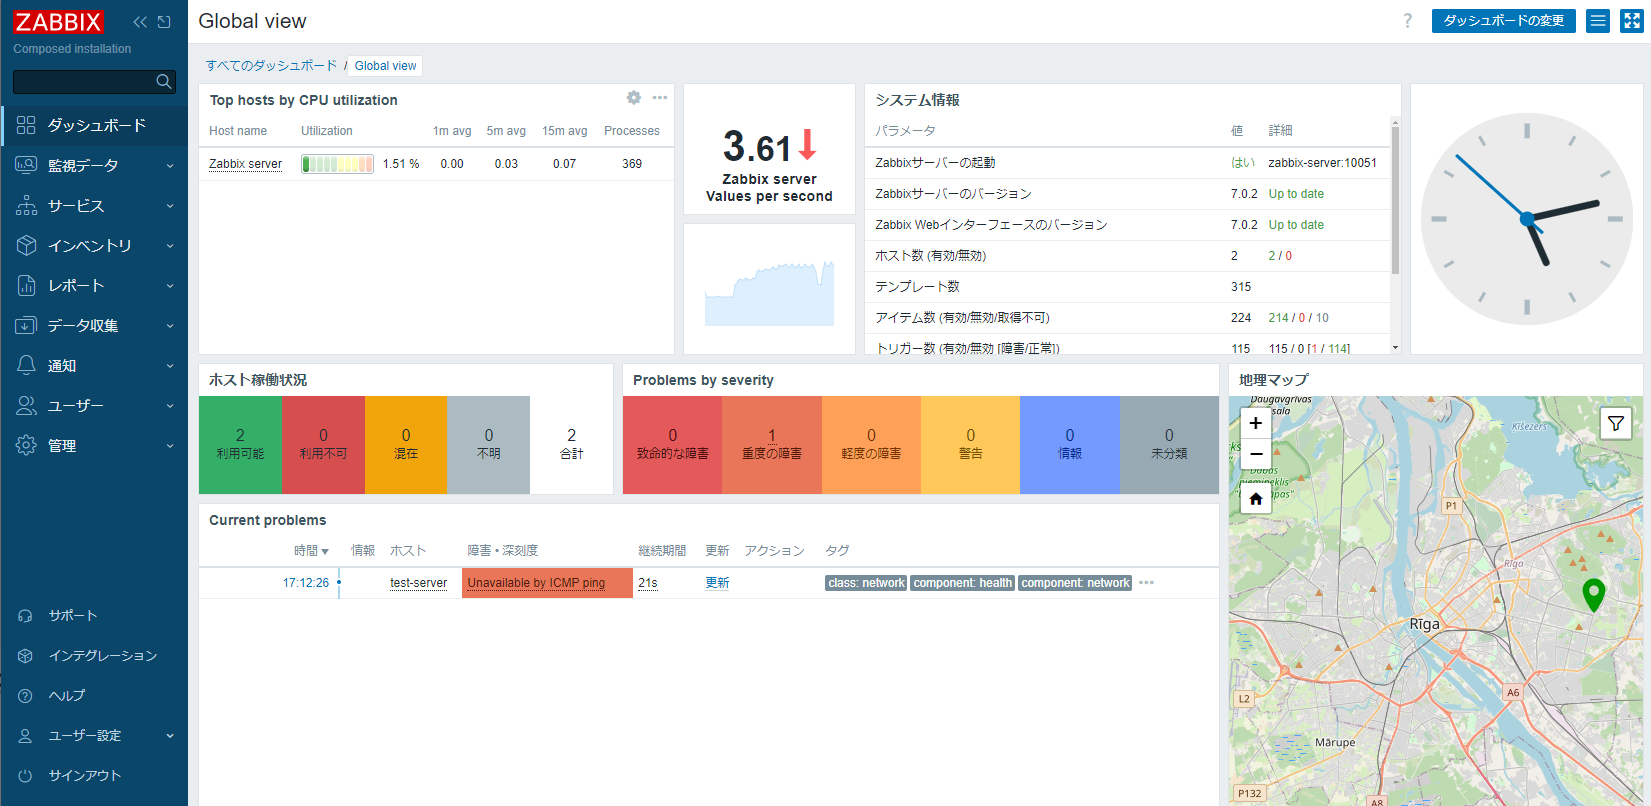
NWを切断してみた。
こんな感じで、30秒程度で発報される。
障害時にPATLITEを光らせる
Ping疎通不可が出た場合に、PATLITEを光らせるようにする。
スクリプト設定
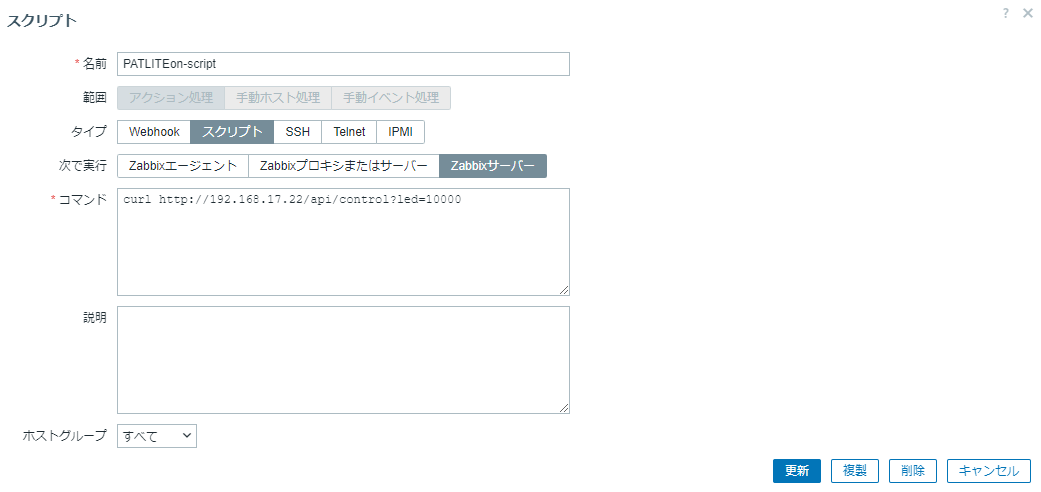
Zabbix Serverからたたくスクリプトを設定する。
スクリプトの詳細は下記公式ドキュメントを参照。
curl http://192.168.17.22/api/control?led=10000
curl http://192.168.17.22/api/control?led=00000
左ペインから、通知 > スクリプト から「スクリプトの作成」で、下記のように作成する。
アクション設定
作成したスクリプトとアクションを紐づける。
通知 > アクション > トリガーアクション から「アクションの作成」をクリックする。
実行条件を追加で、下記の通り設定する。
| 項目 | 値 |
|---|---|
| タイプ | テンプレート |
| オペレータ | 等しい |
| テンプレート | ICMP Ping |
実行内容タブでは「実行内容」と「復旧時の実行内容」をそれぞれ下記のように追加する。

以上で、ICMP Pingの障害発生時には、PATLITEが赤く光る。


