背景
12/5の記事にようにspheroのboltは傾きを検出することができるようです。
ここでは傾きを検出してwindows上の画面の中を操作するコントローラをboltで作ってみます。
Scratch
Sphero IDEにはその機能は見つかりませんでした。
spheroV2
ここでもpygameモジュールを用いました。
chatGPT先生と相談しながら作成しました。
bluetoothの通信とpygameの並列化が衝突するようだったので、入力内容をqueingして逐次描画する方式にしました。
import time
from multiprocessing import Queue, Process
from spherov2 import scanner
from spherov2.sphero_edu import SpheroEduAPI
from spherov2.types import Color
from DrawingModule import drawing_process  # 描画モジュールのプロセスをインポート

# メイン関数
def main():
    # 描画プロセスとの通信用キュー
    queue = Queue()

    # 描画プロセスを開始
    drawing_proc = Process(target=drawing_process, args=(queue,))
    drawing_proc.start()

    print("Testing Starting...")
    print("Connecting to Bolt...")
    toy = scanner.find_BOLT()

    if toy is not None:
        print("Connected.")
        with SpheroEduAPI(toy) as droid:
            print("Testing Start...")

            droid.reset_aim()
            droid.set_stabilization(False)
            droid.set_front_led(Color(r=4, g=4, b=4))

            try:
                while True:
                    # Bolt のピッチとロールを取得
                    orient = droid.get_orientation()
                    pitch = orient['pitch']  # 上下方向
                    roll = orient['roll']    # 左右方向

                    # キューにピッチとロールを送信
                    queue.put({"pitch": pitch, "roll": roll})

                    # フレームレートの調整
                    time.sleep(0.1)

            except KeyboardInterrupt:
                print("\nProgram interrupted by user.")
            except Exception as e:
                print(f"An error occurred: {e}")
            finally:
                # 終了メッセージを送信
                queue.put("QUIT")

        print("Testing End.")
    else:
        print("Failed to connect to Sphero.")

    # 描画プロセスの終了を待つ
    drawing_proc.join()

if __name__ == "__main__":
    main()
DrawingModule.py
import pygame

def drawing_process(queue):
    # Pygame 初期化
    pygame.init()
    WIDTH, HEIGHT = 800, 600
    win = pygame.display.set_mode((WIDTH, HEIGHT))
    pygame.display.set_caption("Control Circle with Sphero Bolt")

    # 色定義
    WHITE = (255, 255, 255)
    BLUE = (0, 0, 255)

    # 丸の初期位置とサイズ
    circle_x, circle_y = WIDTH // 2, HEIGHT // 2
    circle_radius = 20
    circle_speed = 5

    running = True
    while running:
        # キューからデータを受信
        if not queue.empty():
            data = queue.get()

            # "QUIT" メッセージで終了
            if data == "QUIT":
                running = False
                break

            # ピッチとロールを処理
            pitch = data.get("pitch", 0)
            roll = data.get("roll", 0)

            # 丸の移動量を計算
            if pitch > 5:  # ピッチが正 -> 下方向
                circle_y += circle_speed
            elif pitch < -5:  # ピッチが負 -> 上方向
                circle_y -= circle_speed

            if roll > 5:  # ロールが正 -> 右方向
                circle_x += circle_speed
            elif roll < -5:  # ロールが負 -> 左方向
                circle_x -= circle_speed

            # 画面の境界で丸を止める
            circle_x = max(circle_radius, min(WIDTH - circle_radius, circle_x))
            circle_y = max(circle_radius, min(HEIGHT - circle_radius, circle_y))

        # Pygame 描画処理
        win.fill(WHITE)
        pygame.draw.circle(win, BLUE, (circle_x, circle_y), circle_radius)
        pygame.display.update()

    pygame.quit()
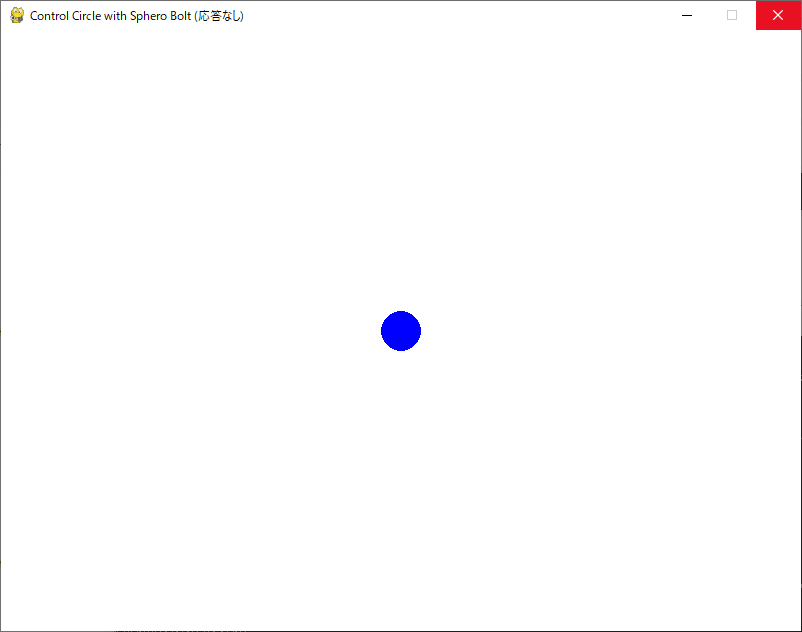
実行結果はこちらのようになりました。
つぎのように窓が開き、sphero boltを傾けた方向に丸が移動しました。

終了時にTracebackが発生しているので、終了命令の手当てする必要がありそうです。
git\spherov2.py\spherov2\test>python BoltTest_keyInput.py
pygame 2.6.1 (SDL 2.28.4, Python 3.12.7)
Hello from the pygame community. https://www.pygame.org/contribute.html
Testing Starting...
Connecting to Bolt...
pygame 2.6.1 (SDL 2.28.4, Python 3.12.7)
Hello from the pygame community. https://www.pygame.org/contribute.html
Connected.
Testing Start...
Process Process-1:

Program interrupted by user.
Traceback (most recent call last):
  File "C:\ProgramData\miniforge3\Lib\multiprocessing\process.py", line 314, in _bootstrap
    self.run()
  File "C:\ProgramData\miniforge3\Lib\multiprocessing\process.py", line 108, in run
    self._target(*self._args, **self._kwargs)
  File "C:\Users\nakan\git\spherov2.py\spherov2\test\DrawingModule.py", line 50, in drawing_process
    win.fill(WHITE)
KeyboardInterrupt
Testing End.
まとめ
ジャイロセンサを入力に使ってwindowsの画面上の操作をするプログラミングを実験しました。
spheroV2を使うと応用が広がって楽しそうです。