Ionic/AngularアプリをGAE環境にデプロイする際のメモ
前提
- GCP周りの設定は済んでいること(プロジェクト作成やCloudBuildのAPIを有効にする等)
環境
- Ionic/angular 5.5.2
- Angular 11.2
経緯
-
app.yamlのruntimeに
nodeを指定しても良かったけど、Googleの公式ドキュメントにAngularアプリ向けの参考になりそうな設定があったので、それを応用した
手順
1. 以下の2ファイルをsrc/assets配下に作成
※ 後に作成するDockerfile内で、APIと連携するためのエンドポイントを環境変数に適用するための設定
src/assets/envconfig.js
(function(window) {
  window["envconfig"] = window["envconfig"] || {};

  // Environment variables
  window["envconfig"]["apiurl"] = "http://localhost:8080/api";
})(this);
src/assets/envconfig.template.js
(function(window) {
  window.envconfig = window.envconfig || {};

  // Environment variables
  window["envconfig"]["apiurl"] = "${API_URL}";
})(this);
2. Dockerfileをプロジェクトルートに用意
# The standard nginx.conf container just runs nginx.conf. The configuration file added
# below will be used by nginx.conf.
FROM nginx

# Copy the nginx.conf configuration file. This sets up the behavior of nginx.conf. Most
# important, it ensures that nginx.conf listens on port 8080. Google App Engine expects
# the runtime to respond to HTTP requests at port 8080.
COPY nginx.conf /etc/nginx/nginx.conf

# create log dir configured in nginx.conf.conf
RUN mkdir -p /var/log/app_engine

# Create a simple file to handle health checks. Health checking can be disabled
# in app.yaml, but is highly recommended. Google App Engine will send an HTTP
# request to /_ah/health and any 2xx or 404 response is considered healthy.
# Because 404 responses are considered healthy, this could actually be left
# out as nginx.conf will return 404 if the file isn't found. However, it is better
# to be explicit.
RUN mkdir -p /usr/share/nginx/www/_ah && \
    echo "healthy" > /usr/share/nginx/www/_ah/health

# Finally, all static assets.
COPY ./www /usr/share/nginx/www/sampleapp

CMD ["/bin/sh",  "-c",  "envsubst < /usr/share/nginx/www/sampleapp/assets/envconfig.template.js > /usr/share/nginx/www/sampleapp/assets/envconfig.js && exec nginx -g 'daemon off;'"]
※ Googleのドキュメントにはdistディレクトリを指定するように記載があるが、Ionicの公式通りに「ionic start」コマンドでアプリ作っている場合、ng buildした際の出力先はwwwになっているはずなので、そこは書き換える
※ sampleappの部分は適宜変更
3. nginx.confをプロジェクトルートに用意
nginx.conf
events {
   worker_connections 768;
}

http {
    sendfile on;
    tcp_nopush on;
    tcp_nodelay on;
    keepalive_timeout 65;
    types_hash_max_size 2048;
    include /etc/nginx/mime.types;
    default_type application/octet-stream;

    # Logs will appear on the Google Developer's Console when logged to this
    # directory.
    access_log /var/log/app_engine/app.log;
    error_log /var/log/app_engine/app.log;

    gzip on;
    gzip_disable "msie6";

    server {
        # Google App Engine expects the runtime to serve HTTP traffic from port 8080.
        listen 8080;

        # Root directory and index files
        index index.html index.htm;

        location / {
            root /usr/share/nginx/www/sampleapp;
        }

        location /sampleapp/ {
        root /usr/share/nginx/www;
        }
    }
}
※ sampleappの部分は適宜変更
4. cloudbuild.yamlをプロジェクトルートに作成
cloudbuild.yaml
steps:
  - name: 'gcr.io/cloud-builders/docker'
    args: ['build', '-t', 'us.gcr.io/$PROJECT_ID/angular-nginx-container', '.']
  - name: 'gcr.io/cloud-builders/docker'
    args: ['push', 'us.gcr.io/$PROJECT_ID/angular-nginx-container']
images: ['us.gcr.io/$PROJECT_ID/angular-nginx-container']
5. app.yamlをプロジェクトルートに作成
app.yaml
runtime: custom
env: flex
service: staging-front
threadsafe: true

env_variables:
  API_URL: "https://{YOUR_DOMAIN}/api/v1"

# 費用を節約するために、インスタンス数を絞る
# (flex環境は定期的な再起動が走るので、本番環境の場合は2インスタンス以上を推奨)
manual_scaling:
  instances: 1

resources:
  cpu: 2
  memory_gb: 1.5
6. .gcloudignoreの追加
これがないと、Cloud Buildの実行時にnpm buildの成果物を読んでくれなかった
(.gitignoreの設定が適用されているようで、wwwディレクトリが見つけられない状態になっていた)
.gcloudignore
.gcloudignore
.git
.gitignore
node_modules
7. ビルド&デプロイ
1. Ionicアプリをビルド
yarn build
2. Cloud Buildを利用して、Dockerイメージをpush
gcloud builds submit
3. 上記のコマンド実行後に表示されるIMAGESの値を指定し、デプロイ
gcloud app deploy --image-url us.gcr.io/yourprojectid/angular-nginx-container
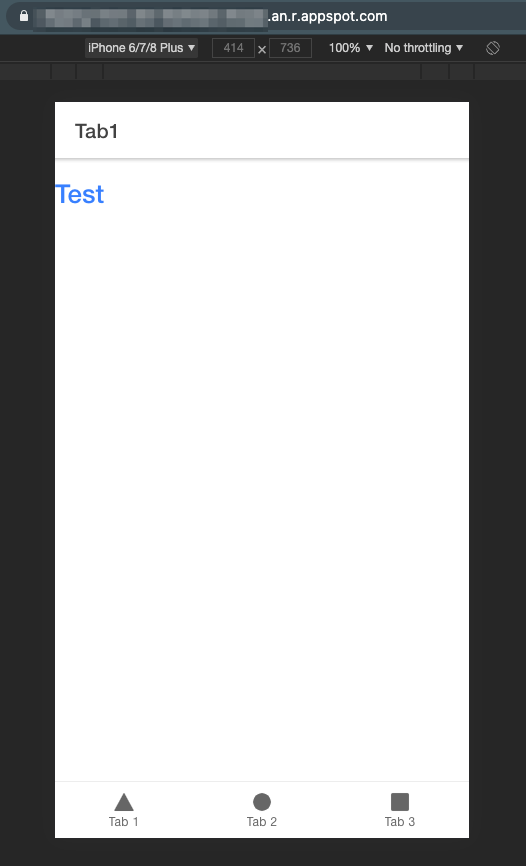
結果