はじめに
弊社プロダクトでNuxt×Contentfullを使用したブログ機能を実装したので、ここに記しておきます〜![]()
弊社で2年ほど運営しているオウンドメディアがあったのですが、
CVRも低く、SEOも下がり気味だったので、マーケとの協議の結果、
**「本プロダクトに記事をがっちゃんこして、運営体制見直さね?」**となったわけです!
ブログ用のAPIと管理画面作るの面倒だし、Contentfullイケてそうだなあ〜と思って実装に入りました!!
環境
- MacOS
- yarn 1.21.1
- node 12.0.0
- vue 2.6.1
Contentfullの設定
まずはContentfullの設定をしていきましょう!
①Contentfullに新規登録・ログイン
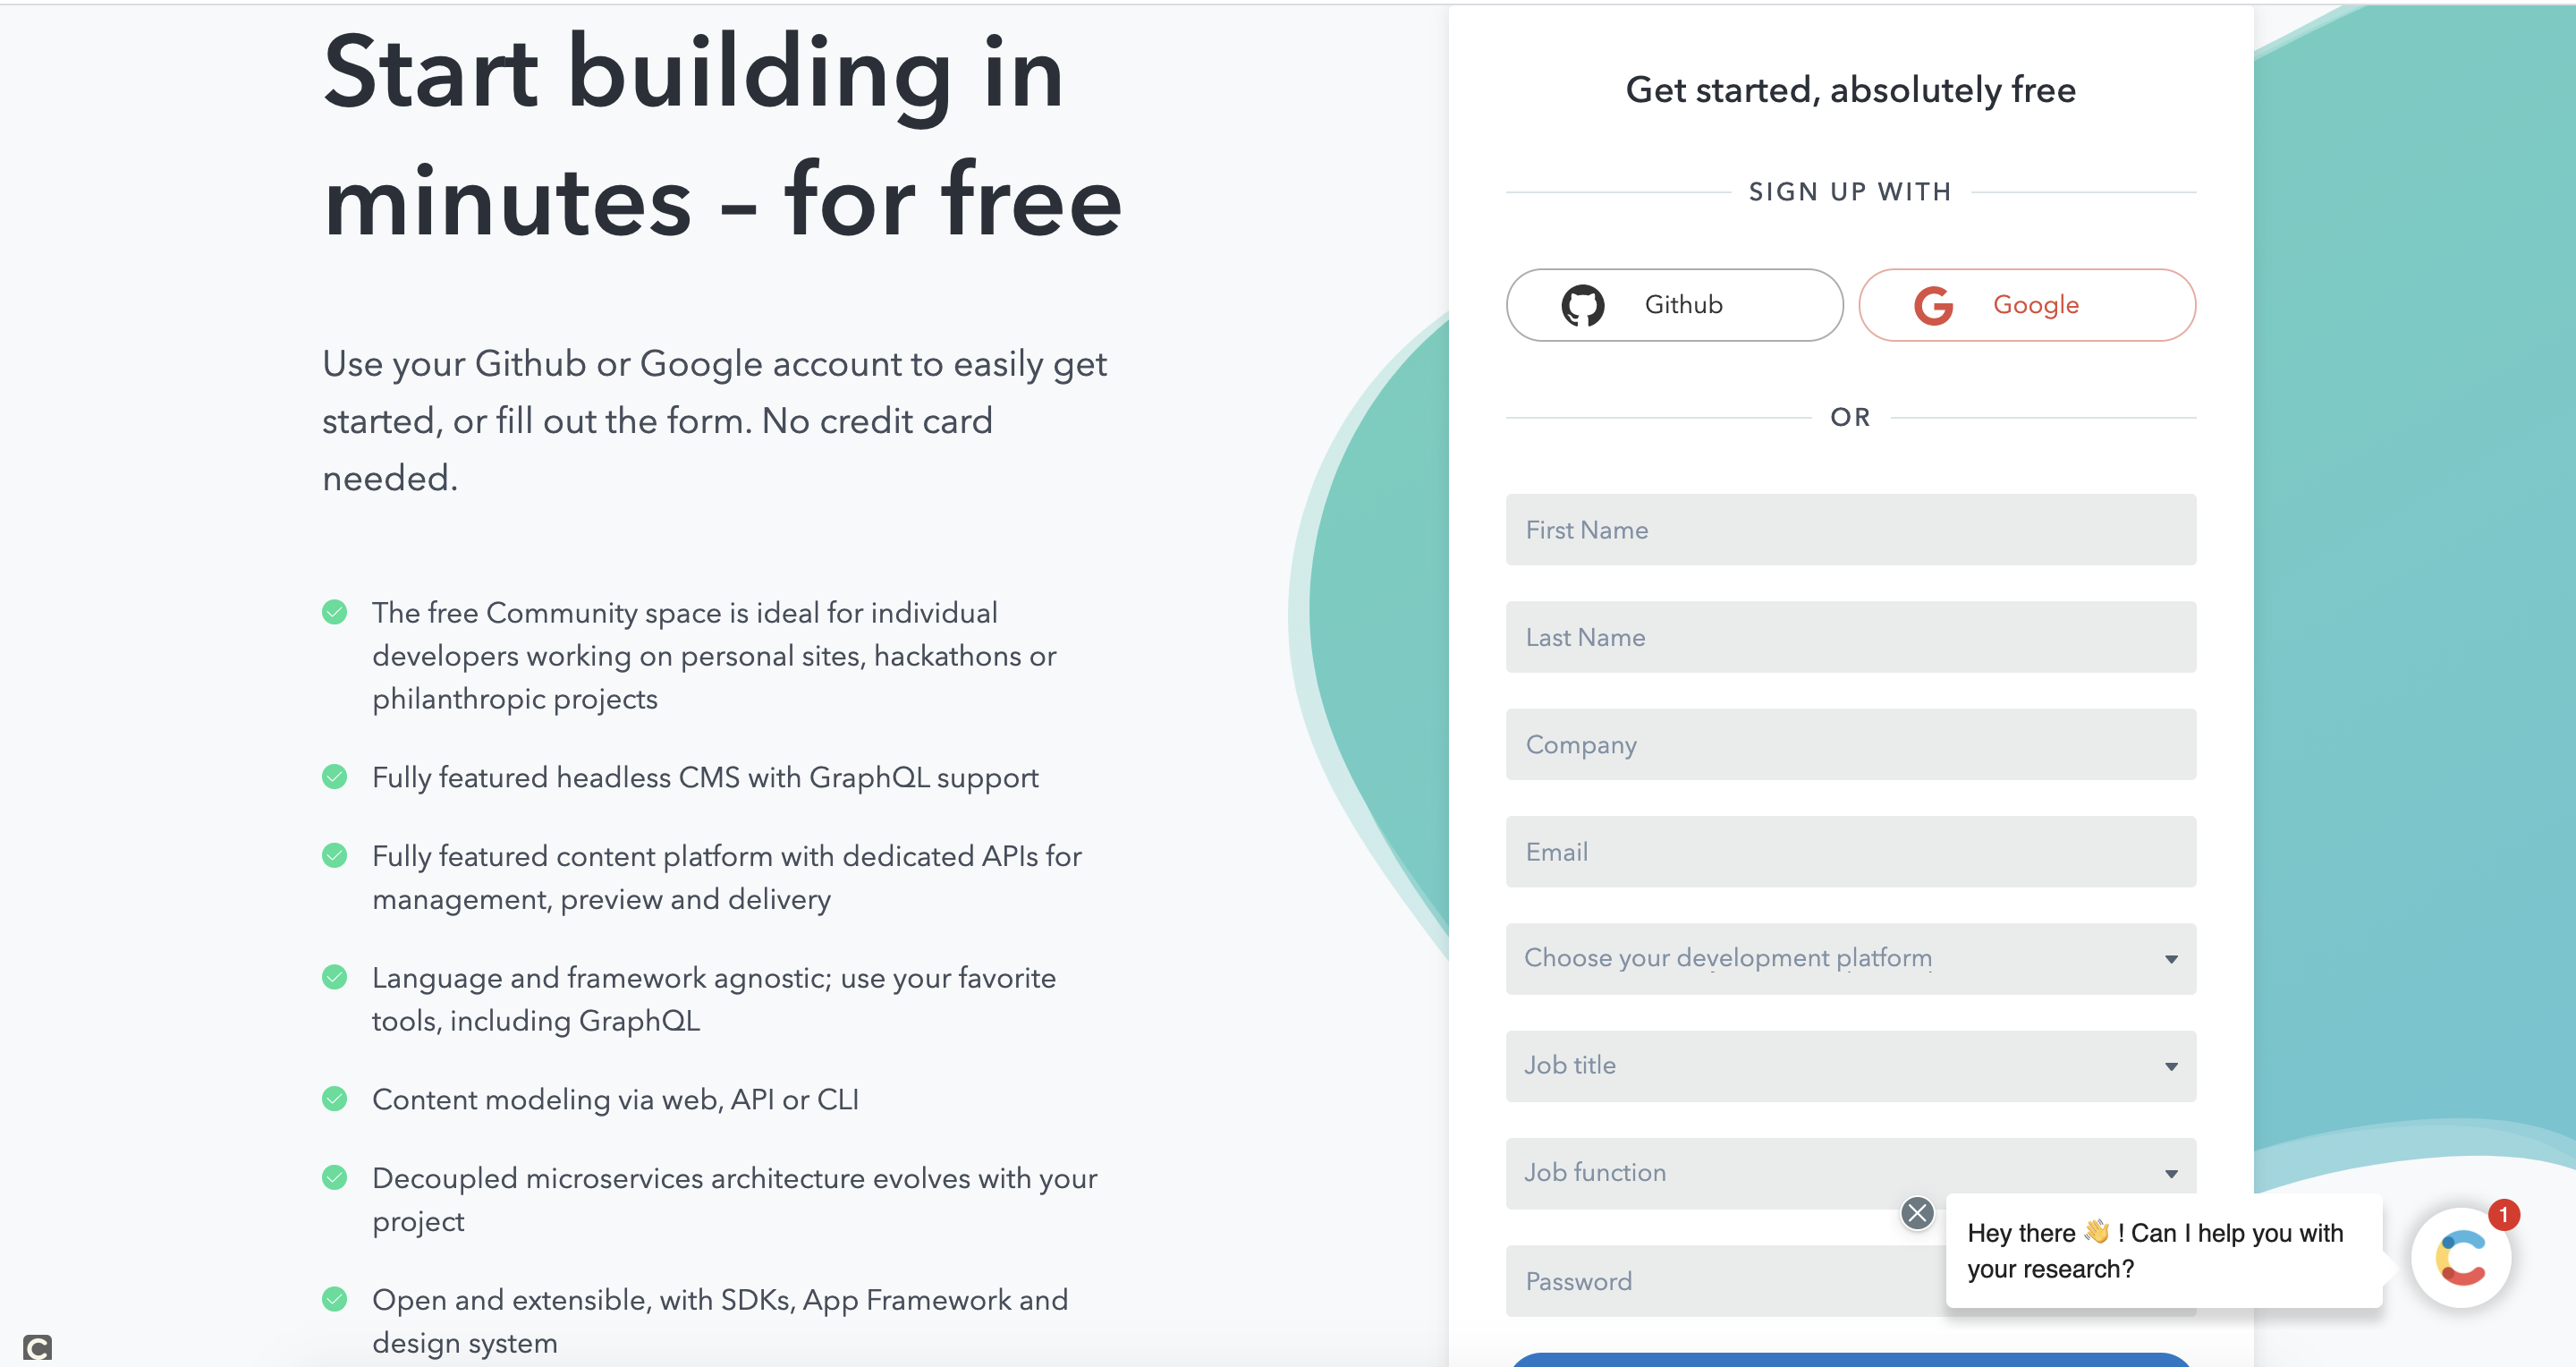
Contentfullトップページからログインボタンを押してログイン画面へ。

アカウントを持っていない人はサインアップしてください。
(持っている人はそのままログインでOK)

必要情報を入力して新規アカウント作成!
英語なので少し読みづらいですね〜
②スペースの作成
新規登録・ログインができたらスペースを作成します。
スペースはプロジェクト単位で作成すると良いと思います!
初期設定では「The example project」というスペースが作成されているので、必要なければ削除してしまいましょう!


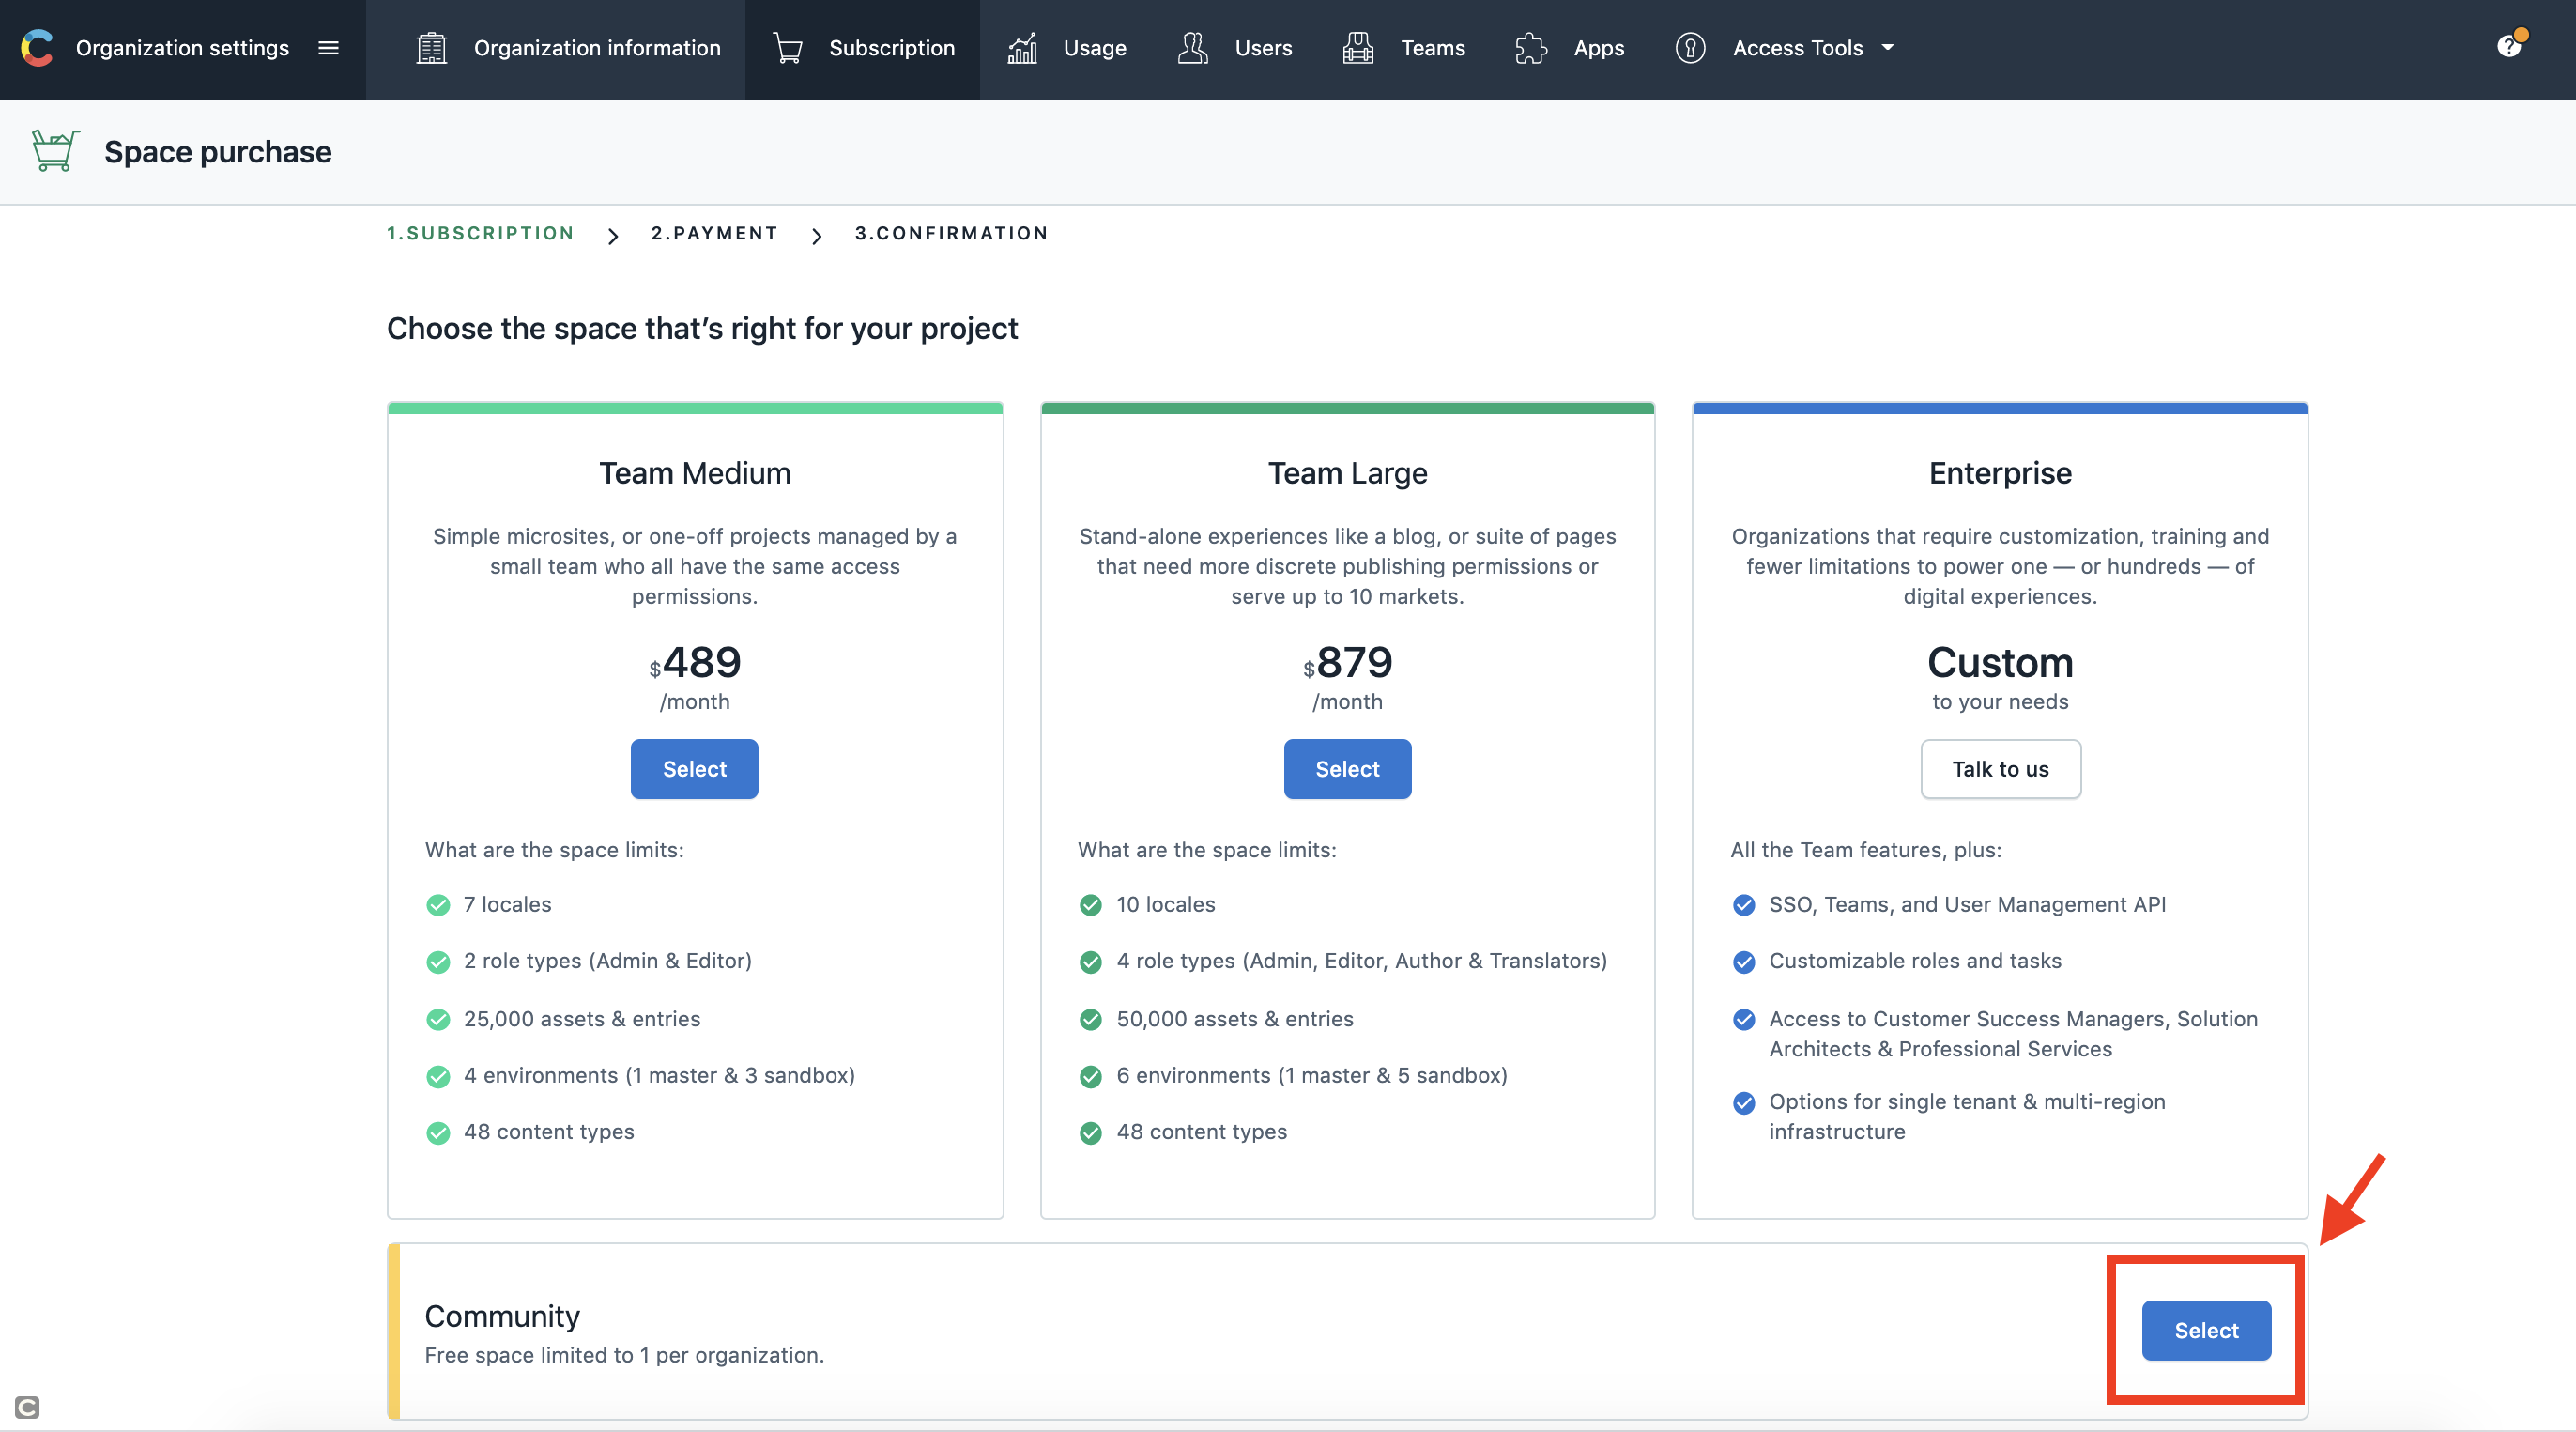
料金プランが選べるので、選択します。
プランによってDB容量やアカウントの管理権限設定が異なるようですが、まずはじめは無料で良いのかなと思います。
無料プランでは保存できる記事とアセット(画像など)の合計が5000個までなので、100記事くらいのメディアであれば無料で十分ですね。
ちなみに無料プランは各アカウントにつき1つしか作れないそうなので、無料プランを選択したい人は「The example project」を削除しておきましょう!
スペース名を入力して作成します。

確認画面が出たらOK!

③コンテンツモデルの作成
スペースができたらコンテンツの中身の設定をしていきましょう。
サイドバーから先ほど作ったスペースを選択します。

ヘッダーに出てきた「Content Model」を選択し、コンテンツモデルを作成。


任意の名前と詳細を入力します。
今回は記事コンテンツを作るため、「Post」という名前にしました。

④フィールドの追加
コンテンツモデル内にフィールドを追加していきます。
記事の入力項目ですね!
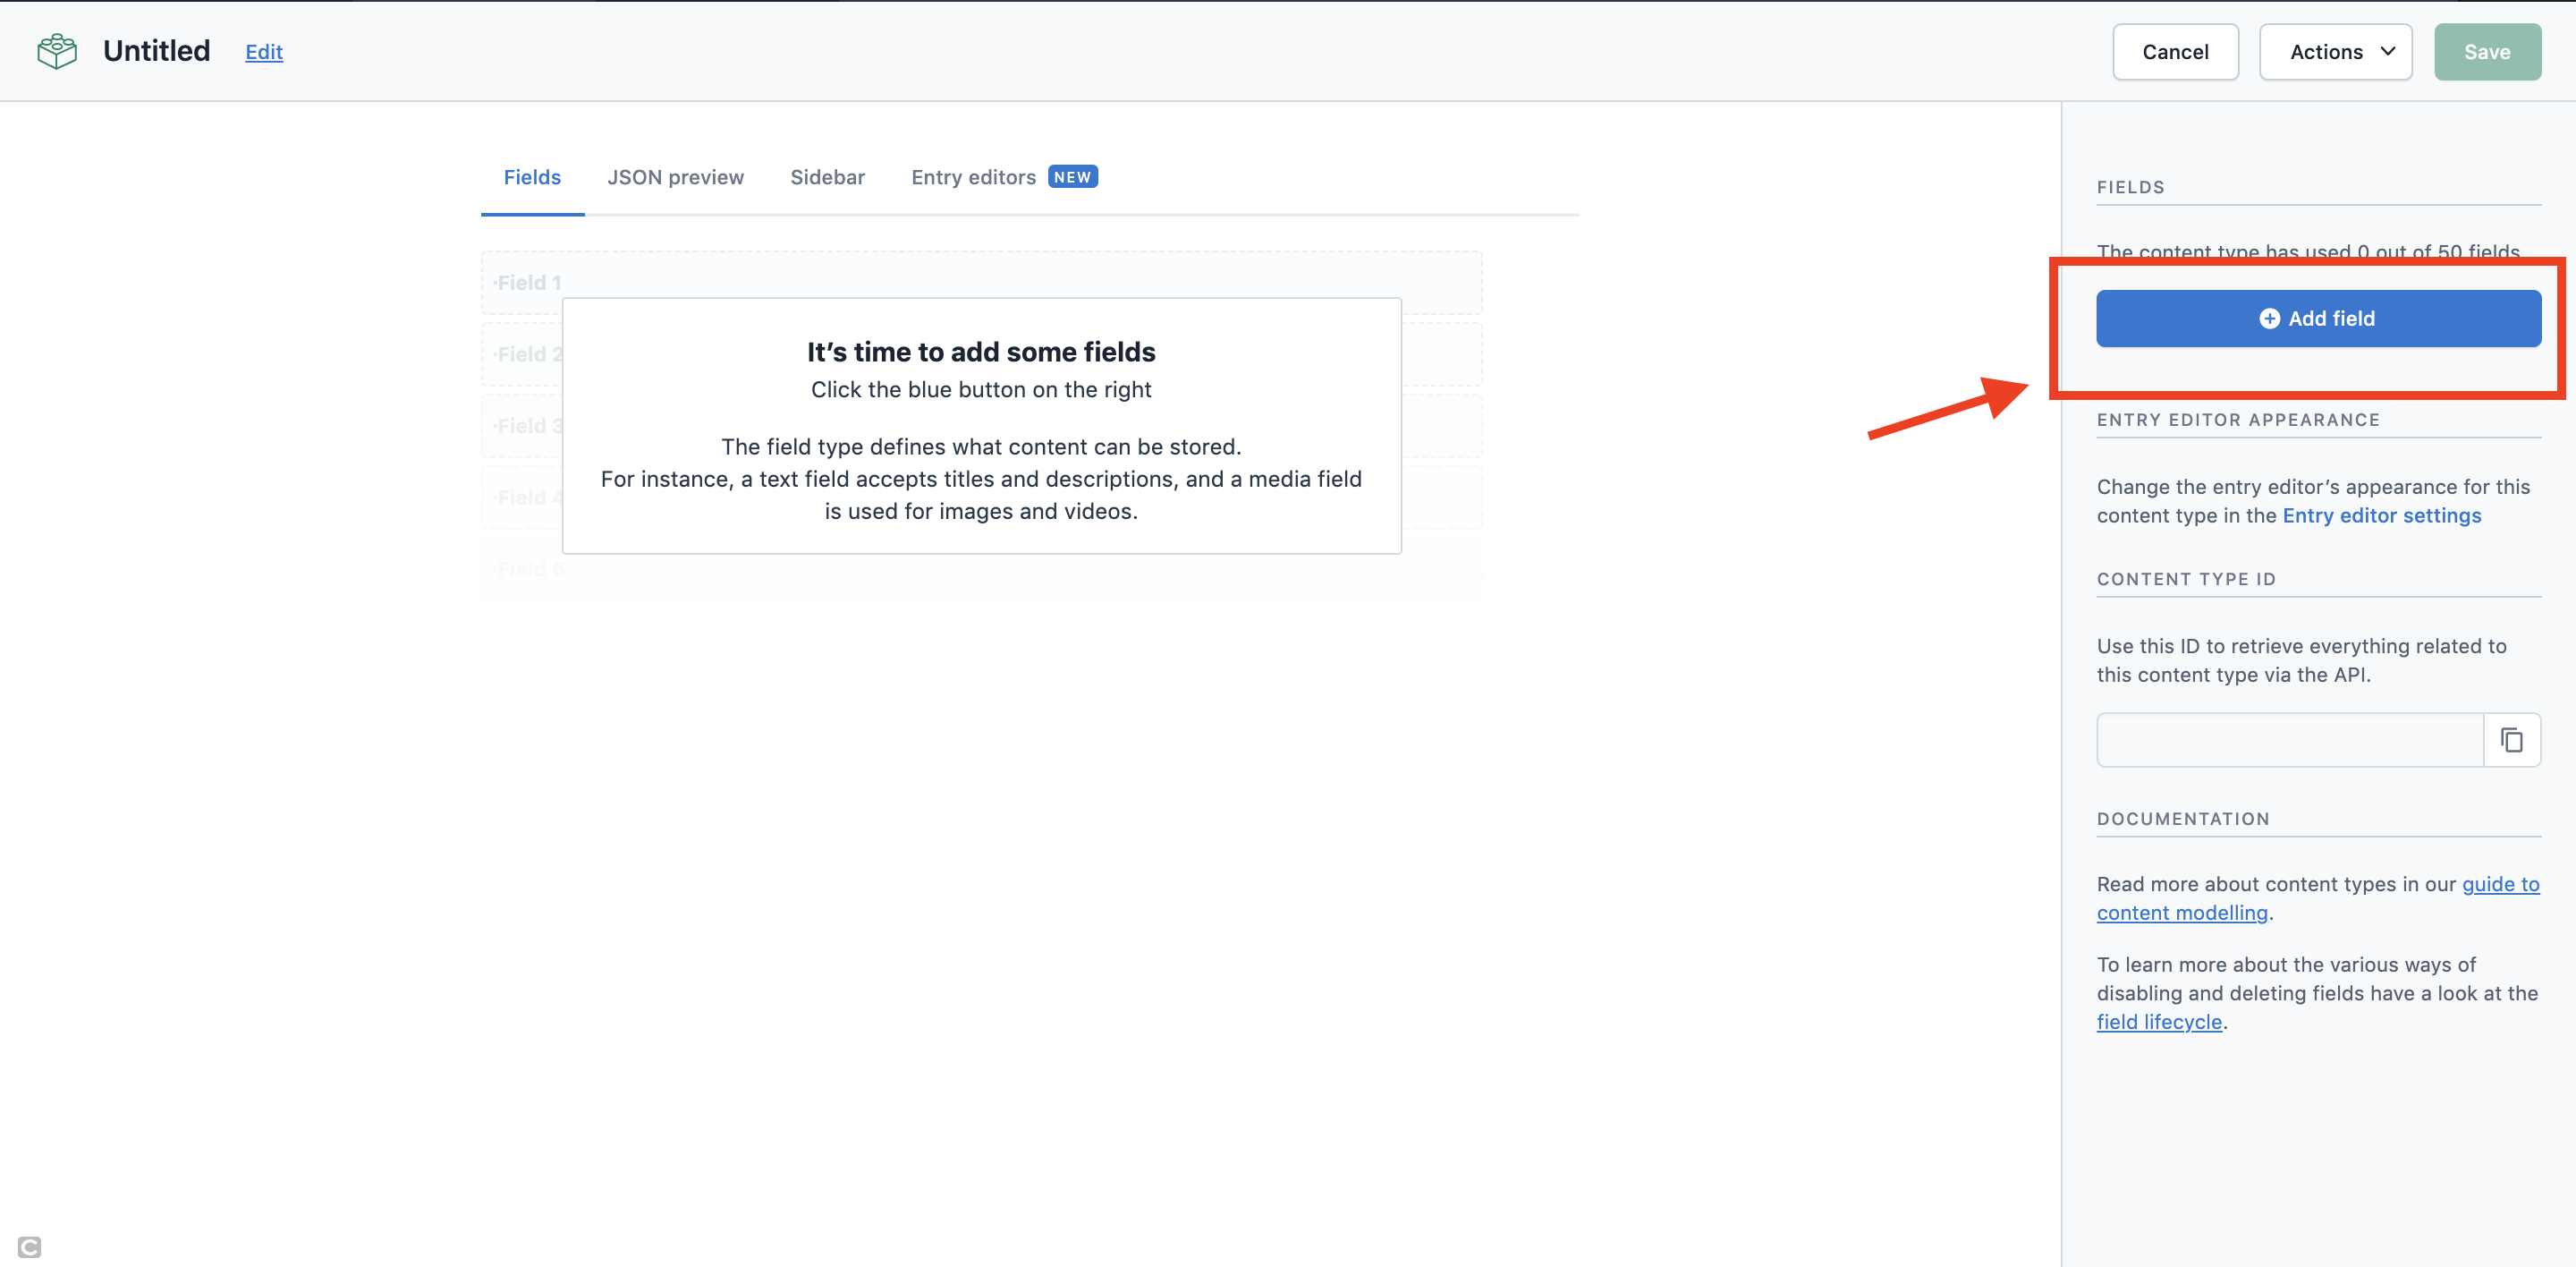
テキストや数字など様々選択できます。
「slug」を追加しました。urlになる文字列ですね。
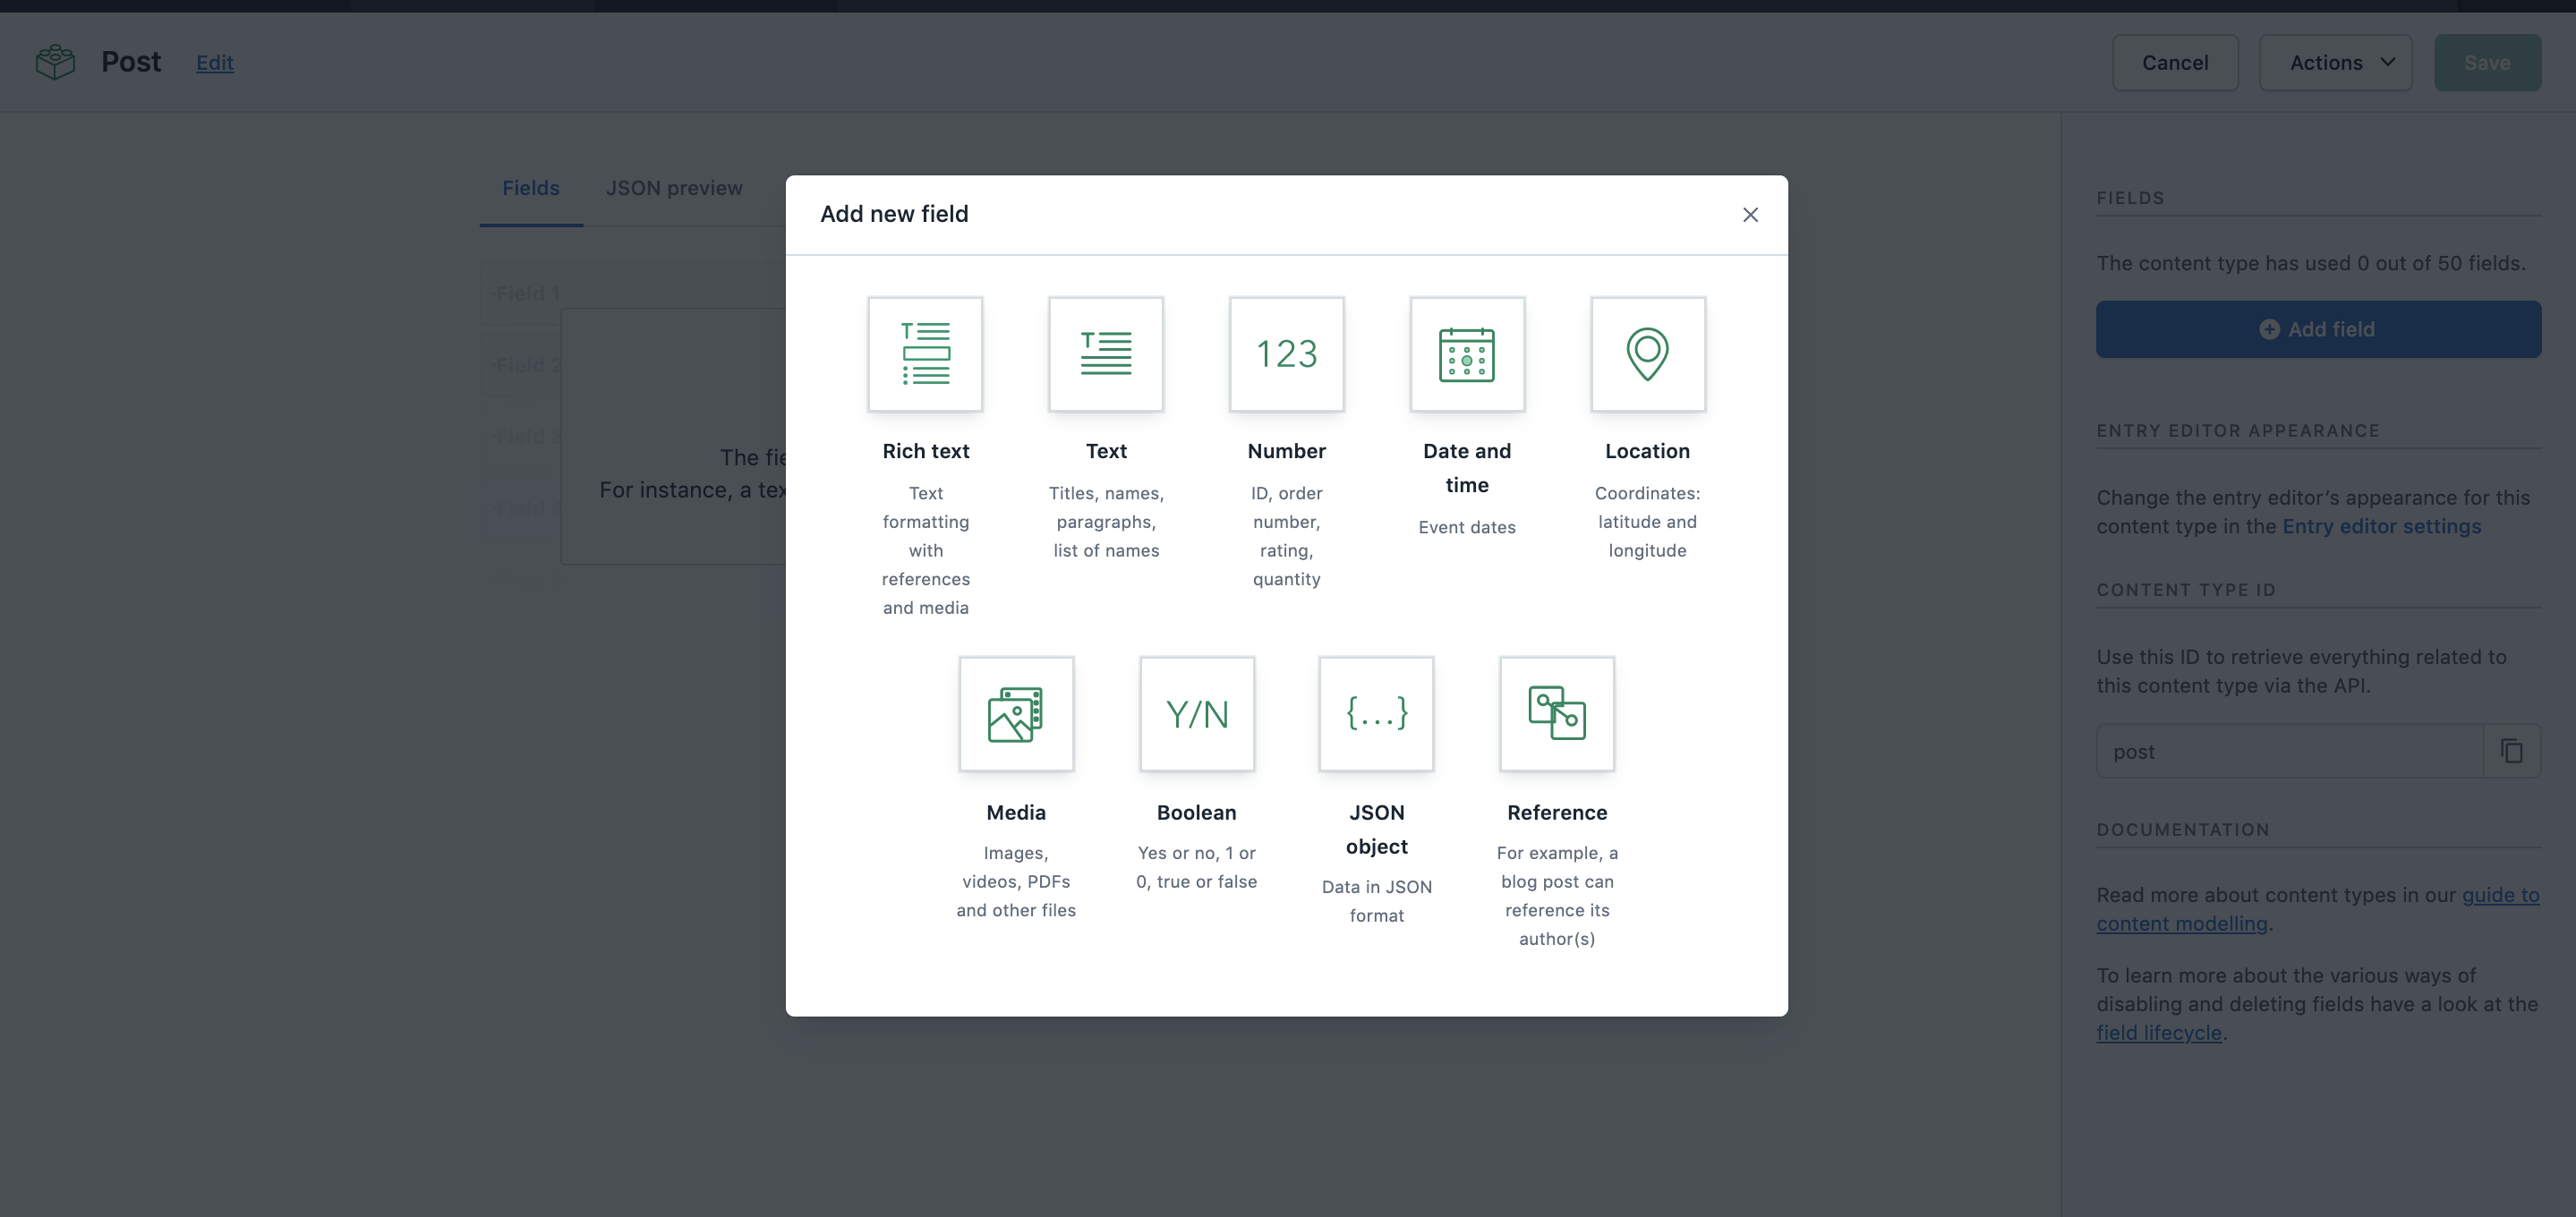

今回は「slug」「title」「description」「thumbnail」「content」の5つを追加しました。
- 「slug」…urlになる文字列
- 「title」…記事のタイトル
- 「description」…記事の概要
- 「thumbnail」…サムネイル画像
- 「content」…コンテンツの内容

各フィールドごとに細かい設定も可能です。
「settings」から設定できます。

今回は入力必須のバリデーションを設定します。
他にも文字制限やユニーク制限もありますね。

これで一旦、Contentfull側の設定は完了です![]()
Nuxt.jsの設定
dotenvの追加
アプリケーションにdotenvの追加
npm install --save @nuxtjs/dotenv
もしくは
yarn add @nuxtjs/dotenv
ルート直下に.envを作成
touch .env
ContentfullでSPACE_IDとACCESS_TOKENを確認する。


確認したSPACE_IDとACCESS_TOKEとPOST_TYPE_IDを.env内に記載する。
# CONTENTFUL
CTF_SPACE_ID=xxxxxx
CTF_ACCESS_TOKEN=xxxxxxxxxxxxxxxxxxxxxxx
nuxt.config.jsでdotenvを読み込み
require("dotenv").config()
Contentfullプラグインの追加
Contentfullプラグインを追加します。
npm install contentful
もしくは
yarn add contentful
pluginsフォルダにcontentful.jsを作成。
const contentful = require('contentful')
module.exports = contentful.createClient({
  space: process.env.CTF_SPACE_ID,
  accessToken: process.env.CTF_ACCESS_TOKEN
})
nuxt.config.jsに諸々設定
require("dotenv").config()
const client = require("./plugins/contentful")

// ~中略~

module.exports = {
  env: {
    // CONTENTFULの API_KEY を使う
    CTF_SPACE_ID: process.env.CTF_SPACE_ID,
    CTF_ACCESS_TOKEN: process.env.CTF_ACCESS_TOKEN
  },
}
plugins: [
    { src: '@/plugins/contentful' }
  ]

// ~中略~

  generate: {
    routes() {
      return client
        .getEntries({ content_type: 'column' })
        .then(entries => {
          return entries.items.map(entry => {
            return {
              route: "/posts/"+entry.fields.slug,
              payload: entry
            }
          })
        })
    }
プラグインや環境変数の読み込みをします。
またgenerateでslugをURLにする記載をしています。
記事一覧ページ
pages配下にpostsフォルダーを作成し、その中にindex.vueを作成する。
これが記事一覧ページになります。
コードは参考までに、、、
<template>
  <section class="posts-lists-page">
    <h1 class="title-h1 title-bottom">コラム一覧</h1>
    <div class="posts">
      <nuxt-link
        v-for="(post, index) in posts"
        :to="'posts/'+post.fields.slug"
        :key="index"
        class="post">
        <div class="post-thumb">
          <img
            :src="post.fields.thumbnail.fields.file.url"
            class="post-thumb__img">
        </div>
        <div class="post-text">
          <p class="post-text__date">{{ formatDate(post.sys.createdAt) }}</p>
          <h2 class="post-text__title">{{ post.fields.title }}</h2>
        </div>
      </nuxt-link>
    </div>
  </section>
</template>

<script>
import content from '~/plugins/contentful'
export default {
  head() {
    return {
      title: this.title,
      meta: [
        { hid: 'description', name: 'description', content: this.description },
        {
          hid: 'og:url',
          name: 'og:url',
          content: `https://furien.jp${this.$route.path}`
        },
        { hid: 'og:title', name: 'og:title', content: this.title },
        {
          hid: 'og:description',
          name: 'og:description',
          content: this.description
        },
        { hid: 'twitter:title', name: 'twitter:title', content: this.title },
        {
          hid: 'twitter:description',
          name: 'twitter:description',
          content: this.description
        }
      ]
    }
  },
  data() {
    const title = 'コラム一覧'
    return {
      title: title,
      description: `${title}|役立つ記事を沢山配信しています。`
    }
  },
  methods: {
    formatDate(iso) {
      const date = new Date(iso)
      const yyyy = new String(date.getFullYear())
      const mm = new String(date.getMonth() + 1).padStart(2, '0')
      const dd = new String(date.getDate()).padStart(2, '0')
      return `${yyyy}.${mm}.${dd}`
    }
  },
  asyncData({ params }) {
    return content
      .getEntries({
        content_type: 'column',
        order: '-sys.createdAt'
      })
      .then(entries => {
        return { posts: entries.items }
      })
      .catch(e => console.log(e))
  }
}
</script>

<style lang="scss" scope>
.posts-lists-page {
  .posts {
    margin: 0 auto;
    padding: 10px;
    display: flex;
    flex-direction: row;
    flex-wrap: wrap;

    .post {
      width: calc(100% / 2 - 20px);
      margin: 10px;
      background: #fff;
      text-decoration: none;
      color: #111;
      border: 1px solid rgba(162, 162, 162, 0.5);

      @include sp-small {
        width: 100%;
      }

      &-thumb {
        width: 100%;
        padding-bottom: 75%;
        position: relative;
        overflow: hidden;

        &__img {
          position: absolute;
          top: 50%;
          left: 50%;
          transform: translate(-50%, -50%);
          max-width: 100%;
        }
      }

      &-text {
        padding: 1rem;

        &__date {
          font-size: 1.2rem;
          color: gray;
        }

        &__title {
          width: fit-content;
          font-size: 2rem;
          font-weight: bold;

          @include sp-small {
            font-size: 1.5rem;
          }
        }
      }
    }
  }
}
</style>
スタイルや表示する内容は適宜変更してくださいね〜
こんな感じになりますね!

記事詳細ページ
postsフォルダー内に_slugフォルダーを作成し、その中にindex.vueを作成する。
これが記事詳細ページになります。
<template>
  <article class="article-page">
    <div class="article">
      <BreadCrumbs :title="post.fields.title" />
      <h1 class="article__title">{{ post.fields.title }}</h1>
      <p class="article__date">{{ formatDate(post.sys.createdAt) }}</p>
      <div
        class="article__content"
        v-html="toHtmlString(post.fields.content)"/>
    </div>
  </article>
</template>

<script>
import { BLOCKS } from '@contentful/rich-text-types'
import { documentToHtmlString } from '@contentful/rich-text-html-renderer'
import content from '~/plugins/contentful'

export default {
  head() {
    const ogImage = this.post.fields.thumbnail.fields.file.url
    return {
      title: this.post.fields.title,
      meta: [
        {
          hid: 'description',
          name: 'description',
          content: this.post.fields.description
        },
        {
          hid: 'og:url',
          name: 'og:url',
          content: `https://furien.jp${this.$route.path}`
        },
        { hid: 'og:title', name: 'og:title', content: this.post.fields.title },
        {
          hid: 'og:description',
          name: 'og:description',
          content: this.post.fields.description
        },
        {
          hid: 'og:image:secure_url',
          name: 'og:image:secure_url',
          content: ogImage
        },
        {
          hid: 'twitter:title',
          name: 'twitter:title',
          content: this.post.fields.title
        },
        {
          hid: 'twitter:description',
          name: 'twitter:description',
          content: this.post.fields.description
        },
        { hid: 'twitter:image', name: 'twitter:image', content: ogImage }
      ]
    }
  },
  methods: {
    formatDate(iso) {
      const date = new Date(iso)
      const yyyy = new String(date.getFullYear())
      const mm = new String(date.getMonth() + 1).padStart(2, '0')
      const dd = new String(date.getDate()).padStart(2, '0')
      return `${yyyy}.${mm}.${dd}`
    },
    toHtmlString(obj) {
      const options = {
        renderNode: {
          [BLOCKS.EMBEDDED_ASSET]: ({
            data: {
              target: { fields }
            }
          }) => `<img src="${fields.file.url}"/>`
        }
      }
      return documentToHtmlString(obj, options)
    }
  },
  asyncData({ params, error, payload }) {
    if (payload) return { post: payload }
    return content
      .getEntries({
        content_type: 'column',
        'fields.slug': params.slug
      })
      .then(entries => {
        return { post: entries.items[0] }
      })
      .catch(e => console.log(e))
  }
}
</script>

<style lang="scss" scope>
.article-page {
  .article {
    margin: 0 auto;
    padding: 1rem;
    color: #222;

    &__title {
      margin: 5% 0;
      font-size: 3rem;
      font-weight: bold;

      @include sp-small {
        font-size: 2rem;
      }
    }

    &__date {
      font-size: 1.4rem;
      color: $dark-gray;
    }

    &__content {
      //〜中略〜
    }
  }
}
</style>
ここでのポイントはコンテンツをリッチテキストにしている点と画像の処理方法ですね!
コンテンツをリッチテキストにしたのは移行の際に、マーケがコピペで記事を移行できるようにするためです![]()
いろんなやり方があると思いますので、試してみてください!
こんな感じになります!

サーバー(heroku)の環境変数
あとは本番環境にも.envに設定した環境変数を設置してあげればOKです!!
完成!!
これで完成です!!!
細かい設定、表示内容やスタイルなどは各々カスタマイズしていただければOKです!
Contentfull公式も結構丁寧に解説してくれてるので、一読してみてくださいね〜
おわりに
最近わりと大きなプロジェクトのPMを任されていて、なかなかコードをかけない日々を送っています![]()
時間を見つけてコード書けるように精進していきます〜![]()
参考
ContentfulとNuxtの連携の仕方①
https://izm51.com/posts/nuxt-contentful-netlify-blog-making-1/
ContentfulとNuxtの連携の仕方②
https://izm51.com/posts/nuxt-contentful-netlify-blog-making-2/
ContentfulのRichtextで画像を表示する方法
https://github.com/contentful/rich-text/issues/61
画像表示
https://tech.hajimari.inc/entry/2019/06/05/171553