この記事でやること
最近流行りつつあるDuckDBを触ってみたのでいくつか記事にしてみます。
ここでは今後の記事の準備としてDuckDBにAWS CloudTrailの証跡を取り込むところまで試します。
参考にしたページ
この記事を大いに参考にさせていただきました。
動作環境
- Widows11のWSL2(ディストリビューションはUbuntu 22.04.2 LTS)をメインで利用
- GUIツール(DBeaver)はWindows11に直接インストールして利用
DuckDBとは
公式ページのWhy DuckDBではDuckDBの強みとして以下の点が挙げられています。
- シンプル
- ポータブル
- 豊富な機能
- 高速
- 拡張可能
- 無料
- 徹底したテスト
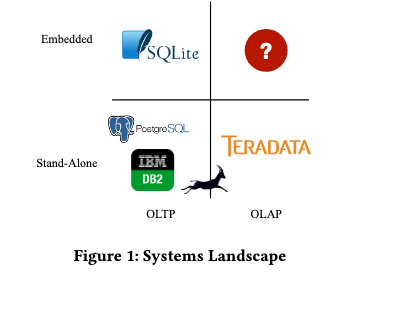
DuckDBはよく「SQLiteのOLAP版」という位置づけで紹介されており、SQLiteの様にローカル利用を前提としつつ、OLAP用途に特化した機能や性能強化を実現しているデータベースのようです。

論文(DuckDB: an Embeddable Analytical Database (SIGMOD 2019 Demo))より
DuckDBでCloudTrailの証跡を分析する
ここから実際にDuckDBをセットアップしてAWS CloudTrailの証跡データを取り込んでみます。あらかじめCloudTrailの証跡がS3バケットに記録されるよう設定しておいてください。(参考: AWSアカウントの証跡の作成)
S3バケットからCloudTrailの証跡をダウンロード
DuckDBはS3バケットのファイルを直接読み込めるのですが、自身の環境では一度に取得するログ日時の範囲を大きくするとエラーになってしまうため、今回はS3からローカル環境にダウンロードした証跡ファイルを使うことにしました。
AWS CLIコマンドでS3バケットからCloudTrailの証跡ファイルをダウンロードしておきます。
$ aws s3 sync (CloudTrail証跡を格納しているS3バケットのパス) (ダウンロード先ディレクトリのパス)
DuckDBのインストールと起動
公式ページの手順に従ってインストールします。
以下のオプションを選択して表示されたインストールコマンドを実行しました。
- Version:Stable release
- Environment:Command line
- Platform:Linux
- Download method:Direct download
- Architecture:x86_64
$ curl --fail --location --progress-bar --output duckdb_cli-linux-amd64.zip https://github.com/duckdb/duckdb/releases/download/v1.1.3/duckdb_cli-linux-amd64.zip && unzip duckdb_cli-linux-amd64.zip
DuckDB CLIを起動します。CLI終了後もデータが永続化されるよう引数にデータベースファイル(test.duckdb)を指定します。
$ duckdb test.duckdb
v1.1.3 19864453f7
Enter ".help" for usage hints.
D
ダウンロードした証跡からテーブルを作成
ダウンロードしたCloudTrailの証跡ファイルをDuckDBのテーブルとして読み込みます。
実行するSQLはあらかじめcreate_cloudtrail_detail.sqlに保存しておきます。
create_cloudtrail_detail.sql
CREATE TABLE ct_raw AS
    WITH raw_data AS (
        SELECT *
        FROM read_json(
            '/(ダウンロードしたディレクトリパス)/CloudTrail/*/*/*/*/*.json.gz',
            maximum_depth=2,
            sample_size=-1
        )
    )
    SELECT unnest(Records) AS Event
    FROM raw_data;

CREATE TABLE ct_detail AS
SELECT
    json_extract_string(Event, '$.eventVersion') AS eventVersion,
    json_extract_string(Event, '$.eventTime') AS eventTime,
    json_extract_string(Event, '$.eventSource') AS eventSource,
    json_extract_string(Event, '$.eventName') AS eventName,
    json_extract_string(Event, '$.awsRegion') AS awsRegion,
    json_extract_string(Event, '$.sourceIPAddress') AS sourceIPAddress,
    json_extract_string(Event, '$.userAgent') AS userAgent,
    json_extract_string(Event, '$.userIdentity.type') AS userType,
    json_extract_string(Event, '$.userIdentity.principalId') AS principalId,
    json_extract_string(Event, '$.userIdentity.arn') AS userArn,
    json_extract_string(Event, '$.userIdentity.accountId') AS accountId,
    json_extract_string(Event, '$.userIdentity.accessKeyId') AS accessKeyId,
    json_extract_string(Event, '$.userIdentity.userName') AS userName,
    json_extract_string(Event, '$.userIdentity.sessionContext.attributes.creationDate') AS sessionCreationDate,
    json_extract_string(Event, '$.userIdentity.sessionContext.attributes.mfaAuthenticated') AS mfaAuthenticated,
    json_extract_string(json_extract(Event, '$.requestParameters.instancesSet.items[0]'), '$.instanceId') AS instanceId1,
    json_extract_string(json_extract(Event, '$.requestParameters.instancesSet.items[1]'), '$.instanceId') AS instanceId2,
    json_extract_string(json_extract(Event, '$.responseElements.instancesSet.items[0]'), '$.instanceId') AS responseInstanceId1,
    json_extract_string(json_extract(Event, '$.responseElements.instancesSet.items[0]'), '$.currentState.name') AS responseCurrentState1,
    json_extract_string(json_extract(Event, '$.responseElements.instancesSet.items[0]'), '$.previousState.name') AS responsePreviousState1,

    json_extract_string(json_extract(Event, '$.responseElements.instancesSet.items[1]'), '$.instanceId') AS responseInstanceId2,
    json_extract_string(json_extract(Event, '$.responseElements.instancesSet.items[1]'), '$.currentState.name') AS responseCurrentState2,
    json_extract_string(json_extract(Event, '$.responseElements.instancesSet.items[1]'), '$.previousState.name') AS responsePreviousState2,
    json_extract_string(Event, '$.requestID') AS requestID,
    json_extract_string(Event, '$.eventID') AS eventID,
    json_extract_string(Event, '$.readOnly') AS readOnly,
    json_extract_string(Event, '$.eventType') AS eventType,
    json_extract_string(Event, '$.managementEvent') AS managementEvent,
    json_extract_string(Event, '$.recipientAccountId') AS recipientAccountId,
    json_extract_string(Event, '$.eventCategory') AS eventCategory,
    json_extract_string(Event, '$.tlsDetails.tlsVersion') AS tlsVersion,
    json_extract_string(Event, '$.tlsDetails.cipherSuite') AS cipherSuite,
    json_extract_string(Event, '$.tlsDetails.clientProvidedHostHeader') AS clientProvidedHostHeader
FROM ct_raw;
CLIから.readコマンドでSQLを実行してテーブルを作成します。
D .read create_cloudtrail_detail.sql
GUIツールからDuckDBを触る
CLIのコンソールから長いSQLを実行するのはつらいのでGUIツールとしてDBeaverを使います。公式ページの手順に従ってセットアップしておきます。
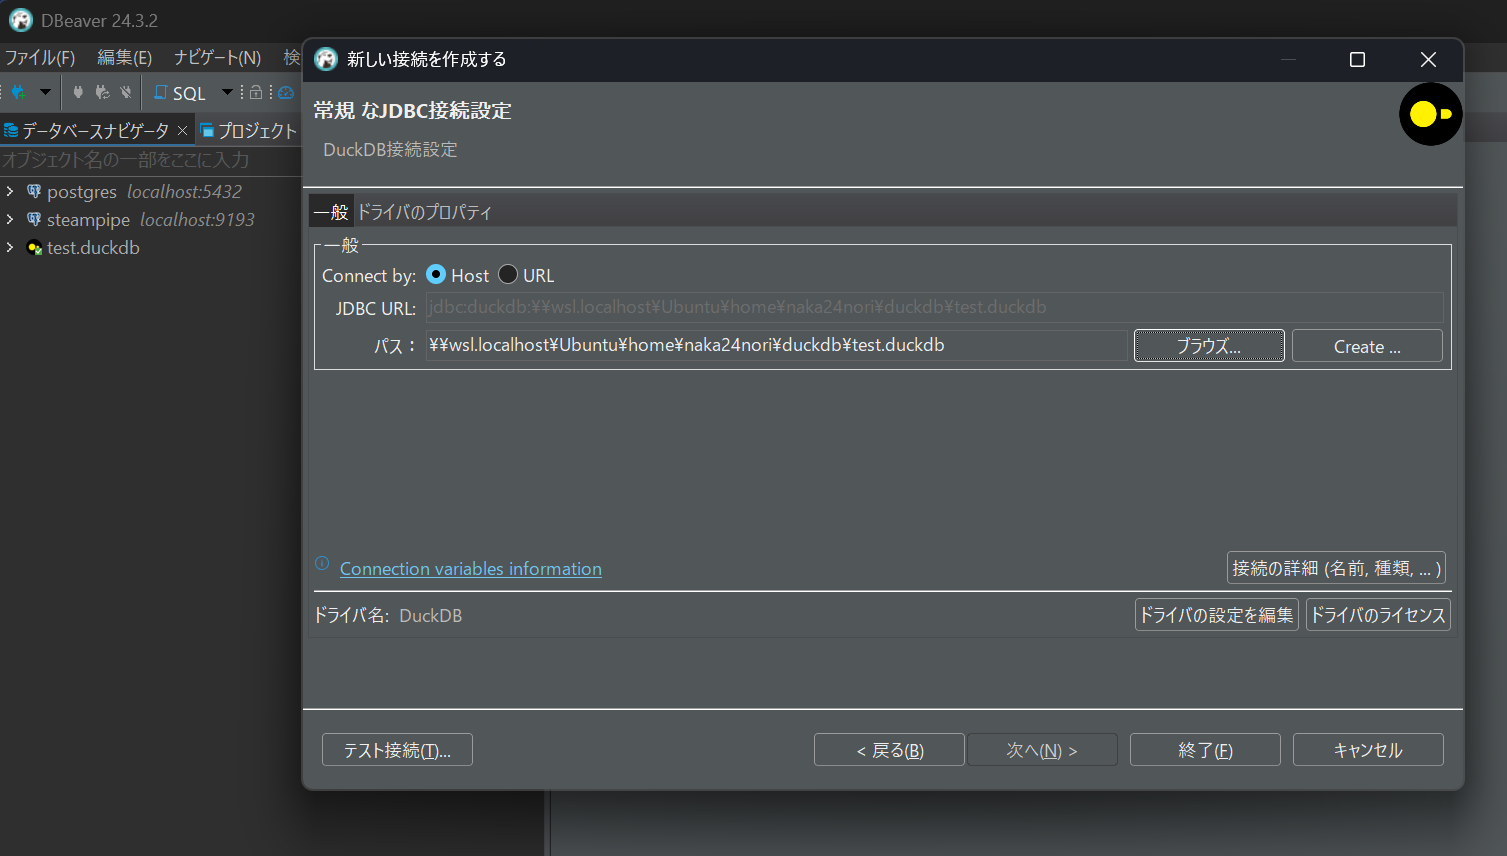
公式ページの手順ではインメモリのデータベースを使う前提でパスを:memory:にしていますが、ここでは先ほど永続化しておいたtest.duckdbを選択します。

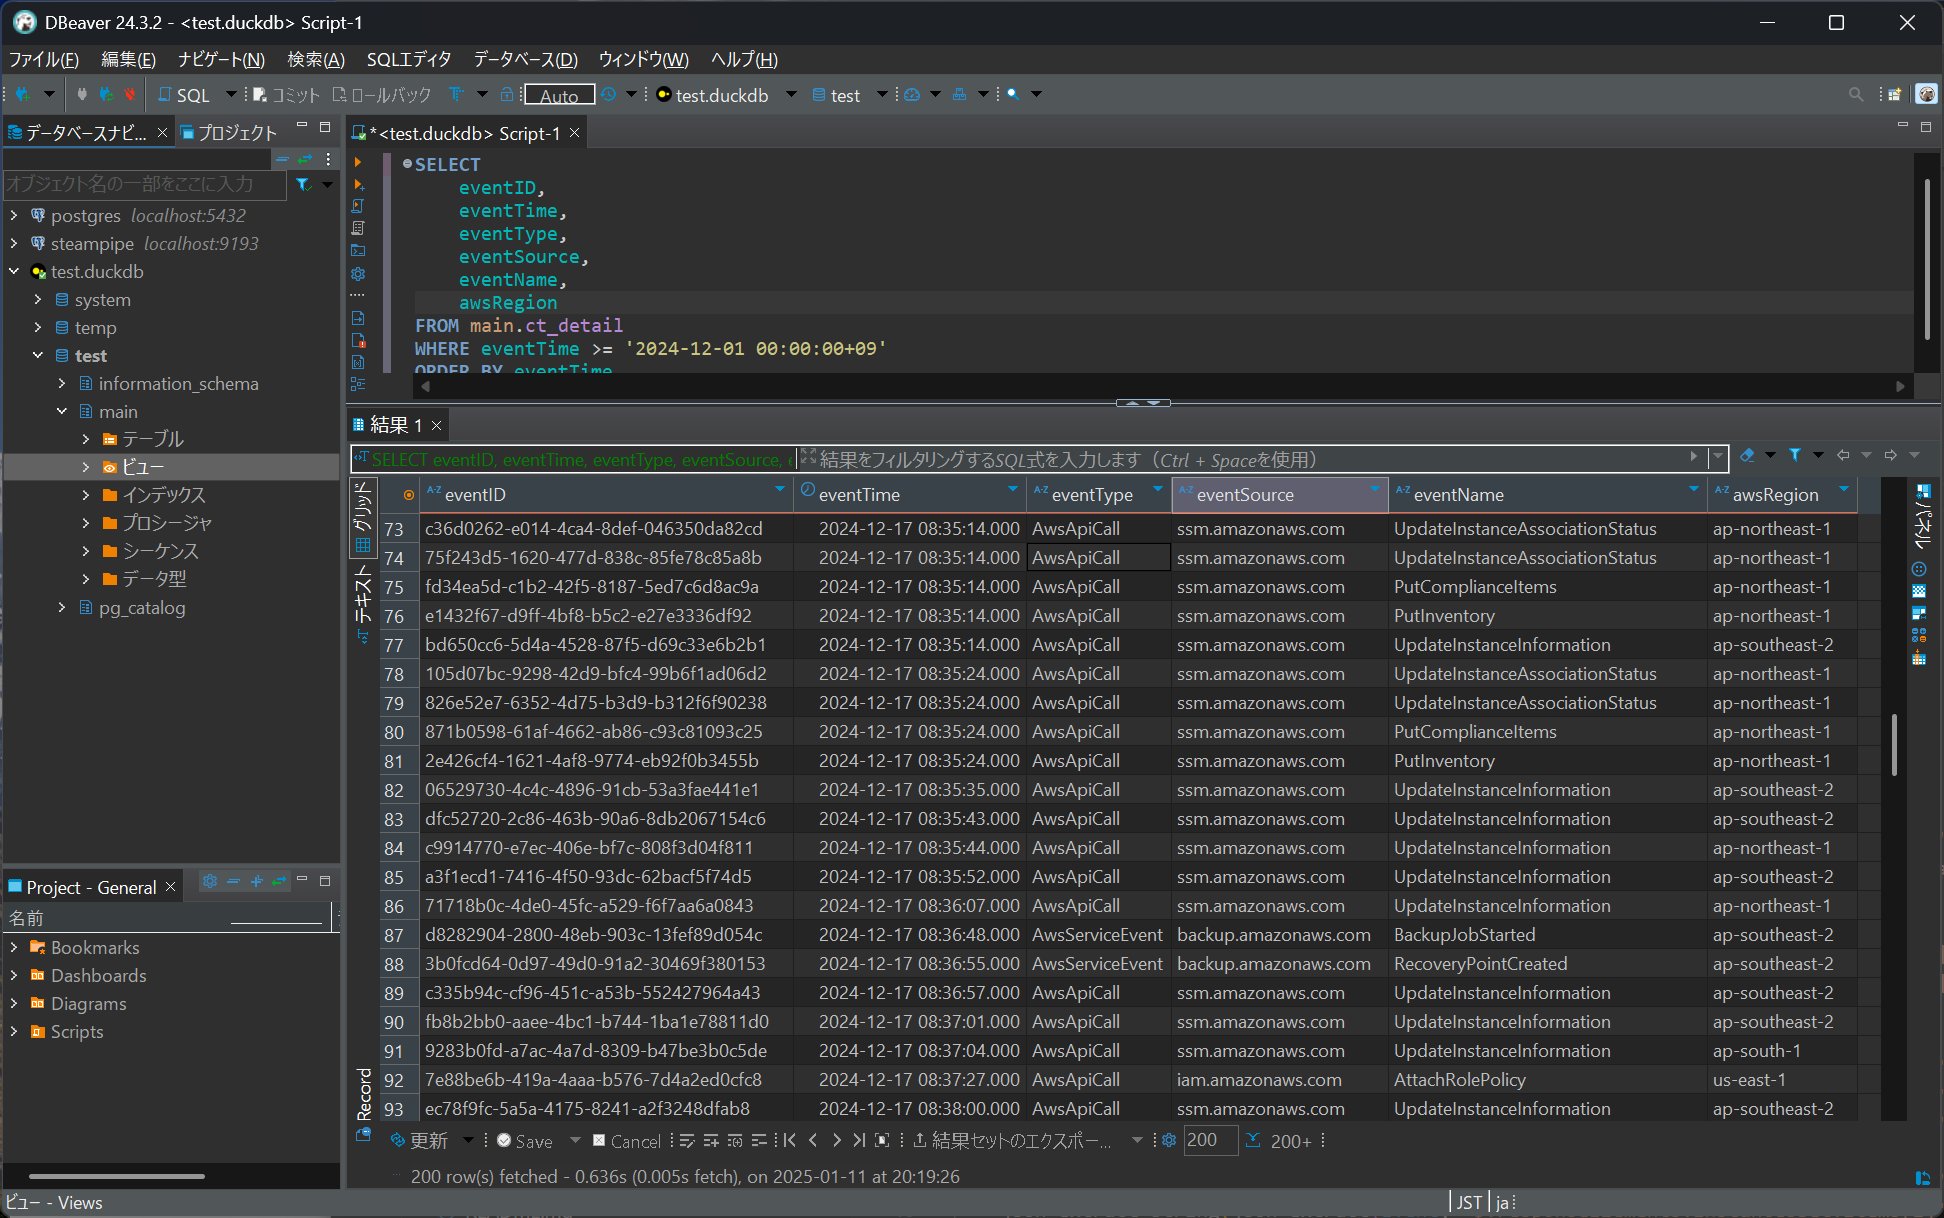
接続が成功すればDBeaverからDuckDBのテーブルへSQLを実行できます。
なお、DuckDBは1つのプロセスでデータベースを占有するためCLIを起動した状態でDBeaverから接続するとエラーになることがあります。他のプログラムからアクセスしていない状態で使うようにしてください。
まとめ
まずはDuckDBを導入してCloudTrailの証跡を取り込みSQLで分析できる状態にしました。DuckDBはお手軽に導入できるのがよいですね。次はDuckDBに取り込んだテーブルをdbtで変換してみようと思います。
