開発を進めていく上で意外とcanvasの知識が無かったので復習・備忘録も兼ねてcanvasの説明をしていきます。
コレちゃうねん何言ってんだこいつって点があれば教えてくださいまし。
目次
1.canvasとは
2.HTML側のコーディング
3.JS側のコーディング
4.各種ペンツール
5.プレビュー機能
6.クリア機能
7.ダウンロード機能
8.ソースコード全容
canvasとは
いつもお世話になっているmozillaさんの引用となります。
HTML の 要素 と Canvas スクリプティング API や WebGL API を使用して、グラフィックやアニメーションを描画することができます。
簡単に言っちゃえばcanvasの中にアニメーションやグラフィックを描画することが可能です。
なのでマウスの動作を利用して署名動作を行う際に利用したり、WEBでお絵描きができます。
※今回はスマホは非対応になっています。(対スマホコーデディングがめんどくさかったので)
完成したもの
こちらになります。
グレーの背景にマウスドラッグするとペンの描画が始まって、絵やサインを書いてくれます。
下のPencil Color,Size,Opacityでペンの色、太さ、透過度を調整可能です。
また、ダウンロード、プレビュー、クリアボタンなどの各種機能を作ってみました。
これらの機能を順を追って解説していきます。
HTML側のコーディング
HTML側のコーディングは至ってシンプルです。
今回はCSSのフレームワークにBuluma.cssを採用しています。
デザインがシンプルかつカッコよくてコーディングが短くて済むので、簡単なサンプルを作る際に重宝しています。
    <div class="columns">
      <div class="column is-half">
        <canvas id="canvasArea"></canvas>
      </div>
      <!-- 省略 -->
    </div>
本来canvasは高さ、幅を指定しないといけませんが今回はjs側に指定する挙動にしました。
共通クラスにする設計にした為です。
なので最小構成はこんな感じでイケます。
JS側のコーディング
JS側は少し量が増えます。
といってもさほど大した量ではありません。
取得した要素に対してnullチェックを行っているのはカスタマイズ性を意識しています。
previewとかダウンロードいらないよ。ってのはあるかもしれないのでその為です。
コンストラクタ
コンストラクタ部分はcanvasのid、幅、高さ、各種セレクターを指定します。
その上で初期化処理を実施します。
class Painter {

  constructor(selectorId, width, height, pencilSelector = {
    colorPencil: '#pencilColor',
    colorPalette: '.color-palette',
    pencilSize: '#pencilSize',
    pencilOpacity: '#pencilOpacity',
    clearButton: '#clearButton',
    downloadButton: '#downloadButton',
    previewButton: '#previewButton',
    previewArea: '#preview',
  }) {
    this.selectorId = selectorId;
    this.width = width;
    this.height = height;

    this.pencilSelector = pencilSelector

    this.x = null;
    this.y = null;

    this.init();
  }

  /**
   * initialize function.
   */
  init = () => {
    this.element = document.getElementById(this.selectorId);
    this.clearButton = document.querySelector(this.pencilSelector.clearButton);
    this.downloadButton = document.querySelector(this.pencilSelector.downloadButton);
    this.previewButton = document.querySelector(this.pencilSelector.previewButton);
    this.previewArea = document.querySelector(this.pencilSelector.previewArea);

    if (this.element == null) {
      throw Error('[painter.js] Selector is not found. Please specify the id.');
    }

    if (this.element.tagName !== 'CANVAS') {
      throw this.error(`${this.selectorId} is not canvas`);
    }

    this.element.width = this.width;
    this.element.height = this.height;

    this.element.addEventListener('mousemove', this.onMouseMove);
    this.element.addEventListener('mousedown', this.onMouseDown);
    this.element.addEventListener('mouseout', this.drawFinish);
    this.element.addEventListener('mouseup', this.drawFinish);

    if (this.clearButton != null) {
      this.clearButton.addEventListener('click', this.clearCanvas);
    }

    if (this.downloadButton != null) {
      this.downloadButton.addEventListener('click', this.download);
    }

    if (this.previewButton != null) {
      this.previewButton.addEventListener('click', this.preview);
    }

    if (this.previewArea != null) {
      this.previewArea.src = './image/no-preview.jpg';
      this.previewArea.width = this.width;
      this.previewArea.height = this.height;
    }


    this.context = this.element.getContext('2d');

    this.setCanvasStyle();

    // init pencil setting.
    this.penSize = 3;
    this.penColor = '#000000';
    this.penOpacity = 1;

    this.initColorPencilElements();
  }

  /**
   * set canvas style
   */
  setCanvasStyle = () => {
    this.element.style.border = '1px solid #778899';

    this.context.beginPath();
    this.context.fillStyle = "#f5f5f5";
    this.context.fillRect(0, 0, this.width, this.height);
  }
  // 省略
}
const painter = new Painter('canvasArea', 564, 407);
解説:constructor
特にいう事がありません。
渡された引数を元に変数の初期化したり・・・などなど。
解説:init
イベントハンドラの紐づけや引数のチェックを行います。
またhtmlのcanvas側に指定しなかった幅、高さの設定もこちらで実施します。
特記すべきところはこちらでしょうか。
    this.element.addEventListener('mousemove', this.onMouseMove);
    this.element.addEventListener('mousedown', this.onMouseDown);
    this.element.addEventListener('mouseout', this.drawFinish);
    this.element.addEventListener('mouseup', this.drawFinish);
ここでthis.element = canvasの要素に対してイベントハンドラを紐づけます。
スマホになるともう少しひと手間必要ですが、今回は省略します。。(めんどくさいのだ。。。)
またこちらで呼び出されてるinitColorPencilElements は後程解説します。
解説:setCanvasStyle
canvasの初期設定をします。
またクリアボタン押下時にも呼び出される関数となります。
canvas要素のbeginPath()を呼び出してパスを開始します。
基本的にcanvasは任意の場所に点をおいて、繋げていく→線や図形や文字になる。といった概念です。
この辺りは説明がすんごくしんどいので公式を見てもらうと良いかもしれません。
その為こちらでは説明は割愛しますが、描画を開始する際に呼び出される関数といった形で覚えてください。
(分かりやすい説明があればコメントお待ちしています。)
描画処理
init()で設定されたイベントハンドラの中で動く関数の説明になります。
ここからが本題となります。
  /**
   * Calculate the coordinates from the event.
   * @param {*} event
   */
  calcCoordinate = (event) => {
    const rect = event.target.getBoundingClientRect();

    const x = ~~(event.clientX - rect.left);
    const y = ~~(event.clientY - rect.top);

    return {x, y};
  }

  /**
   * mouse down event
   * @param {*} event
   */
  onMouseDown = (event) => {
    if (event.button !== 0) {
      return;
    }
    const coordinate = this.calcCoordinate(event);
    this.draw(coordinate);
  }

  /**
   * mouse move event
   * @param {*} event
   */
  onMouseMove = (event) => {
    if (event.buttons !== 1) {
      return;
    }
    const coordinate = this.calcCoordinate(event);
    this.draw(coordinate);
  }

  /**
   * End of drawing process.
   */
  drawFinish = () => {
    this.x = null;
    this.y = null;
  }

  /**
   * drawing process
   * @param {*} coordinate
   */
  draw = (coordinate = {x: 0, y: 0}) => {
    const {x: toX, y: toY} = coordinate;
    this.context.beginPath();
    this.context.globalAlpha = this.penOpacity;

    const fromX = this.x || toX;
    const fromY = this.y || toY;

    this.context.moveTo(fromX, fromY);

    this.context.lineTo(toX, toY);

    this.context.lineCap = 'round';
    this.context.lineWidth =  this.penSize;
    this.context.strokeStyle = this.penColor;

    this.context.stroke();

    this.x = toX;
    this.y = toY;
  }
解説:onMouseDown
マウス押下時に発火されるイベントです。
マウスの座標を計算し、描画処理を行う関数です。
見ての通り処理の詳細はcalcCoordinate()とdraw()に集約されています。
解説:onMouseMove
mouseDownとほぼ同じです。
ですがmouseDown時はevent引数の状態が違うので差別化する必要があります。
こちらも処理の詳細はcalcCoordinate()とdraw()に集約されています。
解説:calcCoordinate
イベント引数からマウスの座標を計算します。
単純にclientX, clientYだけの計算だとページがスクロールや拡大・縮小した際に座標の位置が狂います。
それを防ぐためgetBoundingClientRectにて要素に対するウィンドウ座標を出力してあげて、計算してあげる必要があります。
これによってスクロールした際に点が明後日の方向にいかないように制御することができます。
最終的にチルダ2つで小数点を省き絶対値のみの値にしてx,y座標を返します。(そこまで細かい描画はしない為)
解説:draw
引数はcalcCoordinateの戻りです。
先程軽く触れましたが描画にはパスの繋ぎが必要になりますので、fromX,toX, fromY, toYの4つの変数が重要になります。
    // 座標の変数を展開して
    const {x: toX, y: toY} = coordinate;

    // ここで開始の座標を指定する。this.x, this.yがnullならばto === fromになるので値を代入
    const fromX = this.x || toX;
    const fromY = this.y || toY;

    // 座標の開始位置まで移動
    this.context.moveTo(fromX, fromY);

    // 座標の終了位置までパスをつなぐ
    this.context.lineTo(toX, toY);
上記コードでパスを繋ぎました。
実際の色を塗る処理はこちらになります。
    this.context.lineCap = 'round'; // 丸形のペン(今回は固定にしました。)
    this.context.lineWidth =  this.penSize; // ペンサイズを指定
    this.context.strokeStyle = this.penColor; // ペンの色を指定

    this.context.stroke(); // 描画する
つたない説明になってしまいましたが、こんな感じです。
各種ペンツール
無駄に拘ってしまったペンツールのご紹介。
init()で省略したペンのスタイルについてです。
  /**
   * Initialize colored pencils
   */
  initColorPencilElements = () => {
    const { colorPencil: color, colorPalette: palette, pencilSize: size, pencilOpacity: opacity } = this.pencilSelector;
    const colorPencil = document.querySelector(color);
    const colorPalette = document.querySelector(palette);
    const pencilSize = document.querySelector(size);
    const pencilOpacity = document.querySelector(opacity);

    if (colorPencil != null) {
      colorPencil.value = this.penColor;

      colorPencil.addEventListener('click', (ev) => {
        ev.target.type = 'color'
      });
      colorPencil.addEventListener('blur', (ev) => {
        ev.target.type = 'text';
        if (colorPalette != null) {
          colorPalette.style.backgroundColor = ev.target.value;
        }
      });
      colorPencil.addEventListener('change', (ev) => {
        this.penColor = ev.target.value;
      });
    }

    if (colorPalette != null) {
      colorPalette.style.backgroundColor = this.penColor;
    }

    if (pencilSize != null) {
      pencilSize.value = this.penSize;
      pencilSize.addEventListener('change', (ev) => {
        this.penSize = ev.target.value;
      });
    }

    if (pencilOpacity != null) {
      pencilOpacity.value = this.penOpacity;
      pencilOpacity.addEventListener('change', ev => {
        this.penOpacity = ev.target.value;
      });
    }
  }
解説:initColorPencilElements
ペンのスタイルを定義します。それだけならまだいいのですが、、、
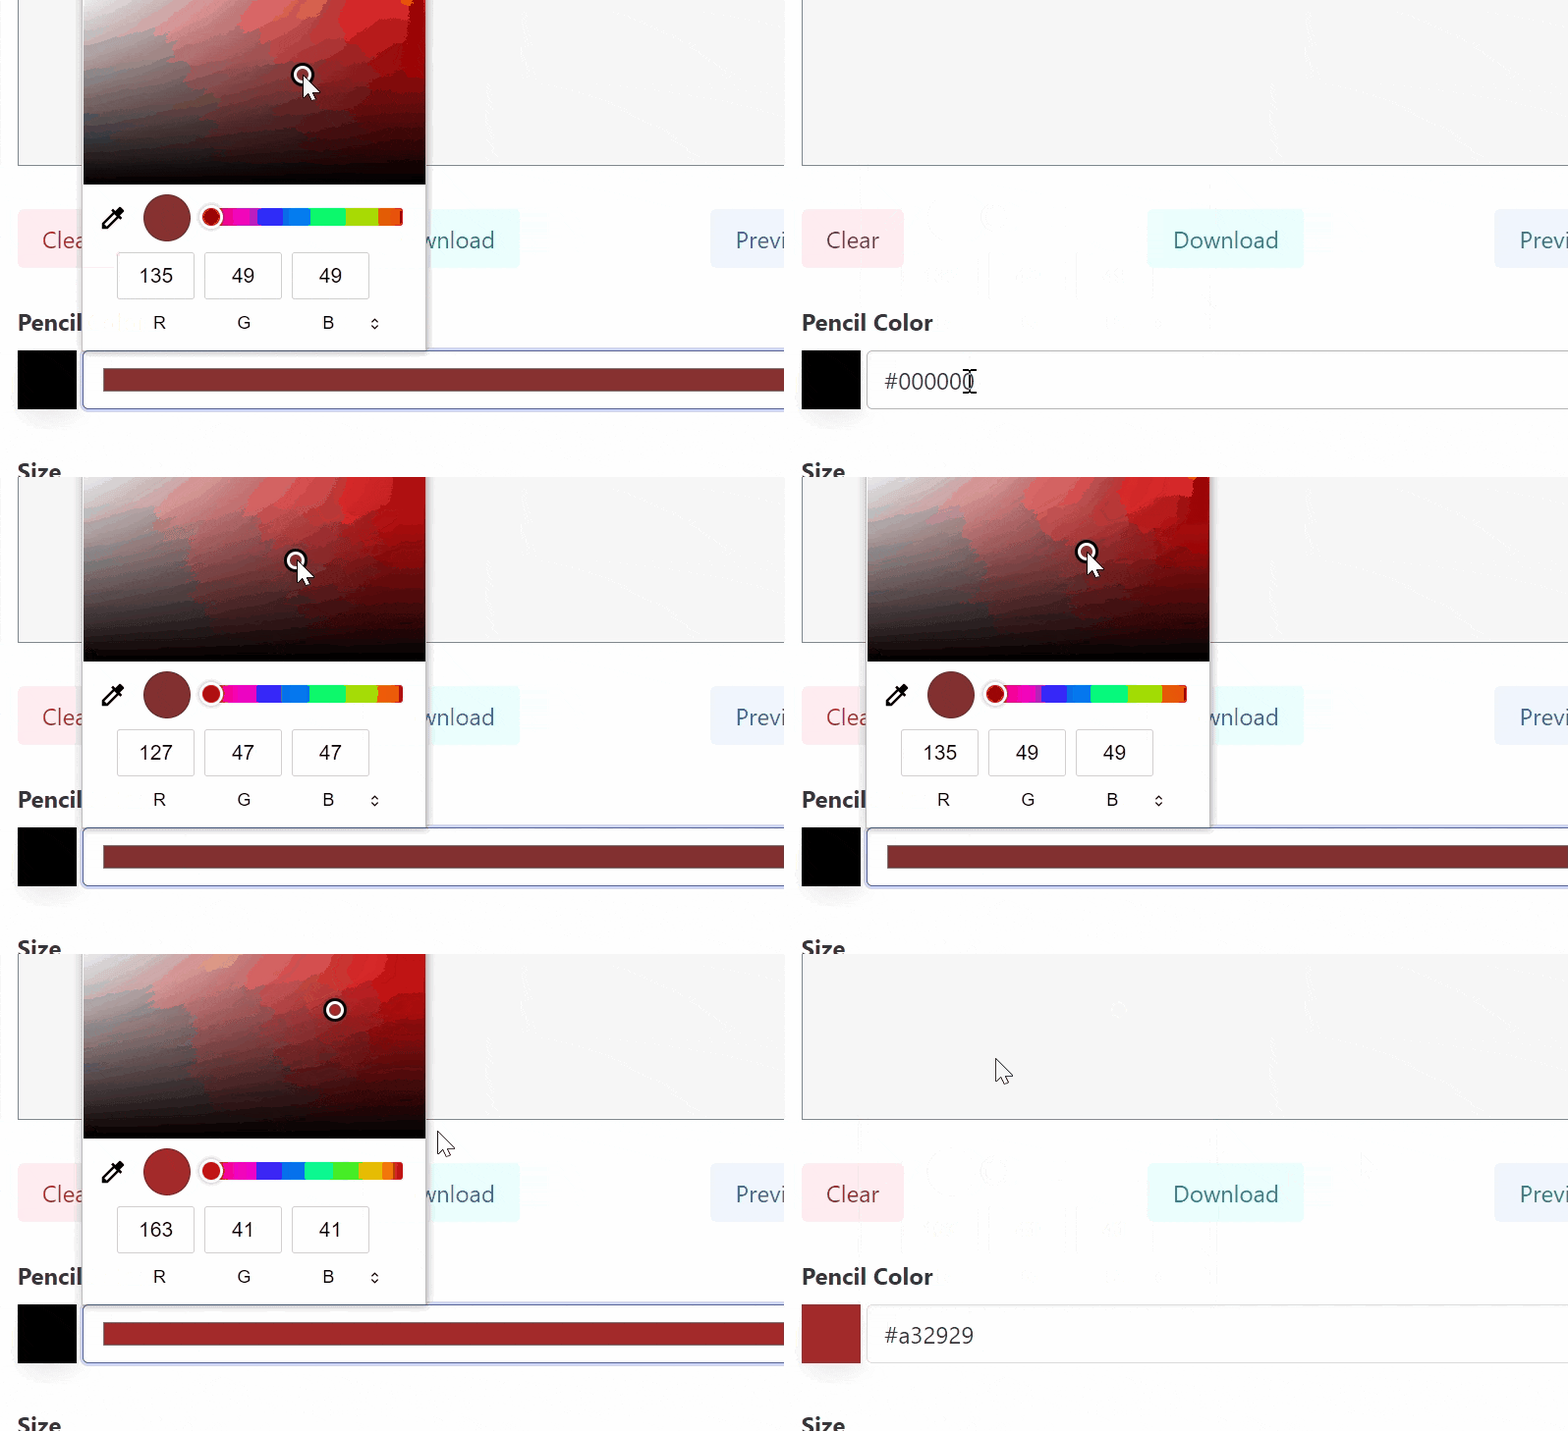
標準のinput type="color"が死ぬほどダサくてカスタマイズしました。
基本的にブラウザ標準のがダサすぎるんですよね・・・。
inputに色がビーって引っ張る辺りが相当ダサくて・・。
なのでこんな感じでクリックしたらcolorに変化して、blurしたらtextにするようにしました。
そしてchangeイベントで横のBOXの色が変化するようにしてみました。
これらの設定は一旦クラス変数に保持してあげて終わり。draw()時にその設定を利用するようにしています。
プレビュー機能
画像を一旦プレビューしたい時ってありますよね。
隣にあるから需要が少ないと思いますが、Google Lens等の画像検索したい時に便利です。
簡単ですね。imageタグの属性を変えてあげるだけです。
      <div class="column is-half preview-area">
        <img id="preview" />
      </div>
  /**
   * show preview
   */
  preview = () => {
    this.previewArea.src = this.element.toDataURL(); // canvasの要素をdataURLに変換
    // 高さ・幅調整
    this.previewArea.width = this.width;
    this.previewArea.height = this.height;

  }
クリア機能
本来なら要素をクリアするだけで良いのですが、今回はcanvasなのでそうはいきません。
clearRect()で開始位置のx,y座標は0を指定し、終了位置は要素の幅、高さを指定しましょう。
そしてthis.setCanvasStyle();を再度呼び出してあげれば元の状態に戻ります。
  /**
   * clear canvas
   */
  clearCanvas = () => {
    this.context.clearRect(0, 0, this.element.width, this.element.height);

    this.setCanvasStyle();
  }
ダウンロード機能
描画した画像をダウンロードします。
blob形式に変えて動的URLを生成してクリック動作を発火させます。
クライアント側ダウンロードと同じ挙動ですね。
  /**
   * download image.
   */
  download = () => {
    this.element.toBlob((blob) => {
      const url = URL.createObjectURL(blob);
      const aTag = document.createElement('a');
      document.body.appendChild(aTag);

      aTag.download = 'drawImage.png';
      aTag.href = url;
      aTag.click();
      aTag.remove();

      URL.revokeObjectURL(url);
    });
  }
ソースコード全容
こちらが該当のソースになります。
https://github.com/kinachan/canvasSample
公開するときに色々と無駄なコードが残っていて焦りました。
もっと発信が出来るように頑張ろうとおもいました。
余談
今回はVanilla縛りだったので仕方ないのですがTypescriptで書いた方がもっときれいに書けるのに・・と思いました。
やっぱりTypescriptはつよい。
