0. はじめに
UIKitをベースとしたiOS向けAppを、Macでも動かしたい・・・。これを可能にしたのがMac Catalystです。これにより、一つのTargetでiPhone, iPad, Macの3つのプラットホームで動くアプリが作成できます。
しかし、2Kや4Kの広いデスクトップと、複数のアプリを同時に起動し使うことができるのは、Macだけです。iPadでもSplit ViewやSlide Overに対応すれば、2つのアプリは同時に表示できますが、PCであるMacには敵いません。
Mac CatalystもUIKitを使ってプログラムを作成するため、Macで動くといってもMacOS固有なAppKitは(普通には)使えません。
今回はPluginという仕掛けを使って、Mac Catalystの場合だけAppKitのAPIを使えるようにする方法を紹介します。
1. プロジェクトにMac Catalystを指定する
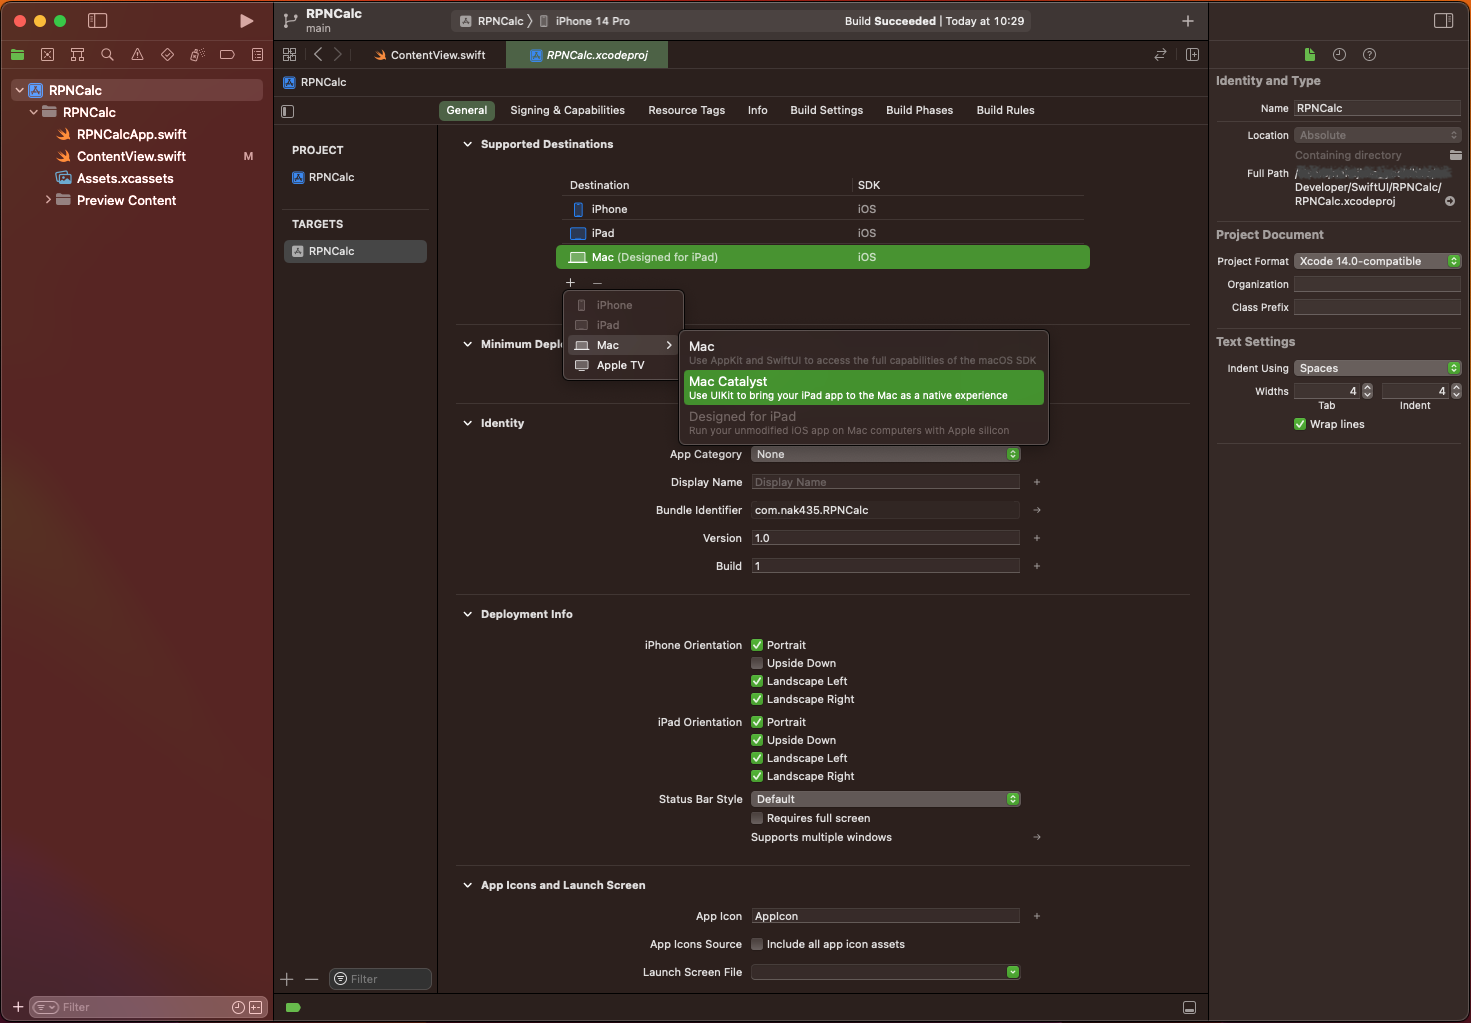
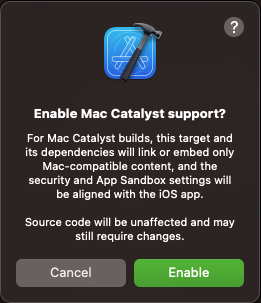
iOSのAppプロジェクトを普通に作成すると、MacのところはDesigned for iPadになっているので、これを削除して、新たにMac Catalystを追加する。


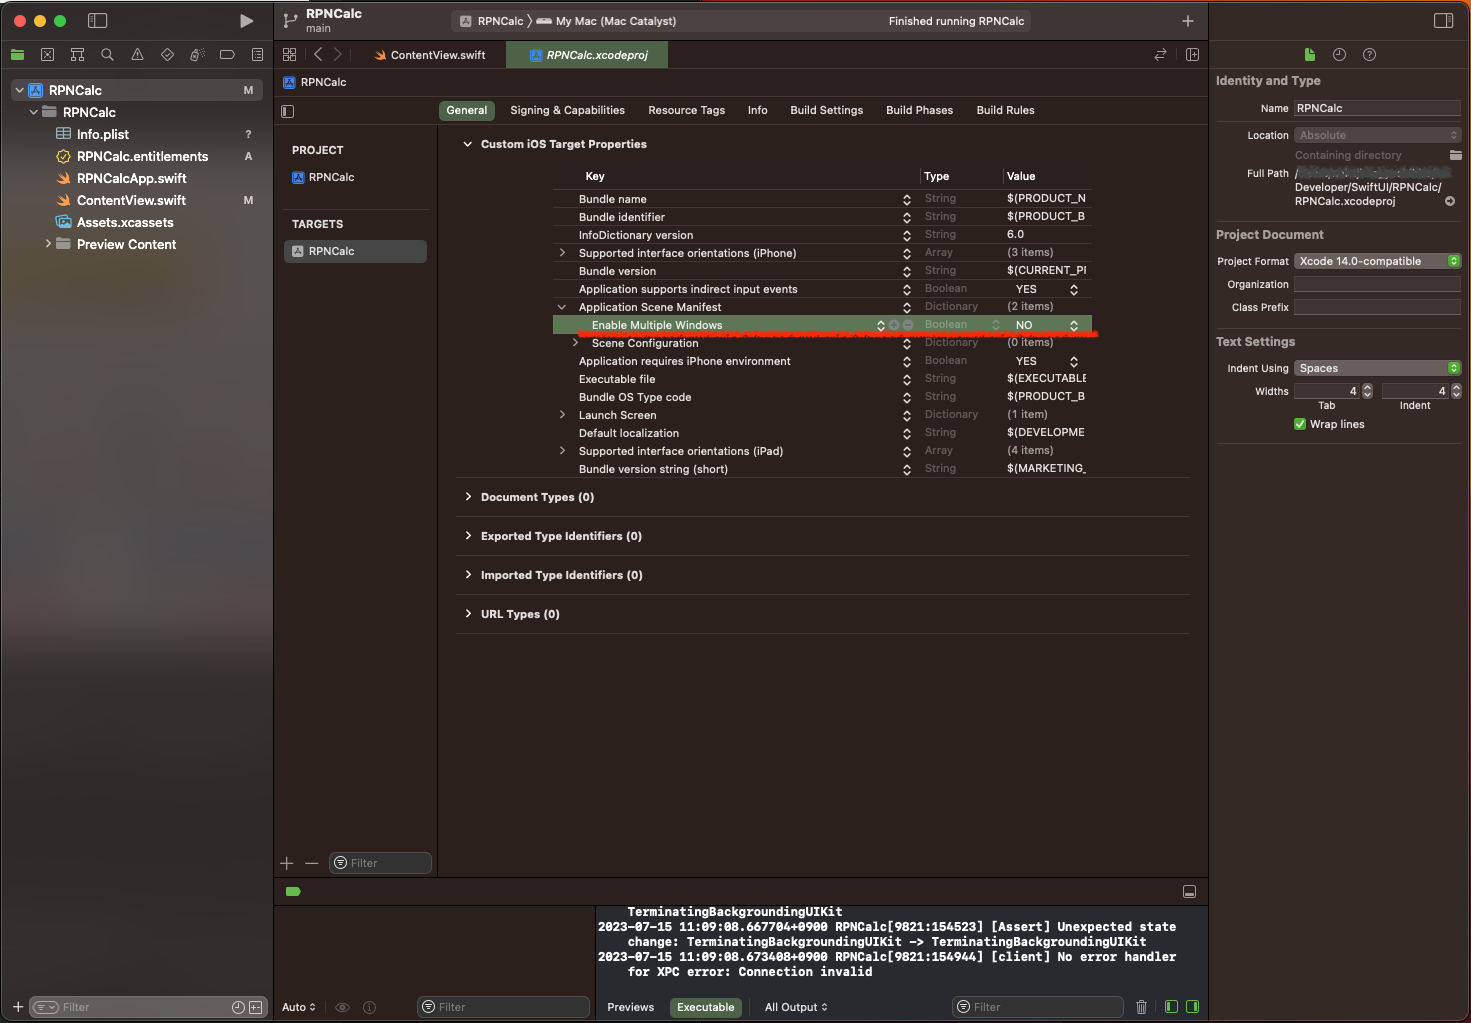
- シングルウィンドウにする
これはアプリの性質によるが、シングルウィンドウアプリの場合は、Enable Multiple WindowsをNOに変更していくとよい。YESのままだと、ウィンドウを×で閉じてもアプリは起動したままのため、メニューから終了させる必要がある。
2. Pluginを使う方法
元ネタは 『Mac CatalystでmacOS用アプリを作る』 や 『How to Access the AppKit API from Mac Catalyst Apps』 ですが、2〜3年前の情報でXcodeのバージョンも変わっていて「そのまんま」とはいかないので、その辺を最新のXcode version 14で、かつ、SwiftUIアプリで説明します。(Storyboardを使ったSwiftアプリでも内容的には同じ。)
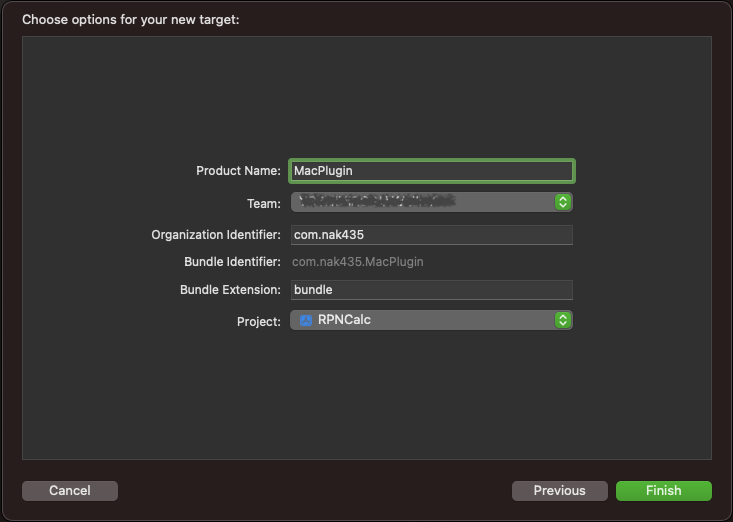
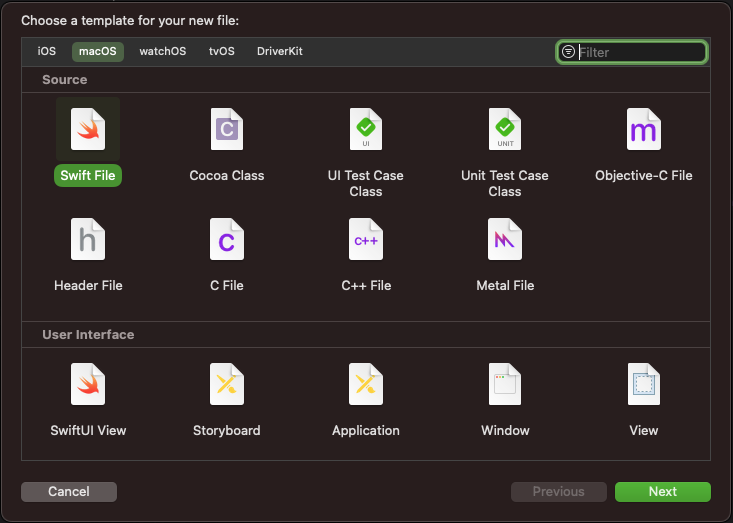
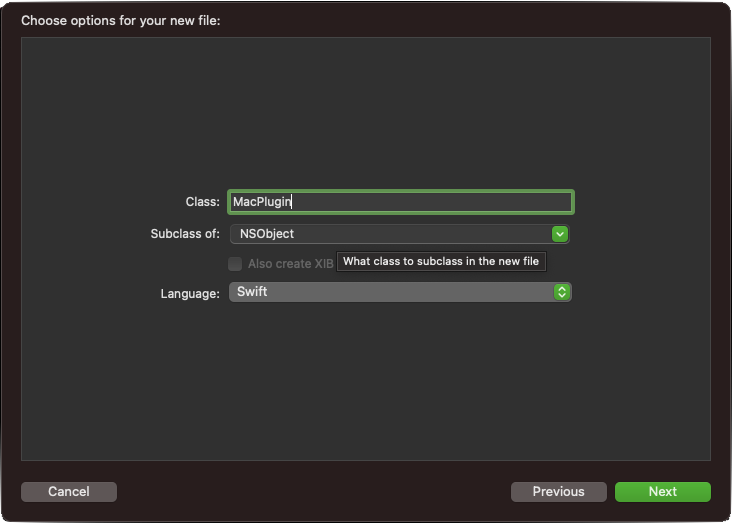
2.1 macOS bundleターゲットを追加
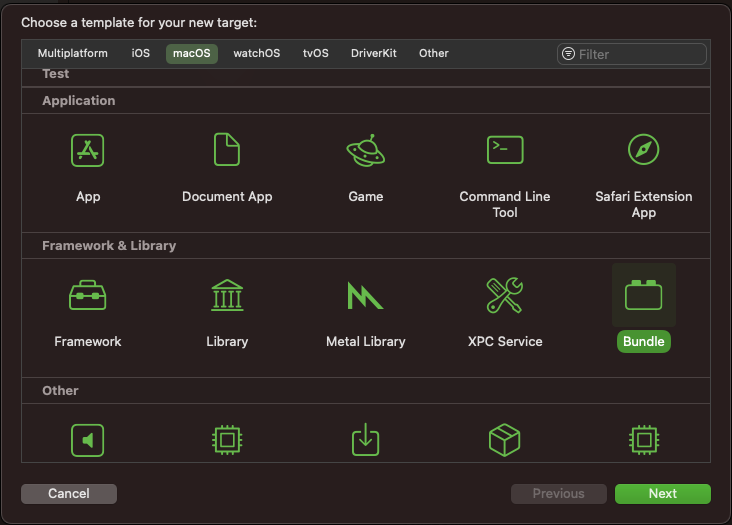
新規にTargetを追加します。macOSのBundleを選択し、ここではMacPluginと名付けました。
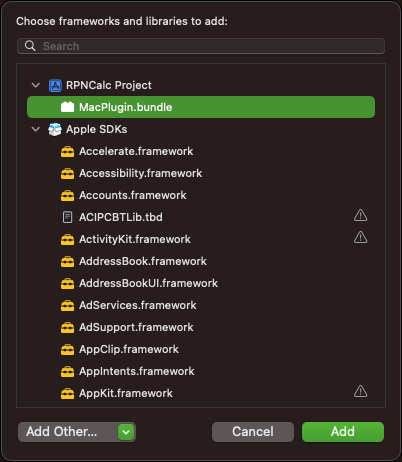
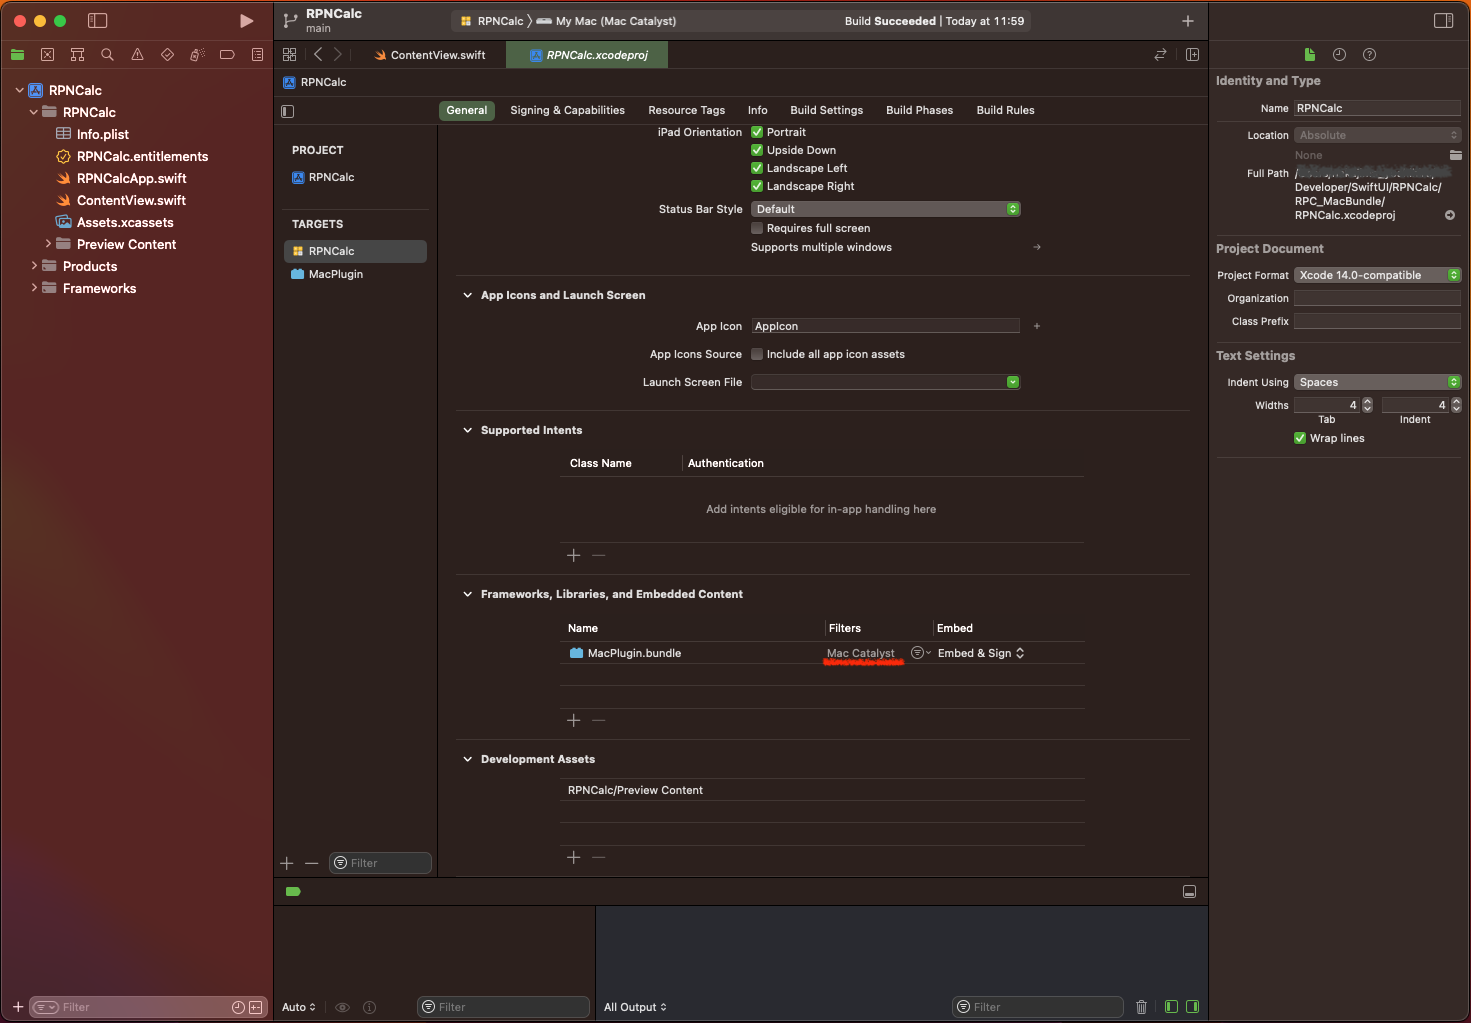
2.2 アプリターゲットにプラグインを埋め込み、プラットフォームをMac Catalystに変更する
- アプリターゲットに前項で追加した
macOS bundleを追加します。
(「Frameworks, Libraries, and Embededded Content」にmacOS bundleを追加)

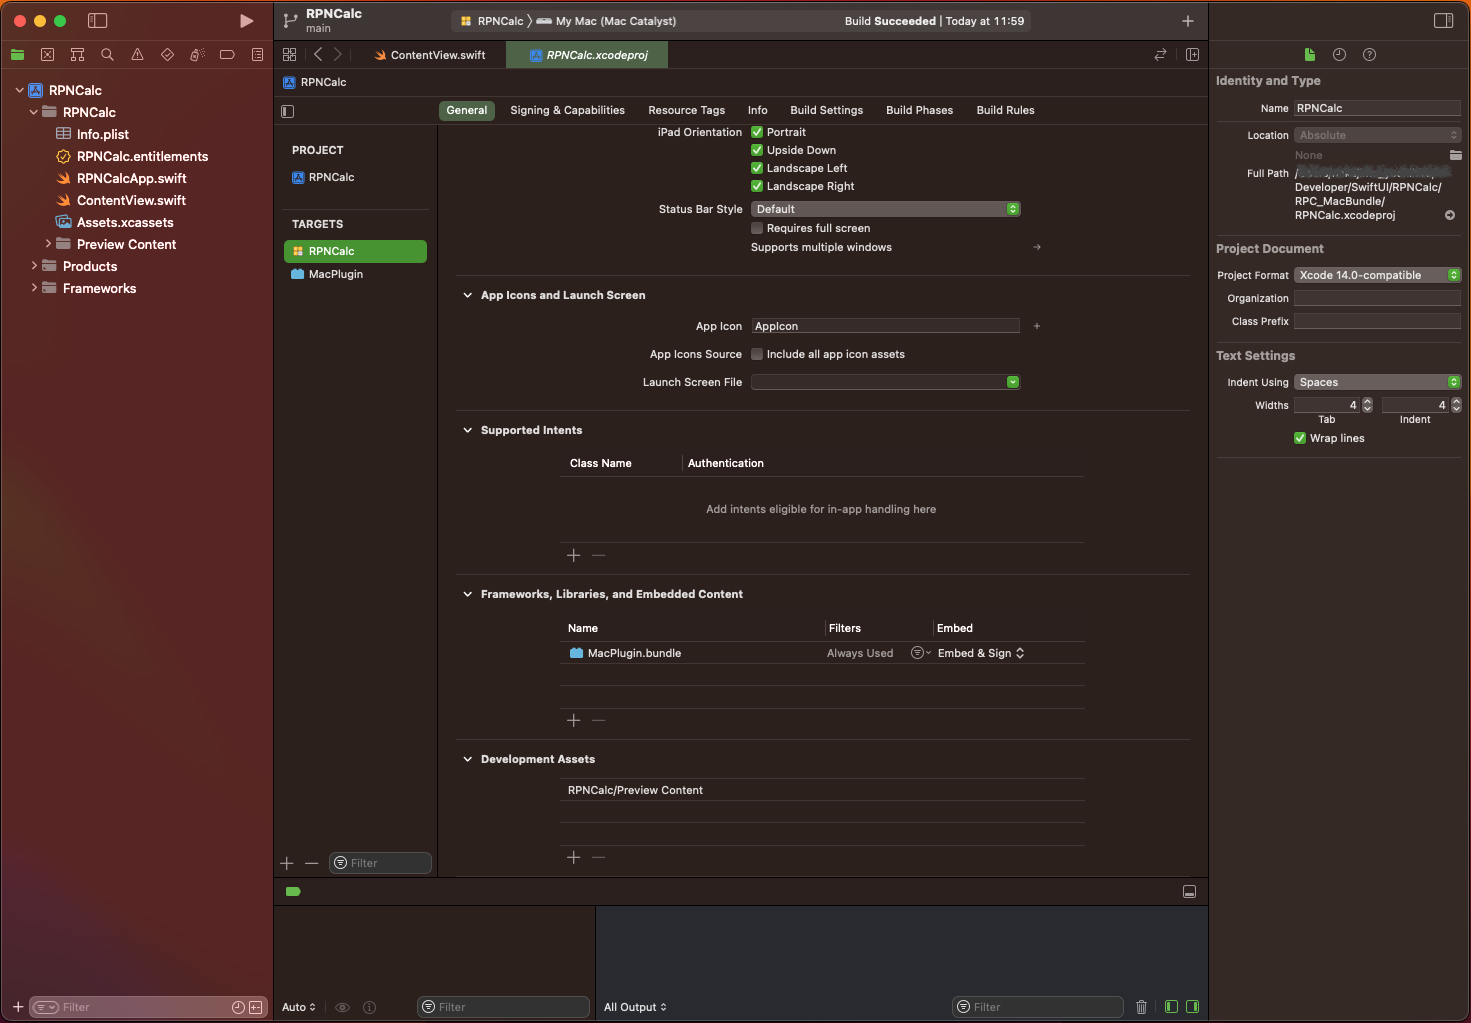
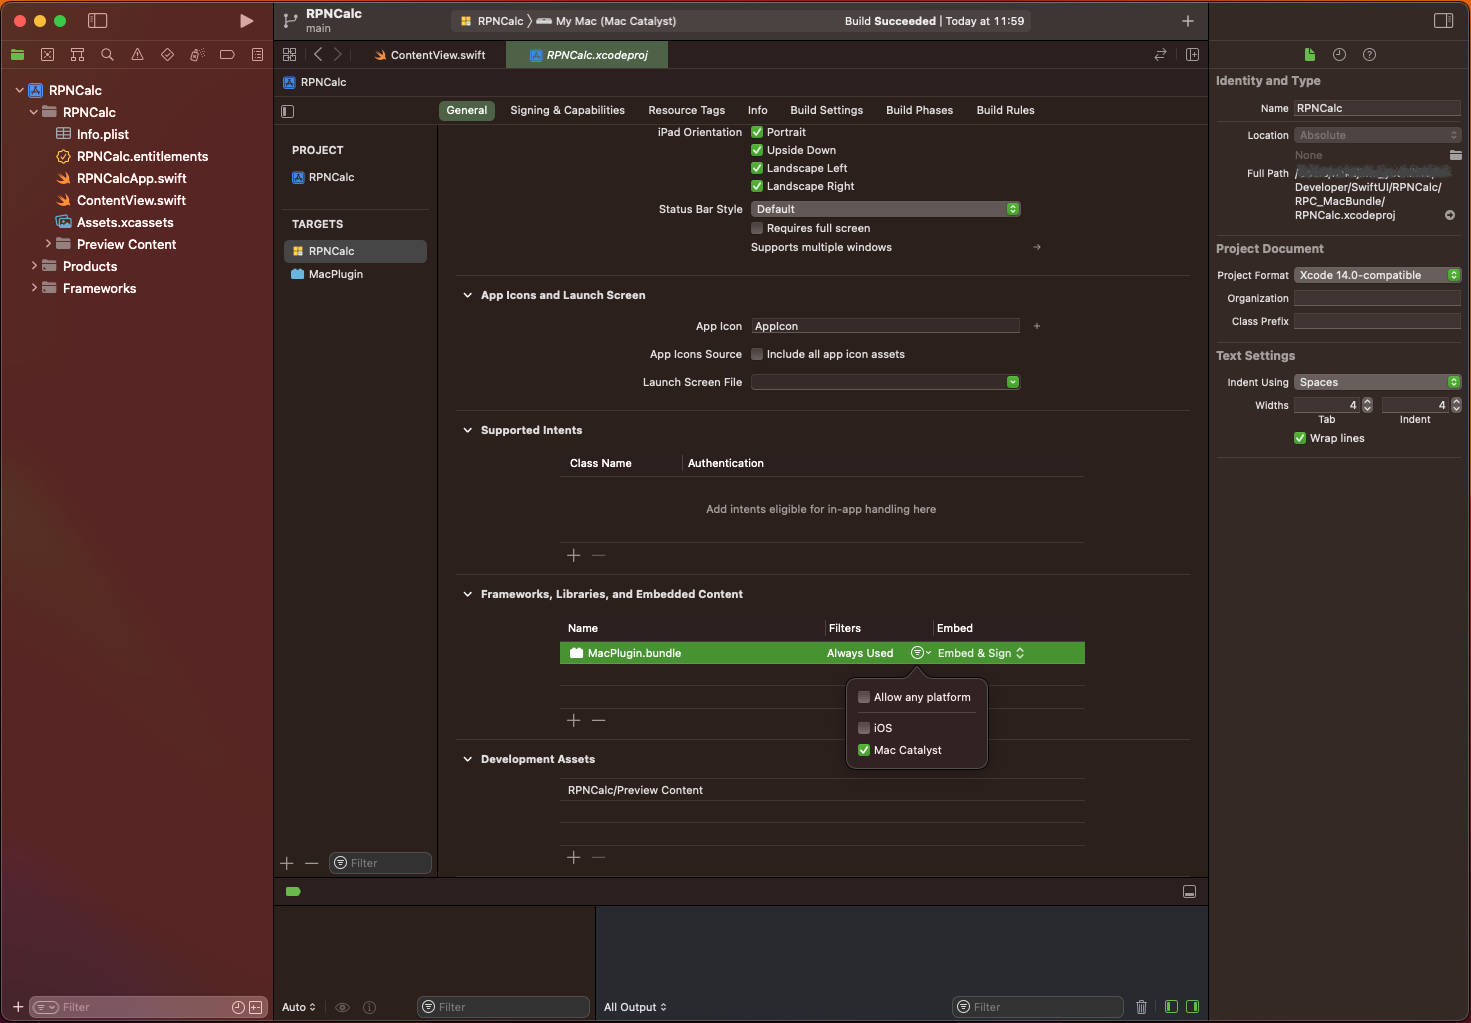
- 追加した
macOS bundleのFiltersをAlways UsedからMac Catalystに変更する。
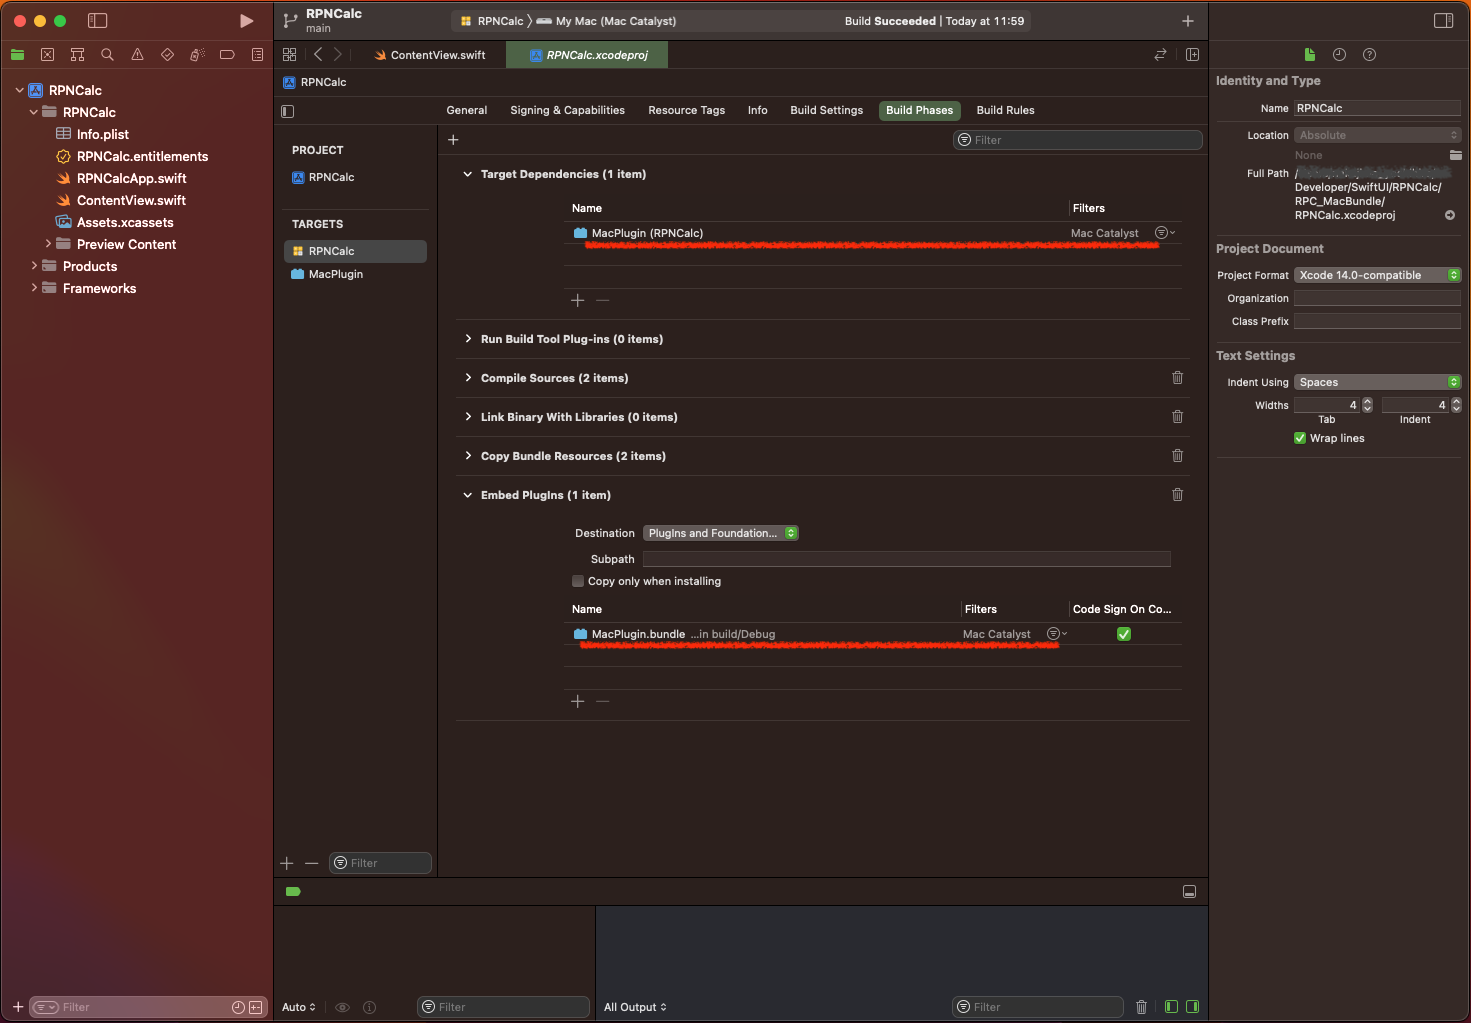
- アプリターゲットのBuild Phasesの「Target Dependencies」と「Enbeded Plugins」に
MacPluginが追加され、FiltersがMac Catalystになっていることを確認する
2.3 共有プロトコルPluginを作成する
-
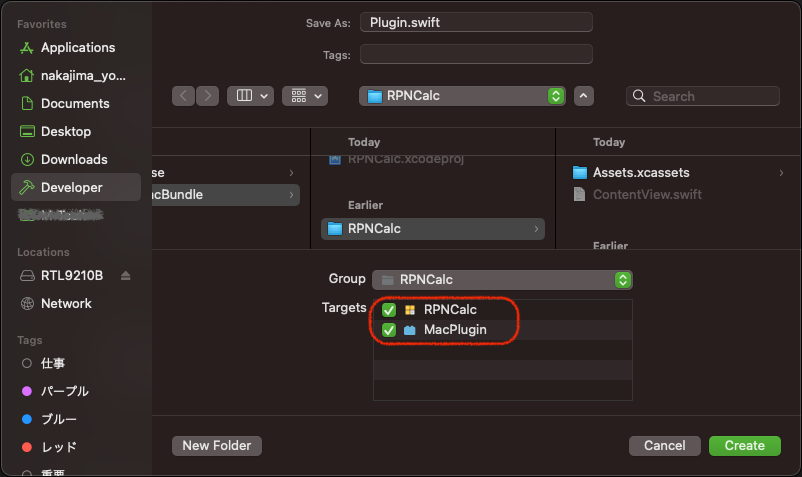
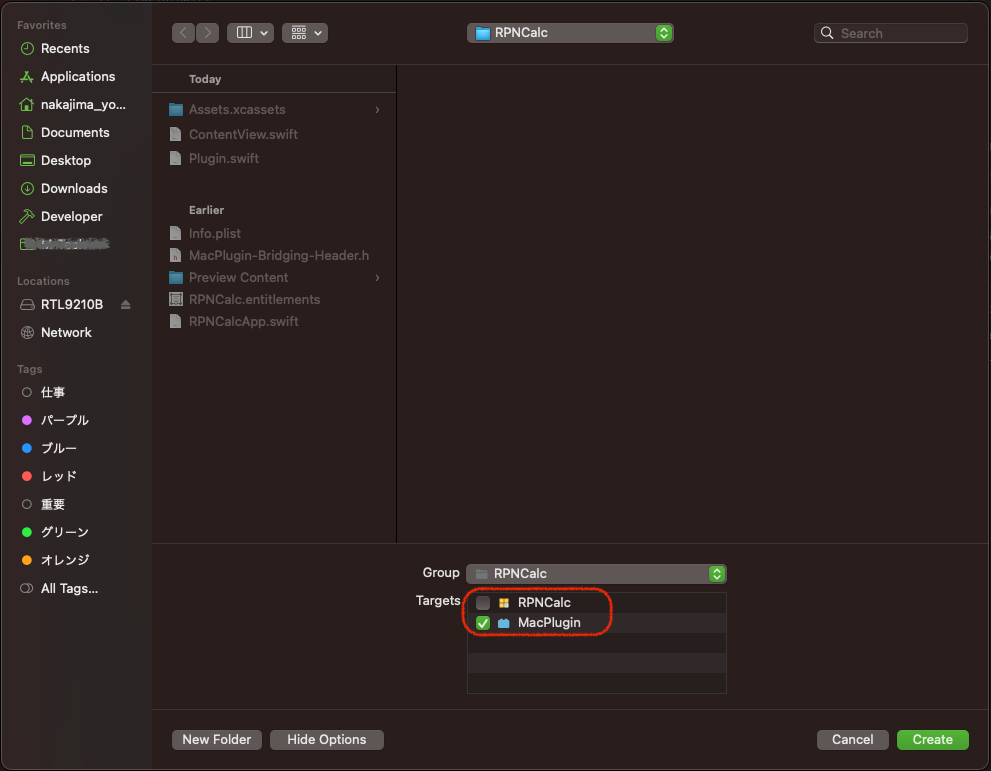
新規にSwift Fileを追加し、
Plugin.swiftと名付けた。
-
両方のターゲットに含まれていることを確認する。
-
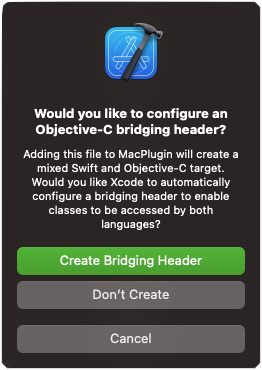
PluginターゲットにSwiftコードを追加すると、XcodeはObjective-Cブリッジヘッダーの設定を提案してくるので受け入れます
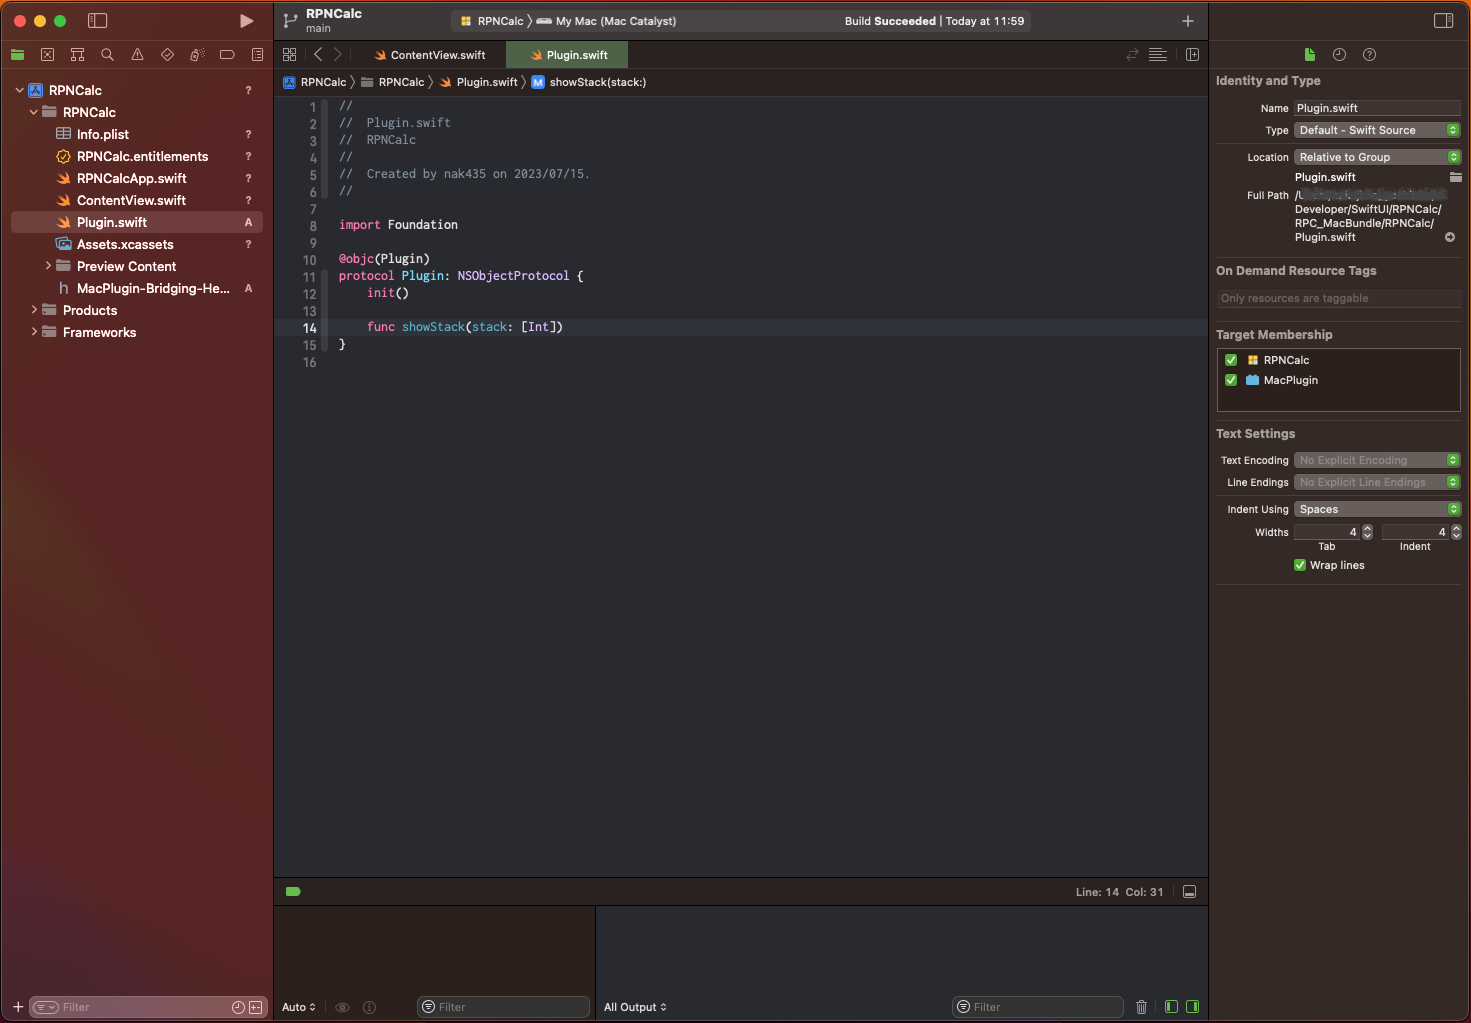
・Plugin.swiftのコードは以下の通り
(関数showStackがAppKit固有のAPIを使用する関数。ここはアプリごとに名前も、引数も、関数の個数や内容も変わる)
import Foundation

@objc(Plugin)
protocol Plugin: NSObjectProtocol {
    init()

    func showStack(stacks: String)
}
2.4 共有プロトコルに準拠したクラスを作成する
-
もう一つ新規にSwift Fileを追加し、
MacPlugin.swiftと名付ける。
-
Pluginターゲットにだけ含める。
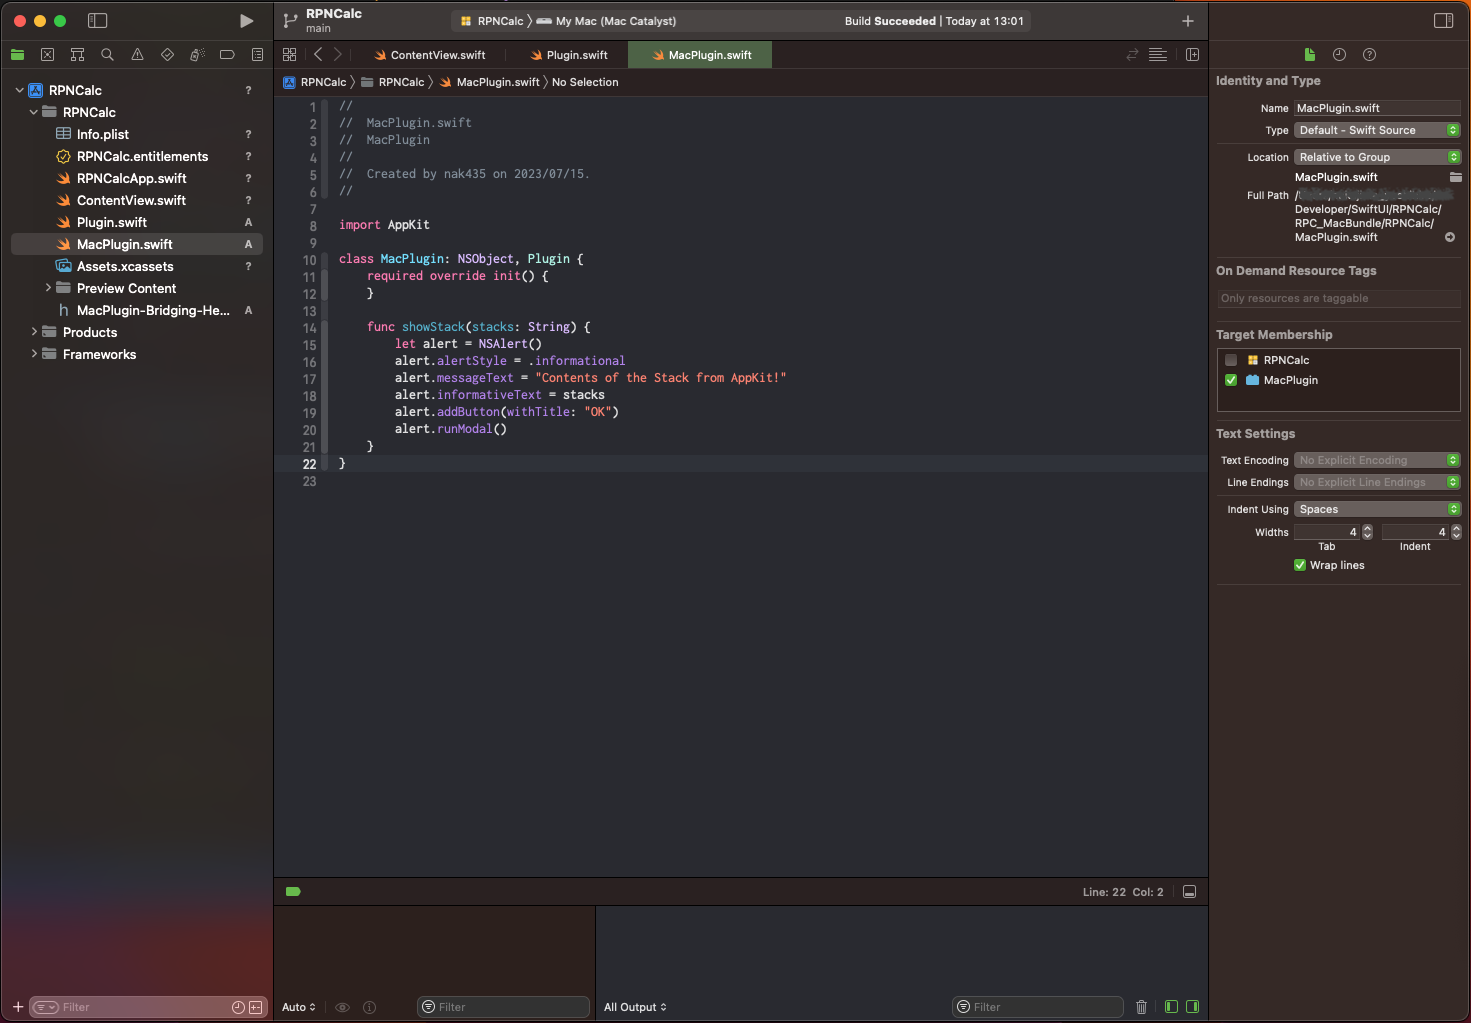
・MacPlugin.swiftのコードは以下の通り
今回はAppKitのAPIであるNSAlertクラスを使用した例である。
import AppKit

class MacPlugin: NSObject, Plugin {
    required override init() {
    }

    func showStack(stacks: String) {
        let alert = NSAlert()
        alert.alertStyle = .informational
        alert.messageText = "Contents of the Stack from AppKit!"
        alert.informativeText = stacks
        alert.addButton(withTitle: "OK")
        alert.runModal()
    }
}
2.5 Pluginバンドルをロードし、MacPluginの新しいインスタンスを作成する
func loadPlugin(_ stacks: String) {
    let bundleFileName = "MacPlugin.bundle"
    guard let bundleURL = Bundle.main.builtInPlugInsURL?.appendingPathComponent(bundleFileName) else { return }
    guard let bundle = Bundle(url: bundleURL) else { return }
    guard let pluginClass = bundle.principalClass as? Plugin.Type else { return }

    let plugin = pluginClass.init()
    plugin.showStack(stacks: stacks)
}
上の例では、MacPluginインスタンスを作成し、showStack関数の呼び出しまで行っているが、両者を分ける実装でも可能。
このloadPlugin関数をMac Catalystのみ必要だとして、MacPlugin.swiftに置くと、コンパイル時にエラーとなる。今回はPlugin.swiftに同居させました。(独立したファイルでもよい。むしろそうすべき)

以上で準備は終わり。
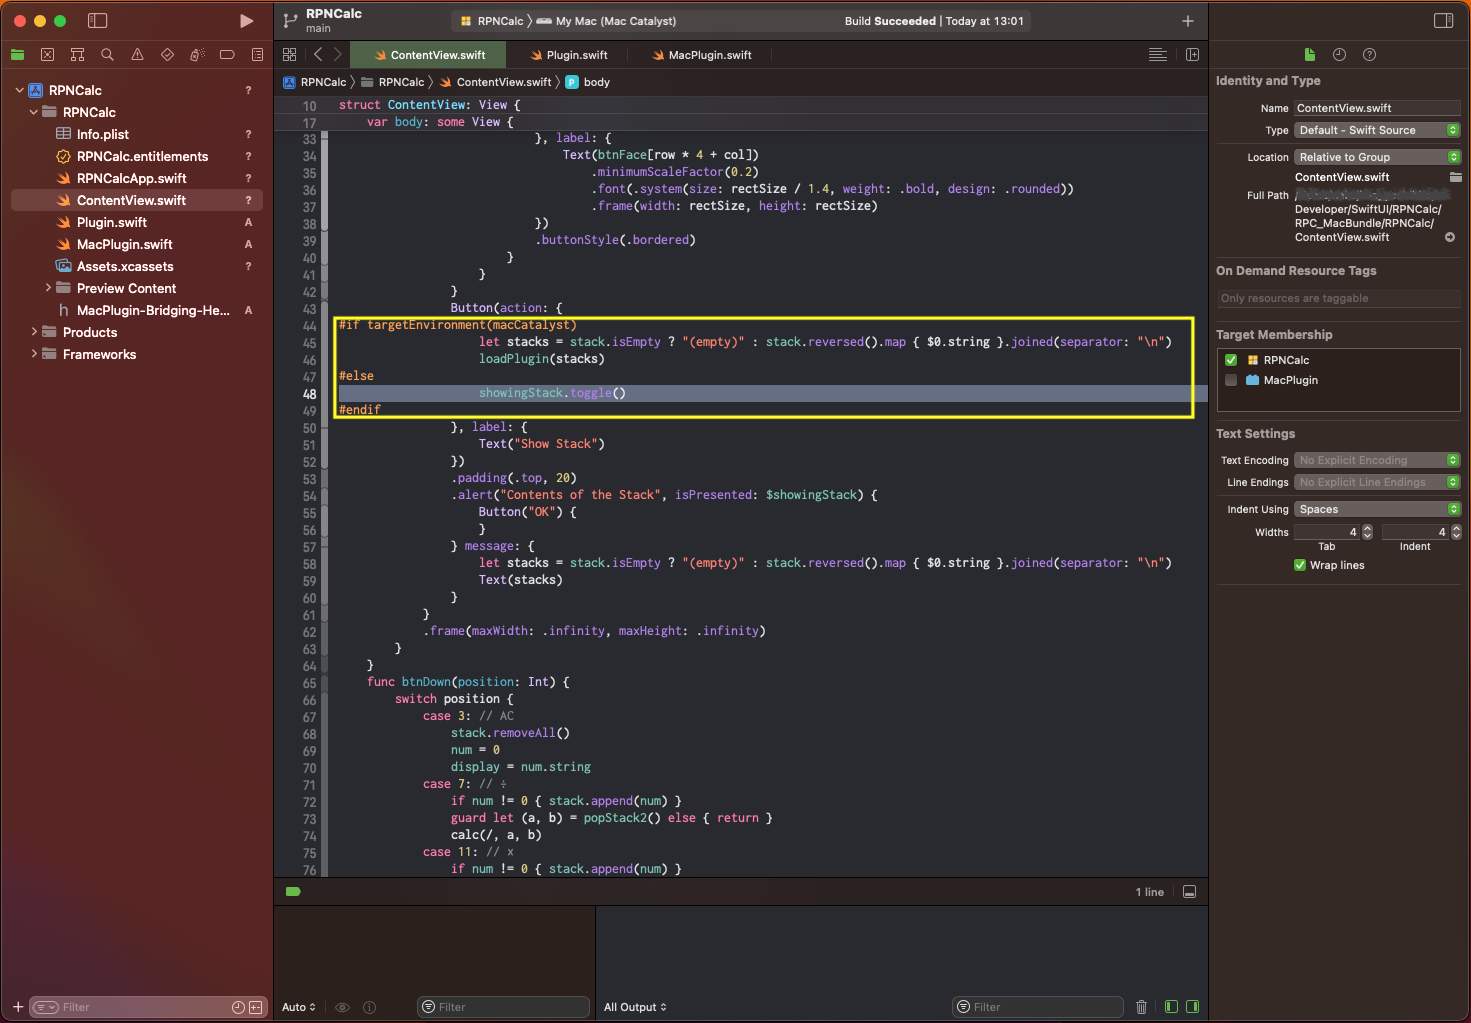
2.6 呼び出し側を作る
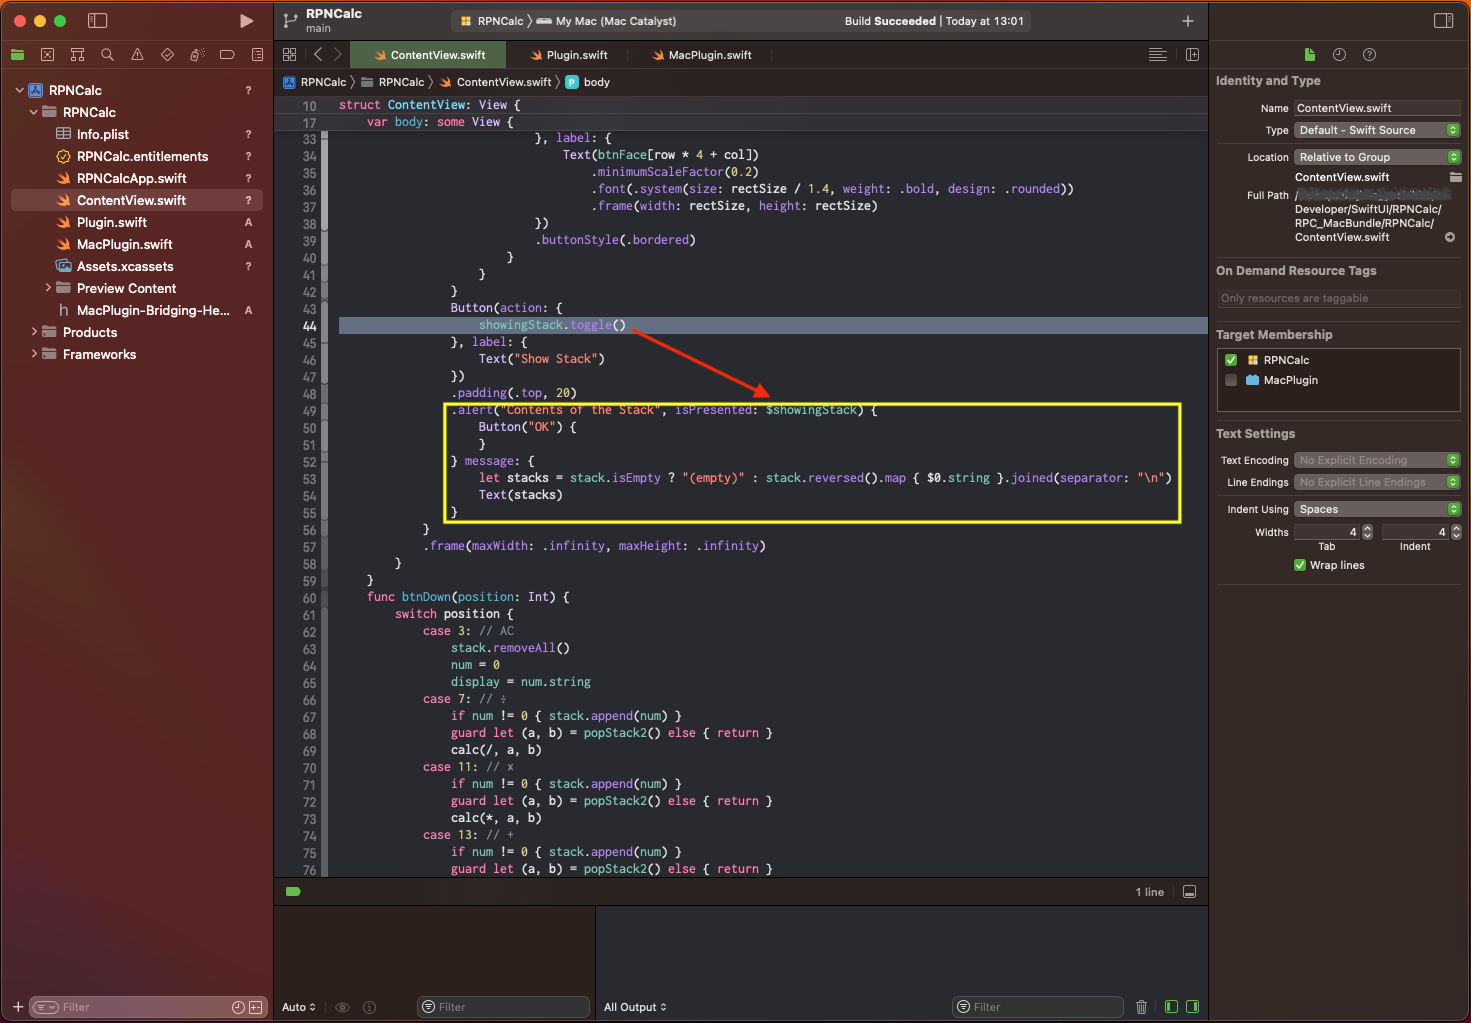
Show Stackボタンが押されたら、alertのトリガー変数をtrueしてSwiftUIのアラートで表示していたところを、
Mac Catalystの場合は、前項で作成したloadPlugin関数を呼び出すことでNSAlertで表示するように変更した。
- 結果は↓ご覧の通り
| 適用前(iPhone) | 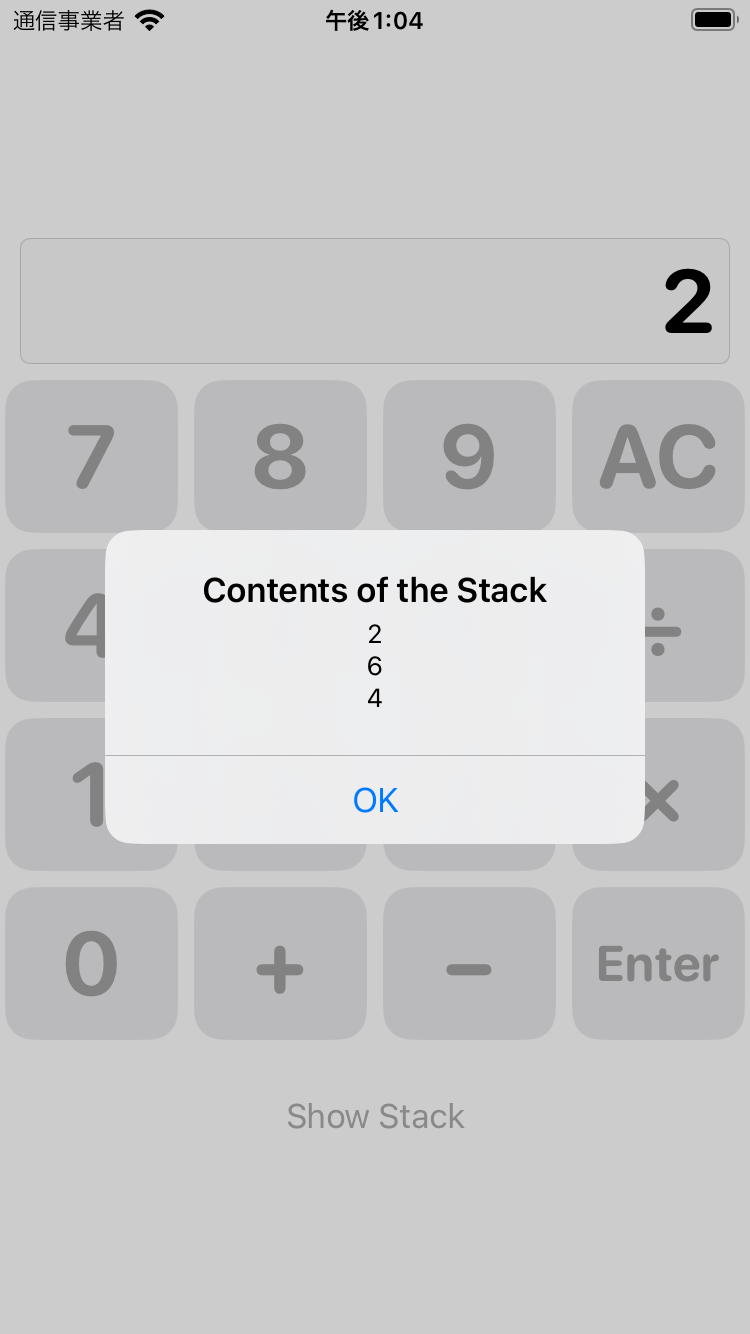 |
|---|---|
| 適用前(Mac) | 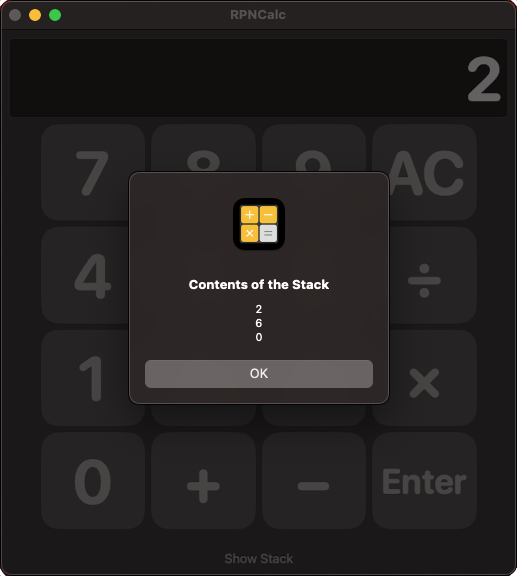 |
| 適用後(Mac) | 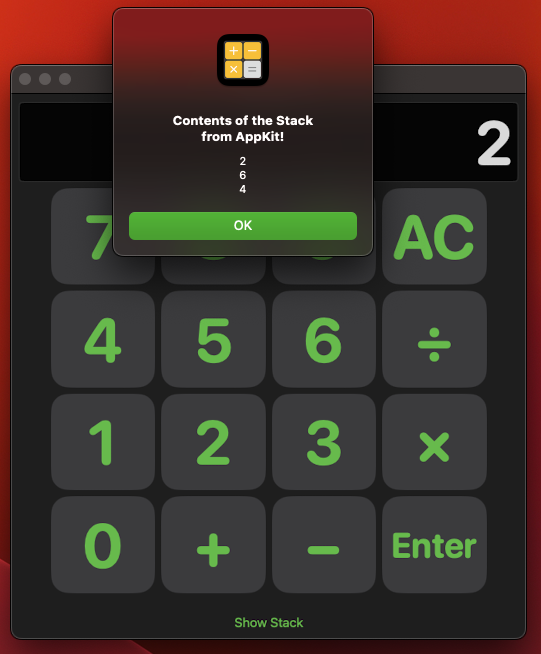 |
-
ContentVoew.swiftの全コードも載せておく。
import SwiftUI

struct ContentView: View {
    let MAX = 10_000_000_000.0
    let btnFace: [String] = ["7", "8", "9", "AC", "4", "5", "6", "÷", "1", "2", "3", "×", "0", "+", "−", "Enter", ]
    @State var stack: [Double] = []
    @State var num: Double = 0
    @State var display: String = "0"
    @State private var showingStack = false
    var body: some View {
        GeometryReader { proxy in
            let rectSize = min(proxy.size.width, proxy.size.height) / 6
            VStack {
                TextField("", text: $display)
                    .textFieldStyle(.roundedBorder)
                    .multilineTextAlignment(TextAlignment.trailing)
                    .minimumScaleFactor(0.5)
                    .font(.system(size: rectSize / 1.4, weight: .bold, design: .rounded))
                    .padding(.horizontal, 10)
                    .disabled(true)
                ForEach(0 ..< 4) { row in
                    HStack {
                        ForEach(0 ..< 4) { col in
                            Button(action: {
                                btnDown(position: row * 4 + col)
                            }, label: {
                                Text(btnFace[row * 4 + col])
                                    .minimumScaleFactor(0.2)
                                    .font(.system(size: rectSize / 1.4, weight: .bold, design: .rounded))
                                    .frame(width: rectSize, height: rectSize)
                            })
                            .buttonStyle(.bordered)
                        }
                    }
                }
                Button(action: {
#if targetEnvironment(macCatalyst)
                    let stacks = stack.isEmpty ? "(empty)" : stack.reversed().map { $0.string }.joined(separator: "\n")
                    loadPlugin(stacks)
#else
                    showingStack.toggle()
#endif
                }, label: {
                    Text("Show Stack")
                })
                .padding(.top, 20)
                .alert("Contents of the Stack", isPresented: $showingStack) {
                    Button("OK") {
                    }
                } message: {
                    let stacks = stack.isEmpty ? "(empty)" : stack.reversed().map { $0.string }.joined(separator: "\n")
                    Text(stacks)
                }
            }
            .frame(maxWidth: .infinity, maxHeight: .infinity)
        }
    }
    func btnDown(position: Int) {
        switch position {
            case 3: // AC
                stack.removeAll()
                num = 0
                display = num.string
            case 7: // ÷
                if num != 0 { stack.append(num) }
                guard let (a, b) = popStack2() else { return }
                calc(/, a, b)
            case 11: // ×
                if num != 0 { stack.append(num) }
                guard let (a, b) = popStack2() else { return }
                calc(*, a, b)
            case 13: // +
                if num != 0 { stack.append(num) }
                guard let (a, b) = popStack2() else { return }
                calc(+, a, b)
            case 14: // −
                if num != 0 { stack.append(num) }
                guard let (a, b) = popStack2() else { return }
                calc(-, a, b)
            case 15: // enter
                if let d = Double(display) {
                    stack.append(d)
                    num = 0
                }
            case 99: // .
                if let _ = Double(num.string + ".") {
                    display += "."
                }
            default: // 0-9
                let c = btnFace[position]
                if let d = Double(num.string + c) {
                    if d < -MAX || d > MAX { return }
                    num = d
                    display = num.string
                }
        }
    }
    func popStack2() -> (Double, Double)? {
        if stack.count < 2 { return nil }
        let b = stack.removeLast()
        let a = stack.removeLast()
        return (a, b)
    }
    func calc(_ f: (Double, Double)->Double, _ a: Double, _ b: Double) {
        let d = f(a, b)
        stack.append(d)
        display = d.string
        num = 0
    }
}

struct ContentView_Previews: PreviewProvider {
    static var previews: some View {
        ContentView()
    }
}

extension Double {
    var string: String {
        self == floor(self) ? "\(Int(self))" : "\(self)"
    }
}
なお、loadPlugin関数をiPhoneやiPadプラットホームから呼び出したとしても、何も起きず無害である。
今回は、アプリの説明は省きますが、「逆ポーランド記法で入力する電卓アプリ」です。逆ポーランド記法(後置記法)を知らないと、この電卓は何も答えてくれません。よく知らないという方は、↓こちらの記事を参照してください。
『1+2×3=7』。この電卓には『 1 _ 2 _ 3 × + 』(_はEnterを示す)と入力します。
3. おわりに
『Mac CatalystでAppKit固有のAPIを使用する』ためには、以上のような手順が必要で、SwiftUIでの説明はほぼ皆無でしたので、今後、スムーズに実施できるようにまとめておきました。
今回の例ではAppKitのNSAlertクラスを使用しましたが、これ自身はあまり意味を持たない例です。次回の続編では『Macなら絶対便利』という使い方の例を紹介する予定です。⇒こちらに公開しました。2023.7.18
以上です。