はじめに
iOS9以降をサポートするアプリを作ることになったので、最新のXcodeで新規プロジェクトを作ってからiOS9向けにダウングレードする方法について説明します。
(普通に作るとiOS13になる。自分への備忘録も兼ねて記載しておく)
執筆時点の環境
- macOS Catalina version 10.15.4
- Xcode version 11.4.1
1. Xcodeで新規プロジェクトを作成
では、Xcodeの操作を順に説明します。

File -> New -> Project で、新規プロジェクトを指定します。説明するまでもないですね。

Single View Appを選びましたが、他でも同じです。

プロジェクト名とかは適当に付けます。
2. TargetにiOS9を指定する
 当然ですが、ターゲットにiOS9を指定します。
3. InfoからSceneを消す
 SceneはiOS13からサポートされた機能のため、上図の青で囲まれたScene関係の情報を削除します(4つの情報を下から順に(-)をクリック)。
4. SceneDelegate.swiftを削除
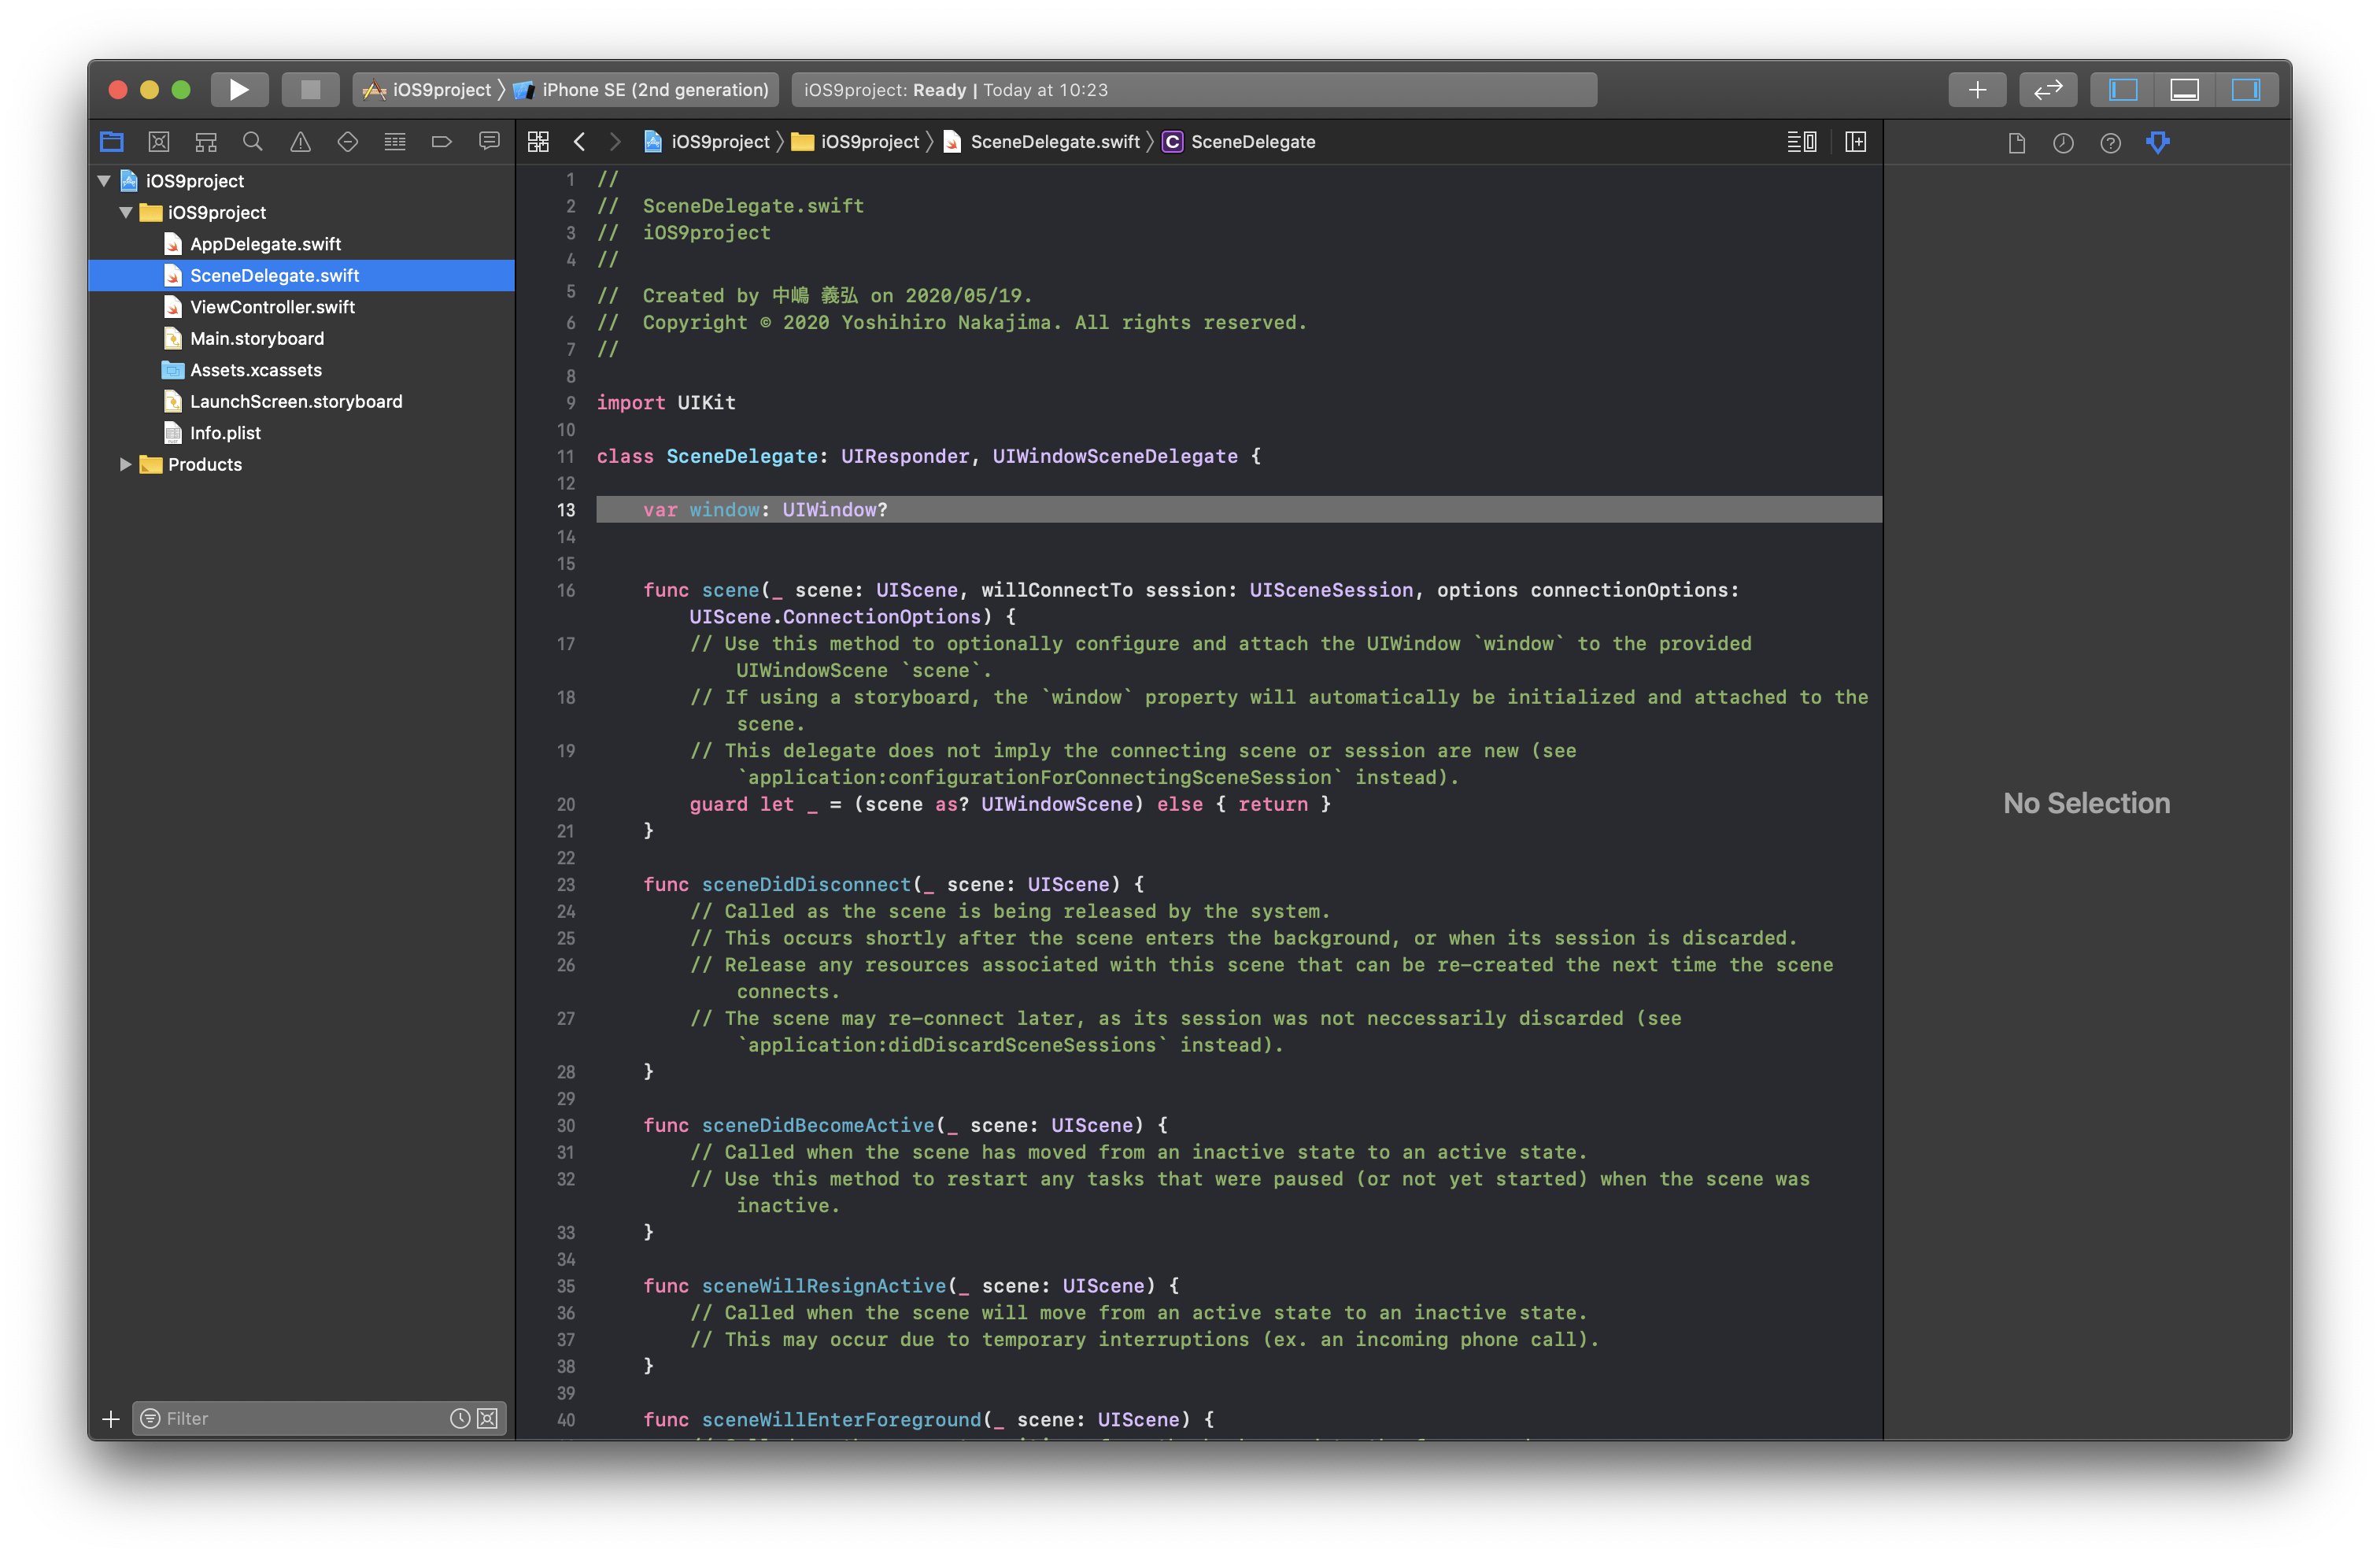
使えませんので、SceneDelegate.swiftをプロジェクトから削除します。が、13行目のwindowの変数宣言をAppDelegate.swiftに移すので、コピーしておくとよいかも。
5. AppDelegate.swiftのコードの変更
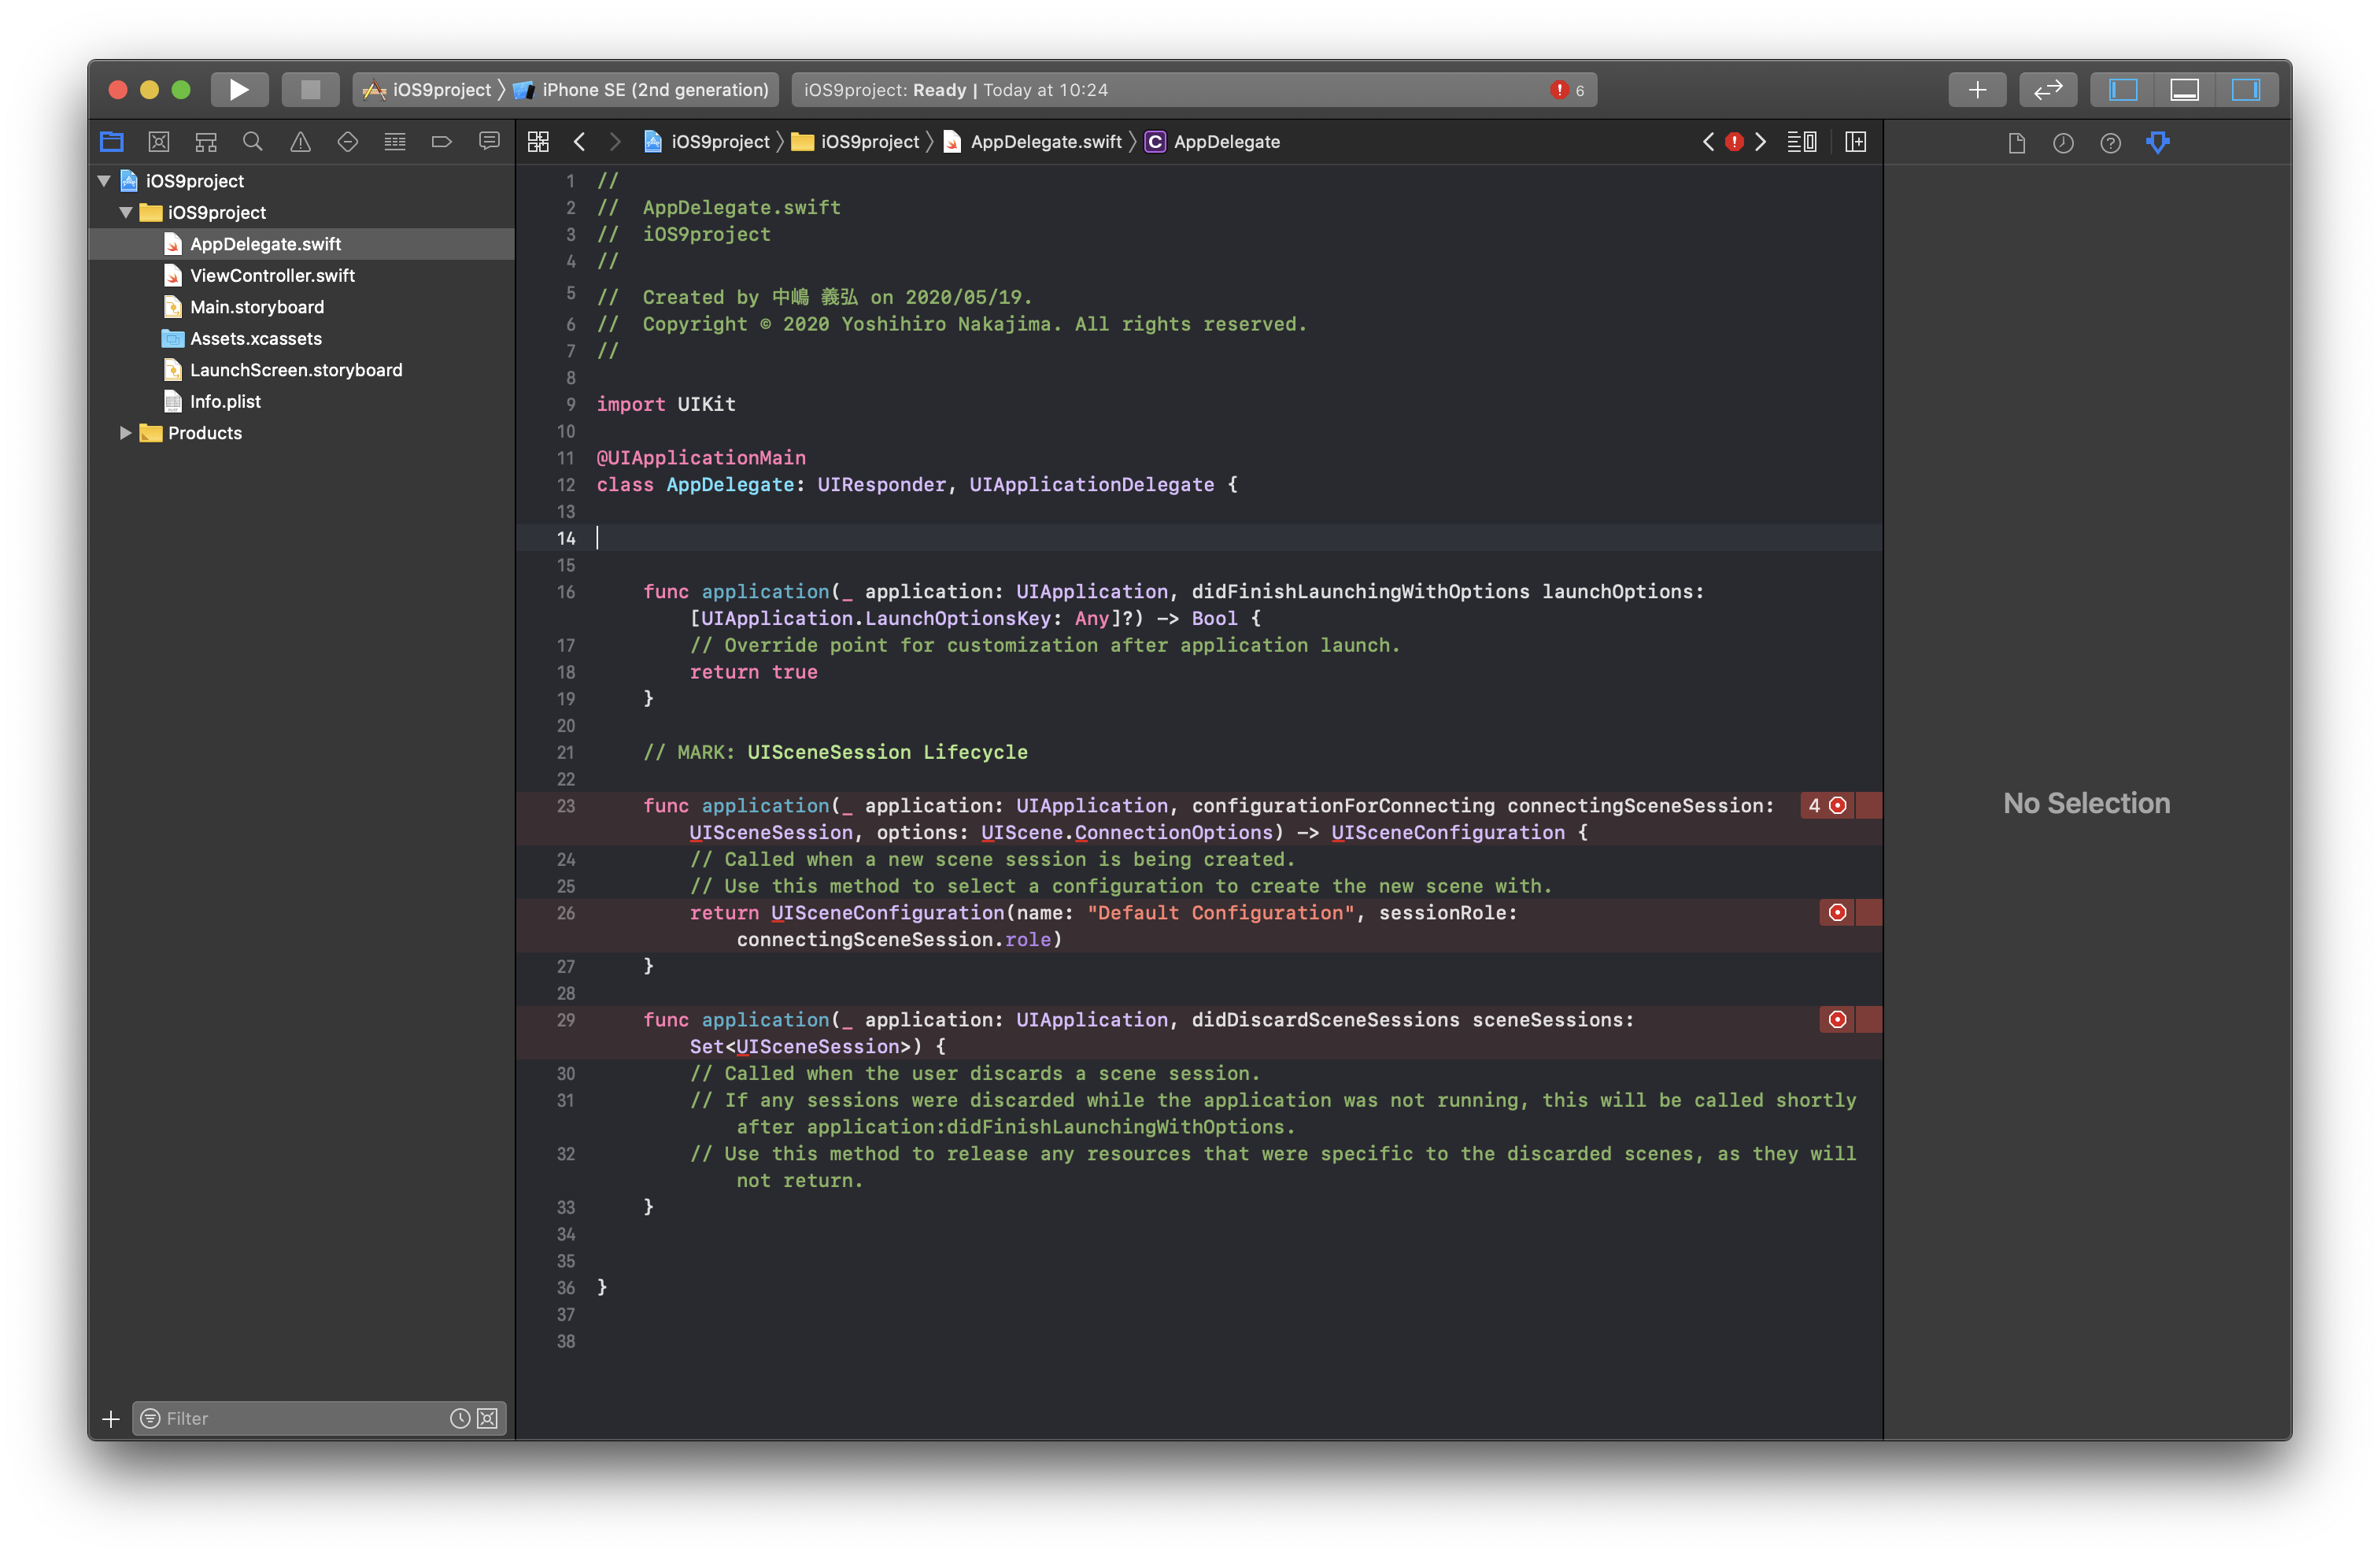 SceneDelegate.swiftを消したので、AppDelegate.swiftにコンパイルエラーがいくつか出てますが、まず、windowの変数宣言をここ(14行目)に入れます。

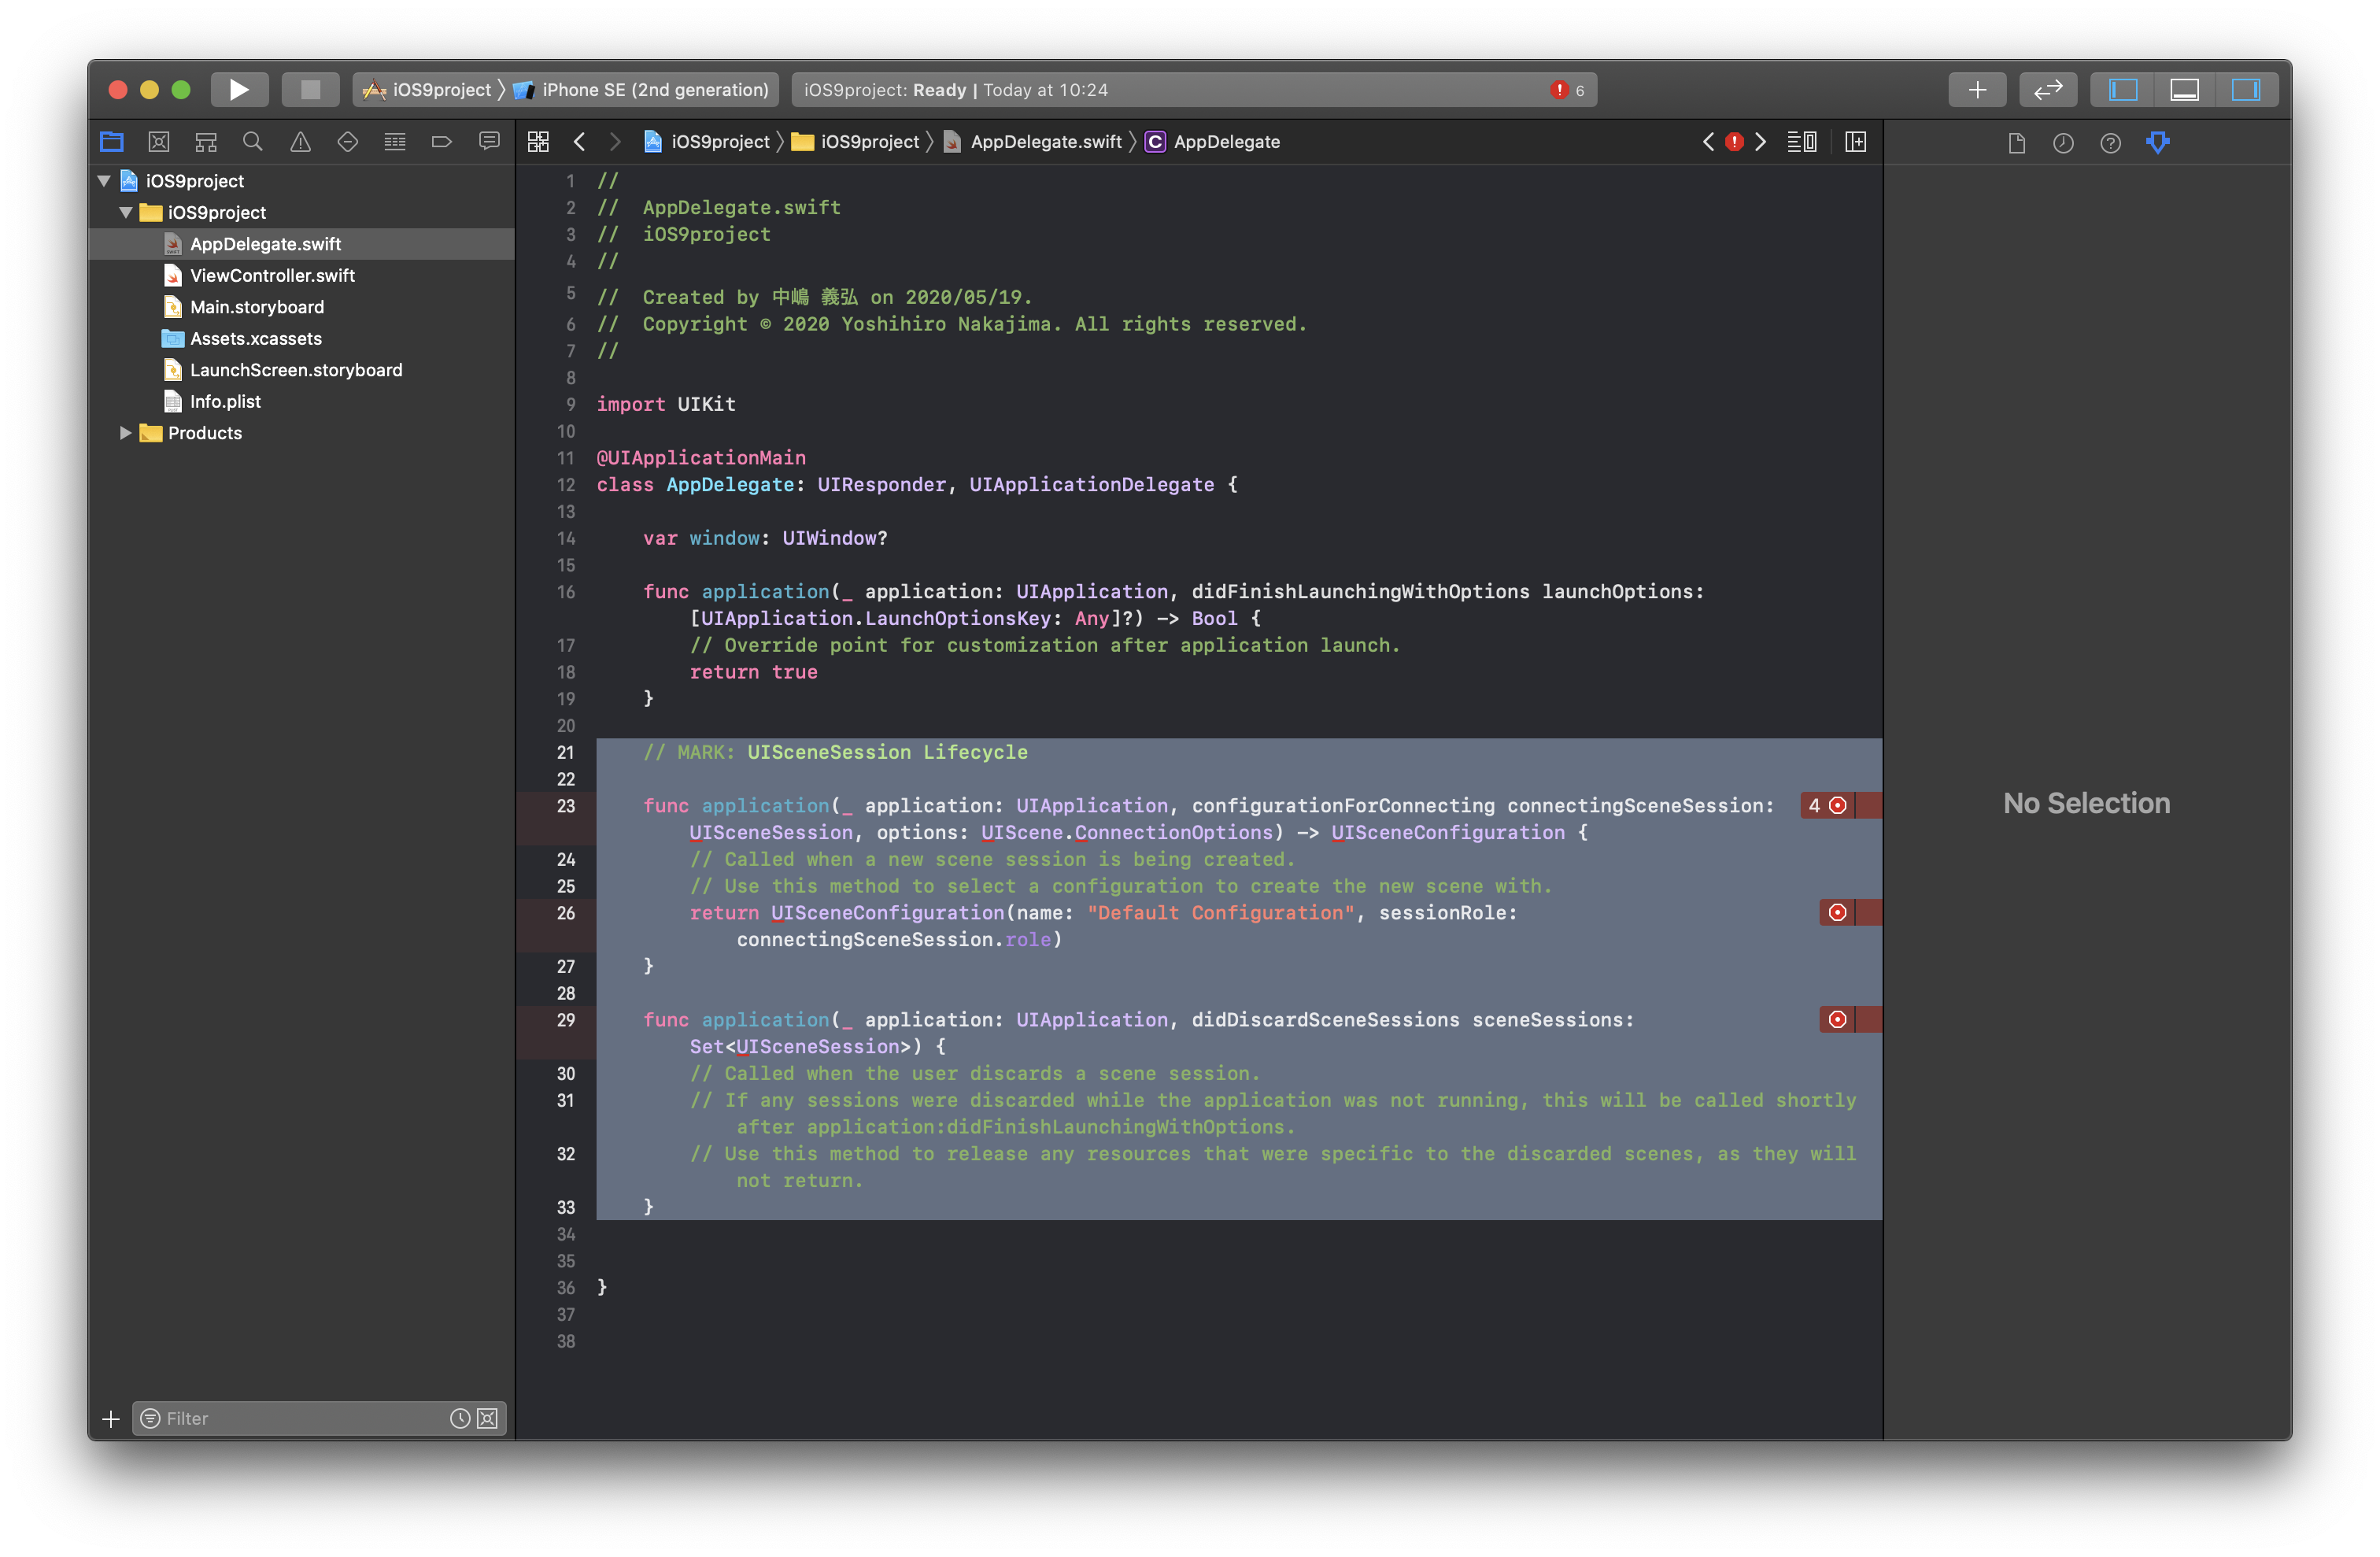 コンパイルエラーが出ている2つのメソッドをバッサリ削除します。
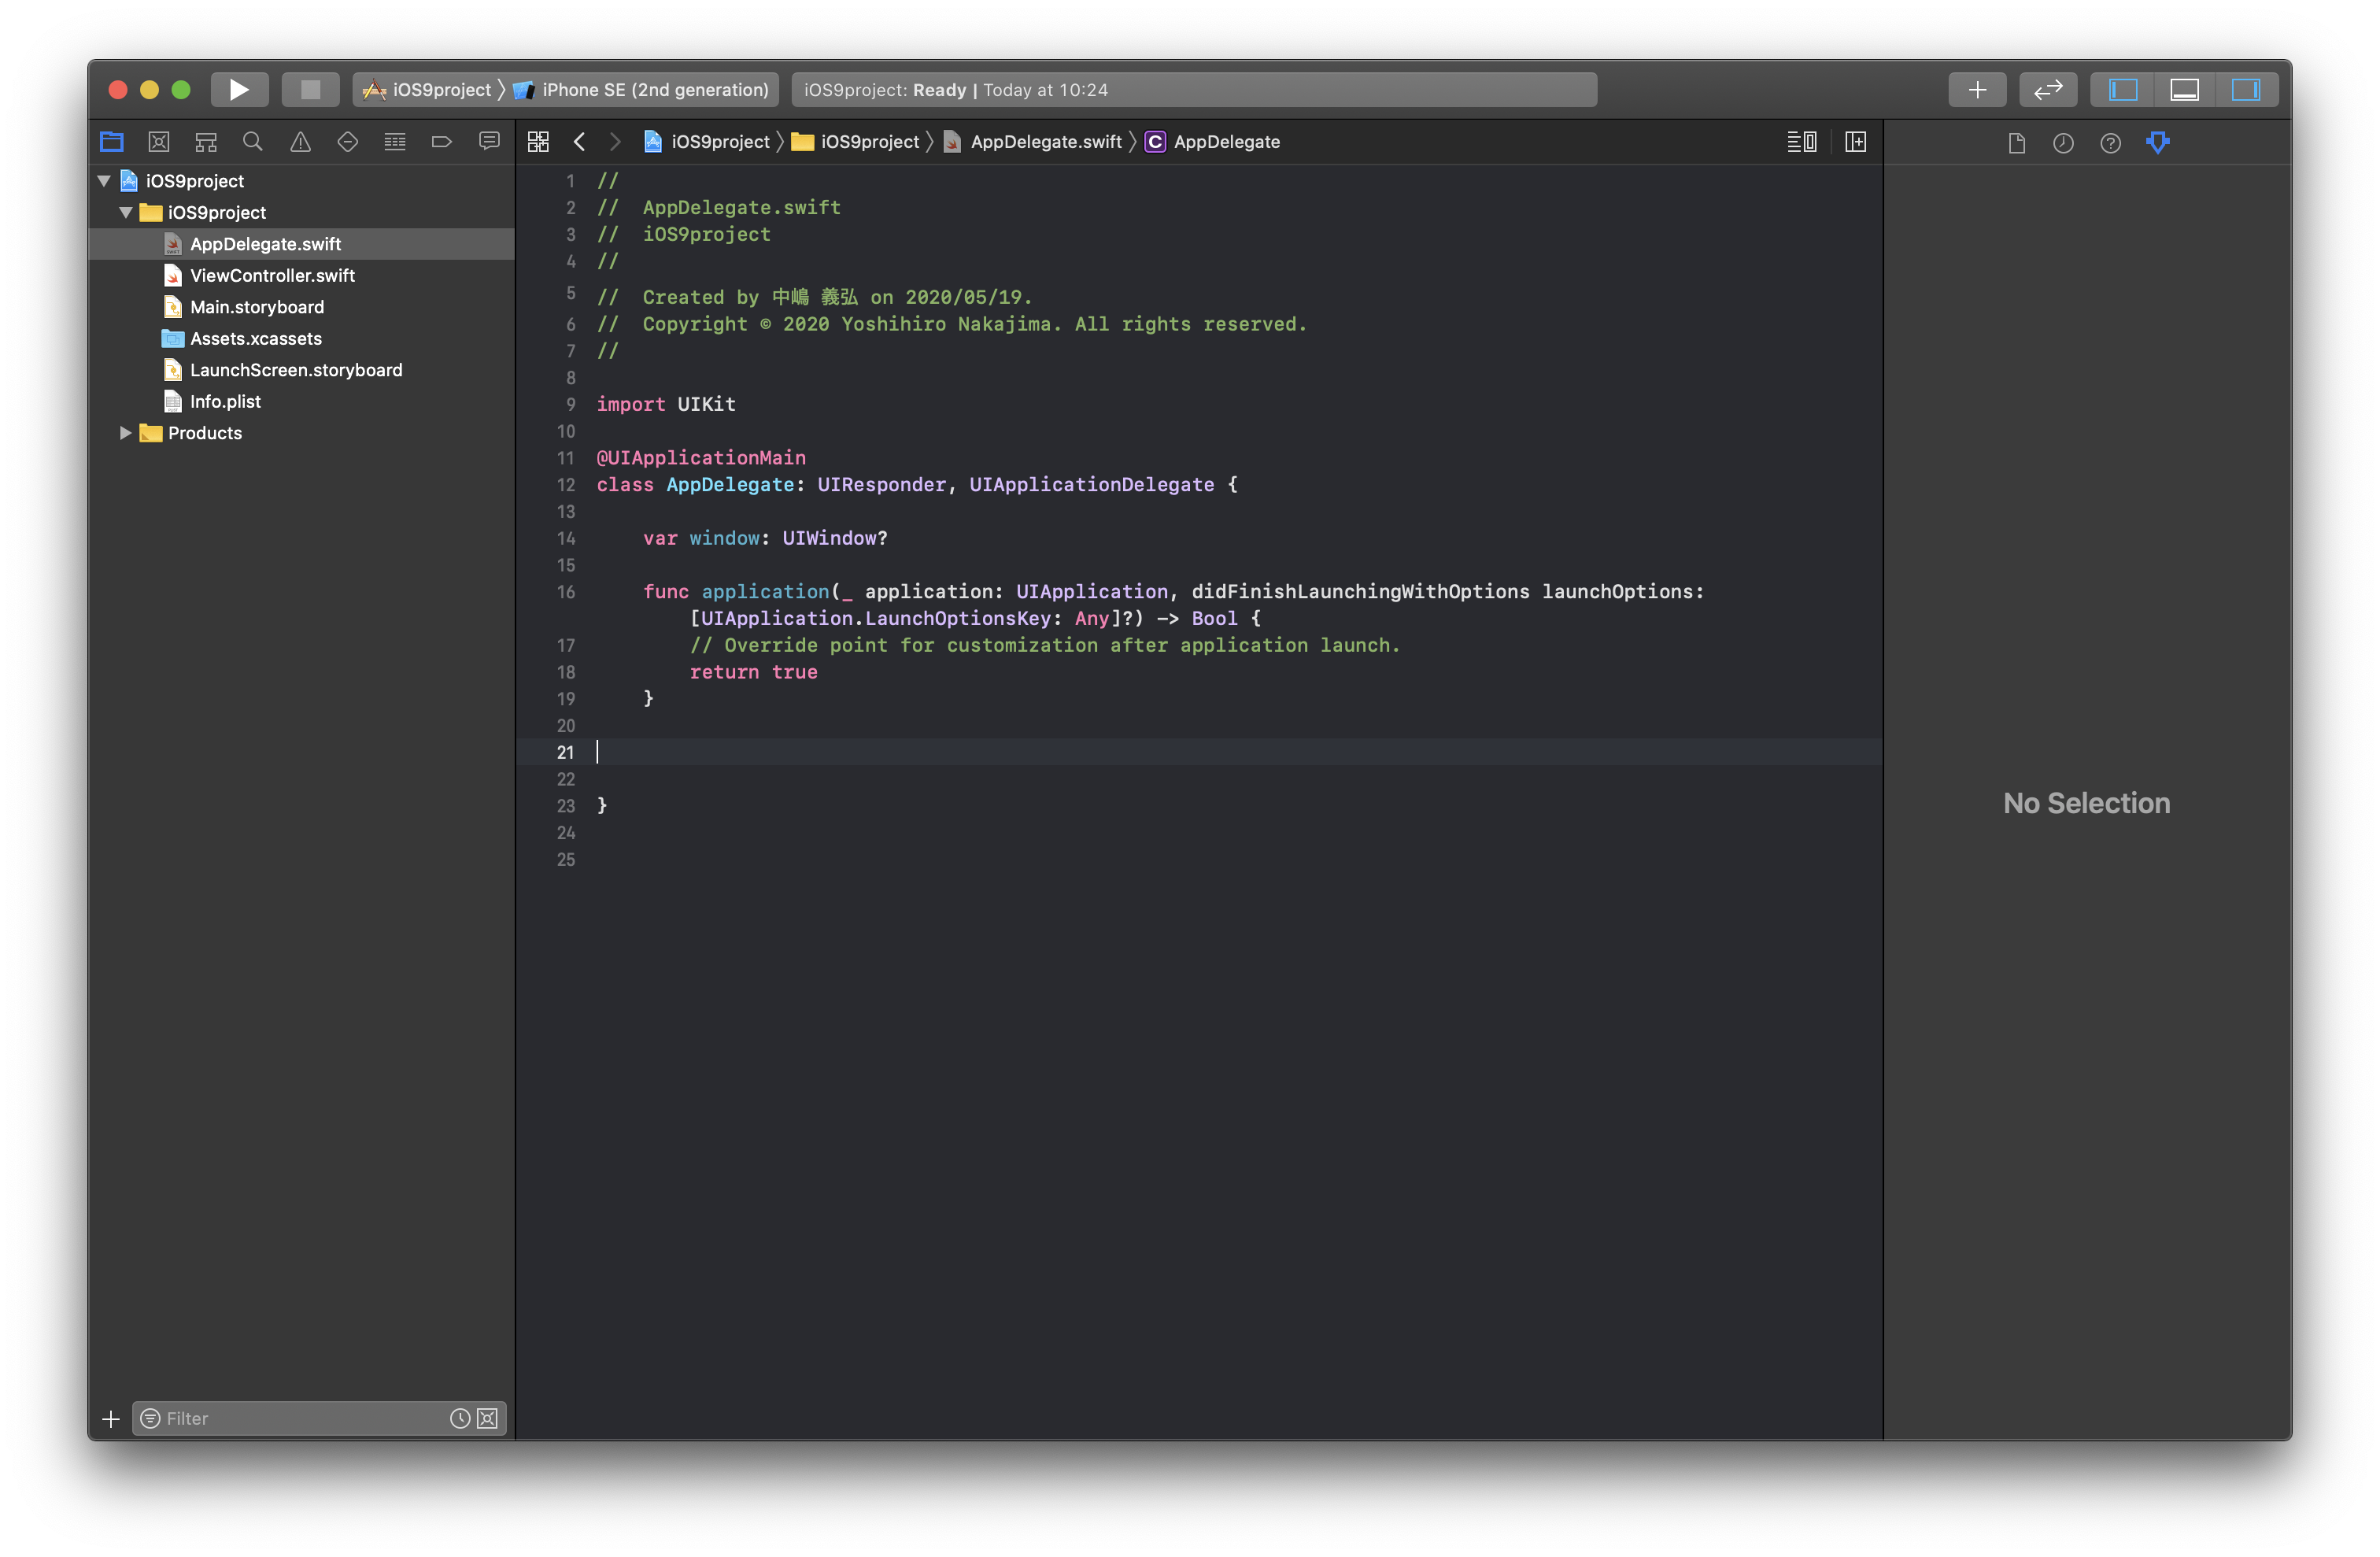
以上で、iOS9プロジェクトの出来あがりです。WarningもErrorもなくビルドできるはずです。シミュレータを起動すると、真っ白画面のアプリが立ち上がります。
(寂しいので中央にラベルを貼りました)

おわりに
自分はこの状態のプロジェクトをiOS9プロジェクトの雛型として保存してあります。必要な時にプロジェクトフォルダ一式をコピーしてiOS9アプリ開発時に利用します。 以上