忘備録
実行ファイル
以下のファイルをローカルにコピーし、解凍する。Windows版で進めるので、対象はOCSNG-Windows-Agent-2.1.1.zip
[Windows] OCSNG-Windows-Agent-2.1.1.zip
[Mac] Ocsinventory_Agent_MacOSX-2.1.1.pkg.zip
[Unix系] Ocsinventory-Unix-Agent-2.1.1.tar.gz
[Android] OCSNG-android-agent-2.1.zip
セットアップ
解凍後の手順を以下に記す。Windowsを例に記載。
解凍後のフォルダ内、OCSNG-Windows-Agent-2.1.1.1\OCS-NG-Windows-Agent-Setup.exeを実行。
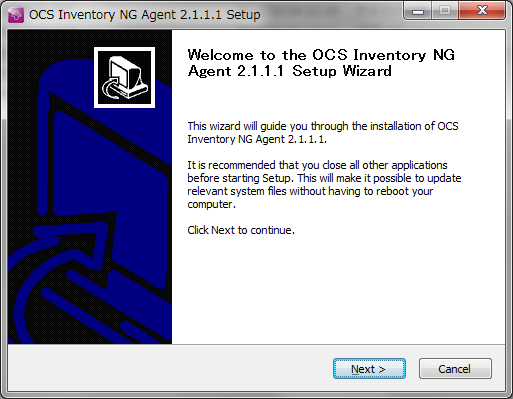
「Next」を実行
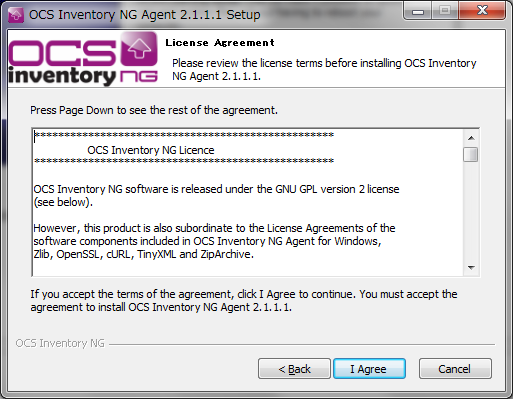
「I Agree」を実行
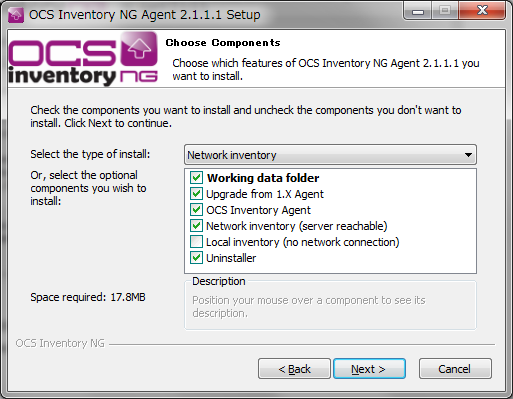
「Next」を実行
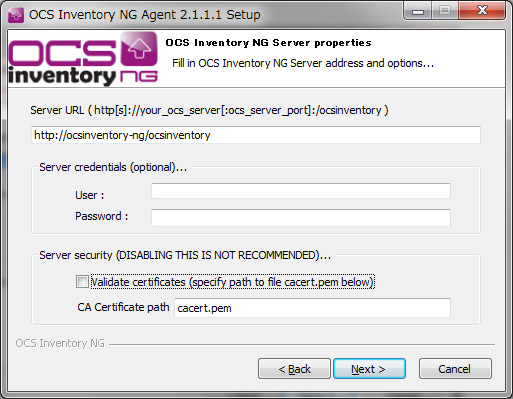
「Server URL」の箇所を以下に変更
http://localhost/ocsinventory
「Validate certificates」のチェックボックを外す
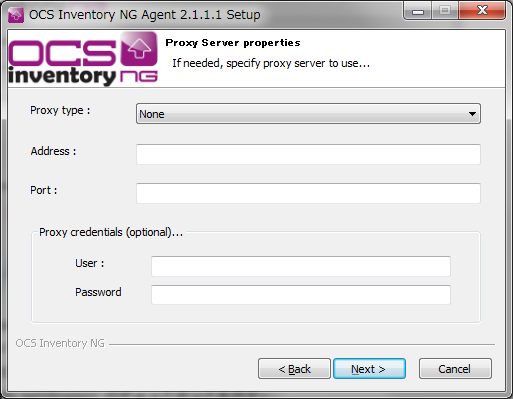
「Next」実行
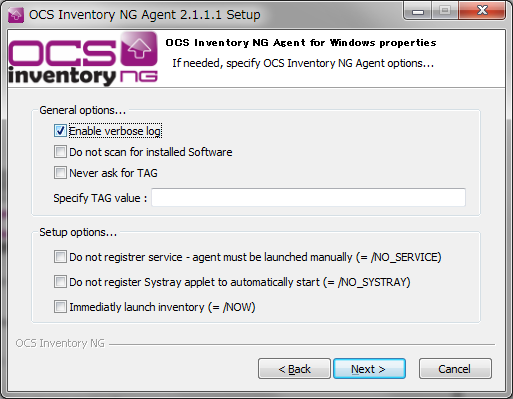
「Next」を実行
「Next」を実行
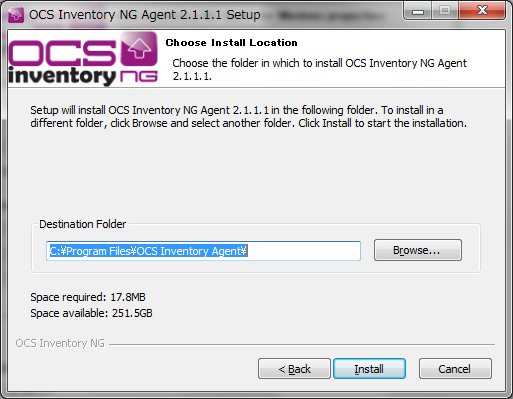
「Install」を実行
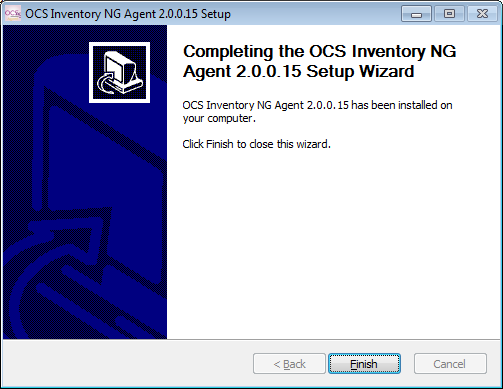
セットアップ完了
注
デフォルトでは、スタートアップに登録されますので、Windowsを起動する度にエージェントが起動されます。PCのリソースを使用しますので、調査期間完了後には、スタートアップより外してリソースを確保して下さい。
通信失敗時
サーバと通信が失敗する場合もあります。その場合は以下の方法でツールを動かして下さい。
タスクバー右端のインジケータ内にエージェントのアイコンが隠れています。アイコン上で右クリックより、「Run OCS Inventory NG Agent now」を実行して下さい。

参考サイト
http://wiki.ocsinventory-ng.org/index.php/Documentation:WindowsAgent
http://wiki.ocsinventory-ng.org/index.php/Documentation:MacAgent
http://wiki.ocsinventory-ng.org/index.php/Documentation:UnixAgent
http://wiki.ocsinventory-ng.org/index.php/Documentation:AndroidAgent