zabbix設定2) zabbix-agent2設定(自身の監視)
https://qiita.com/naga_kt/items/b40ff4a1308fa8373d38
の続き。
zabbix5.0-serverをCentOS7にインストールする。
ここではzabbixのwebインターフェースのインストールと設定について述べる。
apacheは既に設定されているものとする。apacheの設定は以下を参照のこと。
httpdの設定
zabbix-webのインストール
CentOS7でzabbix5.0のwebインターフェースをそのままインストールしようとするとエラーになる。
# yum install zabbix-web
・・・・・・
Error: zabbix50 conflicts with zabbix40-4.0.39-1.el7.x86_64
・・・・・・
解決するためにまずsclのパッケージをインストールする。
# yum install centos-release-scl
・・・・・・
Installed:
  centos-release-scl.noarch 0:2-3.el7.centos
・・・・・・
続いて/etc/yum.repos.d/zabbix.repoファイルを編集して、zabbix-frontendをenableにする。バックアップは取っておく。
# cd /etc/yum.repos.d/
# ls -lrt zabbix.repo
-rw-r--r--  1 root root  853 May 11  2020 zabbix.repo
# cp -p zabbix.repo zabbix.repo-org
# vi zabbix.repo
以下の部分でenabel=1と変更する。
[zabbix-frontend]
name=Zabbix Official Repository frontend - $basearch
baseurl=http://repo.zabbix.com/zabbix/5.0/rhel/7/$basearch/frontend
enabled=0
gpgcheck=1
gpgkey=file:///etc/pki/rpm-gpg/RPM-GPG-KEY-ZABBIX-A14FE591
差分は以下のようになる。
# diff zabbix.repo zabbix.repo-org
11,12c11
< #enabled=0
< enabled=1
---
> enabled=0
この状態でscl対応のwebインターフェースとapache対応をインストールする。
# yum install zabbix-web-mysql-scl zabbix-apache-conf-scl
・・・・・・
Installed:
  zabbix-apache-conf-scl.noarch 0:5.0.31-1.el7
  zabbix-web-mysql-scl.noarch 0:5.0.31-1.el7
・・・・・・
/etc/opt/rh/rh-php72/php-fpm.d/zabbix.confの設定を変更する。バックアップは取っておく。
# cd /etc/opt/rh/rh-php72/php-fpm.d
# ls -lrt
total 24
-rw-r--r-- 1 root root 19472 Nov  4  2019 www.conf
-rw-r--r-- 1 root root   638 Jan 30 17:05 zabbix.conf
# cp -p zabbix.conf zabbix.conf-org
# vi zabbix.conf
PHPのtimezoneの設定がコメントアウトされているので、設定を有効にしてAsia/Tokyoに設定する。
# diff zabbix.conf zabbix.conf-org
26d25
< php_value[date.timezone] = Asia/Tokyo
サービスの起動
各種サービスをリスタートして自動起動を設定しておく。
# systemctl restart zabbix-server zabbix-agent2 httpd rh-php72-php-fpm
# systemctl enable zabbix-server zabbix-agent2 httpd rh-php72-php-fpm
それぞれの状態を確認する。
# systemctl status zabbix-server
● zabbix-server.service - Zabbix Server
   Loaded: loaded (/usr/lib/systemd/system/zabbix-server.service; enabled; vendor preset: disabled)
   Active: active (running) since Tue 2023-01-31 17:08:26 JST; 1min 34s ago
 Main PID: 28724 (zabbix_server)
   CGroup: /system.slice/zabbix-server.service
・・・・・・
# systemctl status httpd
● httpd.service - The Apache HTTP Server
   Loaded: loaded (/usr/lib/systemd/system/httpd.service; enabled; vendor preset: disabled)
   Active: active (running) since Tue 2023-01-31 17:08:27 JST; 2min 19s ago
     Docs: man:httpd(8)
           man:apachectl(8)
 Main PID: 28808 (httpd)
   Status: "Total requests: 0; Current requests/sec: 0; Current traffic:   0 B/sec"
   CGroup: /system.slice/httpd.service
・・・・・・
# systemctl status rh-php72-php-fpm
● rh-php72-php-fpm.service - The PHP FastCGI Process Manager
   Loaded: loaded (/usr/lib/systemd/system/rh-php72-php-fpm.service; enabled; vendor preset: disabled)
   Active: active (running) since Tue 2023-01-31 17:08:26 JST; 2min 47s ago
 Main PID: 28710 (php-fpm)
   Status: "Processes active: 0, idle: 10, Requests: 0, slow: 0, Traffic: 0req/sec"
   CGroup: /system.slice/rh-php72-php-fpm.service
・・・・・・
# systemctl status zabbix-agent2
● zabbix-agent2.service - Zabbix Agent 2
   Loaded: loaded (/usr/lib/systemd/system/zabbix-agent2.service; disabled; vendor preset: disabled)
   Active: active (running) since Wed 2023-02-01 15:46:50 JST; 4s ago
  Process: 17567 ExecStop=/bin/kill -SIGTERM $MAINPID (code=exited, status=1/FAILURE)
 Main PID: 17632 (zabbix_agent2)
   CGroup: /system.slice/zabbix-agent2.service
・・・・・・
ブラウザでWebインターフェースにアクセス
ブラウザで
http://「zabbixサーバーのIPアドレス」/zabbix/
にアクセスするとzabbixのweb画面が出て来る。
指示に従ってクリックしていく。
「Configure DB connection」ではデータベース作成時に設定したUser名とPasswordを入力する。
最後にログイン画面が表示される。アカウント「Admin」、パスワード「zabbix」でログインする。
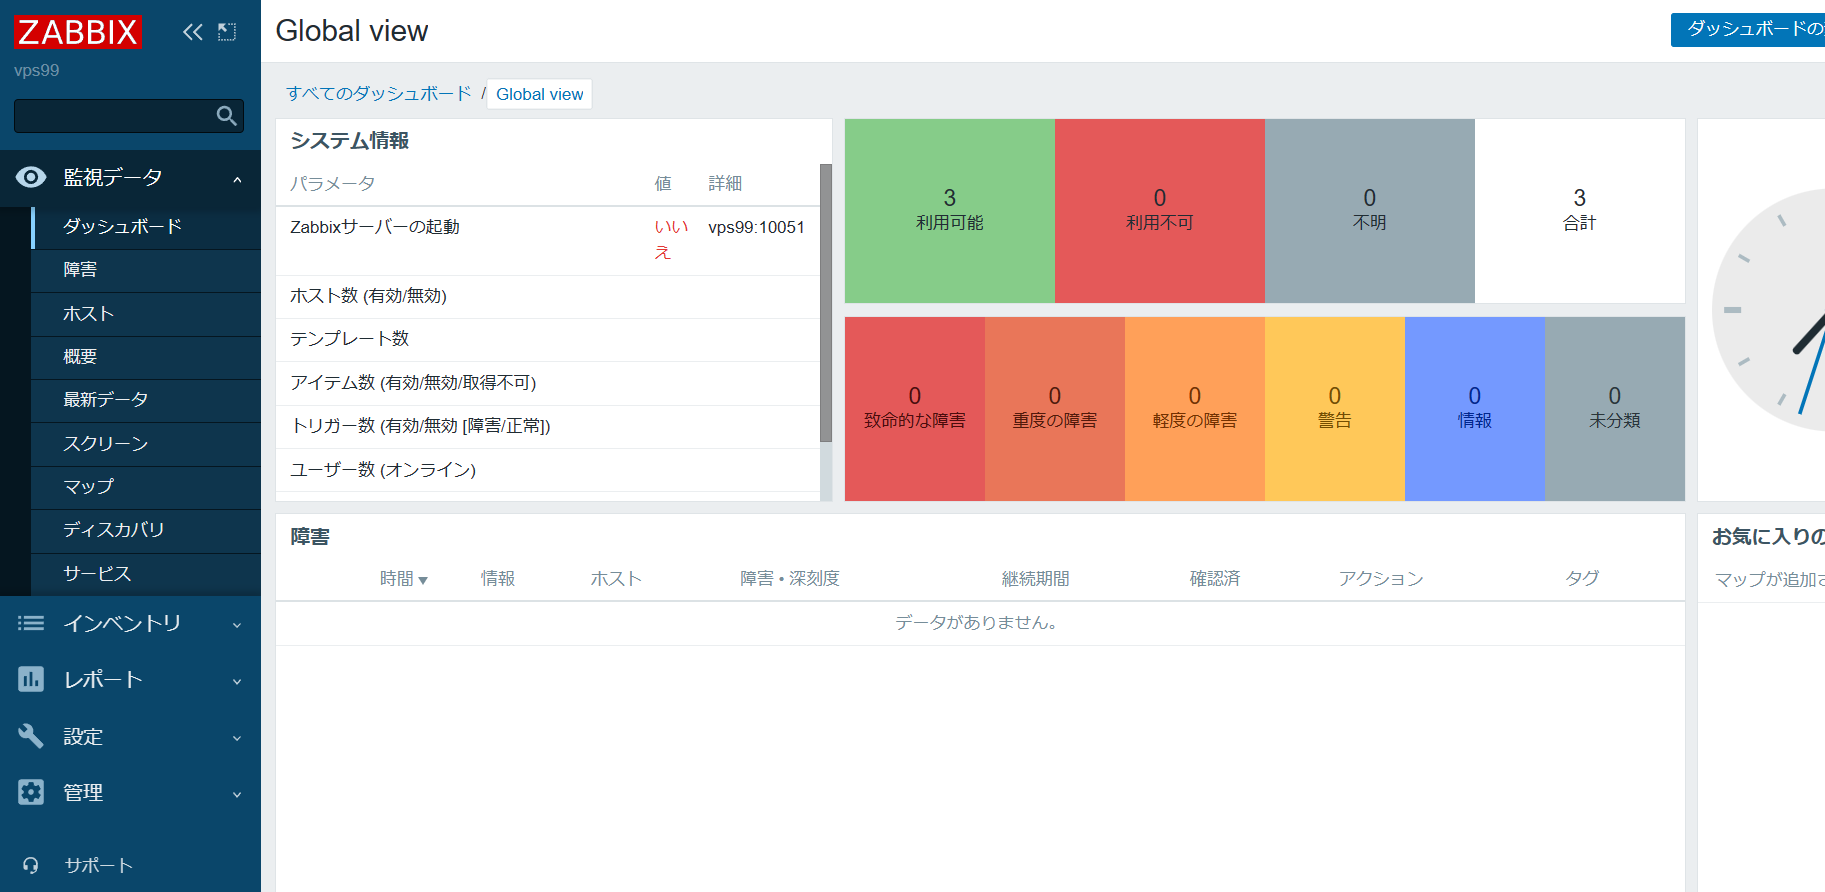
ダッシュボートが表示されるようになる。
参考記事
Zabbixの構築手順(CentOS 7,MySQL)インストールとログインまで
https://atsushinotes.com/procedure_zabbix_install_to_login_centos-mysql-apache/
Zabbix 5.0をCentOS 7にインストール(SCL編)
https://qiita.com/atanaka7/items/429d7a3151542420c944
