Aceとは
ブラウザ上で使えるJavaScript製のテキストエディタです。貧弱なテキストエリアの代替として使うと便利です。特徴として、
- 100言語以上のシンタックスハイライト
- Sublime風、Chrome DevTools風など、自由に選べる多数のテーマ
- マルチカーソル
- リアルタイム構文チェック
などなど、スタンドアロンのエディタと比べても決して引けをとらない高機能なエディタです。
公式サイト
詳しい使い方を知りたいならばAPI Referenceから。
サンプルサイト
各種パラメータの効果を見た目で確認することが出来ます。
インストール
今回のサンプルでは全てCDNを使用しますので何もインストールする必要はありません。
ダウンロードして使いたい場合は https://github.com/ajaxorg/ace-builds/ ←こちらから。
最小のサンプル
<!DOCTYPE html>
<html lang="ja">
<head>
  <meta charset="UTF-8">
  <title>Ace Editor sample</title>
</head>
<body>
  <div id="editor" style="height: 600px"></div>
  <script src="https://cdnjs.cloudflare.com/ajax/libs/ace/1.2.0/ace.js"></script>
  <script>
    ace.edit("editor");
  </script>
</body>
</html>
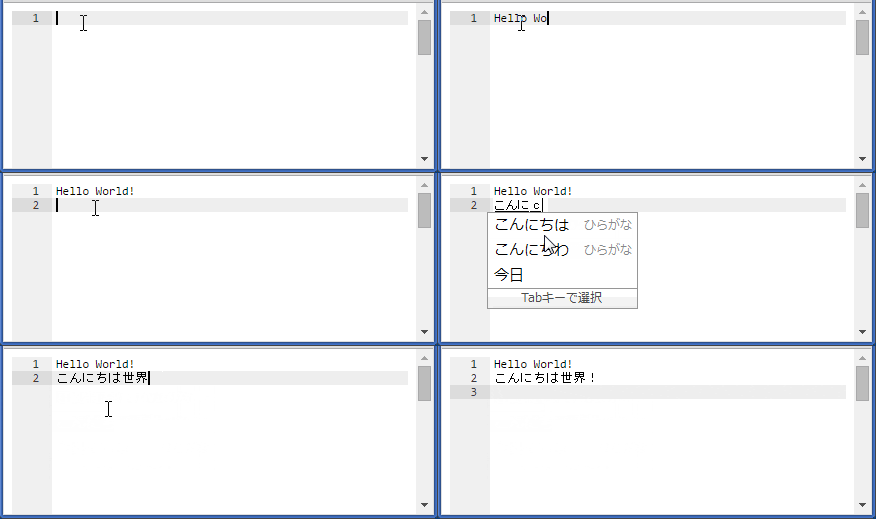
実行結果
解説
ace.editメソッドは、引数で指定したIDの要素にAceエディタを埋め込みます。
基本的なパラメータのサンプル
<!DOCTYPE html>
<html lang="ja">
<head>
  <meta charset="UTF-8">
  <title>Ace Editor sample</title>
</head>
<body>
  <div id="editor" style="height: 600px"></div>
  <script src="https://cdnjs.cloudflare.com/ajax/libs/ace/1.2.0/ace.js"></script>
  <script>
    var editor = ace.edit("editor");
    editor.setTheme("ace/theme/monokai");
    editor.setFontSize(14);
    editor.getSession().setMode("ace/mode/html");
    editor.getSession().setUseWrapMode(true);
    editor.getSession().setTabSize(2);
  </script>
</body>
</html>
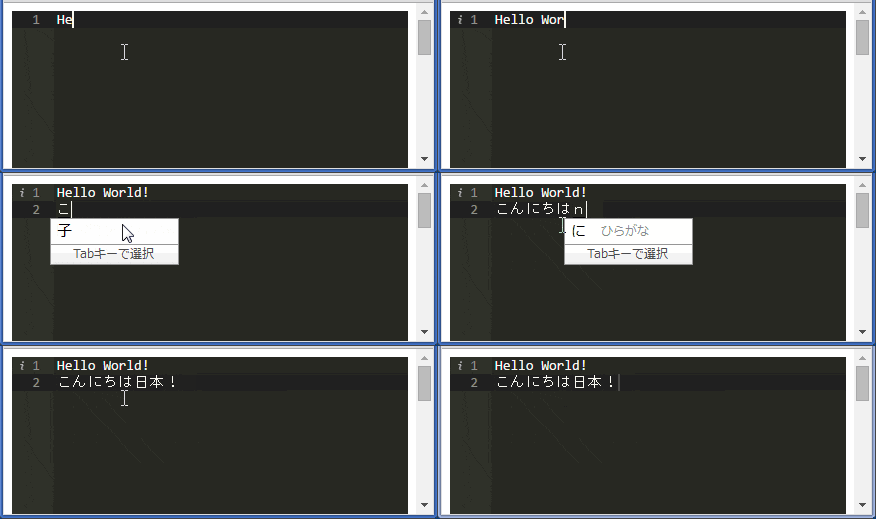
実行結果
解説
ace.editorメソッドは、埋め込まれたテキストエディタ全体を表すEditorオブジェクトを返します。
editor.setTheme("ace/theme/monokai");
Sublime Textっぽい黒めのテーマを指定します。使えるテーマの一覧は、Ace Kitchen Sinkを参照してください。
editor.getSession().setMode("ace/mode/html");
getSessionメソッドはひとつの文書と文書モードやカーソルなどを管理するEditSessionオブジェクトを返します。setModeメソッドによってHTMLモードに設定しています。
editor.getSession().setUseWrapMode(true);
折り返しありにします。
editor.getSession().setTabSize(2);
タブ幅を2にします。
自動補完・スニペットのサンプル
<!DOCTYPE html>
<html lang="ja">
<head>
  <meta charset="UTF-8">
  <title>Ace Editor sample</title>
</head>
<body>
  <div id="editor" style="height: 600px"></div>
  <script src="https://cdnjs.cloudflare.com/ajax/libs/ace/1.2.0/ace.js"></script>
  <script src="https://cdnjs.cloudflare.com/ajax/libs/ace/1.2.0/ext-language_tools.js"></script>
  <script>
    var editor = ace.edit("editor");
    editor.$blockScrolling = Infinity;
    editor.setOptions({
      enableBasicAutocompletion: true,
      enableSnippets: true,
      enableLiveAutocompletion: true
    });
    editor.setTheme("ace/theme/monokai");
    editor.getSession().setMode("ace/mode/javascript");
  </script>
</body>
</html>
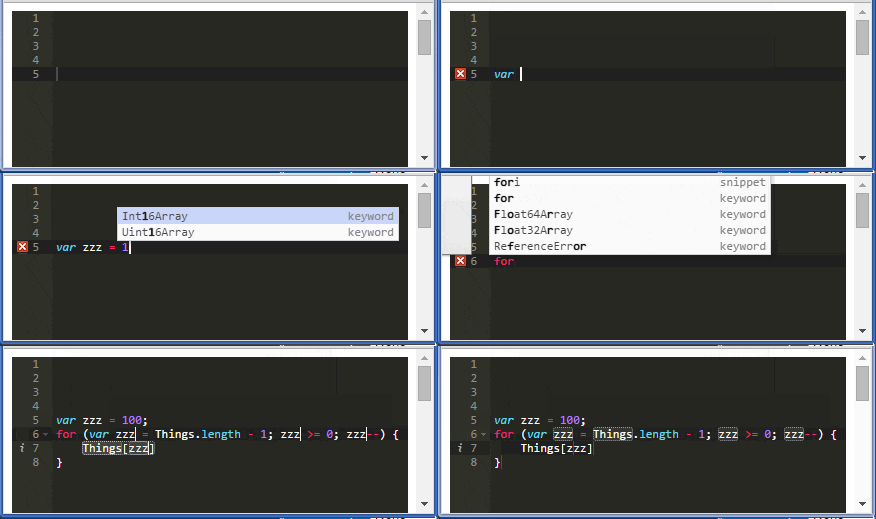
実行結果
解説
<script src="https://cdnjs.cloudflare.com/ajax/libs/ace/1.2.0/ext-language_tools.js"></script>
自動補完を使う場合は、追加でext-language_tools.jsを読み込む必要があります。
editor.$blockScrolling = Infinity;
これはよくわかりませんが、Chromeのコンソールに警告が出るのでその解消策です。
editor.setOptions({
  enableBasicAutocompletion: true,
  enableSnippets: true,
  enableLiveAutocompletion: true
});
基本的な自動補完、スニペット、ライブ補完を有効にします。
Emmetのサンプル
<!DOCTYPE html>
<html lang="ja">
<head>
  <meta charset="UTF-8">
  <title>Ace Editor sample</title>
</head>
<body>
  <div id="editor" style="height: 600px"></div>
  <script src="https://cdnjs.cloudflare.com/ajax/libs/ace/1.2.0/ace.js"></script>
  <script src="https://cloud9ide.github.io/emmet-core/emmet.js"></script>
  <script src="https://cdnjs.cloudflare.com/ajax/libs/ace/1.2.0/ext-emmet.js"></script>
  <script>
    var editor = ace.edit("editor");
    editor.$blockScrolling = Infinity;
    editor.setOptions({
      enableEmmet: true
    });
    editor.setTheme("ace/theme/monokai");
    editor.getSession().setMode("ace/mode/html");
  </script>
</body>
</html>
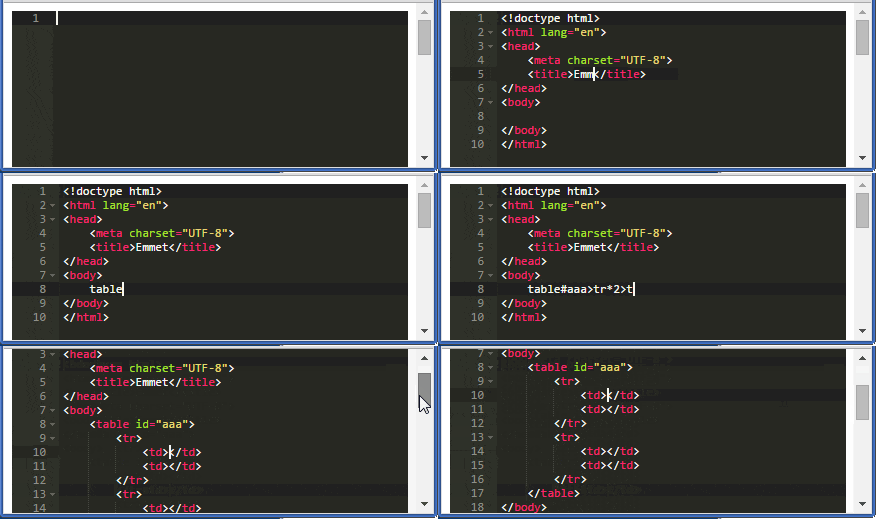
実行結果
解説
素敵なコーディング魔法Emmetのサンプルです。
<script src="https://cloud9ide.github.io/emmet-core/emmet.js"></script>
<script src="https://cdnjs.cloudflare.com/ajax/libs/ace/1.2.0/ext-emmet.js"></script>
Emmet本体と、AceでEmmetを使うための拡張ファイルを読み込みます。
editor.setOptions({
  enableEmmet: true
});
Emmetを有効にします。
応用サンプル
<!DOCTYPE html>
<html lang="ja">
<head>
  <meta charset="UTF-8">
  <title>Ace Editor sample</title>
  <link href="https://maxcdn.bootstrapcdn.com/bootstrap/3.3.5/css/bootstrap.min.css" rel="stylesheet">
</head>
<body>
  <div class="btn-group">
    <div class="btn-group">
      <button class="btn btn-default dropdown-toggle" data-toggle="dropdown"><i class="glyphicon glyphicon-search"></i> <span class="caret"></span></button>
      <ul class="dropdown-menu" id="font-size">
        <li><a href="#" data-size="10">小さい</a></li>
        <li><a href="#" data-size="12">普通</a></li>
        <li><a href="#" data-size="14">大きい</a></li>
      </ul>
    </div>
    <button id="bold" class="btn btn-default"><i class="glyphicon glyphicon-bold"></i></button>
    <button id="save" class="btn btn-default"><i class="glyphicon glyphicon-floppy-save"></i></button>
    <button id="load" class="btn btn-default"><i class="glyphicon glyphicon-folder-open"></i></button>
  </div>

  <div id="editor" style="height: 600px"></div>
  <script src="https://code.jquery.com/jquery-2.1.4.min.js"></script>
  <script src="https://maxcdn.bootstrapcdn.com/bootstrap/3.3.5/js/bootstrap.min.js"></script>
  <script src="https://cdnjs.cloudflare.com/ajax/libs/ace/1.2.0/ace.js"></script>
  <script>
    var editor = ace.edit("editor");
    editor.$blockScrolling = Infinity;
    editor.setTheme("ace/theme/monokai");
    editor.getSession().setMode("ace/mode/html");

    $('#font-size').click(function(e) {
      editor.setFontSize($(e.target).data('size'));
    });
    $('#bold').click(function(e) {
      editor.insert('<strong>' + editor.getCopyText() + '</strong>');
    });
    $('#save').click(function(e) {
      localStorage.text = editor.getValue();
      alert("保存しました。");
    });
    $('#load').click(function(e) {
      if (!confirm("読み込みますか?")) return;
      editor.setValue(localStorage.text, -1);
    });
  </script>
</body>
</html>
実行結果
解説
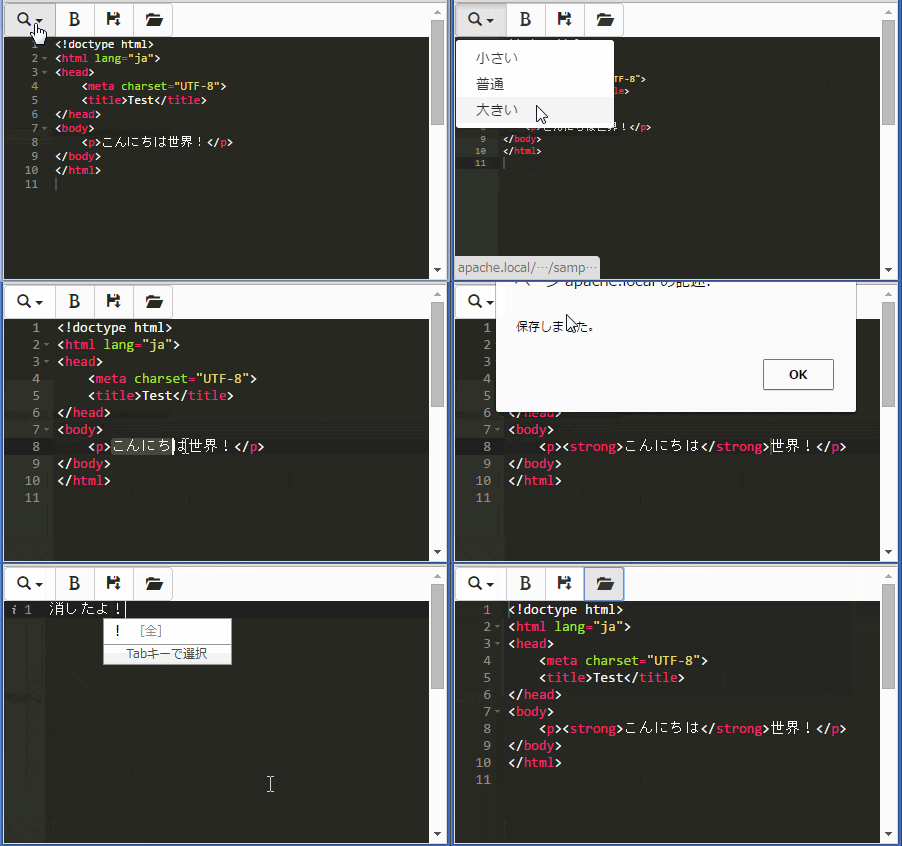
Bootstrapによるボタンツールバーを設置し、以下の機能を実装しました。
- エディタのフォントサイズ変更
- 選択範囲をstrongタグで囲って強調
- localStorageに保存
- localStorageからの読み出し
今回はBootstrap部分は解説しません。
editor.setFontSize($(e.target).data('size'));
虫眼鏡アイコンのプルダウンメニューを選択したときに、フォントサイズを設定しています。jQueryでdata-size属性の値を取得してセットします。
editor.insert('<strong>' + editor.getCopyText() + '</strong>');
getCopyTextメソッドは選択範囲のテキスト内容を取得します。insertメソッドは現在のカーソル位置にテキストを挿入します。この2つのメソッドを組み合わせて、選択範囲をタグで囲む処理を実現しています。
localStorage.text = editor.getValue();
getValueメソッドで現在の文書内容を返し、それをlocalStorageに保存しています。
editor.setValue(localStorage.text, -1);
保存された文書の内容を読みだしてsetValueメソッドによりエディタにセットします。第2引数の-1はカーソル位置を文書の先頭にします。
