はじめに
今回は、VMインスタンスにSSH接続し、gcloudコマンドを使用してGKEクラスタを作成します。
VMインスタンスにssh接続をする
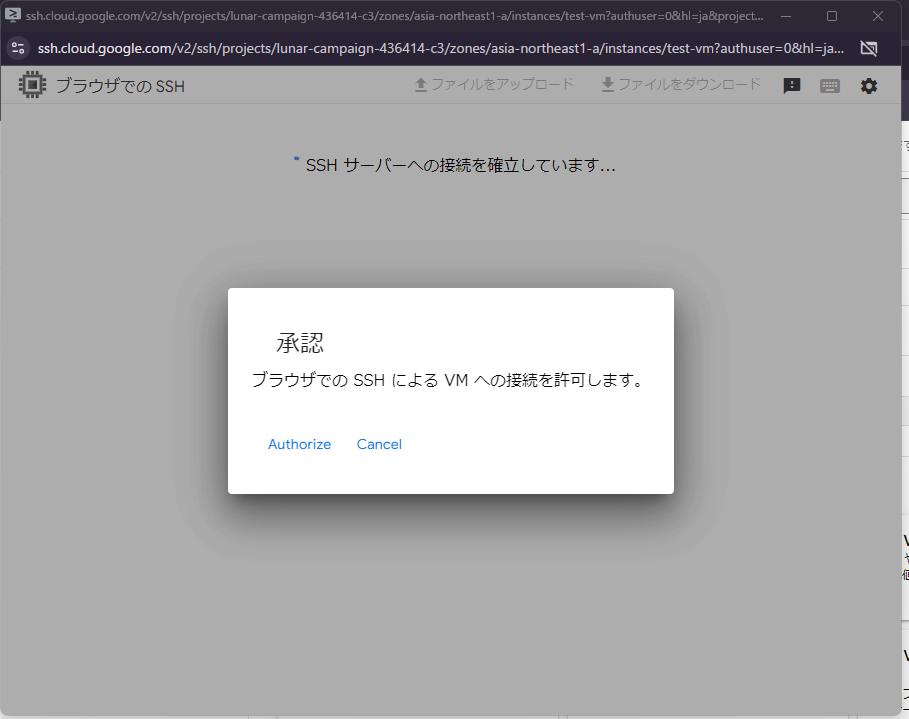
GCPコンソール画面から、ComputeEngineを開き、「SSH」を選択します。

エラーが発生しました。どうやらssh接続をするためには、VPCに穴あけが必要見たいです。
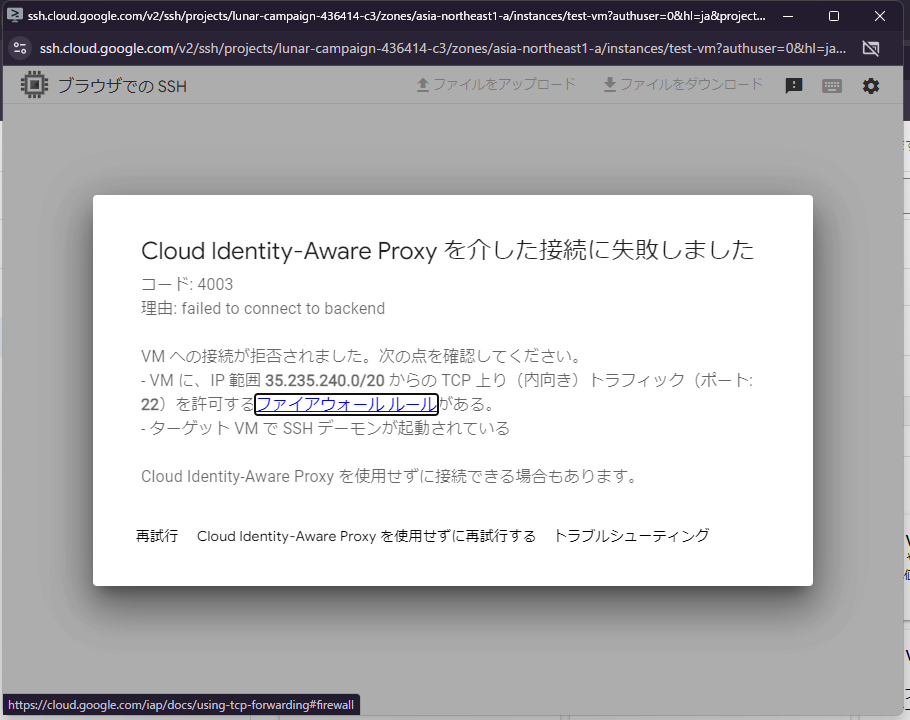
下記の記事がとてもわかりやすかったのですが、以下の流れでssh接続を実現しているようです。
手元のブラウザ → ssh.cloud.google.com → IAP用のプロキシ(35/.235.240.0/20)からssh接続 → インスタンスVM
そのため、ssh接続をしたいVMインスタンスを配置しているVPCに、
IAP用のプロキシからの接続を許可するよう穴あけをする必要があります。
CloudShellにて、以下コマンドを実行し、VPCに対して、ファイアウォールを作成する。
・名前:compute-enjine-ssh
・トラフィックの方向:上り(内向き)
・優先度:1000(値が低いほど優先度は高い)
・アクション:許可
・プロトコル:TCP
・ポート:22
$ gcloud compute --project=<PROJECT_ID> firewall-rules create compute-enjine-ssh --direction=INGRESS --priority=1000 --network=test-vpc --action=ALLOW --rules=tcp:22 --source-ranges=35.235.240.0/20

Creating firewall...working..Created [https://www.googleapis.com/compute/v1/projects/<<PROJECT_ID>>/global/firewalls/compute-enjine-ssh].
Creating firewall...done.
NAME: compute-enjine-ssh
NETWORK: test-vpc
DIRECTION: INGRESS
PRIORITY: 1000
ALLOW: tcp:22
DENY:
DISABLED: False
穴あけが完了したので、再度コンソールからssh接続を試してみます。
gcloud auth loginを実行し、認証を行う
gcloud auth loginを実行することで、
Googleアカウントの認証情報を使用して、gcloud CLIを通じてGoogle Cloudサービスにアクセスできるようになります。
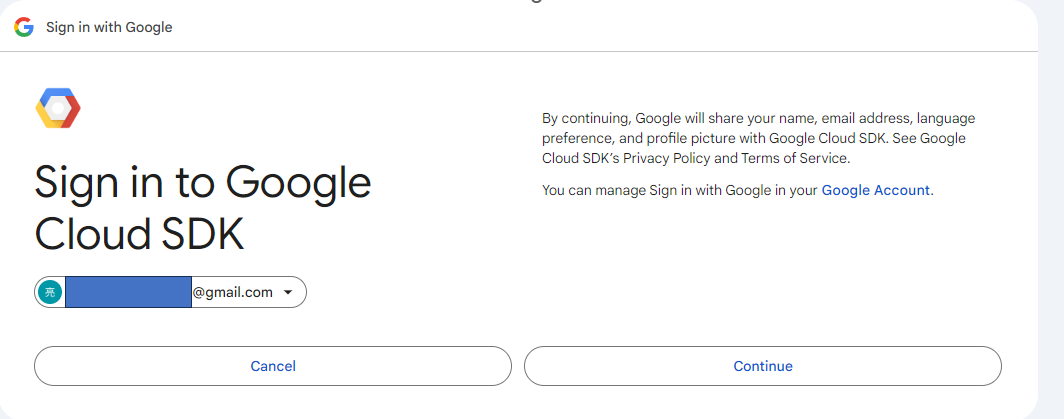
以下のコマンドを実行し、出力されたURLをブラウザで開きます。
$ gcloud auth login

xxxxxxx
Do you want to continue (Y/n)? Y #Yを入力し、Enterを押す

https://accounts.google.com/o/oauth2/auth?response_type=code&client_id=XXXXXXXXXXXXXXXXXX

Once finished, enter the verification code provided in your browser:
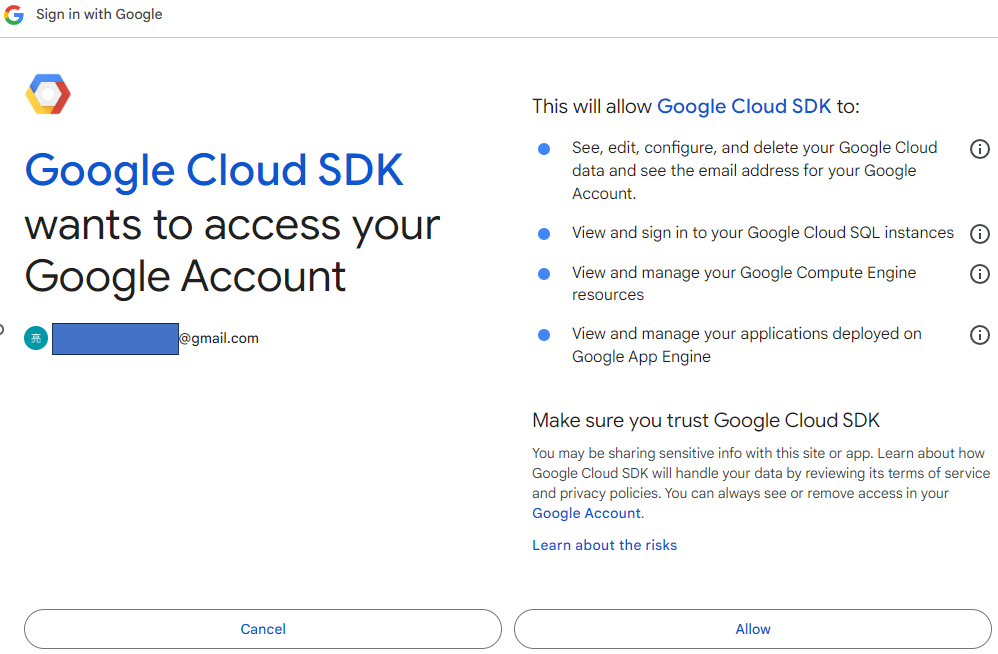
認証に使用するアカウントを選択します。
今回はオーナ権限を持つアカウントを選択します。
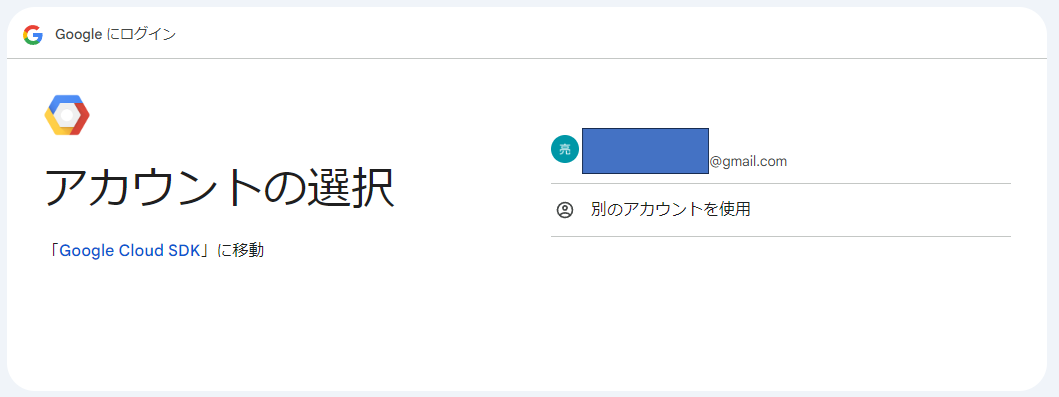
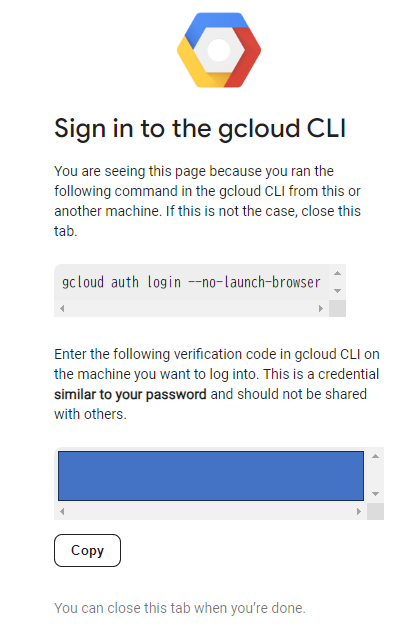
再びSSHターミナルを開き、先ほどコピーした確認コードを貼り付け、認証を完了します。
Once finished, enter the verification code provided in your browser: <先ほどコピーした確認コード>

You are now logged in as [<GOOGLE_ACCOUNT>].
Your current project is [<PROJECT_ID>].  You can change this setting by running:
対象のプロジェクトにて、APIを有効化する
GKEクラスタを作成するため、Kubernetes Engine API、GKE Hub APIを有効にします。
# プロジェクトのリストを表示する
$ gcloud projects list
PROJECT_ID: XXXX
NAME: My First Project
PROJECT_NUMBER: XXXX

# APIを有効化するプロジェクトを、デフォルトのプロジェクトを指定する
$ gcloud config set project <YOUR_PROJECT_ID>
Updated property [core/project].

#Kubernetes Engine APIを有効にする
$ gcloud services enable container.googleapis.com
Operation "operations/acf.xxxxxxxxxxxx" finished successfully.

#GKE Hub APIを有効にする
$ gcloud services enable gkehub.googleapis.com
Operation "operations/acf.xxxxxxxxxxxx" finished successfully.
GKEクラスタを作成する。
以下のコマンドを実行し、クラスタを作成します。
$ gcloud beta container --project "<PROJECT_ID>" /
clusters create "test-cluster" --zone "asia-northeast1-a" /
--no-enable-basic-auth /
--cluster-version "1.30.3-gke.1969001" /
--release-channel "regular" /
--machine-type "e2-micro" /
--image-type "COS_CONTAINERD" /
--disk-type "pd-balanced" /
--disk-size "70" /
--metadata disable-legacy-endpoints=true /
--scopes "https://www.googleapis.com/auth/cloud-platform" /
--num-nodes "3" /
--logging=SYSTEM,WORKLOAD /
--monitoring=SYSTEM,STORAGE,POD,DEPLOYMENT,STATEFULSET,DAEMONSET,HPA,CADVISOR,KUBELET
--enable-ip-alias /
--network "projects/<PROJECT_ID>/global/networks/test-vpc" /
--subnetwork "projects/lunar-campaign-436414-c3/regions/asia-northeast1/subnetworks/test-1-subnet" /
--no-enable-intra-node-visibility /
--default-max-pods-per-node "110" /
--enable-autoscaling /
--min-nodes "0" /
--max-nodes "3" /
--location-policy "BALANCED" /
--security-posture=standard /
--workload-vulnerability-scanning=disabled /
--no-enable-master-authorized-networks /
--addons HorizontalPodAutoscaling,HttpLoadBalancing,GcePersistentDiskCsiDriver /
--enable-autoupgrade /
--enable-autorepair /
--max-surge-upgrade 1 /
--max-unavailable-upgrade 0 /
--binauthz-evaluation-mode=DISABLED /
--enable-managed-prometheus /
--enable-shielded-nodes /
--fleet-project=<PROJECT_ID> /
--node-locations "asia-northeast1-a"/

xxxxxxxxxx
NAME          LOCATION           MASTER_VERSION      MASTER_IP      MACHINE_TYPE  NODE_VERSION        NUM_NODES  STATUS
test-cluster  asia-northeast1-a  1.30.3-gke.1969001  xx.xxx.xx.x  e2-micro      1.30.3-gke.1969001  3          RUNNING
