学習のメモとしてlaravelの立ち上げを書いていきます。
前提としてcomposer等のインストールはすでに終えています。
この記事は速習Laravel6 という本を参考に書いています。
早速まずはターミナルで
composer create-project --prefer-dist laravel/laravel ファイル名
とすると、数多くのファイルがインストールされます。
php artisan serve
とすると、Laravelのサーバーが立ち上がります。
コントローラーを作成する
それが確認できたら、まずMVCのコントローラーから触っていきます。
コントローラーは、リクエストの受け取り、Modelの呼び出し、その結果をViewに反映という処理の司令塔です。
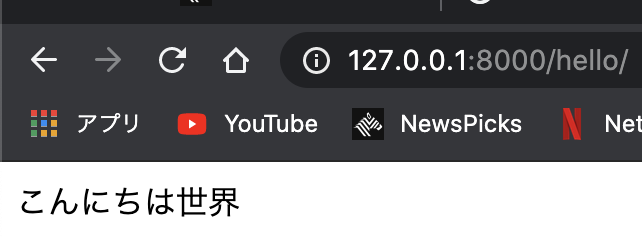
こんにちは、世界!という文字列を表示するサンプルを作ります。
php artisan make:controller HelloController
これでapp/http/Controllersフォルダ配下にHelloController.phpが生成されます。
<?php

namespace App\Http\Controllers;

use Illuminate\Http\Request;

class HelloController extends Controller
{
+    public function index()
+    {
+        return 'こんにちは世界';
+    }
}
returnで文字列を出力するアクションメソッドを追加しました。
ルーティング
ルートを定義するのは幾つか方法があるが、
Route::get(path,action)
が最もシンプルなメソッド。
引数actionには「コントローラー名@アクション名」つまり
<?php

use App\Http\Controllers\HelloController;
use Illuminate\Support\Facades\Route;

Route::get('/', function () {
    return view('welcome');
});

+Route::get('/hello/', 'HelloController@index');
モデルの基本
モデルとは、データベース/外部サービスへのアクセスをはじめ、ビジネスロジックを担うコンポーネント。
アプリの心臓部とも言えます。
それではデータベースの連携についてみていきましょう。
マイグレーション/シード
マイグレーションとは、テーブルレイアウトの定義をスクリプトから表し、コマンドラインから実行するための仕組み。
では早速、マイグレーション経由でテーブルを作成してみましょう。
php artisan make:migration create_books_table
これでマイグレーションファイルが作成されました。
create_xxxxxx_tableはマイグレーションファイルの名前です。
/app/database/migrationsのフォルダー配下にマイグレーションファイルが生成されます。
<?php

use Illuminate\Database\Migrations\Migration;
use Illuminate\Database\Schema\Blueprint;
use Illuminate\Support\Facades\Schema;

class CreateBooksTable extends Migration
{
    /**
     * Run the migrations.
     *
     * @return void
     */
    public function up()
    {
        Schema::create('books', function (Blueprint $table) {
+            $table->bigIncrements('id');
+            $table->string('isbn');
+            $table->string('title');
+            $table->integer('price');
+            $table->string('publisher');
+            $table->date('published');
+            $table->timestamps();
        });
    }

    /**
     * Reverse the migrations.
     *
     * @return void
     */
    public function down()
    {
        Schema::dropIfExists('books');
    }
}
テーブル情報を定義しました。
マイグレーションを実行する。
php artisan migrate
ここでエラーが出て実行できませんでした。
そもそもデータベースを作っていなかったので、MySQLでtutorialという
データベースを作成し、.envファイルの中の
DB_CONNECTION=mysql
DB_HOST=127.0.0.1
DB_PORT=3306
+DB_DATABASE=tutorial
DB_USERNAME=root
DB_PASSWORD=
書き直します。
もう一度
php artisan migrate
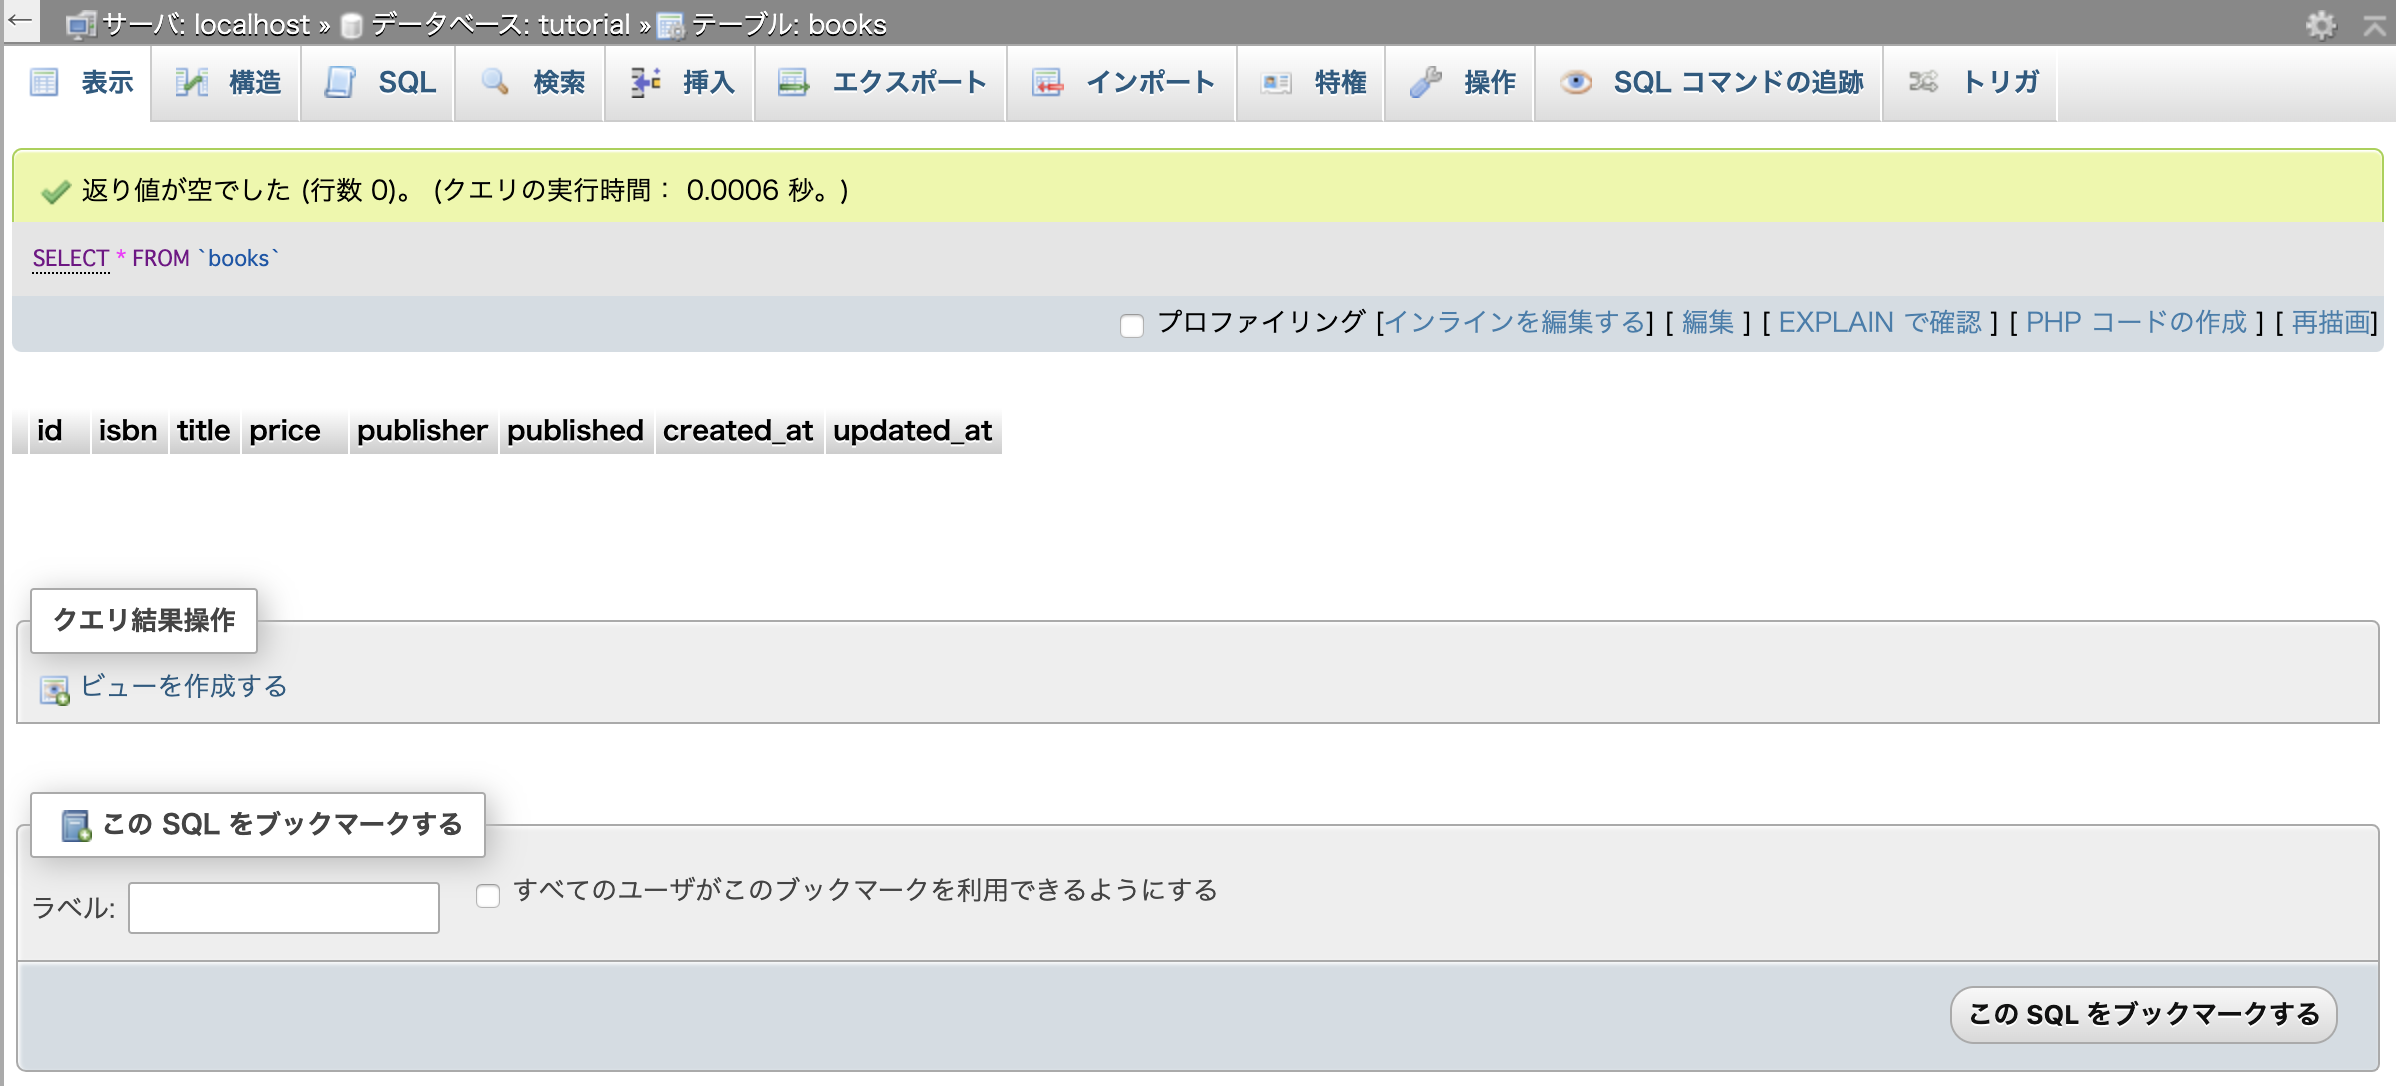
テーブルができているのが確認できます。
シーダー
このテーブルの中にダミーデータを入れていきたいと思います。これを行うのがシーダー
早速コマンドで自動生成しましょう。
php artisan make:seeder BooksTableSeeder
できたシーダーを編集します。
<?php

use Illuminate\Database\Seeder;

class BooksTableSeeder extends Seeder
{
    /**
     * Run the database seeds.
     *
     * @return void
     */
    public function run()
    {
+        DB::insert('insert into books (isbn, title,price,publisher,published) values ("978-4-8222-5399-8","Visual C# 2019超入門",2000,"日経BP" ,"2019-08-22")', [1, 'Dayle']);
    }
}
シーダーはそのまま実行できません。
対象のシーダーをアプリに登録しておく必要があります。
app/database/seeds フォルダー配下のDatabaseSeeder.phpを以下のように編集します。
<?php

use Illuminate\Database\Seeder;

class DatabaseSeeder extends Seeder
{
    /**
     * Seed the application's database.
     *
     * @return void
     */
    public function run()
    {
+        $this->call(BooksTableSeeder::class);

    }
}
シーダーを実行しましょう
php artisan db:seed
Database seeding completed successfully.
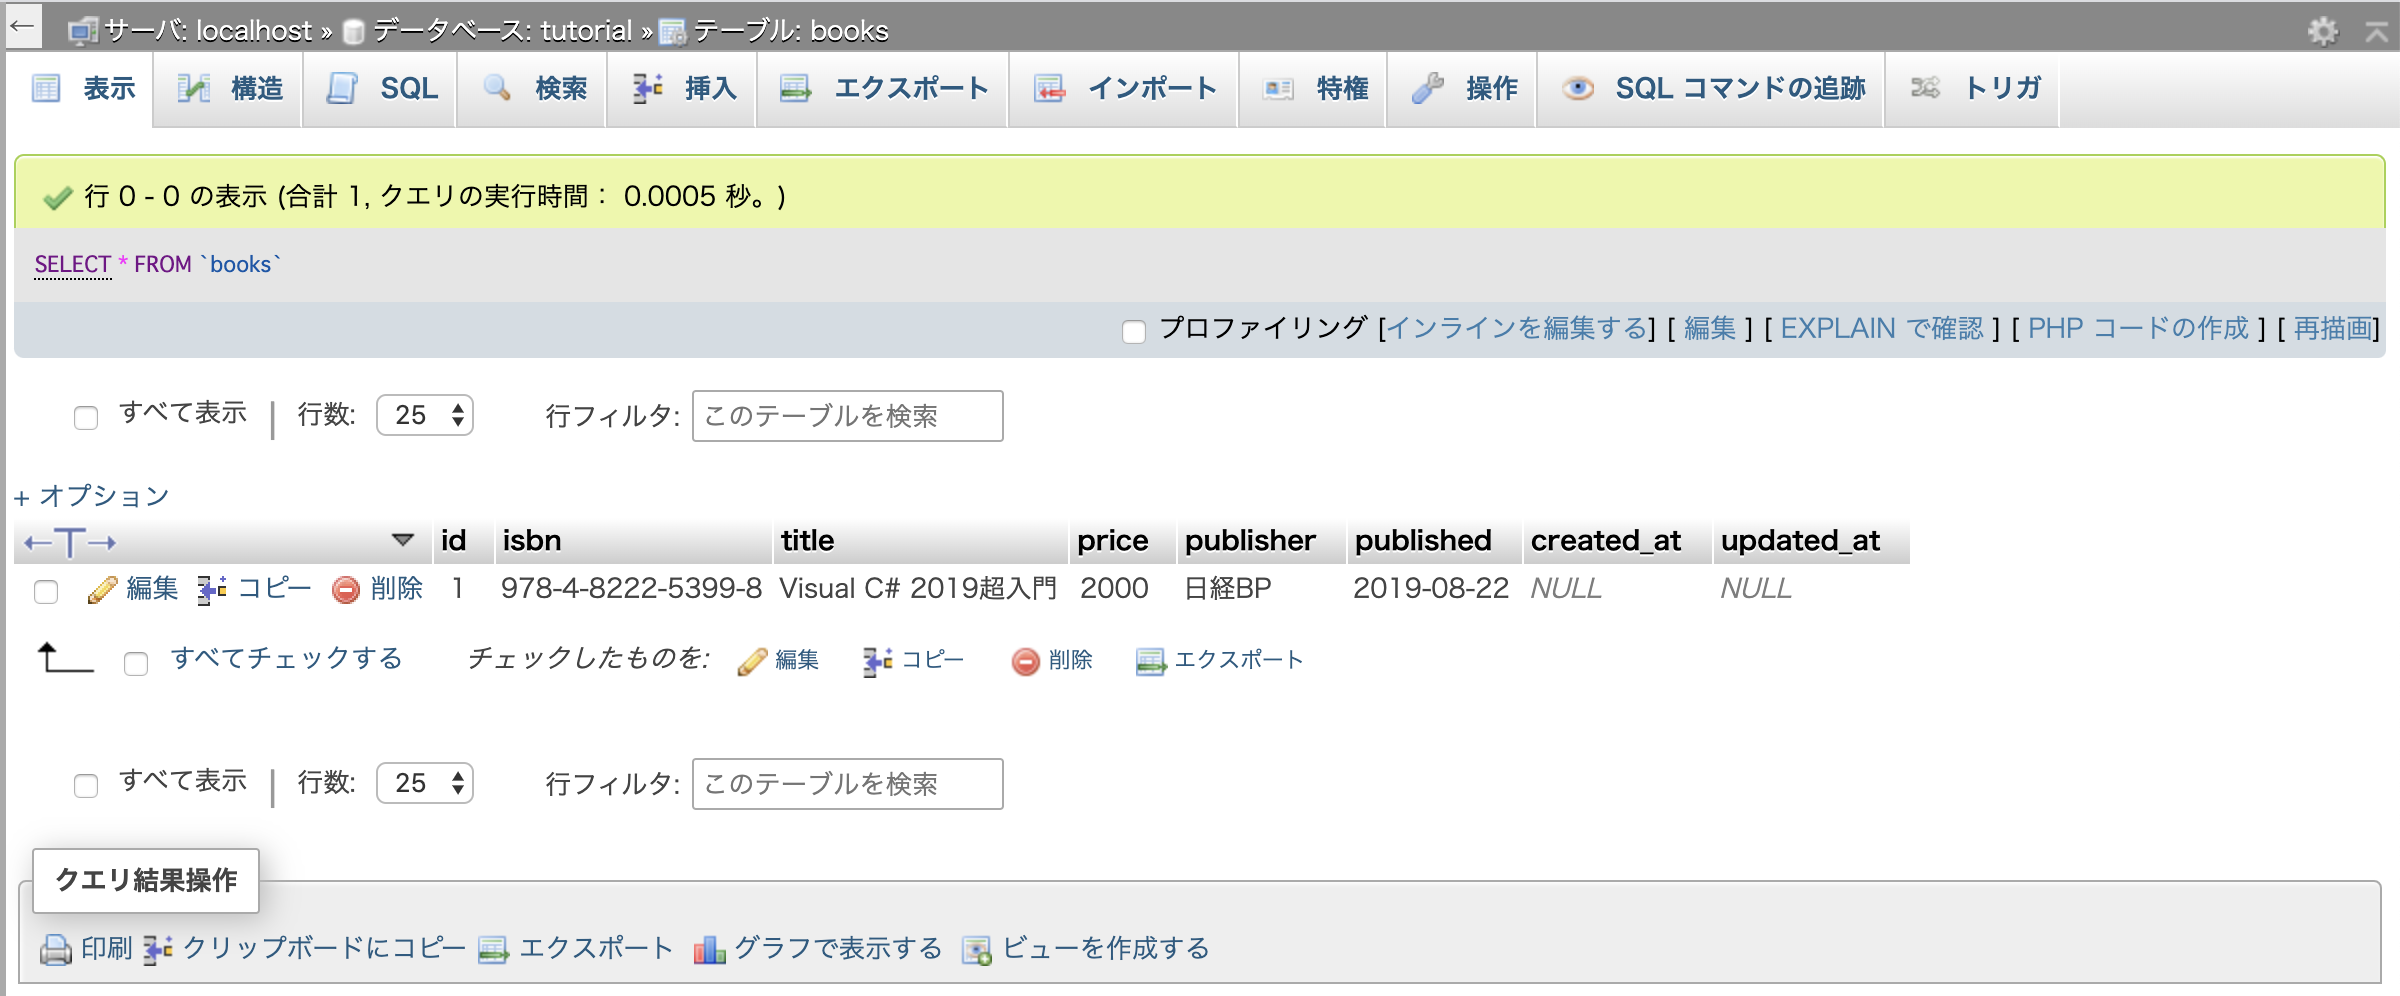
と出たらMySQLで確認してみましょう。

ちゃんと入っていますね。
今回はこの辺で、次回はデータの取得などを行っていきます。

