追記
react-native-webgl は deprecated となりました...
RNの新しいバージョンではreact-native-webglは動かないと思うので、お勧めされているexpo-glを使いましょう!
はじめに
この記事では、react-native-webglというライブラリの導入手順について書きます。
react-native-webglは、React NativeでWebGLを使うためのライブラリです。
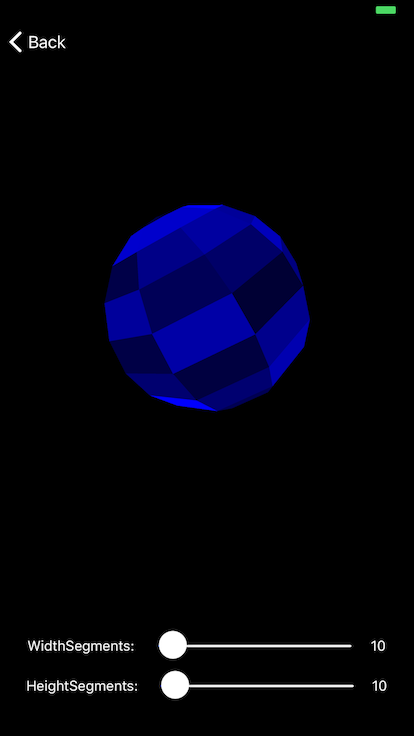
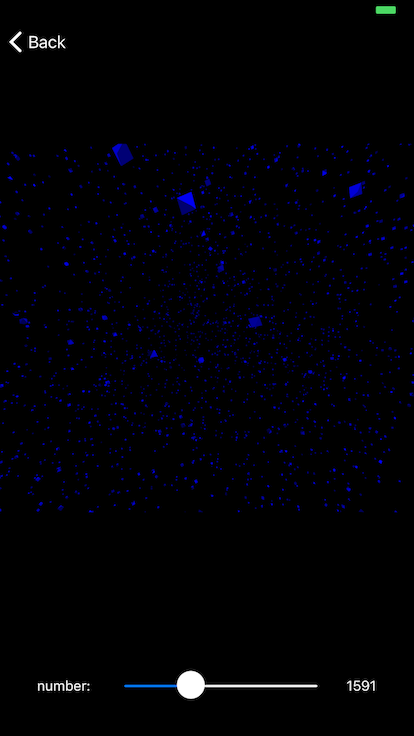
これを使えばネイティブアプリでthree.jsが使えるようになるので、試しに作ってみました!
とりあえずスマホカイロにしてみましたが、誰かかっこいいアプリ作ってくれないかな・・・
iOS: https://itunes.apple.com/us/app/three-js-native/id1447928256
Android: https://play.google.com/store/apps/details?id=com.three
- アプリ内の4種類のシーンのうち、Octahedronをたくさん表示するものが一番あったまれます。
- segments(ポリゴンの分割数)などのパラメータは、最大にするとメモリが足らずアプリが落ちることがありますので、徐々に上げてみてください。
React Nativeの準備
公式のgetting-started通りに準備しましょう。
今回はexpoを使わないので、”Quick Start”ではなく、”Building Projects with Native Code”のタブに従ってください。
react-native-webglのインストール
React Nativeの最新はこの記事の執筆時点で0.58ですが、このバージョンではビルドが通らないため、0.57にします。
# init
react-native init threejsNative --version 0.57
cd threejsNative
その後、react-native-webglのパッケージをインストールしてリンクします。
yarn add react-native-webgl
react-native link react-native-webgl
iOS
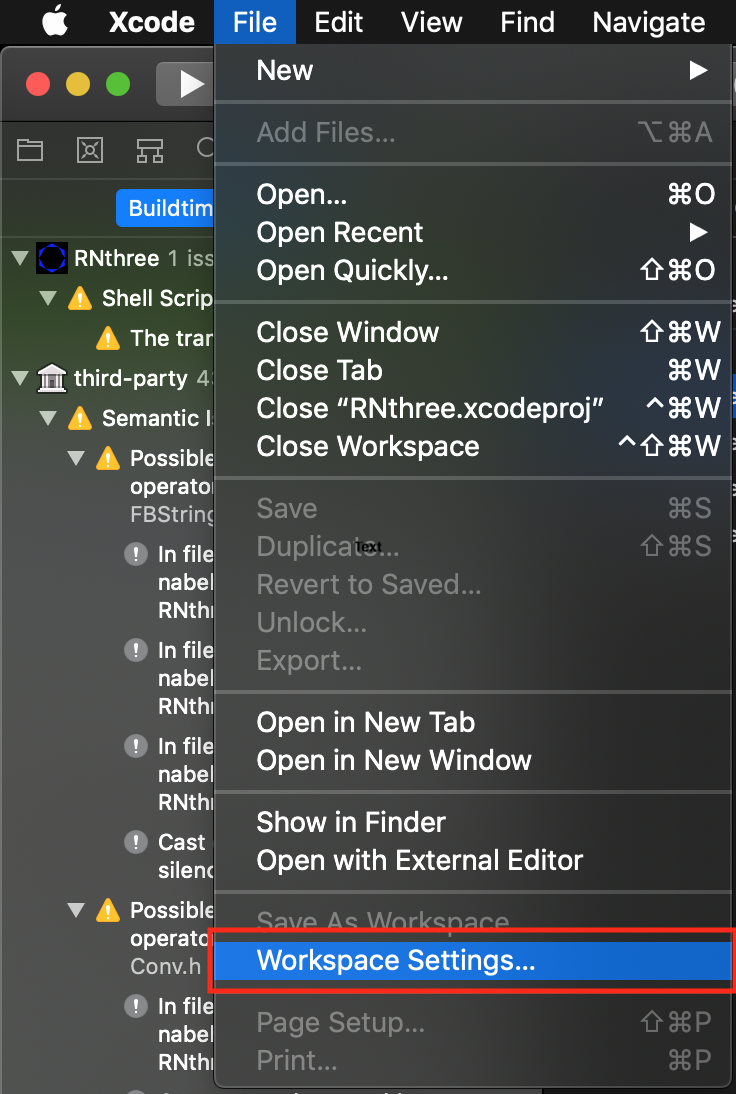
New Build SystemではGPUImageというプロジェクト周りでエラーが出てしまうため、Legacy Build Systemに変更します。
File -> Workspace Settings... -> Build System -> Legacy Build System


Android
issueを読みつつ諸々を書き換えます。
  buildscript {

    ext {

-     minSdkVersion = 16
+     minSdkVersion = 17

    }

    dependencies {

+     classpath 'de.undercouch:gradle-download-task:3.1.2'

    }
- APP_PLATFORM := android-9
+ APP_PLATFORM := android-16

- APP_STL := gnustl_shared
+ APP_STL := c++_shared

- NDK_TOOLCHAIN_VERSION := 4.9
  task packageRNWebGLLibs(dependsOn: buildRNWebGLLib, type: Copy) {

-   exclude '**/gnustl_shared.so'
+   exclude '**/libc++_shared.so'

  }

  android {

-   buildToolsVersion '25.0.0'
+   buildToolsVersion '27.0.3'

  }

  dependencies {
-   compile "com.facebook.react:react-native:+"  // From node_modules
+   implementation "com.facebook.react:react-native:+"  // From node_modules
  }
exclude '**/libc++_shared.so'でビルドが通らない時はinclude '**/libc++_shared.so'でうまくいく場合があります。
three.jsを読み込む
あとは公式のexampleの通りです。
yarn add three
const THREE = require("three");
global.THREE = THREE;
if (!window.addEventListener)
    window.addEventListener = () => { };
require("three/examples/js/renderers/Projector");
export default THREE;
import React from "react";
import { View } from "react-native";
import { WebGLView } from "react-native-webgl";
import THREE from "./three";

export default class App extends React.Component {
  requestId: *;
  componentWillUnmount() {
    cancelAnimationFrame(this.requestId);
  }
  onContextCreate = (gl: WebGLRenderingContext) => {
    const rngl = gl.getExtension("RN");

    const { drawingBufferWidth: width, drawingBufferHeight: height } = gl;
    const renderer = new THREE.WebGLRenderer({
      canvas: {
        width,
        height,
        style: {},
        addEventListener: () => {},
        removeEventListener: () => {},
        clientHeight: height
      },
      context: gl
    });
    renderer.setSize(width, height);
    renderer.setClearColor(0x000000, 1);

    let camera, scene;
    let cube;

    function init() {
      // ここにcameraやsceneのコードを書く
      camera = new THREE.PerspectiveCamera(75, width / height, 1, 1100);
      camera.position.y = 150;
      camera.position.z = 500;
      scene = new THREE.Scene();

      let geometry = new THREE.BoxGeometry(200, 200, 200);
      for (let i = 0; i < geometry.faces.length; i += 2) {
        let hex = Math.random() * 0xffffff;
        geometry.faces[i].color.setHex(hex);
        geometry.faces[i + 1].color.setHex(hex);
      }

      let material = new THREE.MeshBasicMaterial({
        vertexColors: THREE.FaceColors,
        overdraw: 0.5
      });

      cube = new THREE.Mesh(geometry, material);
      cube.position.y = 150;
      scene.add(cube);
    }
    const animate = () => {
      this.requestId = requestAnimationFrame(animate);
      renderer.render(scene, camera);

      // ここにアニメーションのコードを書く
      cube.rotation.y += 0.05;

      gl.flush();
      rngl.endFrame();
    };

    init();
    animate();
  };
  render() {
    return (
      <View style={{ flex: 1, justifyContent: "center", alignItems: "center" }}>
        <WebGLView
          style={{ width: 300, height: 300 }}
          onContextCreate={this.onContextCreate}
        />
      </View>
    );
  }
}
three.jsの部分は通常とほとんど同じように書けます!
実行
iOS/Androidそれぞれでオブジェクトが表示されれば成功です。
react-native run-ios
react-native run-android
まとめ
react-native-webglを使って、スマホアプリでthree.jsを動かす方法について書きました。
three.jsを使ったかっこいいアプリがさらに増えていくと嬉しいですね!

