はじめに
スケーリング可能な?Splunk環境が欲しいなと思い、Docker Swarmを使用してみた。
Windows 10 ProのHyper-V上にdocker-machineを作成して、そこにSplunk環境を構築する
ホストの作成
まず最初に、クラスタ構築用にmanagerノード1つとworkerノード2つを用意した
docker-machine create --d hyperv vm1
docker-machine create --d hyperv vm2
docker-machine create --d hyperv vm3
docker-machine lsでマシンの動作状況を確認
$ docker-machine ls
NAME   ACTIVE   DRIVER   STATE     URL                       SWARM   DOCKER      ERRORS
vm1    -        hyperv   Running   tcp://192.168.0.22:2376           v19.03.12
vm2    -        hyperv   Running   tcp://192.168.0.23:2376           v19.03.12
vm3    -        hyperv   Running   tcp://192.168.0.27:2376           v19.03.12
managerノードの設定
上で作成した"vm1"マシンをmanagerとして、sshで接続する。
$ docker-machine ssh vm1
docker@vm1:~$
docker swarmコマンドで、"vm1"のIPアドレスを引数に指定してdocker swarmの初期化を行う。
実行結果の「docker swarm join --token…」は、
後程workerノードを指定するときに使用する。
docker@vm1:~$ docker swarm init --advertise-addr 192.168.0.22
Swarm initialized: current node (pjwqrqu3ffdaypnfcifk0cppw) is now a manager.

To add a worker to this swarm, run the following command:

    docker swarm join --token SWMTKN-1-1b5ti7q1mmxy6tv2s34ji10pp6r33w3wqfi6wa6u4rawlqqrzv-5if19n1ysxx2cdsnkv5nnbjeo 192.168.0.22:2377

To add a manager to this swarm, run 'docker swarm join-token manager' and follow the instructions.
※現在のノードの状態表示は以下コマンドで可能。
docker@vm1:~$ docker node ls
ID                            HOSTNAME            STATUS              AVAILABILITY        MANAGER STATUS      ENGINE VERSION
pjwqrqu3ffdaypnfcifk0cppw *   vm1                 Ready               Active              Leader              19.03.12
MANAGER STATUSがLeaderになっていることが確認できる。
workerノードの設定
上で作成した"vm2"と"vm3"マシンに接続して以下のコマンド(managerノードでdocker swarm init...を実行したときに標準出力されたコマンド)を実行し、workerの設定をする。
docker@vm3:~$ docker swarm join --token SWMTKN-1-1b5ti7q1mmxy6tv2s34ji10pp6r33w3wqfi6wa6u4rawlqqrzv-5if19n1ysxx2cdsnkv5nnbjeo 192.168.0.22:2377
This node joined a swarm as a worker.
クラスタ設定の確認とmanagerノードでSplunk環境構築
managerノードに再度接続し、クラスタがうまく構築できているか確認する
docker@vm1:~$ docker node ls
ID                            HOSTNAME            STATUS              AVAILABILITY        MANAGER STATUS      ENGINE VERSION
pjwqrqu3ffdaypnfcifk0cppw *   vm1                 Ready               Active              Leader              19.03.12
sz9xus0qwgsvfcw5tcpqqxz6l     vm2                 Ready               Active                                  19.03.12
mttx955nrr8jw645vj1dedtn3     vm3                 Ready               Active                                  19.03.12
次に、docker serviceコマンドでSplunkイメージからサービスをデプロイし、Splunk環境を構築する。
ブラウザ等からSplunkにアクセスする際のポートは-pで12000を設定し、パスワードは"password"に設定する。名前は--nameでtest-splunkを指定。
docker@vm1:~$ docker service create --name test-splunk -d -p 12000:8000 -e 'SPLUNK_START_ARGS=--accept-license' -e 'SPLUNK_PASSWORD=password' splunk/splunk:latest
0ev43nb5w3bbt0ytspx8wsy16
以下でサービスが設定できたかどうか確認
docker@vm1:~$ docker service ls
ID                  NAME                MODE                REPLICAS            IMAGE                  PORTS
0ev43nb5w3bb        test-splunk         replicated          0/1                 splunk/splunk:latest   *:12000->8000/tcp
設定したSplunkをスケールさせてみる
docker@vm1:~$ docker service scale test-splunk=3
test-splunk scaled to 3
overall progress: 3 out of 3 tasks
1/3: running   [==================================================>]
2/3: running   [==================================================>]
3/3: running   [==================================================>]
verify: Service converged

docker@vm1:~$ docker service ps test-splunk
ID                  NAME                IMAGE                  NODE                DESIRED STATE       CURRENT STATE                ERROR               PORTS
x8qin01b6rk6        test-splunk.1       splunk/splunk:latest   vm1                 Running             Running 4 minutes ago
kz8r05haltvm        test-splunk.2       splunk/splunk:latest   vm2                 Running             Running about a minute ago
xng9xm2ac4li        test-splunk.3       splunk/splunk:latest   vm3                 Running             Running about a minute ago
設定したそれぞれのノードでコンテナサービスが稼働していることが確認できた。
ホストマシンからSplunkに接続
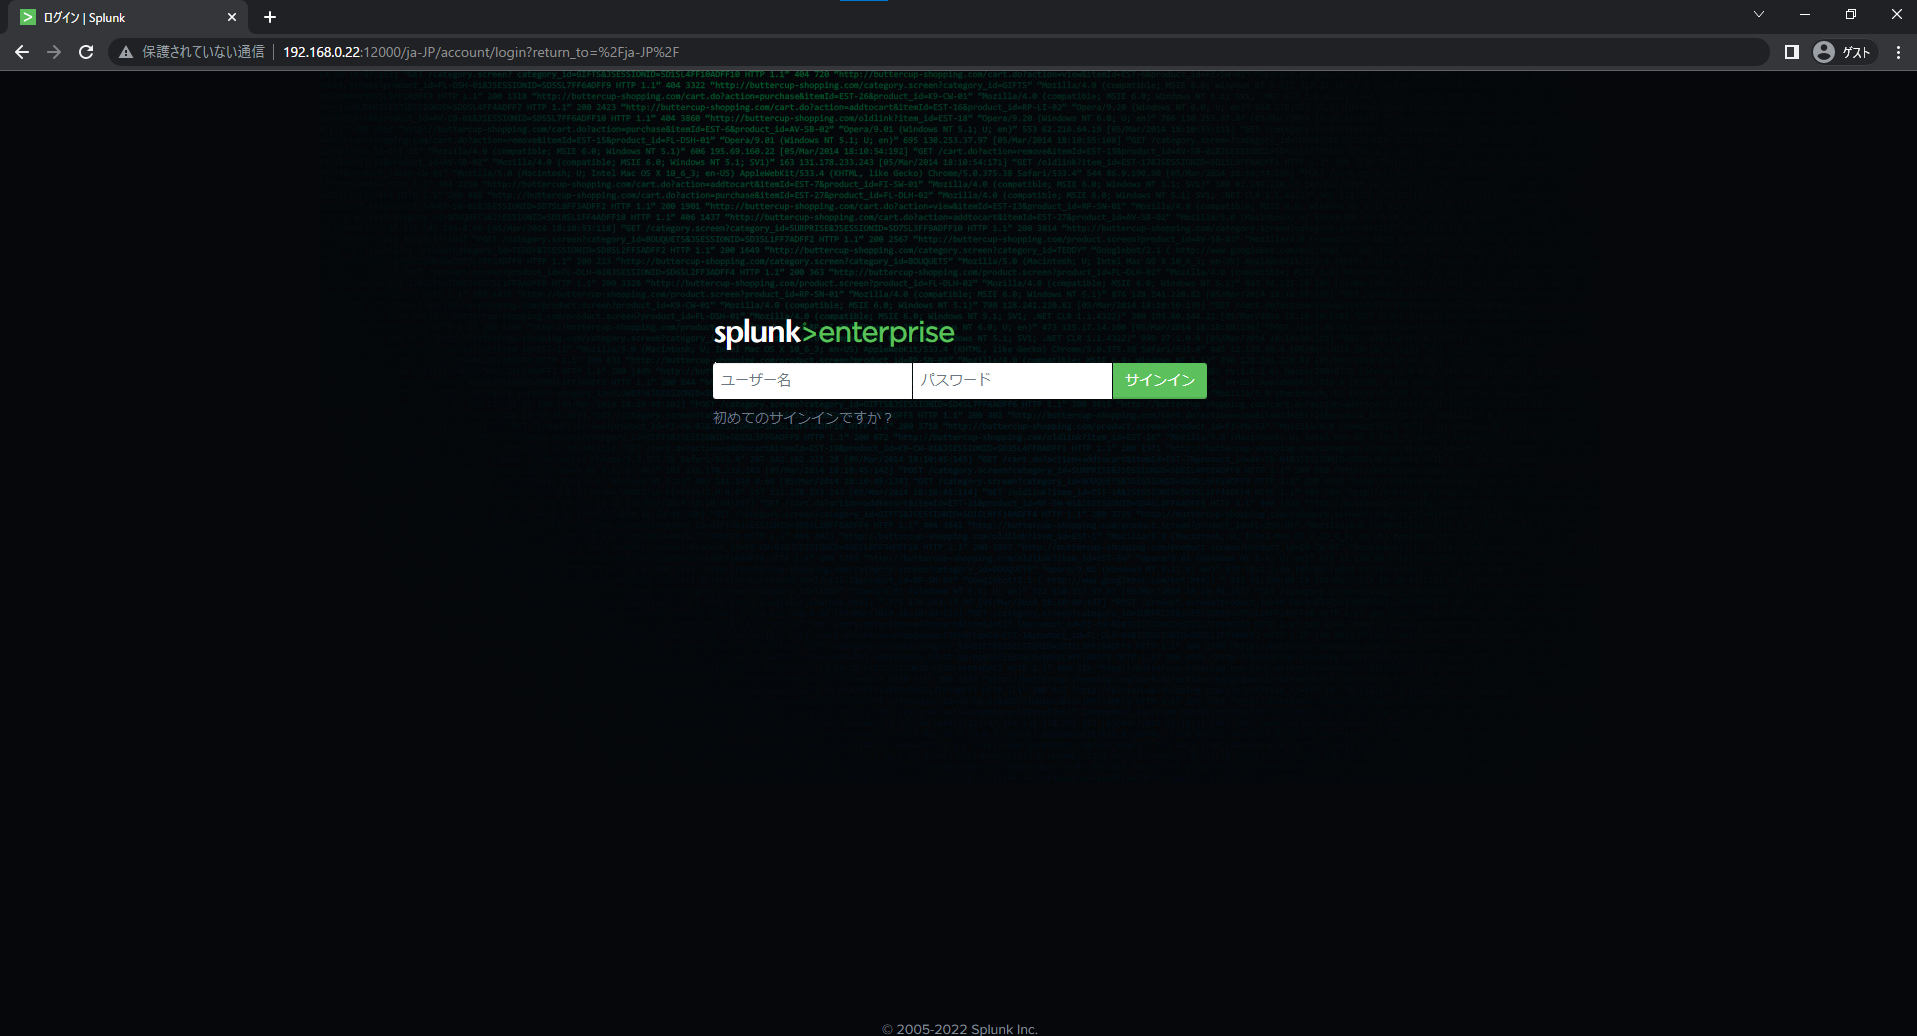
IPアドレスをmanagerノードのIP、ポート番号を12000で指定して、ブラウザからSplunkに接続してみる。
参考
