はじめに
ちょっと間が空きましたが、WSL2上のUbuntuでdocker/docker-composeを利用する からの続きで、Rails6の環境構築を実施していきます。
環境
- OS: Windows10 Pro 64bit
- Version: 20H2
- OS build: 19042.1237
- WLS2
- Ubuntu 20.04
設定手順
$ vi Dockerfile
Ubuntuのデフォルトでインストールできるyarnのバージョンが低いので、yarn公式のInstallationを元に設定を追加してます。ついでにrubyバージョンも3.0.2を利用するように指定してます。
FROM ruby:3.0.2
# setting yarn repository
RUN curl -sS https://dl.yarnpkg.com/debian/pubkey.gpg | apt-key add - && \
    echo "deb https://dl.yarnpkg.com/debian/ stable main" | tee /etc/apt/sources.list.d/yarn.list
# install packages
RUN apt-get update -qq && apt-get install -y nodejs postgresql-client yarn
WORKDIR /myapp
COPY Gemfile /myapp/Gemfile
COPY Gemfile.lock /myapp/Gemfile.lock
RUN bundle install
COPY . /myapp

# Add a script to be executed every time the container starts.
COPY entrypoint.sh /usr/bin/
RUN chmod +x /usr/bin/entrypoint.sh
ENTRYPOINT ["entrypoint.sh"]
EXPOSE 3000

# Start the main process.
CMD ["rails", "server", "-b", "0.0.0.0"]
# Gemfile.lock作成
$ touch Gemfile.lock

# Gmefileの作成と設定
$ vi Gemfile
source 'https://rubygems.org'
gem 'rails', '~>6'
$ vi entrypoint.sh
# !/bin/bash
set -e

# Remove a potentially pre-existing server.pid for Rails.
rm -f /myapp/tmp/pids/server.pid

# Then exec the container's main process (what's set as CMD in the Dockerfile).
exec "$@"
$ vi docker-compose.yml
version: "3.9"
services:
  db:
    image: postgres
    volumes:
      - ./tmp/db:/var/lib/postgresql/data
    environment:
      POSTGRES_PASSWORD: password
  web:
    build: .
    command: bash -c "rm -f tmp/pids/server.pid && bundle exec rails s -p 3000 -b '0.0.0.0'"
    volumes:
      - .:/myapp
    ports:
      - "3000:3000"
    depends_on:
      - db
Railsを起動するにはwebpackerと設定ファイルが必要です。webpacker自体はrails new時にオプションをつけるとインストールできますが、「config/webpacker.yml」は作成されません。そのため「rails webpacker:install」コマンド使ってインストールと設定ファイルの作成を実施します。
# rails newコマンドをweb上で実行
$ docker-compose run --no-deps web rails new . --webpack --force --database=postgresql

# railsのディレクトリができているかチェック
$ ls -l

# 所有者がrootになっているファイルの所有者を現在のユーザに書き換え
$ sudo chown -R $USER:$USER .

# rails new で新しいGemfileができたので再ビルド
$ docker-compose build

# webpackerのインストール
$ docker-compose run web rails webpacker:install

# DBの設定を変更
$ vi config/database.yml
default: &default
  adapter: postgresql
  encoding: unicode
  host: db #追加
  username: postgres #追加
  password: password #追加
  pool: 5

development:
  <<: *default
  database: myapp_development

test:
  <<: *default
  database: myapp_test
$ docker-compose up

# 別タブを開き下記のコマンドを実行してDBを作成
$ docker-compose run web rake db:create
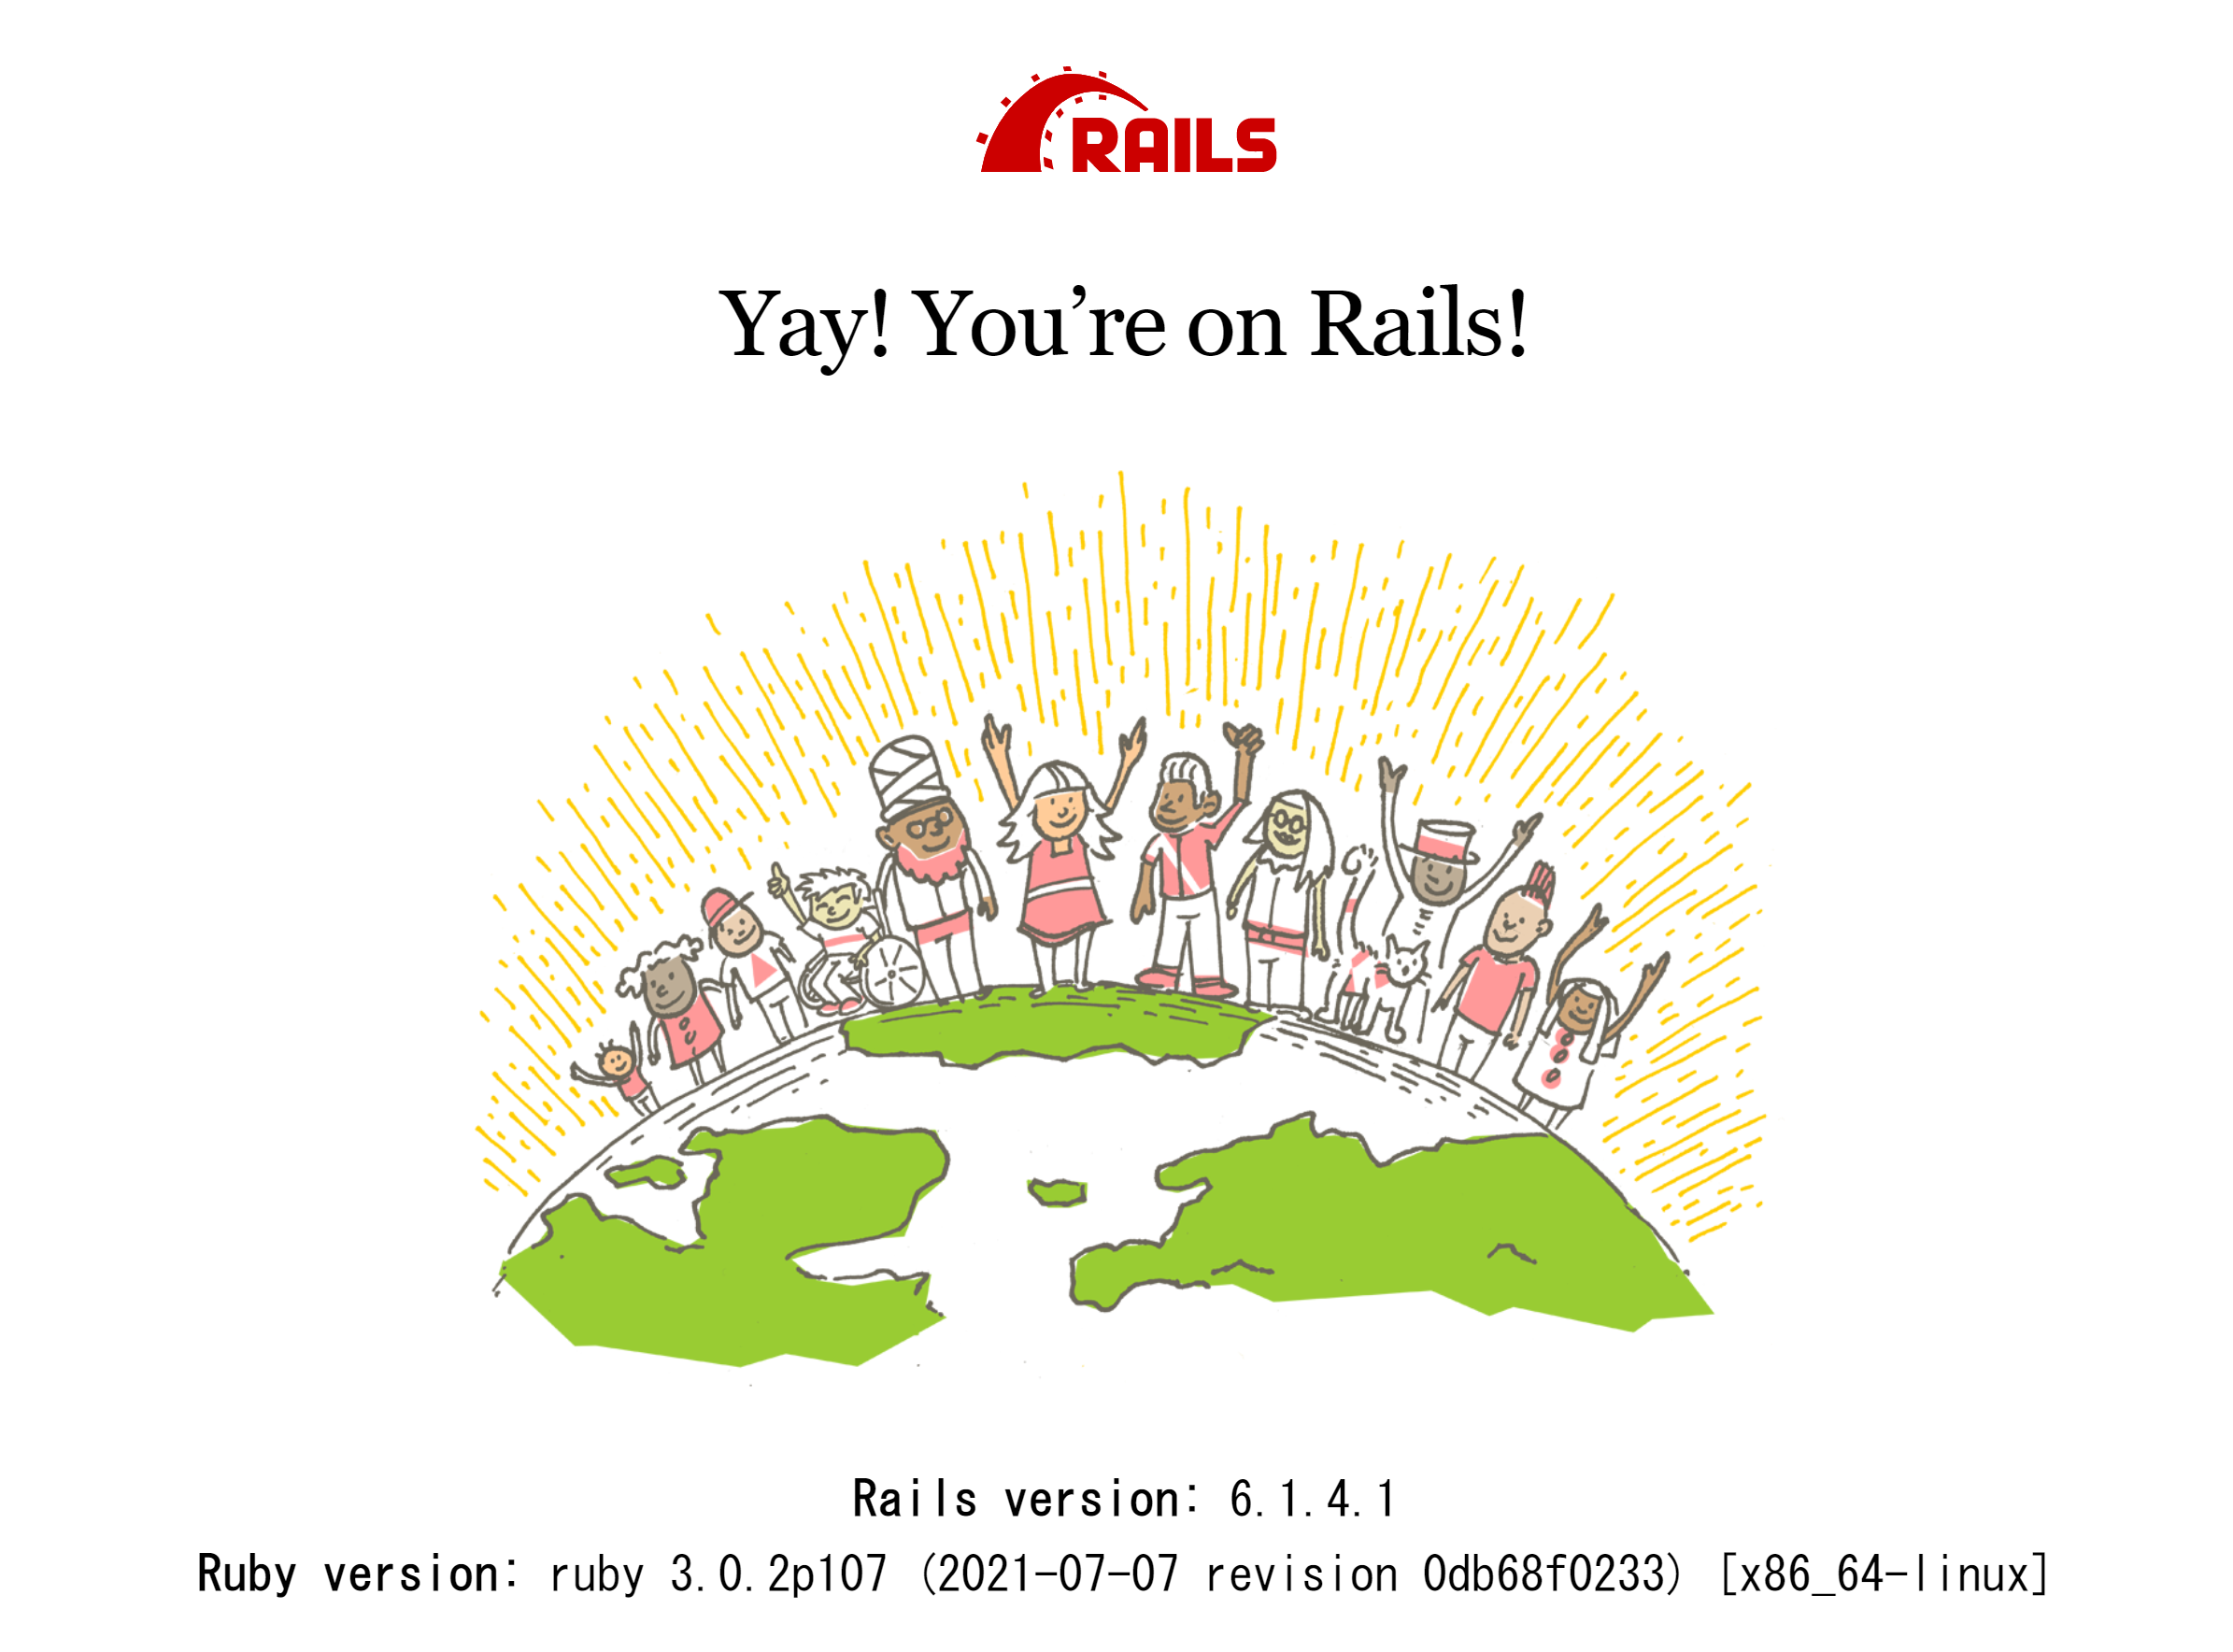
いつものURLにアクセス。
http://localhost:3000/

その他コマンド
# railsコンソール
$ docker-compose run web rails c
Creating test_rails_web_run ... done
Running via Spring preloader in process 20
Loading development environment (Rails 6.1.4.1)
irb(main):001:0>

# 起動中のコンテナ確認
$ docker-compose ps
      Name                    Command               State                    Ports
----------------------------------------------------------------------------------------------------
test_rails_db_1    docker-entrypoint.sh postgres    Up      5432/tcp
test_rails_web_1   entrypoint.sh bash -c rm - ...   Up      0.0.0.0:3000->3000/tcp,:::3000->3000/tcp
まとめ
Rails構築できました。Railsのインストール時のハマリポイントも少しづつ変わって行ってますね。前インストールしたときは「webpacker」とか特に引っかかりませんでしたし。