動機
JavaScript のしがらみから一切離れて書ける(らしい) Elm という言語に興味を持ったので、練習として 2048 を作ります。使ってみた上で、今後どのように使っていけそうな言語かを考えます。
前提として、自分は JavaScript は趣味で書く程度ですが関数型言語の経験があまりないです。入門時に自分が得た印象を残すという意味でも、似たような状況の人に例を示すという意味でも、とりあえず記録しておきます。
環境
- Windows
- Elm 0.19.0
第0段階 インストール
公式サイト の [Install] を参考にします。npm があれば npm i elm するか、Windows か Mac の場合はインストーラをダウンロードできるそうです。
第1段階 挨拶
まず作業ディレクトリを用意し、コマンドプロンプトでそこまで移動します。
> mkdir elm-2048
> cd elm-2048
ディレクトリ内で以下のコマンドを叩きましょう。
> elm init
Hello! Elm projects always start with an elm.json file. I can create them!

Now you may be wondering, what will be in this file? How do I add Elm files to
my project? How do I see it in the browser? How will my code grow? Do I need
more directories? What about tests? Etc.

Check out <https://elm-lang.org/0.19.0/init> for all the answers!

Knowing all that, would you like me to create an elm.json file now? [Y/n]:
elm.json という、設定を記述するファイルを作るか聞かれます。(package.json みたいなものでしょうか。v0.18 までは elm-package.json という名前だったようです。)Y と答えておきましょう。
Okay, I created it. Now read that link!
さて、ディレクトリ内にファイル elm.json とフォルダ src ができました。最初にやることといえば世界に挨拶をすることなので、src 内に Main.elm を作ってみましょう。(名前はなんでもいいです)
import Html exposing (..)

main =
    text "Hello, world!"
ファイルができたら、コマンドで
> elm reactor
と打ちます。
Go to <http://localhost:8000> to see your project dashboard.
言われるがまま http://localhost:8000 を開くと
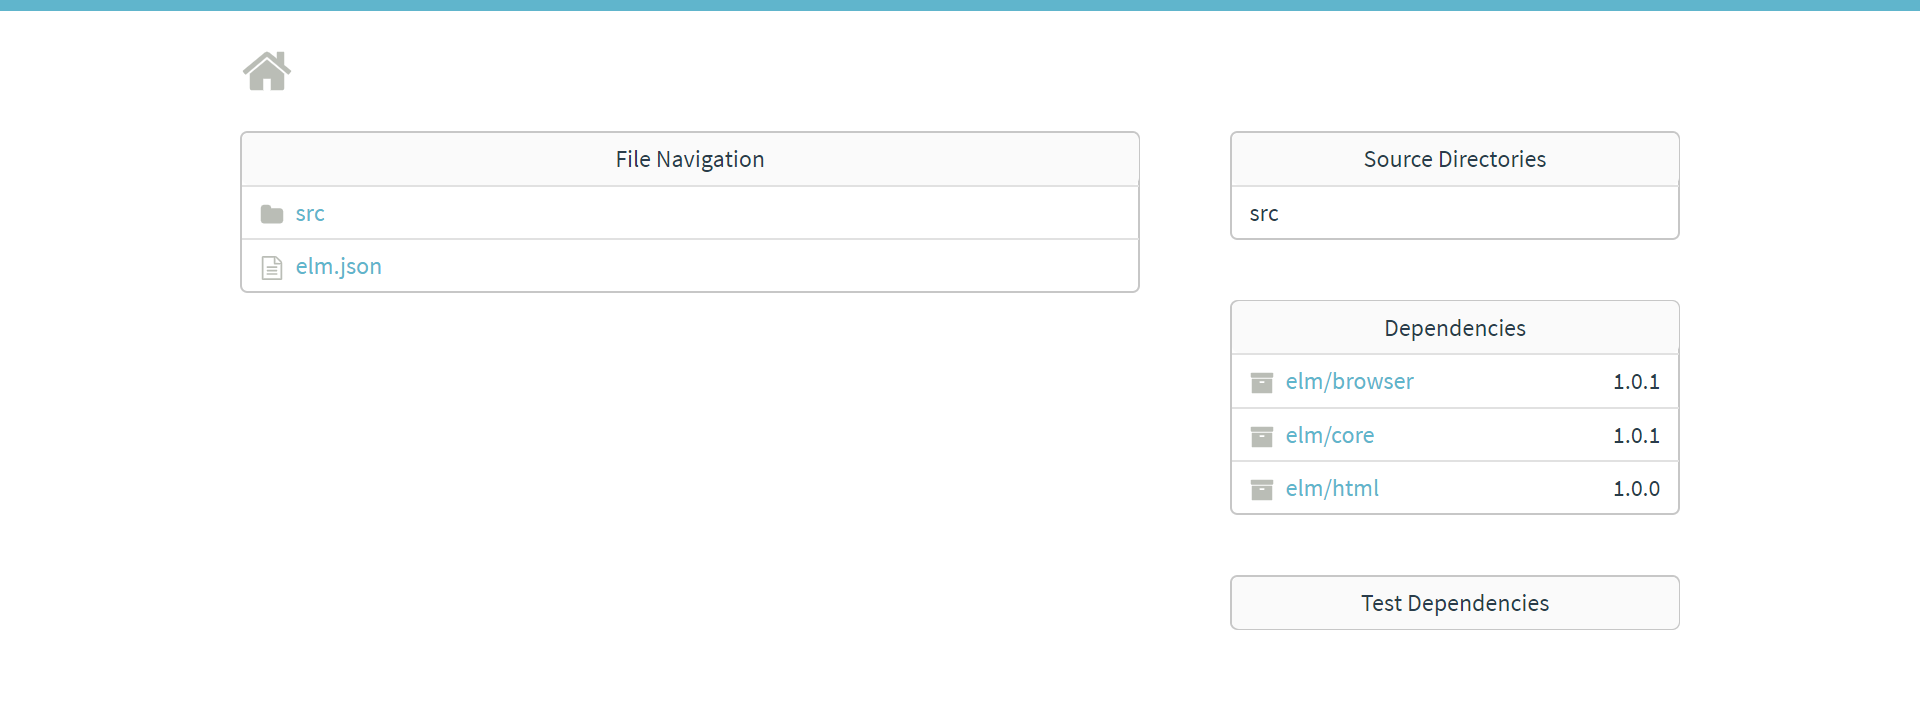
すごい! こんな画面が出ました。src > Main.elm に移ってみると

成功です。以下これを開きながら確認していきます。
第2段階 カウンター
公式のガイドとかを見ると、view とか update とかで分離されているので、やってみます。Elm には初心者が色々いじるための Browser.sandbox という関数が用意されています。
(ググると main = Html.begginerProgram ... としている例がありますが、v0.19 から変更になりました。)
とりあえず ガイド を参考に Main.elm をいじってみます。
import Browser
import Html exposing (..)
import Html.Events exposing (..)


main : Program () Model Msg
main =
    Browser.sandbox
        { init = init
        , view = view
        , update = update
        }


type alias Model =
    Int


init : Model
init =
    0


type Msg
    = Increment
    | Decrement


update : Msg -> Model -> Model
update msg model =
    case msg of
        Increment ->
            model + 1

        Decrement ->
            model - 1


view : Model -> Html Msg
view model =
    div []
        [ h1 [] [ text "Hello" ]
        , div [] [ text (String.fromInt model) ]
        , button [ onClick Decrement ] [ text "-" ]
        , button [ onClick Increment ] [ text "+" ]
        ]
型注釈は別にいらないと思うけど勉強のためにつけてみました。
なるほど、Elm の考え方が少し見えてくる気がします。
ブラウザで確認すると
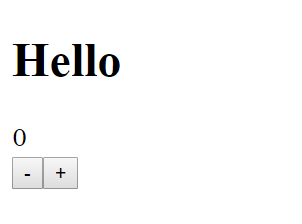
良さそうですね。ここで F12 で開発者ツールを開いてボタンをポチポチしてみると、数値の含まれる <div> だけが変化していることがわかり、「あー Virtual DOM なんだな」と実感できます。
第3段階 盤面の表示
さてここからは作りたいものを作るため、ガイドやドキュメントとの闘いになります。(実は「elm 2048」とかで調べると先人のレポジトリが色々出てきますが、自力でやりたい&バージョン毎の差異が比較的大きいので、完成するまで見ないことにします。)
まずボードを表示させましょう。データ構造としてデフォルトでは List が使われますが、座標でアクセスしたいので Array の方が良さそうです。
import Array exposing (Array)
Model 周辺を書きかえて
type alias Model =
    { board : Board
    }

type alias Board =
    Array Row

type alias Row =
    Array Cell

type Cell
    = Tile Int
    | Empty


init : Model
init =
    { board =
        Array.repeat 4 <| Array.repeat 4 <| Tile 2
    }
view 周辺も書きかえて表示関数を作ります。
viewBoard : Board -> Html Msg
viewBoard board =
    div []
        <| Array.toList (Array.map viewRow board)


viewRow : Row -> Html Msg
viewRow row =
    div []
        <| Array.toList (Array.map viewCell row)


viewCell : Cell -> Html Msg
viewCell cell =
    case cell of
        Tile number ->
            span []
            [ text (String.fromInt number)
            ]

        Empty ->
            span [] []
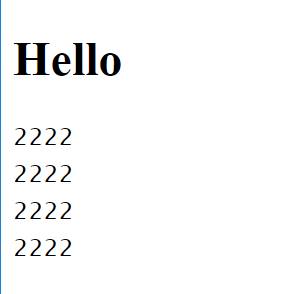
ちゃんと表示されています。もう少し良い書き方があるのかもしれないけどとりえずこれで。
ではセルを変更するようにしてみましょう。
setBoard : Int -> Int -> Cell -> Board -> Board
setBoard i j cell board =
    case Array.get i board of
        Just row ->
            let
                newRow = Array.set j cell row
            in
                Array.set i newRow board

        Nothing ->
            board
うーん、これはちょっと手続き的では、と思い、時間が立って書き直したコードが
type alias Position =
    ( Int, Int )


setBoard : Position -> Cell -> Board -> Board
setBoard (i, j) cell board =
    Array.get i board
        |> Maybe.map (\oldRow -> Array.set j cell oldRow)
        |> Maybe.map (\newRow -> Array.set i newRow board)
        |> Maybe.withDefault board
うーん関数型の気持ちがわからない……。まあさっきよりマシっぽいのでいいでしょう。
さて、適当に変更させてみます。
update msg model =
    case msg of
        Change ->
            { model |
                board = setBoard (1, 1) (Tile 4) model.board
            }
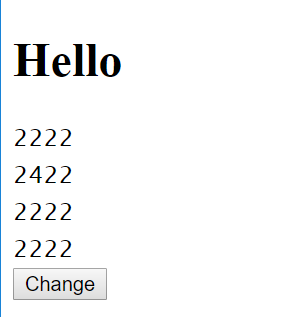
ボタンを押すとセルが変わりました!
……実は内心、このコードで盤面が
2 4 2 2
2 4 2 2
2 4 2 2
2 4 2 2
のようになることを期待していました(JavaScript で同様に書くとそういう挙動になるはずなので)が、そうはならなくて感動しました。永続データ構造しゅごい……。ちなみに Array の実装は内部的には32分木になっているそうです。
加えて、ここまで何回もエラーを出して怒られましたが、コンパイルの時点でそれだけ面倒を見てくれるということなのでありがたいことです。
第4段階 キー入力
次はキー入力ですが、v0.19 でキー入力の扱いが変わったっぽいです。
現時点での Browser.Events のドキュメントを読むと、onKeyDown : Decoder msg -> Sub msg となっています。Sub とかいうのが出てきたので、とりあえず Browser.sandbox から脱却する必要がありそうです。
 main : Program () Model Msg
 main =
-    Browser.sandbox
+    Browser.element
         { init = init
         , view = view
         , update = update
+        , subscriptions = subscriptions
         }
各所の Model が返る部分も ( Model, Cmd Msg ) になるよう置き換えます。
さらに必要なモジュールを入れます。
import Browser.Events exposing (onKeyDown)
import Json.Decode as Decode
https://github.com/elm/browser/blob/1.0.0/notes/keyboard.md を参考に、キー入力の読取り器を書きます。
type Direction
    = Left
    | Right
    | Up
    | Down
    | Other


keyDecoder : Decode.Decoder Direction
keyDecoder =
    Decode.map toDirection (Decode.field "key" Decode.string)


toDirection : String -> Direction
toDirection string =
    case string of
        "ArrowLeft" ->
            Left

        "ArrowRight" ->
            Right

        "ArrowUp" ->
            Up

        "ArrowDown" ->
            Down

        _ ->
            Other
elm/json が必要とかいわれるので入れます。
> elm install elm/json
https://github.com/elm/browser/blob/master/examples/wasd.elm を参考に subscription や色々を書き足します。
type Msg
    = Change Direction


subscriptions : Model -> Sub Msg
subscriptions model =
    Sub.batch
        [ onKeyDown (Decode.map Change keyDecoder)
        ]
あとは適宜 update をいじって、どのキーを押したかによって表示を変えてみます。ちゃんと動きますね。
続き
結構長くなってしまったので、続きは次回にします。