オリジナル記事
https://blog.n11sh1.com/vue-pwa-tutorial-ja/
PWAとは?
PWA(Progressive Web App) の一部に以下のような機能があります。
- Service Workers
- Add to Home Screen
- Push Notifications
これにより Webアプリ として開発しても Nativeアプリ 同様のUXをユーザーに提供できます。
ここらへんを Vue を使って試していきます。
Ref. Progressive Web Apps | Web | Google Developers
Ref. はじめてのプログレッシブ ウェブアプリ - Google Codelabs
Vue CLI 3 + PWA
デモ
https://vue-pwa-tutorial.firebaseapp.com
ソースコード
https://github.com/n11sh1/vue-pwa-tutorial
環境構築手順
1. Vue CLI のインストール
$ npm install -g @vue/cli
2. 新規プロジェクト作成
$ vue create vue-pwa-tutorial
3. マニュアルモードを選択
Vue CLI v3.3.0
? Please pick a preset:
  default (babel, eslint)
❯ Manually select features
4. PWAを選択
Vue CLI v3.3.0
? Please pick a preset: Manually select features
? Check the features needed for your project:
❯◉ Babel
 ◉ TypeScript
 ◉ Progressive Web App (PWA) Support
 ◉ Router
 ◉ Vuex
 ◯ CSS Pre-processors
 ◉ Linter / Formatter
 ◯ Unit Testing
 ◯ E2E Testing
※TypeScript, Router, Vuex の選択はお好みで
5. あとは適当に選択
Vue CLI v3.3.0
? Please pick a preset: Manually select features
? Check the features needed for your project: Babel, TS, PWA, Router, Vuex, Linter
? Use class-style component syntax? Yes
? Use Babel alongside TypeScript for auto-detected polyfills? Yes
? Use history mode for router? (Requires proper server setup for index fallback in production) Yes
? Pick a linter / formatter config: TSLint
? Pick additional lint features: Lint on save
? Where do you prefer placing config for Babel, PostCSS, ESLint, etc.? In dedicated config files
? Save this as a preset for future projects? Yes
? Save preset as:
6. プロジェクト作成中…
Vue CLI v3.3.0
✨  Creating project in /Users/zyyx-kubo/WVVUProjects/chatty/vue-pwa-tutorial.
🗃  Initializing git repository...
⚙  Installing CLI plugins. This might take a while...
7. サーバー起動
$ cd vue-pwa-tutorial/
$ npm run serve
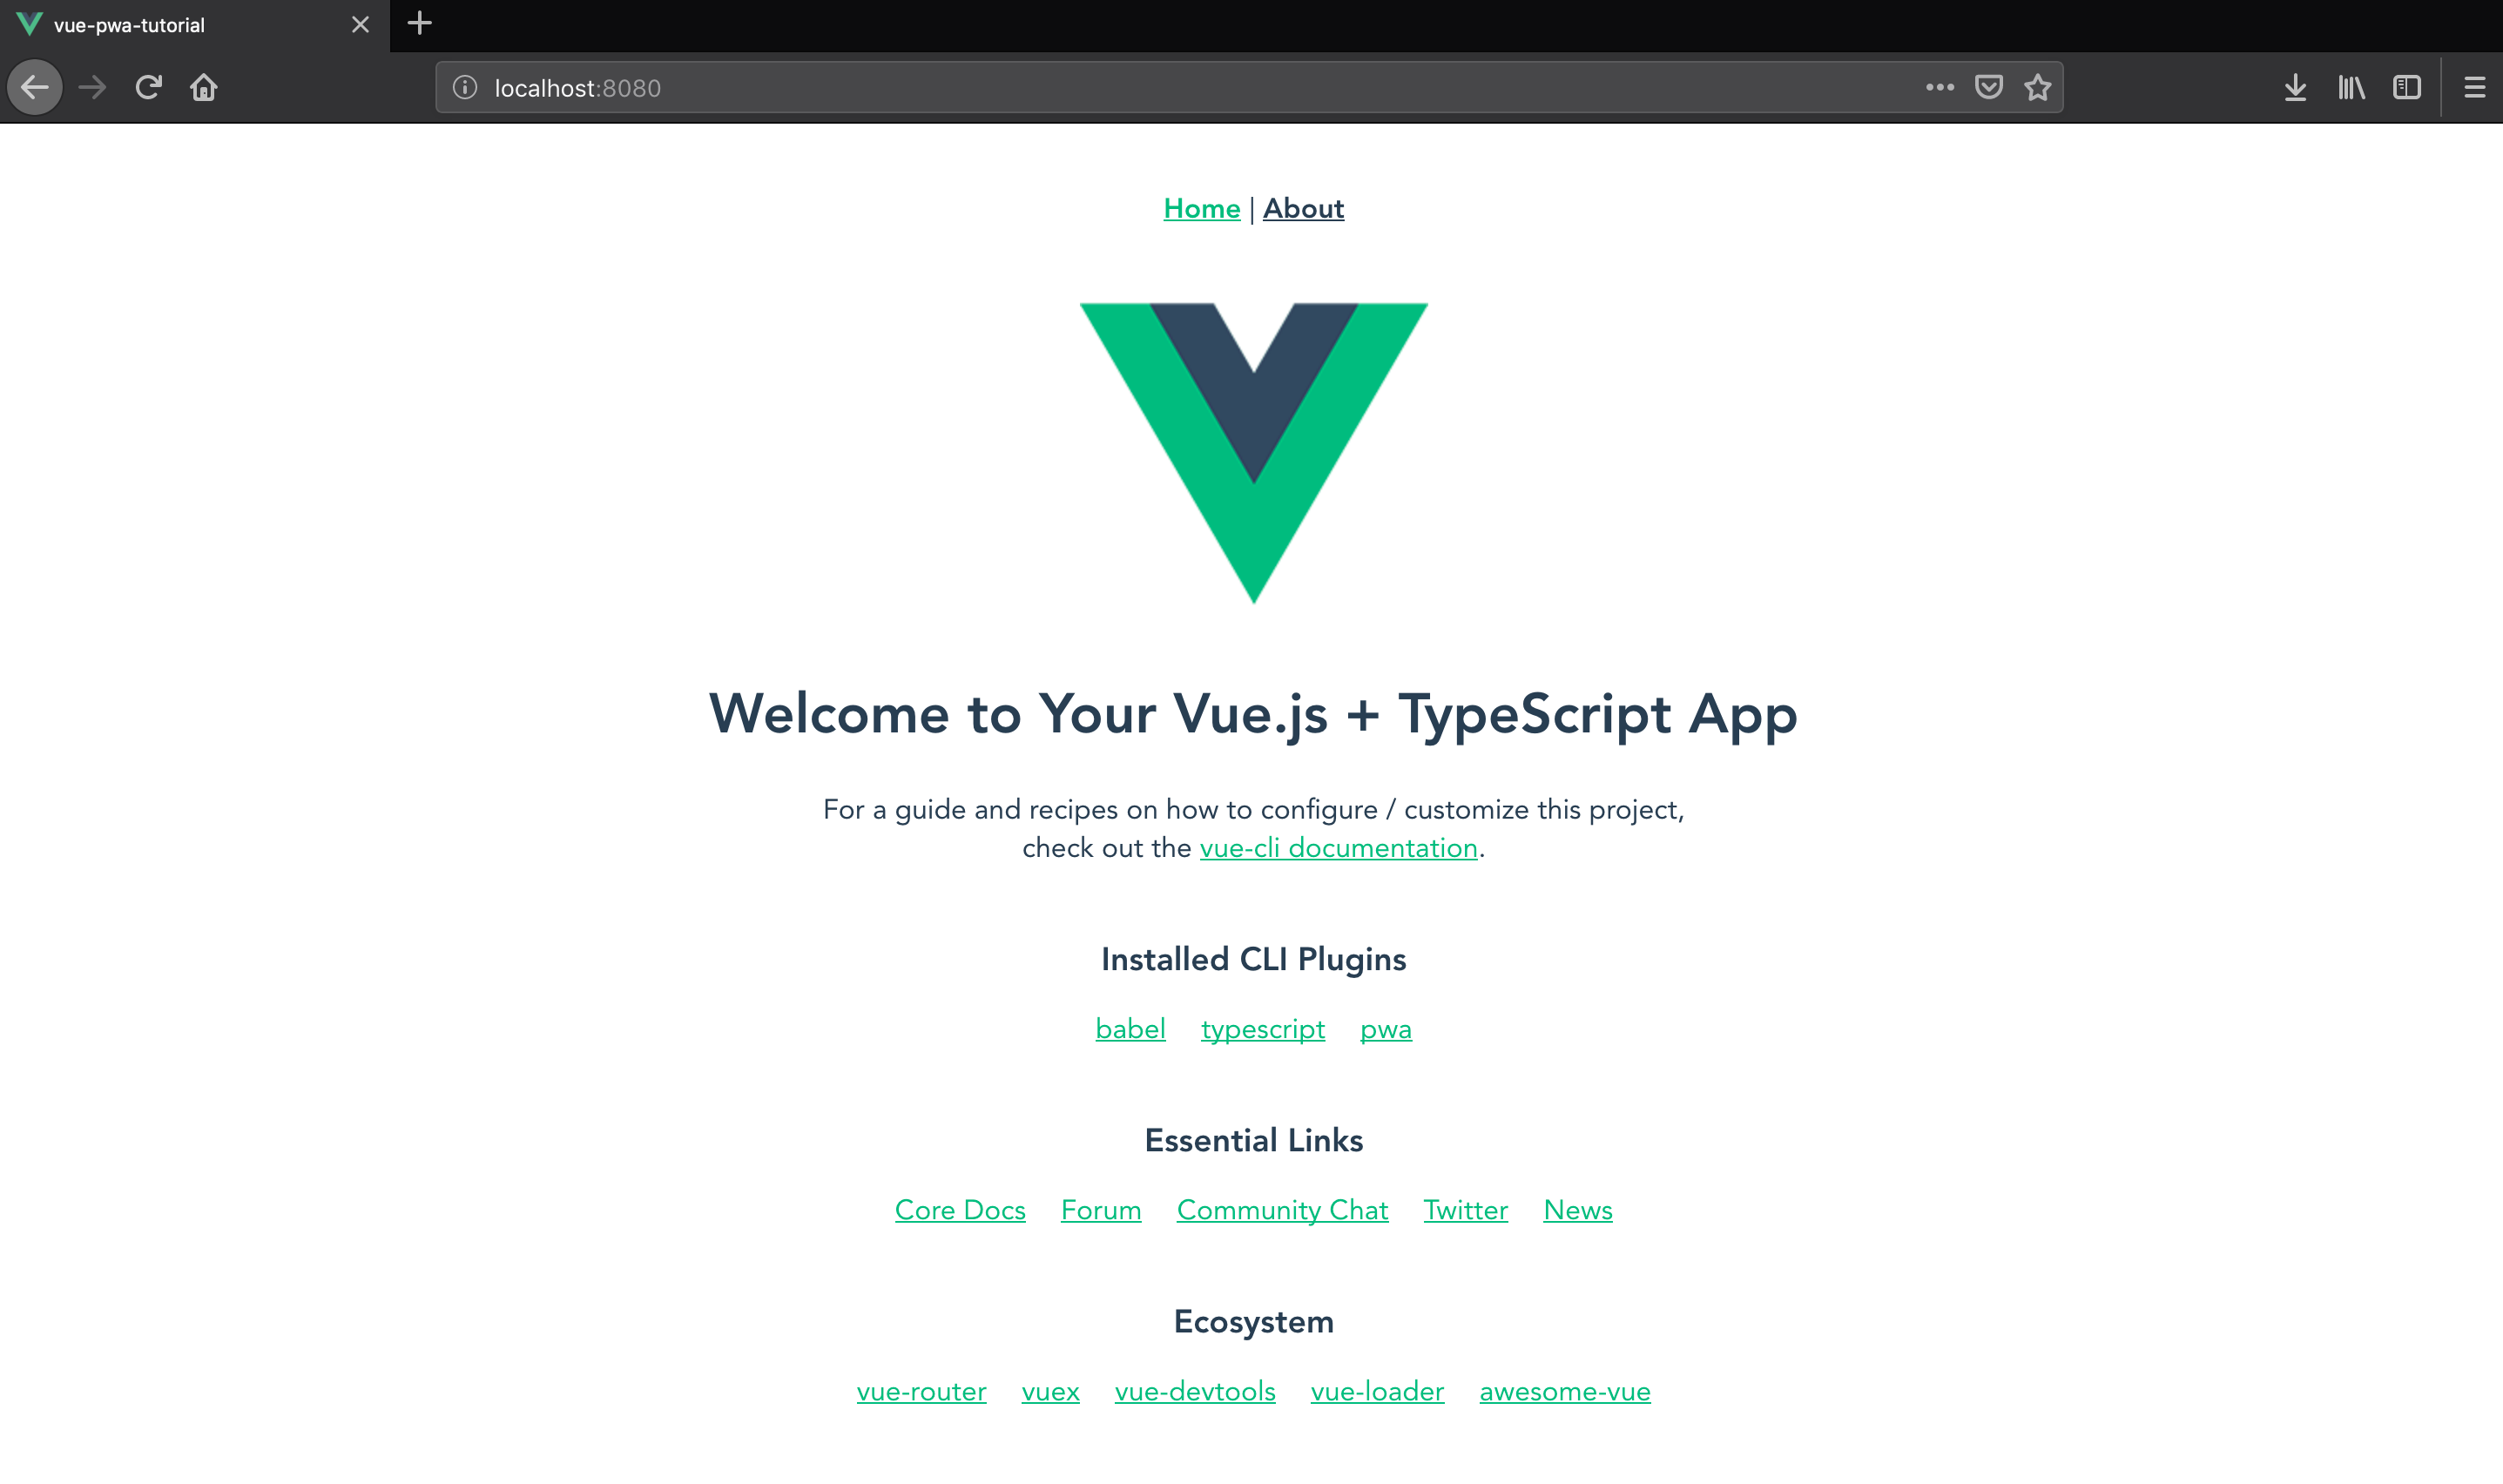
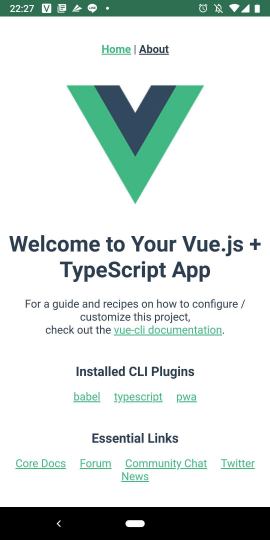
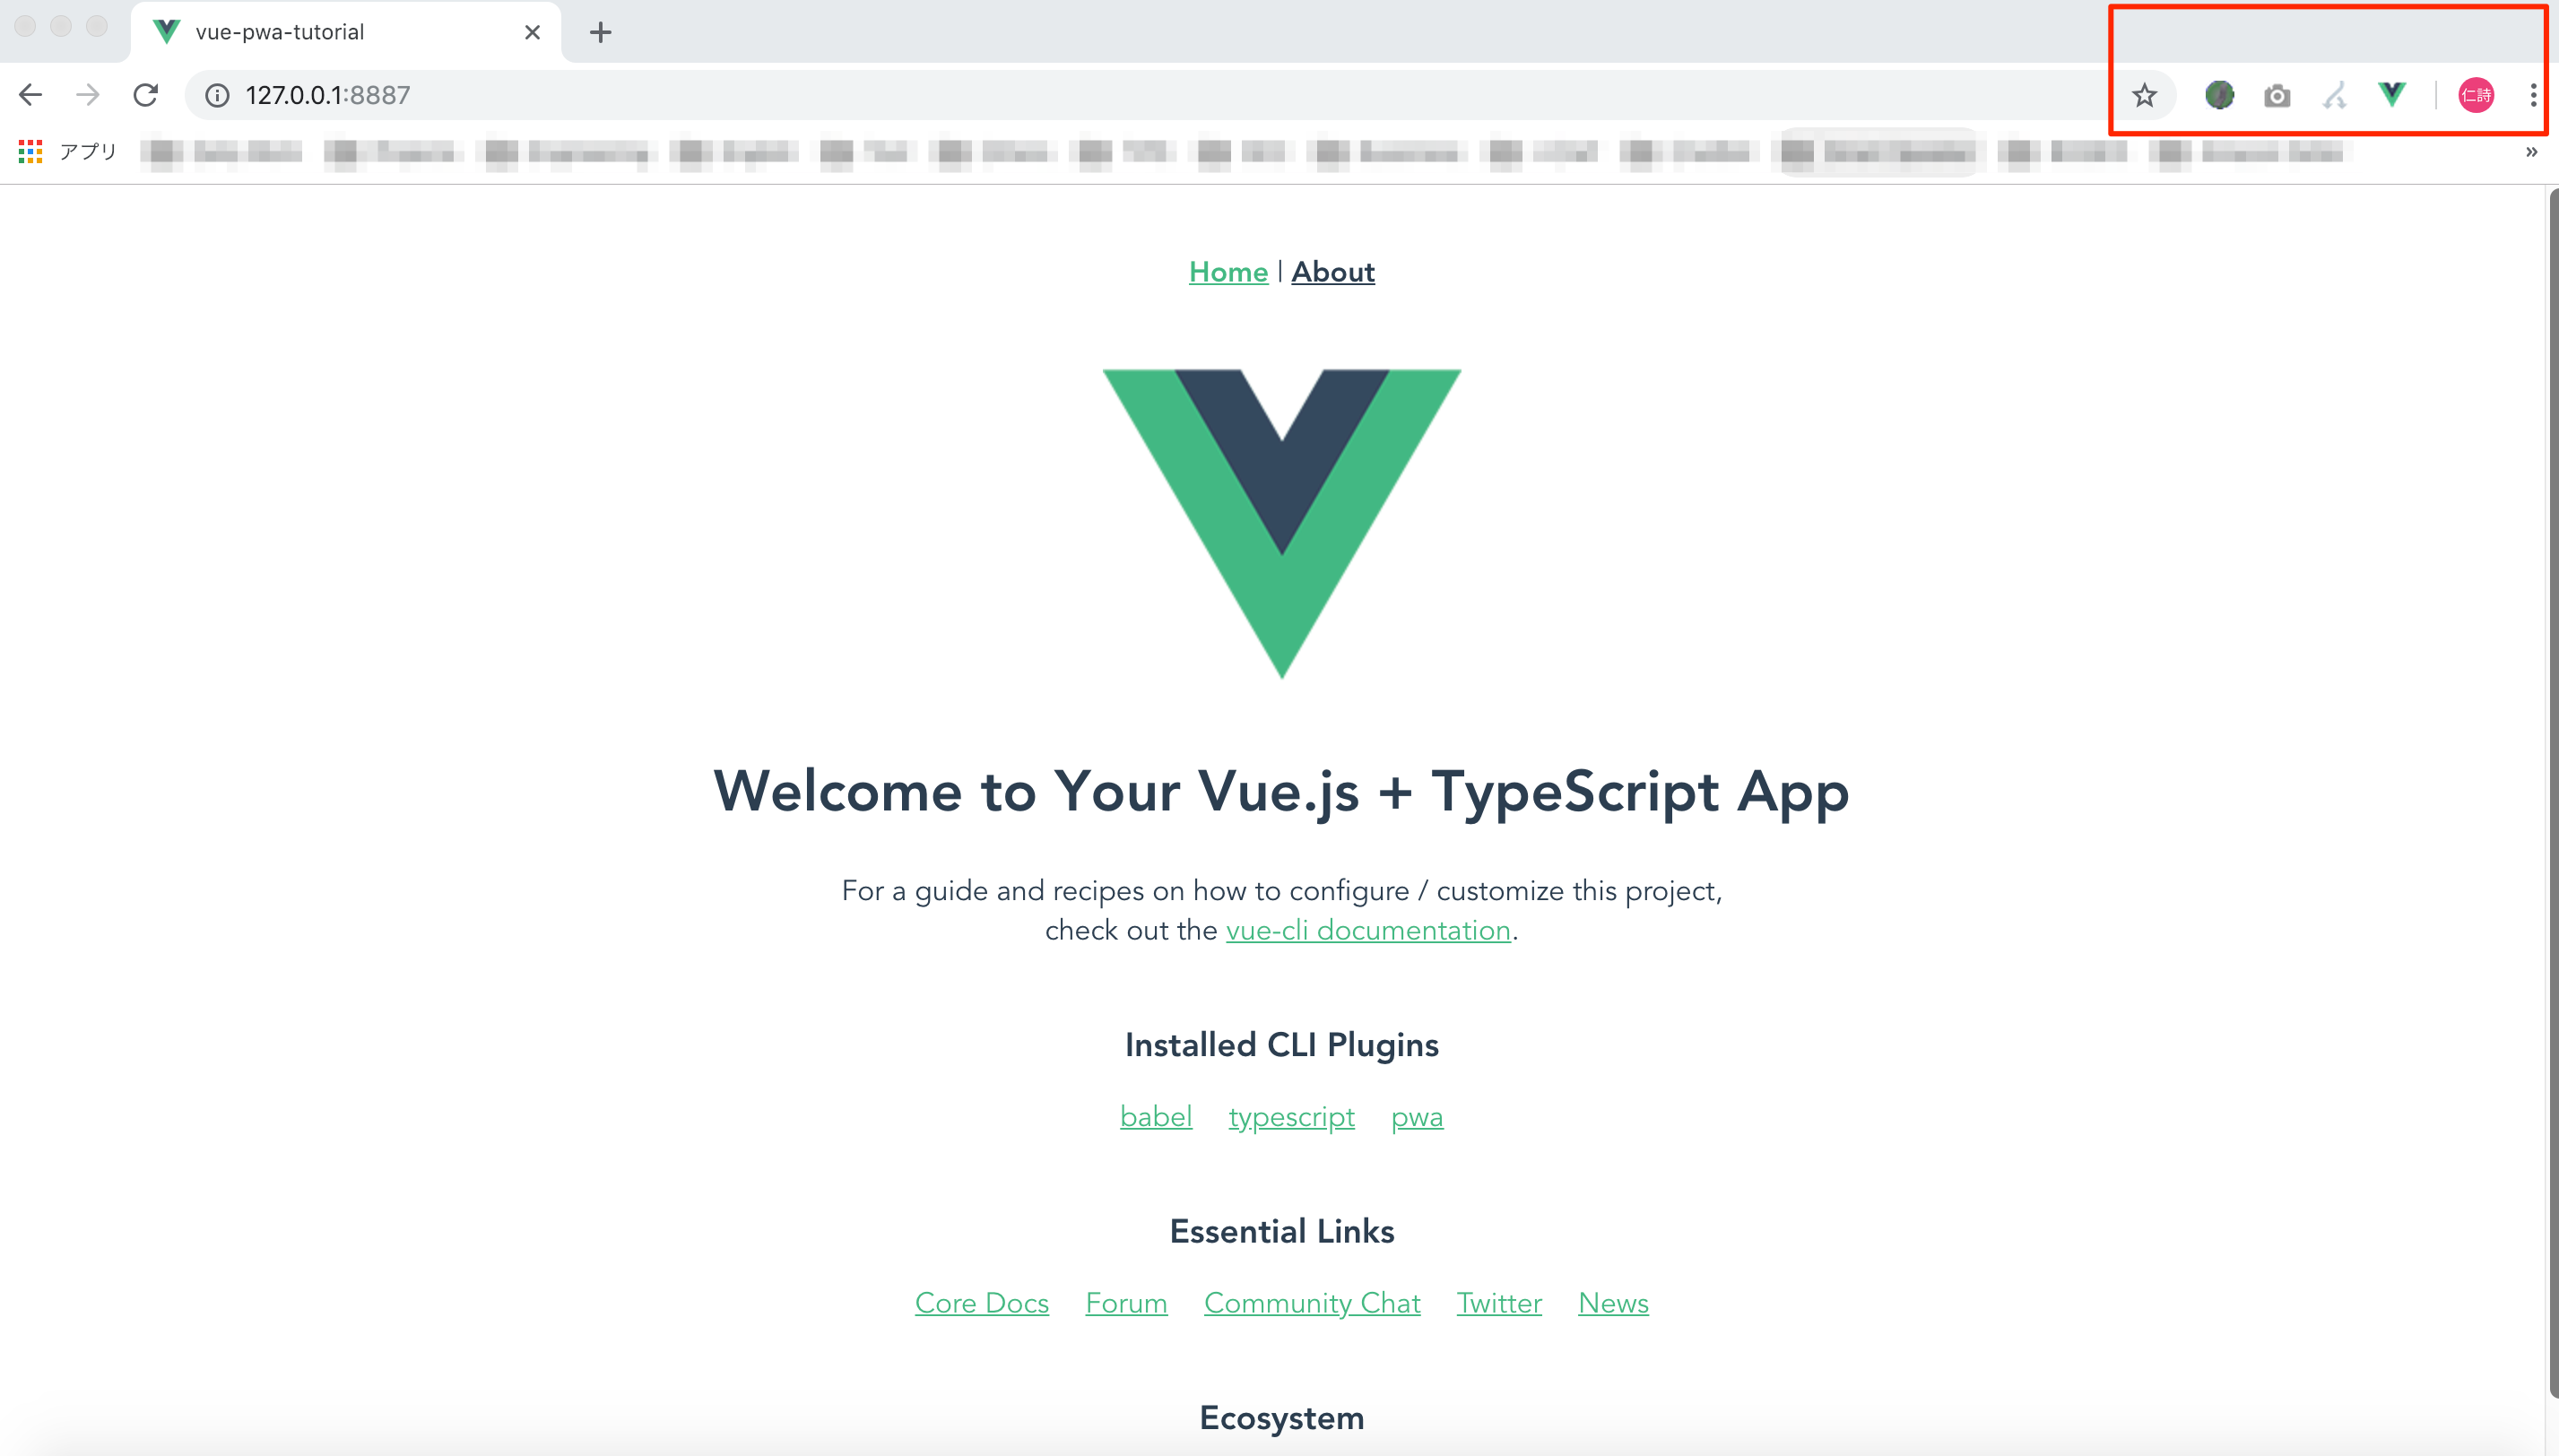
8. 開発環境にアクセス
PC
SP
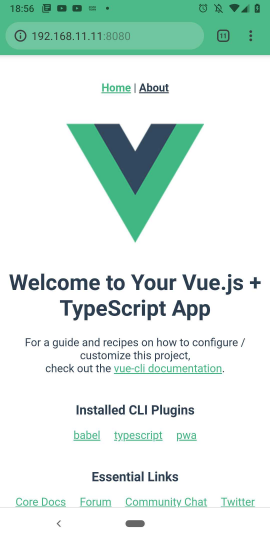
このままでは単なるWebサイトなので、PWAらしくしていきます!
PWA の機能を試す
Service Workers
npm run serve で起動した場合、以下のように Service Workers は動きません。
Developer Tool > Application > Service Workers
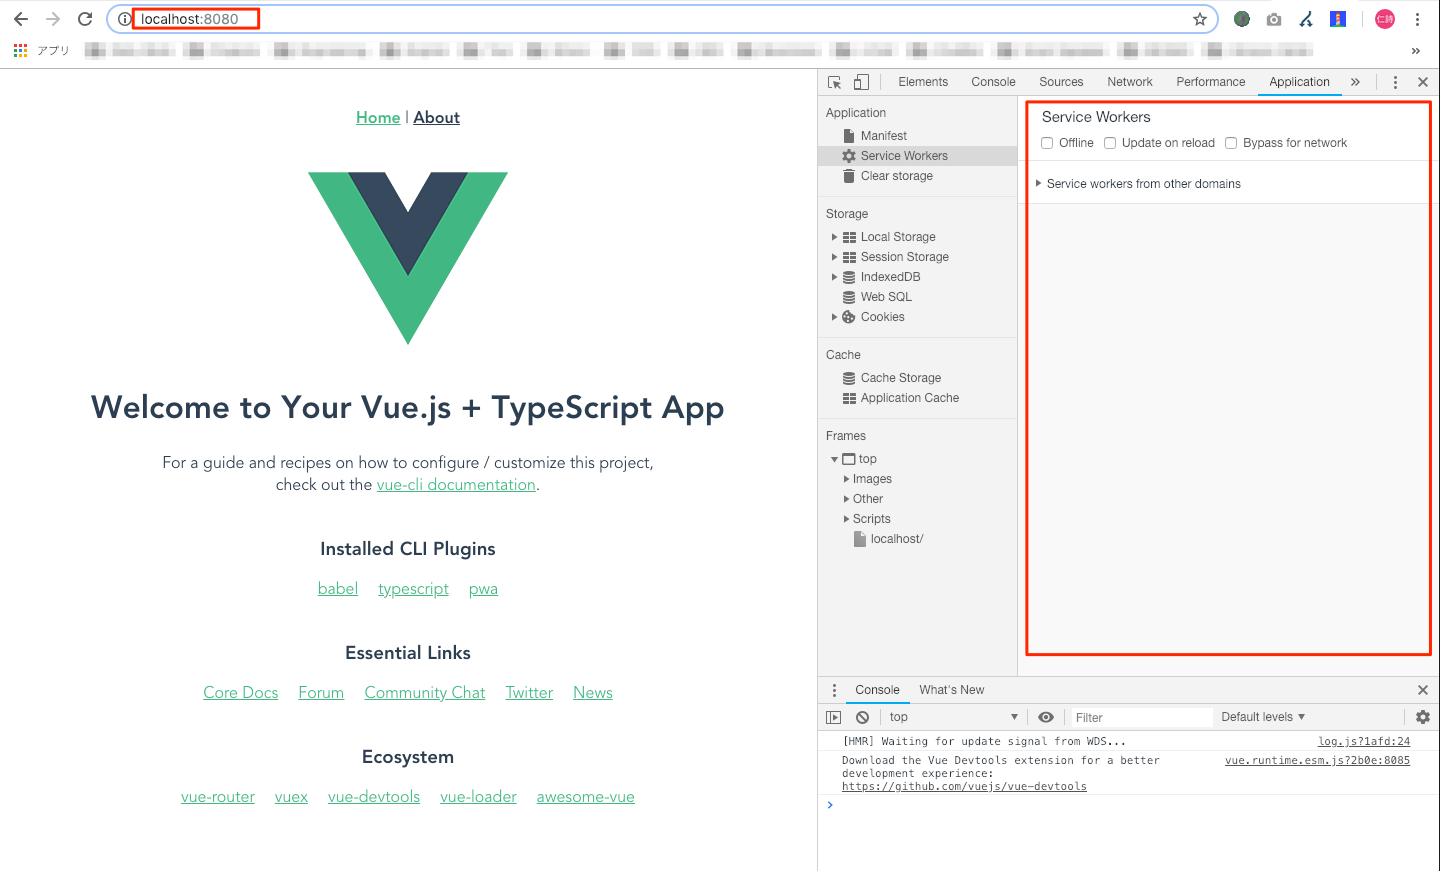
Service Workers の挙動確認には npm run build でビルドする必要があります。
Web Server for Chrome を使ってビルドされた ./dist ディレクトリを公開すると、以下のように Service Workers が動いていることが確認できます。(Service Workers を使用しない画面の修正などは npm run serve で問題なく動作確認できます)
$ npm run build
 DONE  Build complete. The dist directory is ready to be deployed.


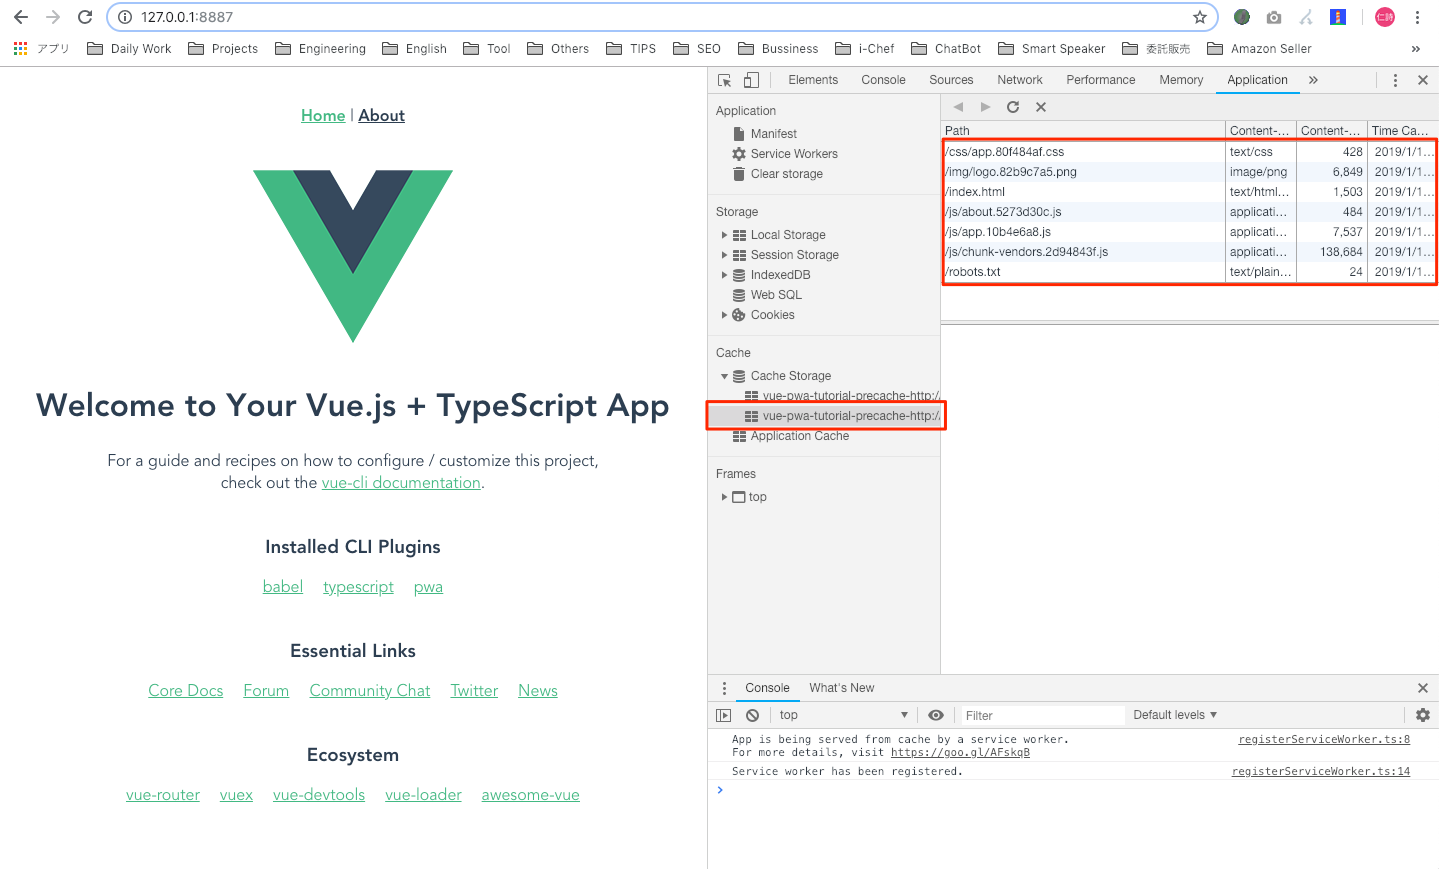
静的コンテンツ(*.html, *.css, *.js, *.png, *.txt)が precache されています。
Developer Tool > Application > Service Workers > Update on reload にチェックを付ければ、リロードの度にキャッシュを更新してくれます。(Cache Storage から対象のファイルを削除でも可)
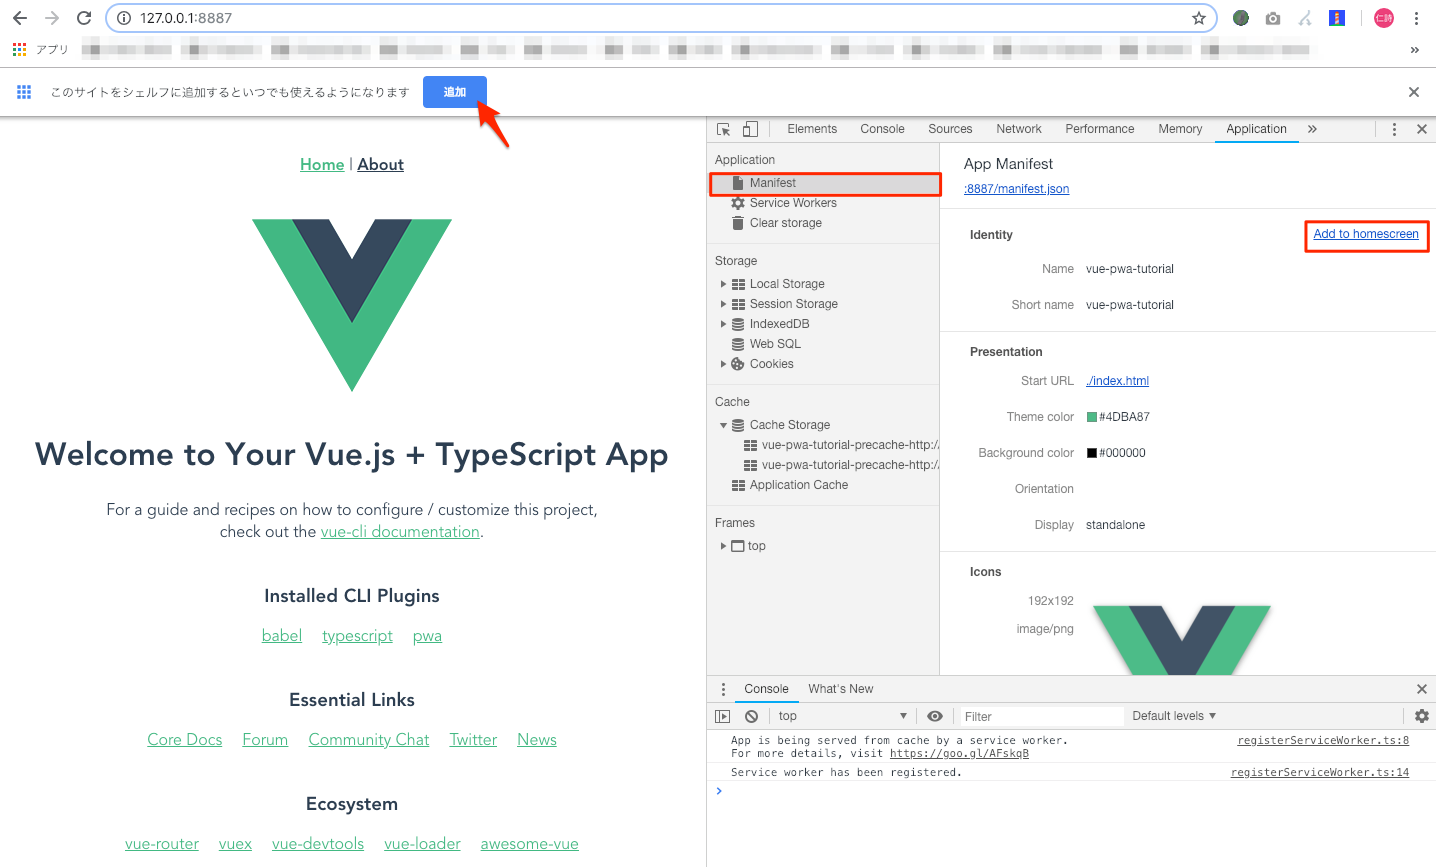
Add to Home Screen
Web App Manifest
「ホーム画面に追加」のダイアログを表示するには、JSON形式の Web App Manifest ファイルが必要です。
Vue CLI で PWA を選択するとデフォルトで作成されるので、そちらをそのまま使用します。
{
  "name": "vue-pwa-tutorial",
  "short_name": "vue-pwa-tutorial",
  "icons": [
    {
      "src": "./img/icons/android-chrome-192x192.png",
      "sizes": "192x192",
      "type": "image/png"
    },
    {
      "src": "./img/icons/android-chrome-512x512.png",
      "sizes": "512x512",
      "type": "image/png"
    }
  ],
  "start_url": "./index.html",
  "display": "standalone",
  "background_color": "#000000",
  "theme_color": "#4DBA87"
}
開発環境
PC
Developer Tool > Application > Manifest > Add to homescreen
SPはこのままだと見えないので、サーバーにデプロイします。
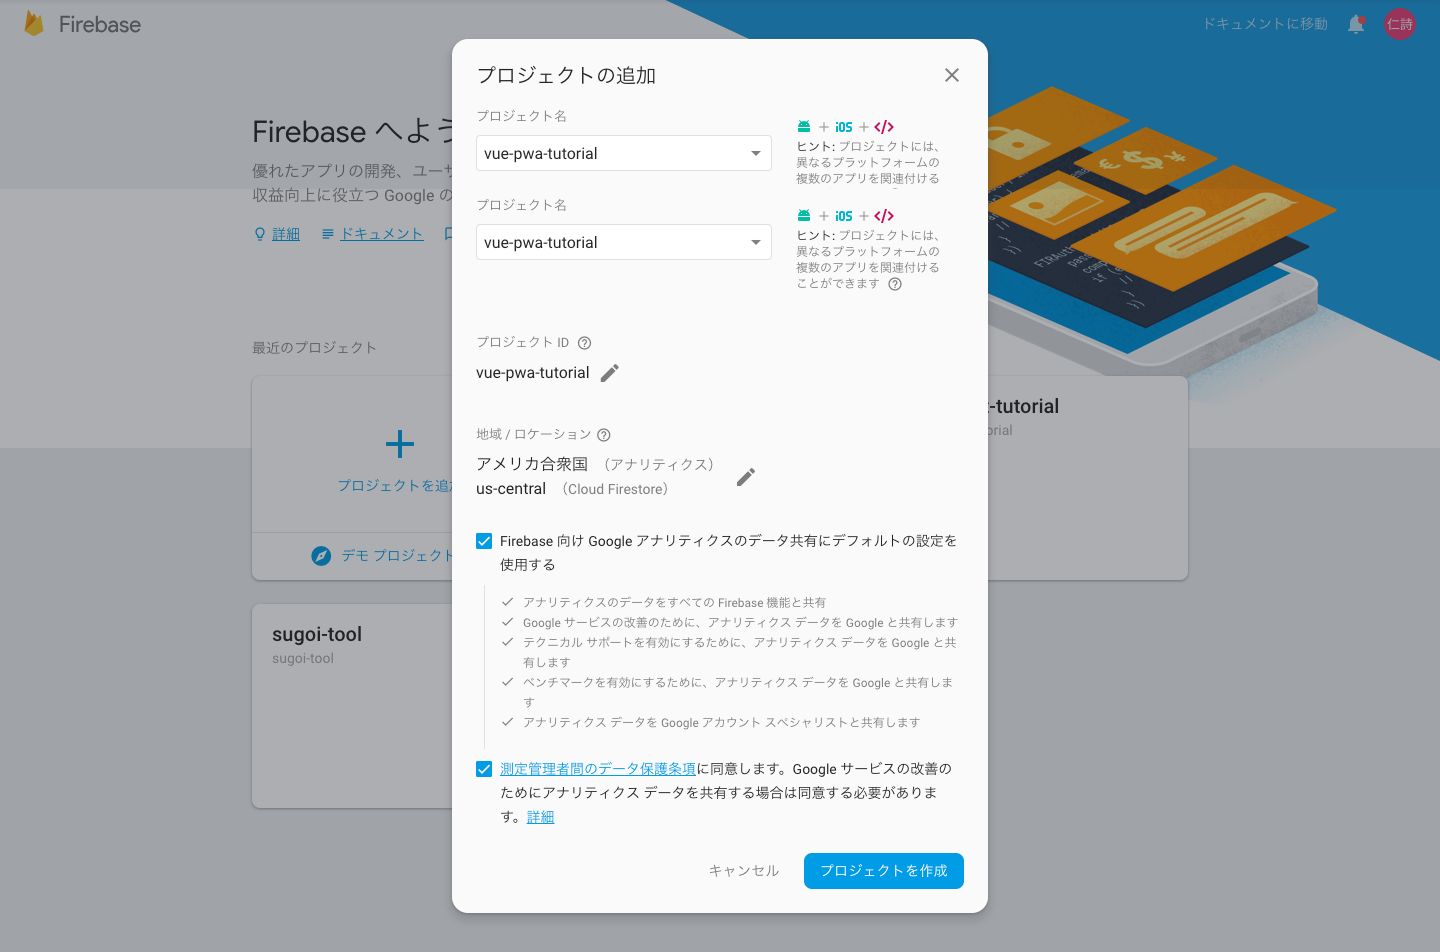
デモ環境(Firebase Hosting)
Firebase を使う理由としては、次に Push Notifications を試すので、そのための布石でもあります。
1. 新規プロジェクト作成
まずは Firebase console にGoogleアカウントでサインインして、プロジェクトを作成します。
2. デプロイ
デプロイはコマンドで実行するので Firebase CLI をインストール
$ npm install -g firebase-tools
ログインする
$ firebase login
プロジェクトルートで初期化
$ firebase init hosting

? Select a default Firebase project for this directory: (Use arrow keys)
  [don't setup a default project]
❯ vue-pwa-tutorial (vue-pwa-tutorial)
  [create a new project]

? What do you want to use as your public directory? (public) dist

? Configure as a single-page app (rewrite all urls to /index.html)? (y/N) y

? File dist/index.html already exists. Overwrite? (y/N) N
デプロイ
$ firebase deploy --only hosting
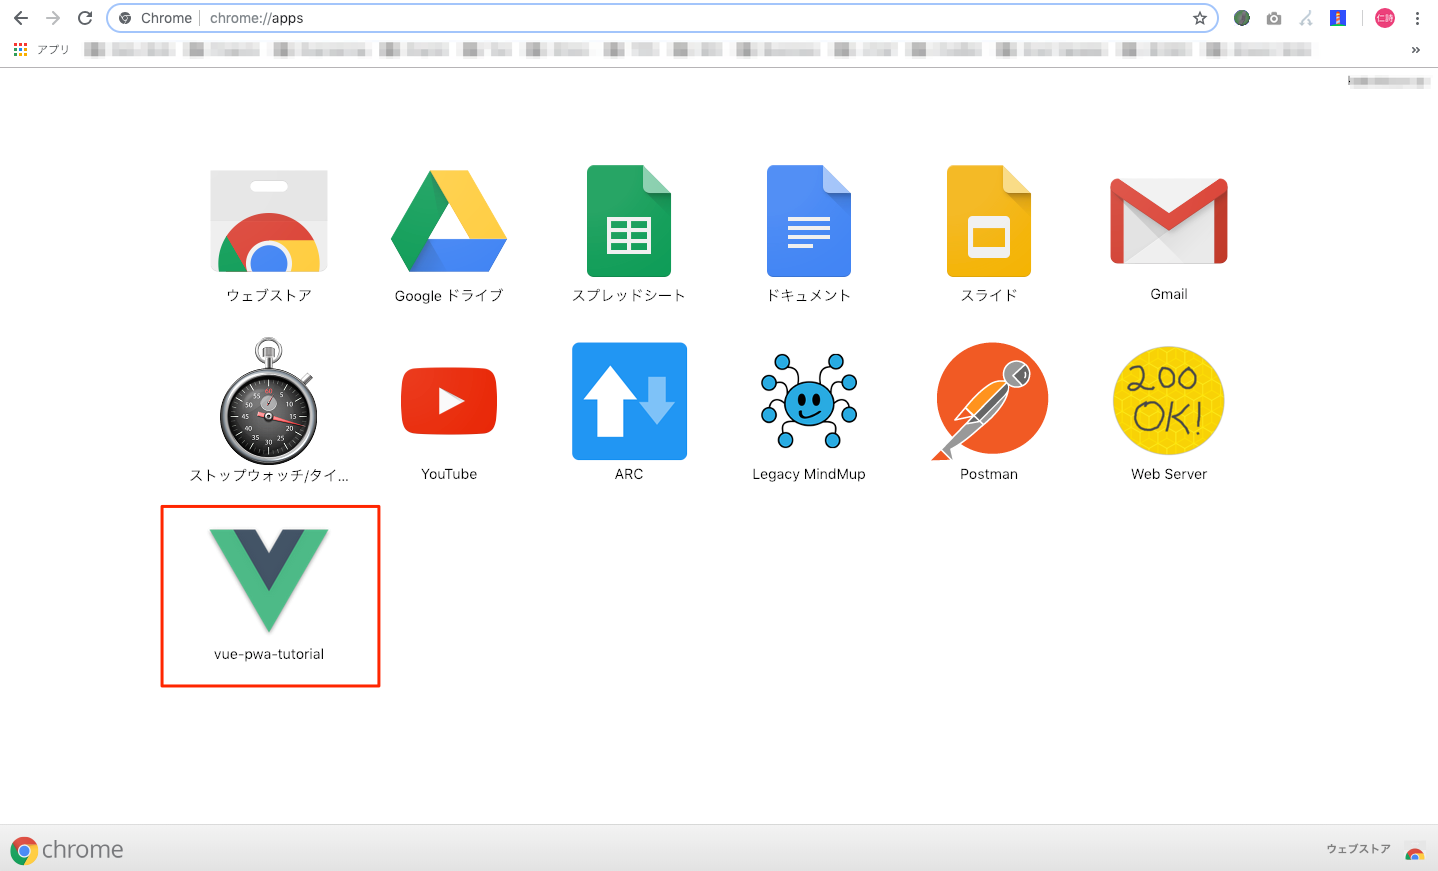
3. 動作確認
SP
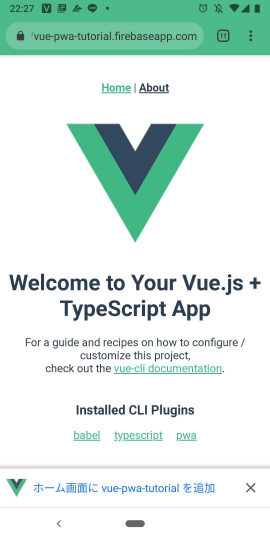
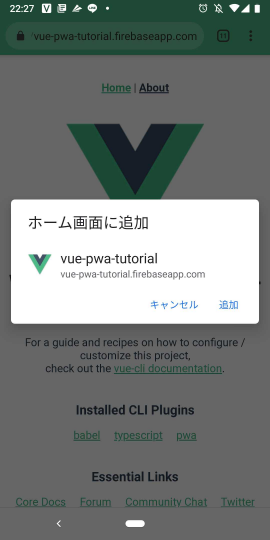
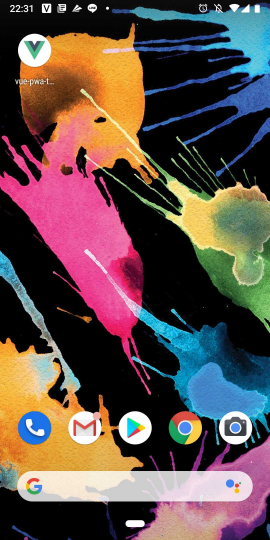
これで Nativeアプリ 同様にホーム画面にアイコンが追加されました。(アプリストアからインストールする手間も減ります)
静的コンテンツがキャッシュされているので、動作も早いです。(APIなどもキャッシュできるようですが、今回は割愛)
Push Notifications
プッシュ通知には Firebase Cloud Messaging(FCM) を使用します。
Ref. JavaScript Firebase Cloud Messaging クライアント アプリを設定する | Firebase
Ref. JavaScript クライアントでメッセージを受信する | Firebase
Ref. Firebase Cloud Messaging Quickstart | GitHub
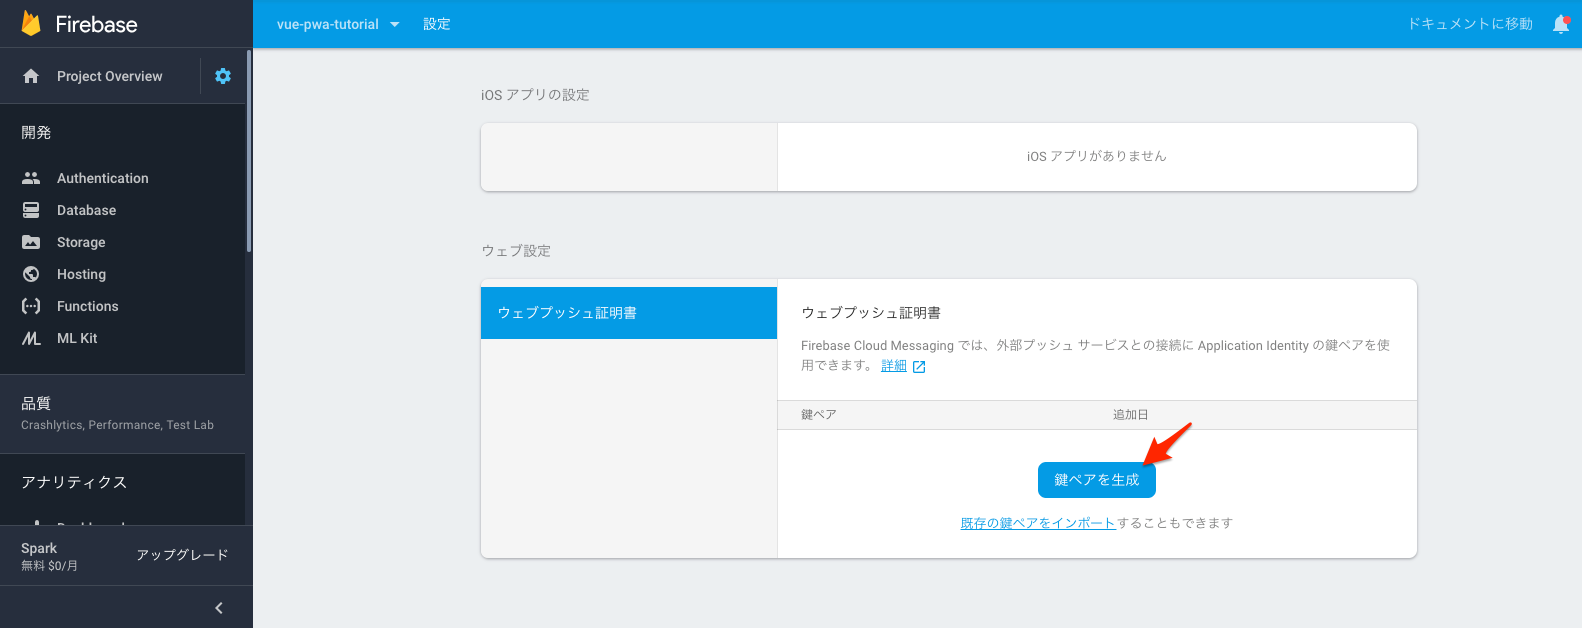
1. FCM の Web Push 証明書 を取得
2. Web App Manifest に gcm_sender_id を追加
{
  ...,
  "gcm_sender_id": "103953800507"
}
3. Firebase SDK のインストール
$ npm install --save firebase
4. Firebaseの設定情報を取得
Firebase console > プロジェクトの設定 > 全般 > アプリ > Web
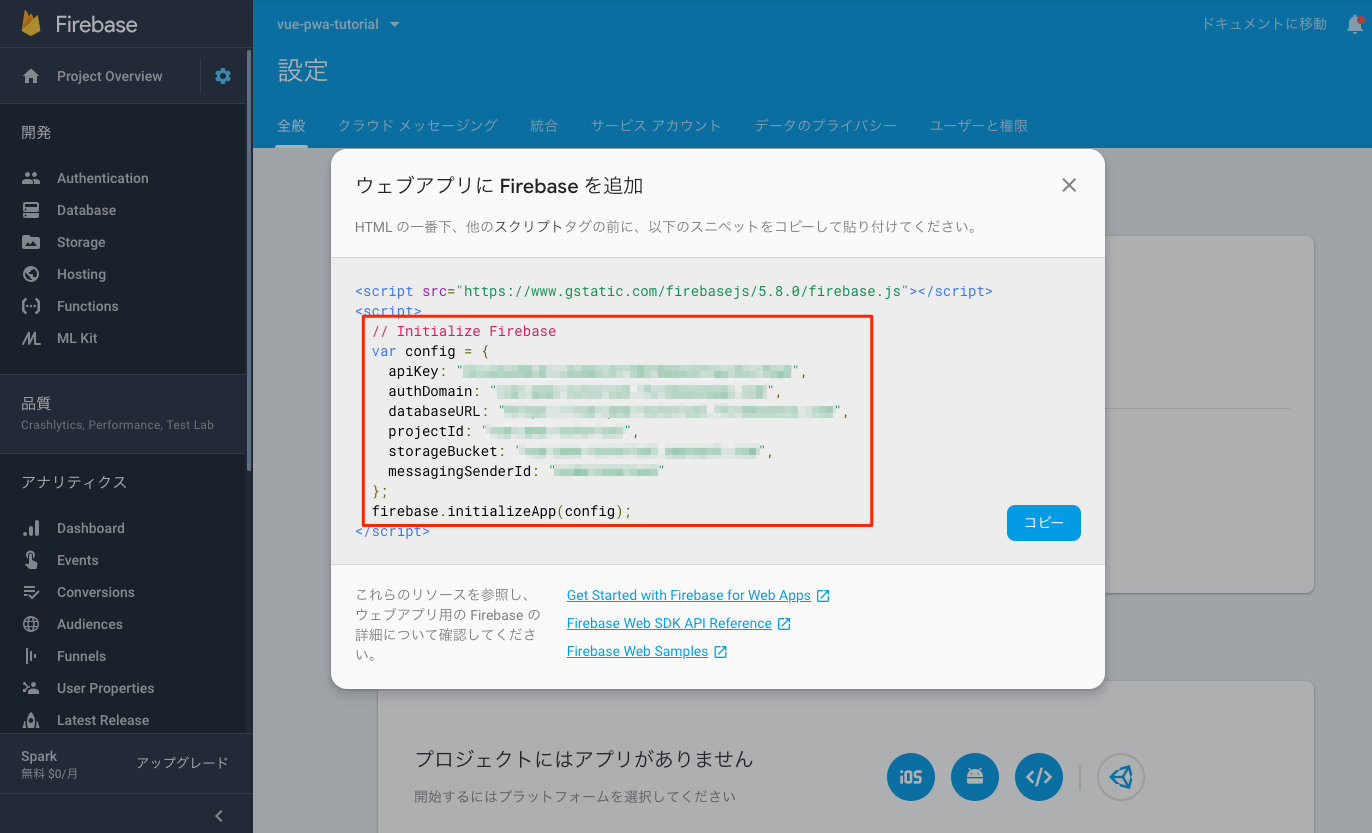
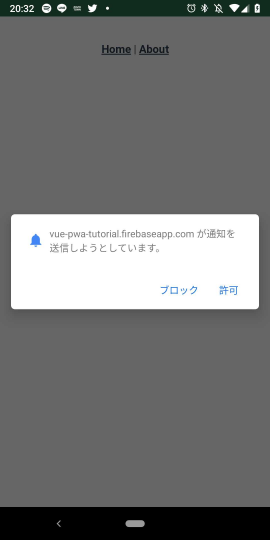
5. 通知の受信許可とトークン取得
src/main.ts に以下のコードを追加
import * as firebase from "firebase";
var config = {
apiKey: "xxxxxxxxxxxx",
authDomain: "xxx.firebaseapp.com",
databaseURL: "https://xxx.firebaseio.com",
projectId: "xxx",
storageBucket: "xxx.appspot.com",
messagingSenderId: "xxxxxxxxxxxx"
}; // 4をコピペ
firebase.initializeApp(config);
const messaging = firebase.messaging();
messaging.usePublicVapidKey("xxxxxxx"); // 1で取得した鍵ペア
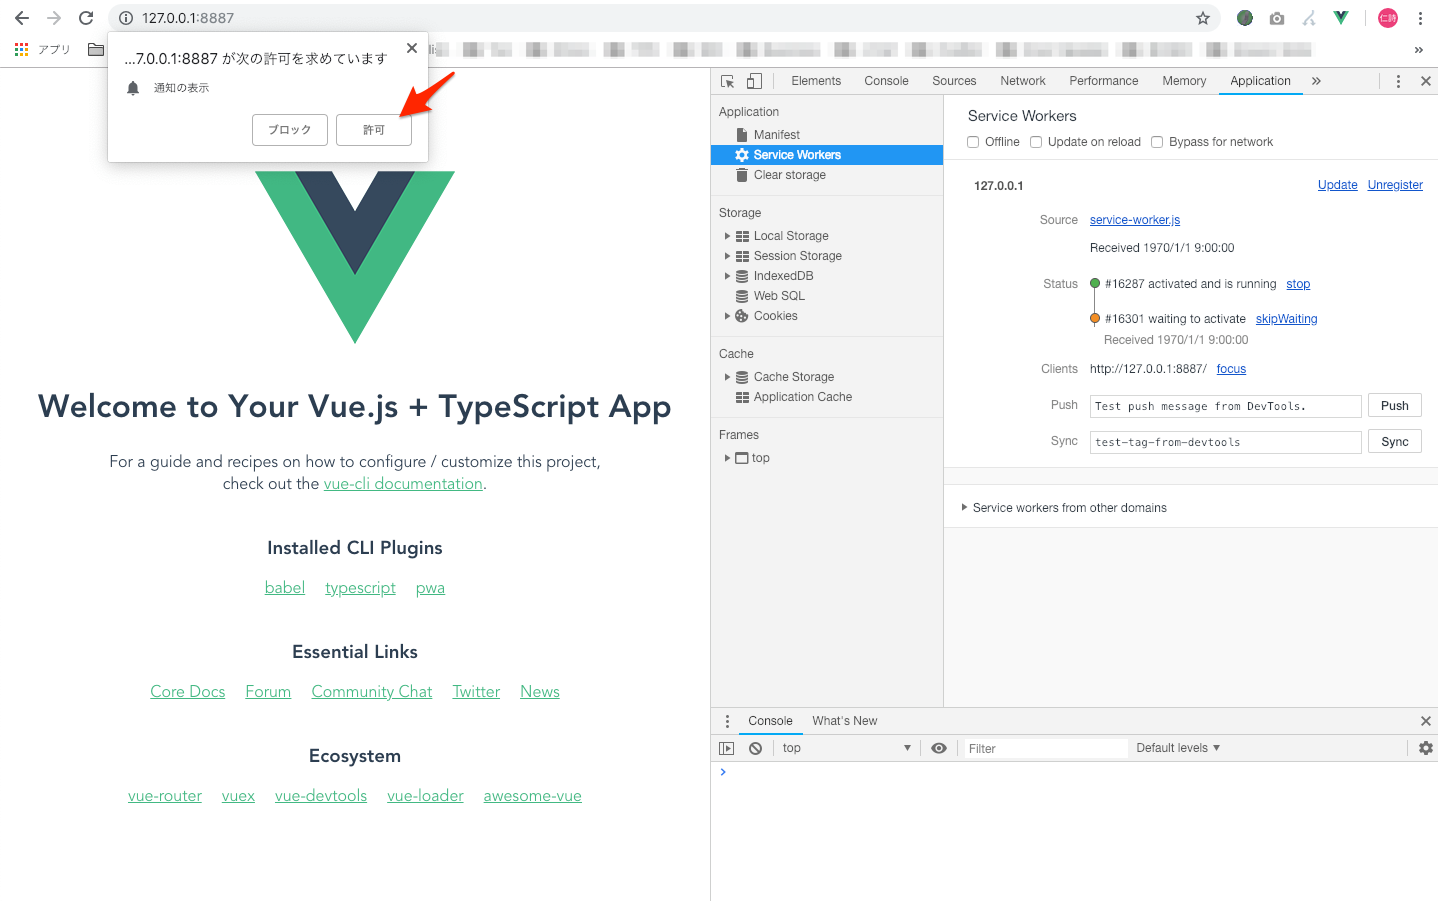
// 通知の受信許可
messaging.requestPermission().then(() => {
console.log('Notification permission granted.');
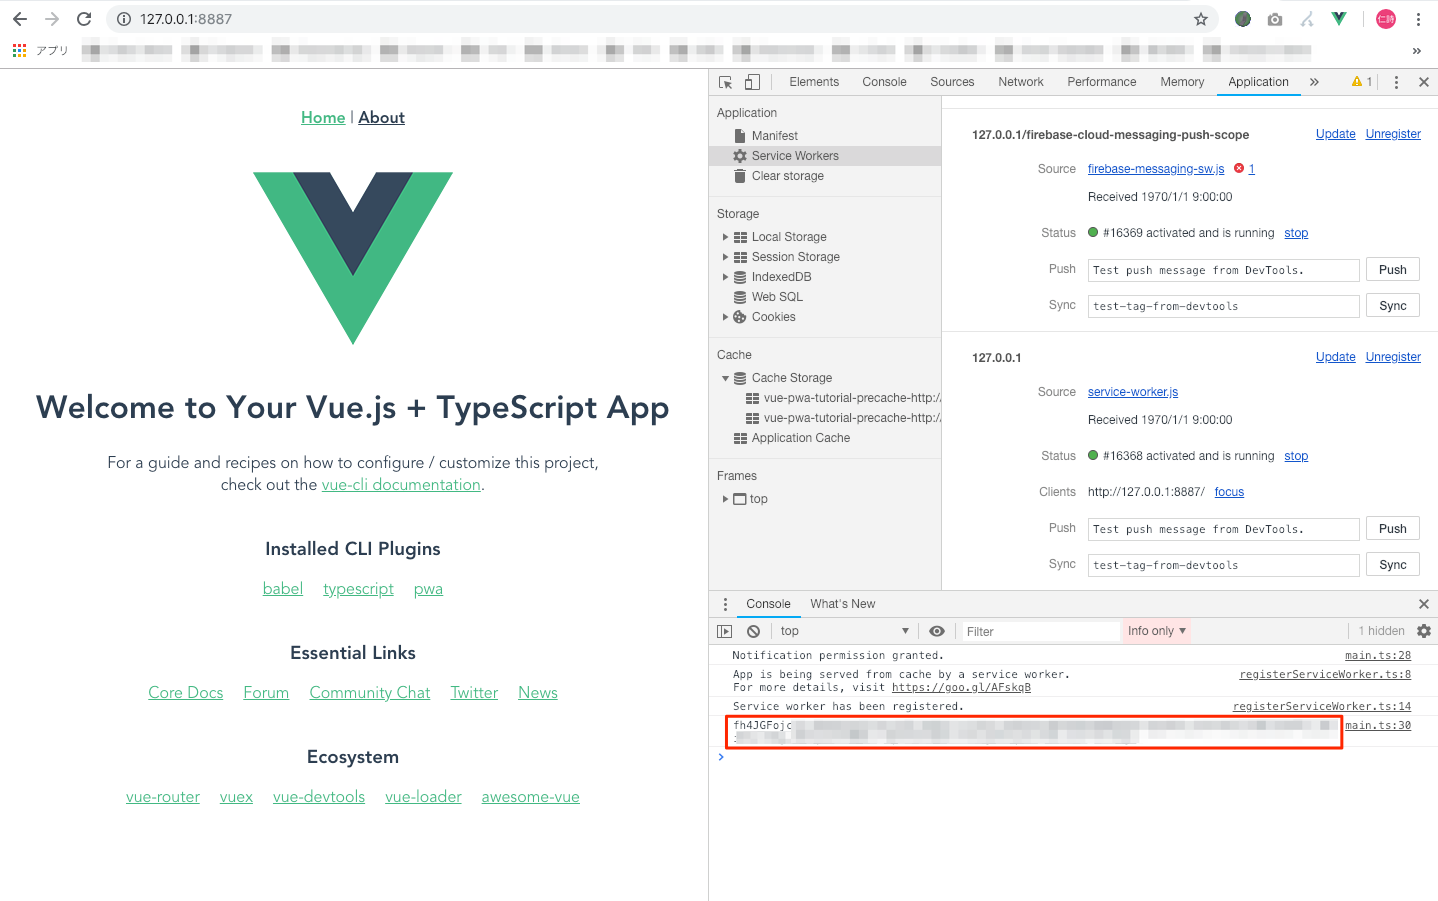
// トークン取得
messaging.getToken().then((token) => {
console.log(token)
})
}).catch((err) => {
console.log('Unable to get permission to notify.', err);
});
6. FCM 用の Service Worker を追加
FCM では firebase-messaging-sw.js で Firebase メッセージング Service Worker を定義する必要があります。
(あるいは、useServiceWorker を使って既存の Service Worker を指定できます。こちらは割愛)
// [START initialize_firebase_in_sw]
// Give the service worker access to Firebase Messaging.
// Note that you can only use Firebase Messaging here, other Firebase libraries
// are not available in the service worker.
importScripts('https://www.gstatic.com/firebasejs/5.5.6/firebase-app.js');
importScripts('https://www.gstatic.com/firebasejs/5.5.6/firebase-messaging.js');
// Initialize the Firebase app in the service worker by passing in the messagingSenderId.
firebase.initializeApp({
  'messagingSenderId': 'xxxxxxxxx' // 4の messagingSenderId をコピペ
});

// Retrieve an instance of Firebase Messaging so that it can handle background messages.
const messaging = firebase.messaging();
// [END initialize_firebase_in_sw]
Push Notification は Service Workerが動いている必要があるので npm run build して Web Server for Chrome で確認します。
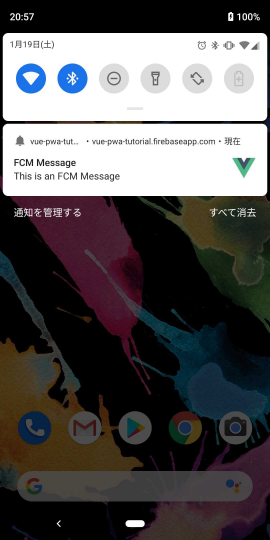
7. 動作確認

以下の curl でメッセージ受信テスト
$ curl -X POST -H "Authorization: key=${↑のサーバーキー}" -H "Content-Type: application/json" -d '{
  "to": "${5のトークン}",
  "notification": {
  	"title": "FCM Message",
    "body": "This is an FCM Message",
    "icon": "./img/icons/android-chrome-192x192.png"
  }
}' https://fcm.googleapis.com/fcm/send
PC
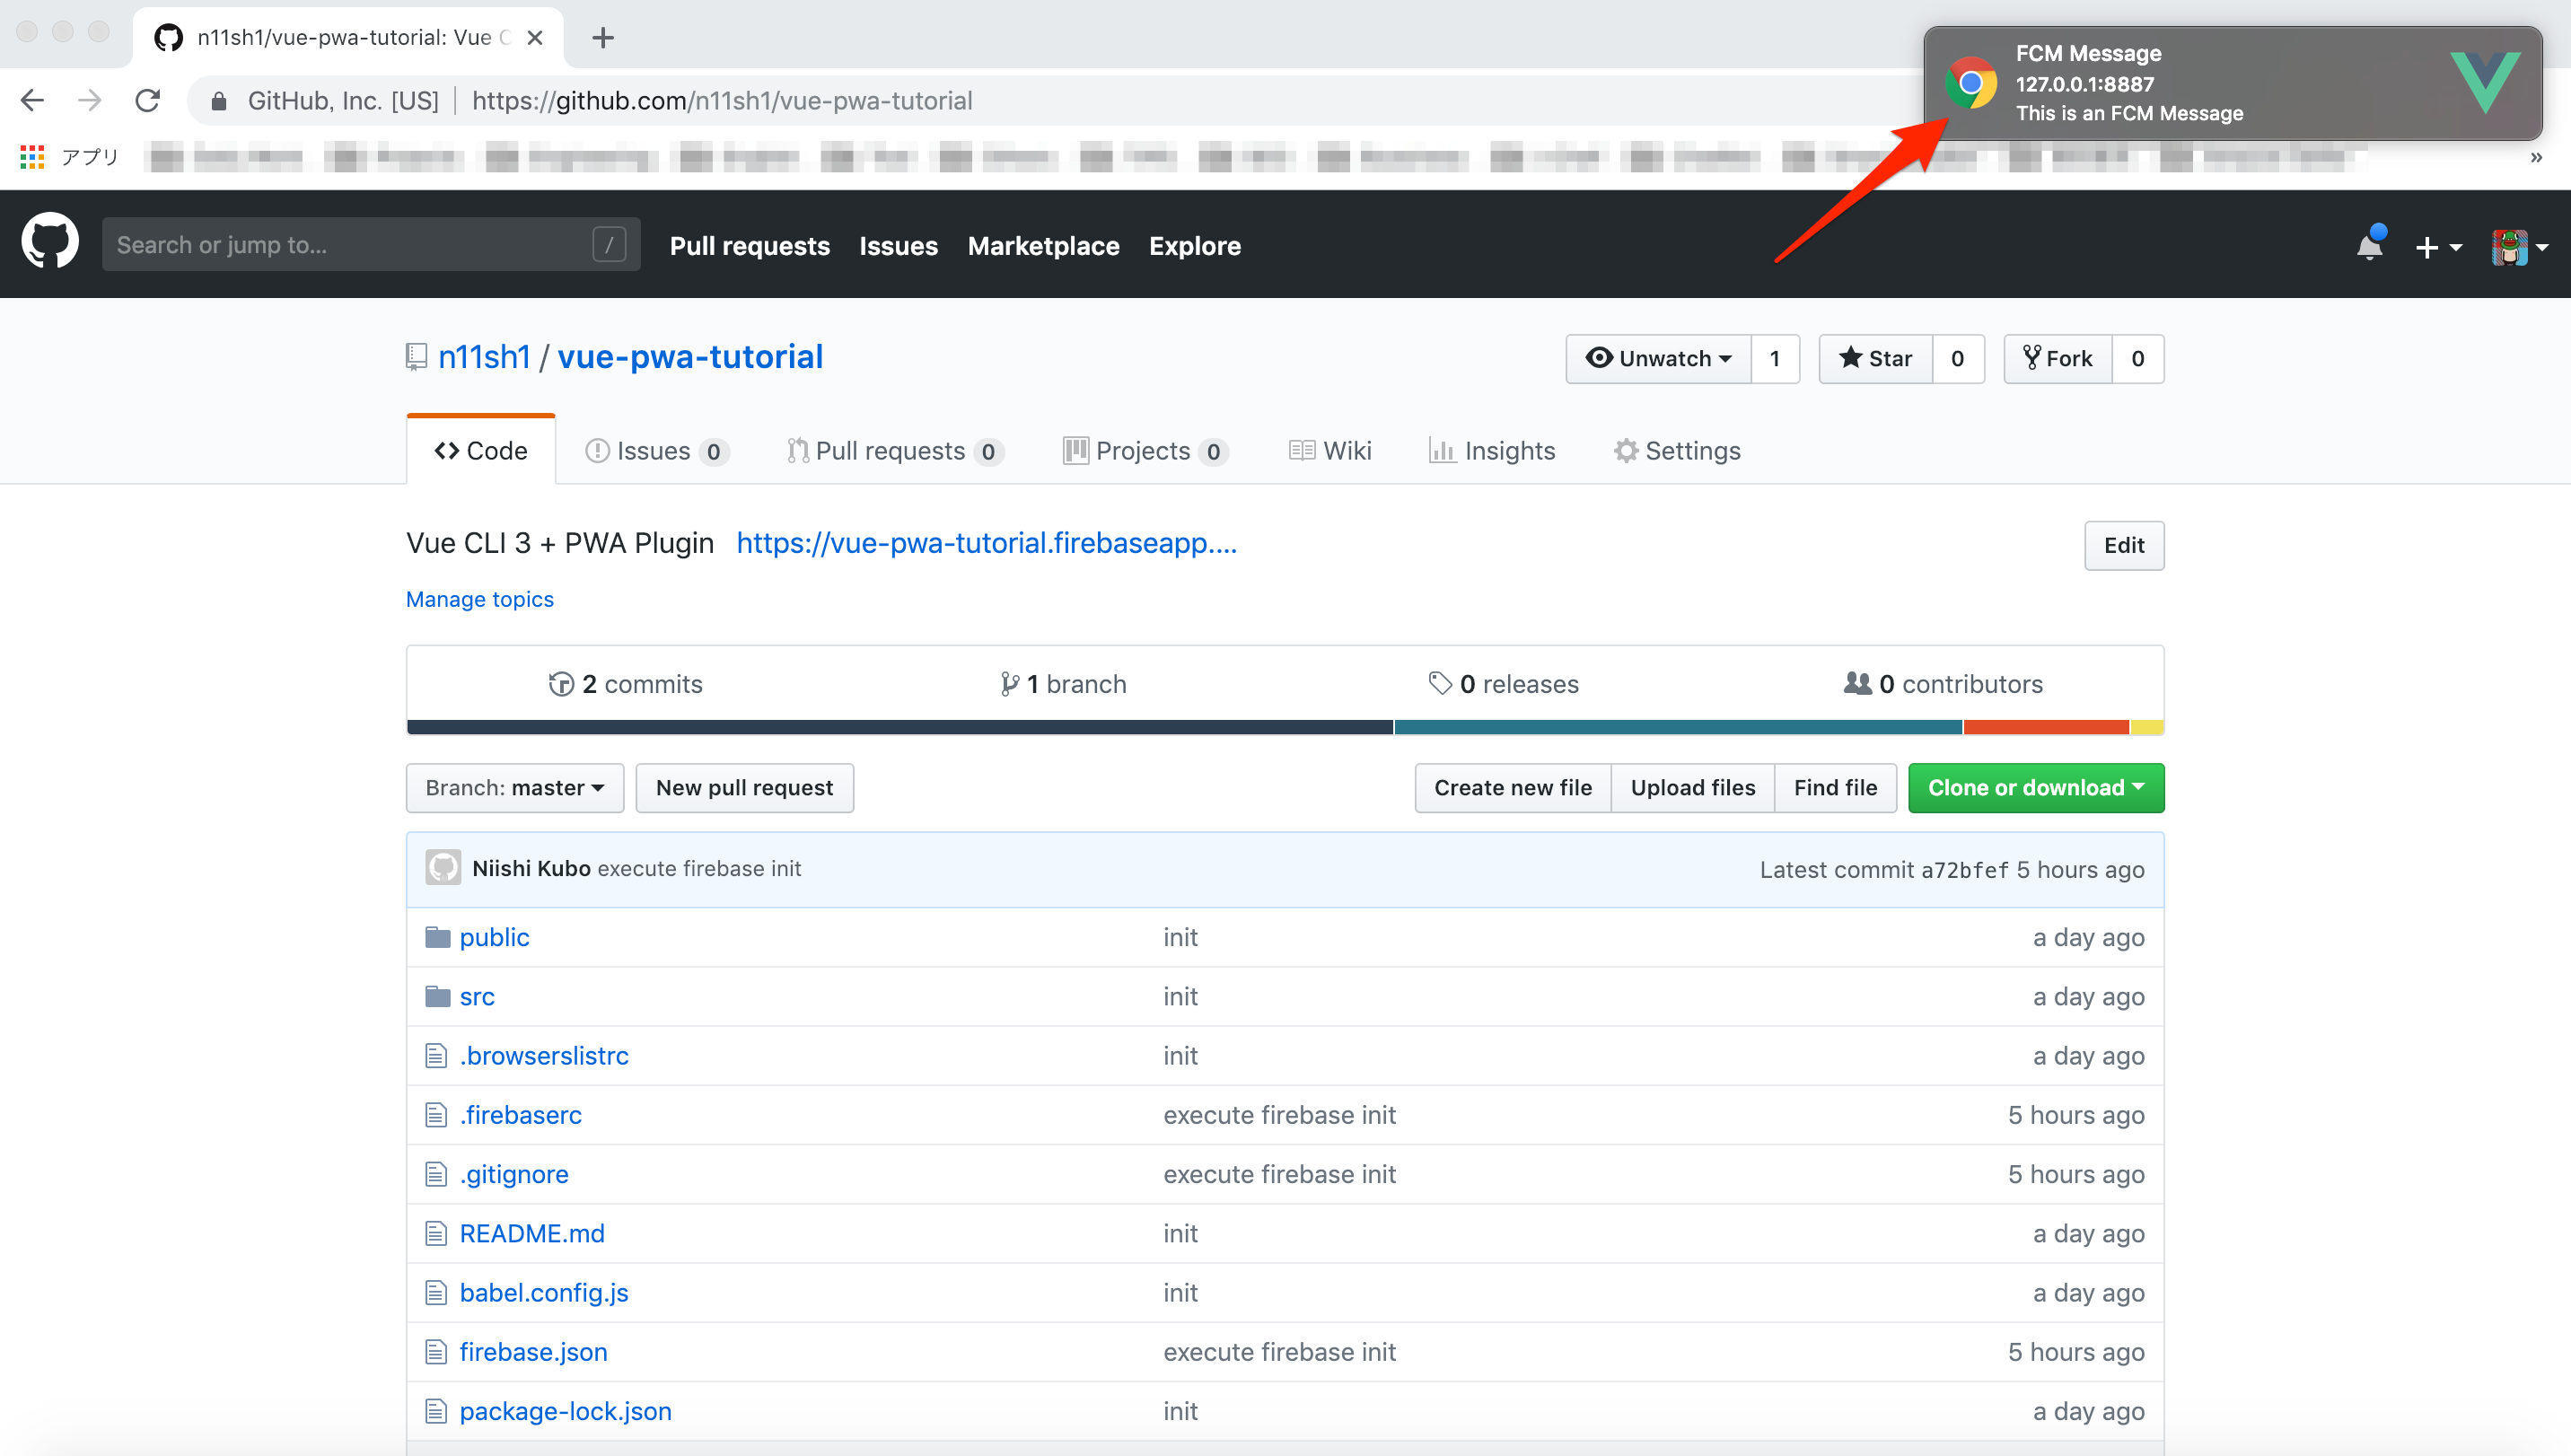
通知が届きました!
ページがフォアグラウンド(フォーカスされている場合)は、メッセージは届きません。
SP
SPも同様に通知を許可して curl を実行するとプッシュ通知が届きます。(アプリアイコンにも通知ドットが付きます)

まとめ
PWA を使えば Webアプリでも Nativeアプリ に近い UX が提供できます。
今回紹介できていないこともあるので、また機会があれば書きます。
- Service Workers
- Cache Control
- Offline Page
- Push Notifications
- Token Refresh
- Firebase Cloud Messaging
さいごに
個人ブログにオリジナル(日本語&英語)をUPしています。
この記事が良いと感じた方は、そちらにもリアクション頂けると嬉しいです![]()
https://blog.n11sh1.com