以下の記事の続きです。
Cloud9上にLaravel5.4を導入する
環境構築が終わりましたのでいよいよLaravelを触っていきます。
今回は
- routing
- controller
- view
を使って画面を表示させる方法を説明していきます。
laravelのフォルダを作成する
前回のおさらいですが、以下のコマンドでlaravelのフォルダを作成します。
laravel new laravel

# 以下を~/.bashrcに登録していない場合は実行しておく
export PATH=~/.composer/vendor/bin:$PATH

# warningが出た場合は以下のコマンドを実行
composer global require "laravel/installer"
routingを実施する
laravelはMVCモデルなので、何をするにしても最初にroutingが問題になります。
laravelでroutingを設定する役割はroutes/web.phpが担っています。
このファイルに特定のURLにアクセスが実施されたときに実行するべき処理を書き込みます。
以下は初期状態でのweb.phpのコードです。
/*web.phpは初期状態では以下のコードとなっている*/
<?php
Route::get('/', function () {
    return view('welcome');
});
これは「welcome(正確にはresources/viewsフォルダに含まれるwelcome.blade.php)」というテンプレートファイルを返すことを表現しています。
これを以下のように書き換えます
<?php
Route::get('/', function () {
    return view('welcome');
});
Route::get('/users', 'UserController@index');
追記した行は「[元URL]/users」にアクセスが来た際に、「UserController」というコントローラのindex関数を実行することを意味しています。
UserControllerの実装
上記で定義したUserController用のファイルを作成します。
作成場所は「app/Http/Controllers/」
ファイル名は「UserController.php」とします。
<?php

namespace App\Http\Controllers;

use Illuminate\Http\Request;

class UserController extends Controller
{
    public function index()
    {
        return view('test');
    }
}
上記のコードの
    public function index()
    {
        return view('test');
    }
の部分は「UserController」のindex関数であり、testビュー(正確にはresources/viewsフォルダに含まれるtest.blade.php)を返すことを示しています。
testビューの実装
testビューを用意します。
「resources/views/」に「index.blade.php」を作成し、以下のように記述します。
<!doctype html>
<html lang="ja">
<head>
    <meta charset="UTF-8">
    <title>Document</title>
</head>
<body>
    <h1>Hello test</h1>
</body>
</html>
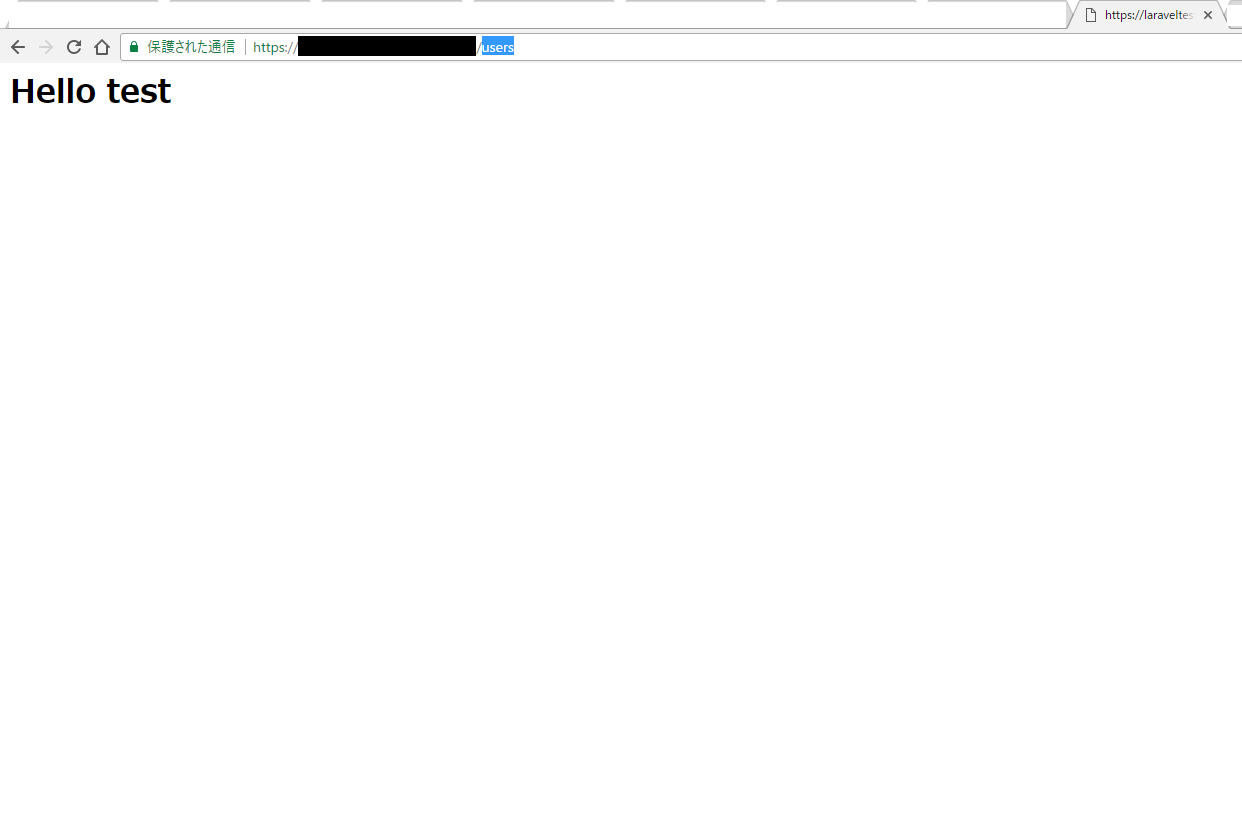
動作確認
ここまで作成出来たら、前回の記事にあるようにCloud9上のRun Projectを押してLaravelのホーム画面に接続します。
その後URLの末尾に「/users」を追記して接続すると以下のような画面が得られるはずです。