少し前ですが[速報]Google App EngineがRubyとNode.jsのサポートを発表。GCP Next 2016の記事を見て、試そうと思っていたけど試せてなかったのでやってみます。
Node.js界隈から見たら待ちに待ったって感じですよね(きっと)。
- まとめてみたらNode.jsならではというよりGAEの登録フローがメインになってるかも
- 仕様変更はあると思うのであくまで2016年5月時点のものです。
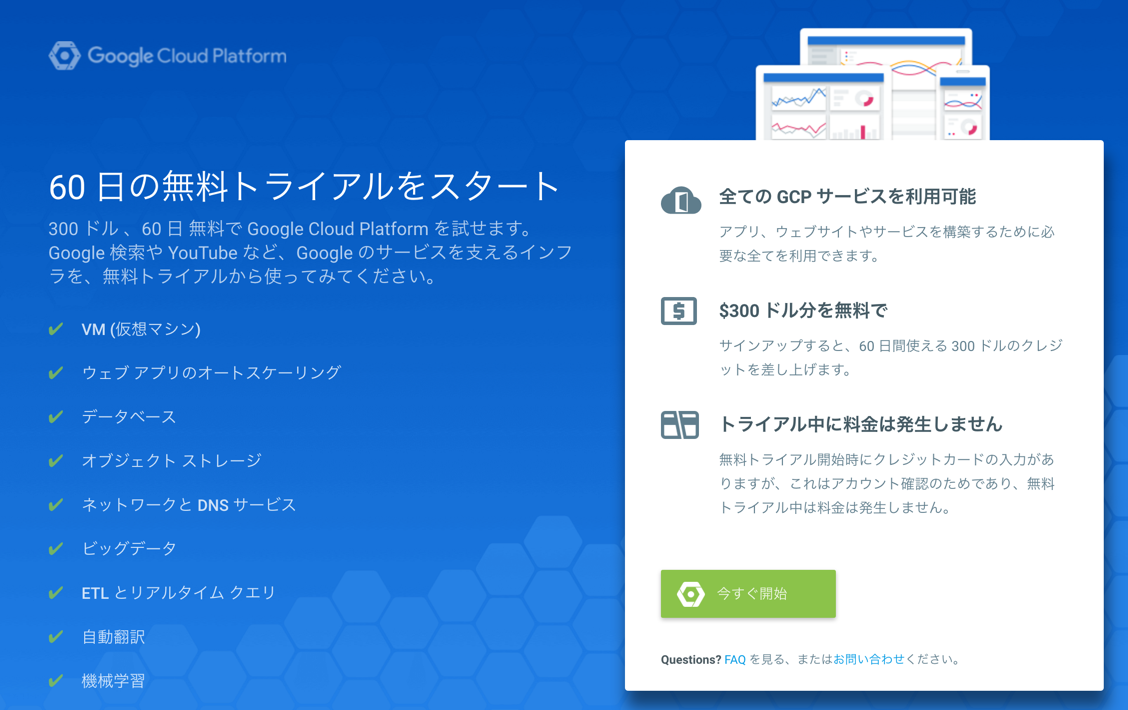
無料トライアルから試すと気軽でいいかも
60日の無料トライアルがあるのでサクッと試すなら利用するといいと思います。
登録手順など
まずは https://cloud.google.com/appengine/docs/flexible/nodejs/?hl=ja にアクセスします。
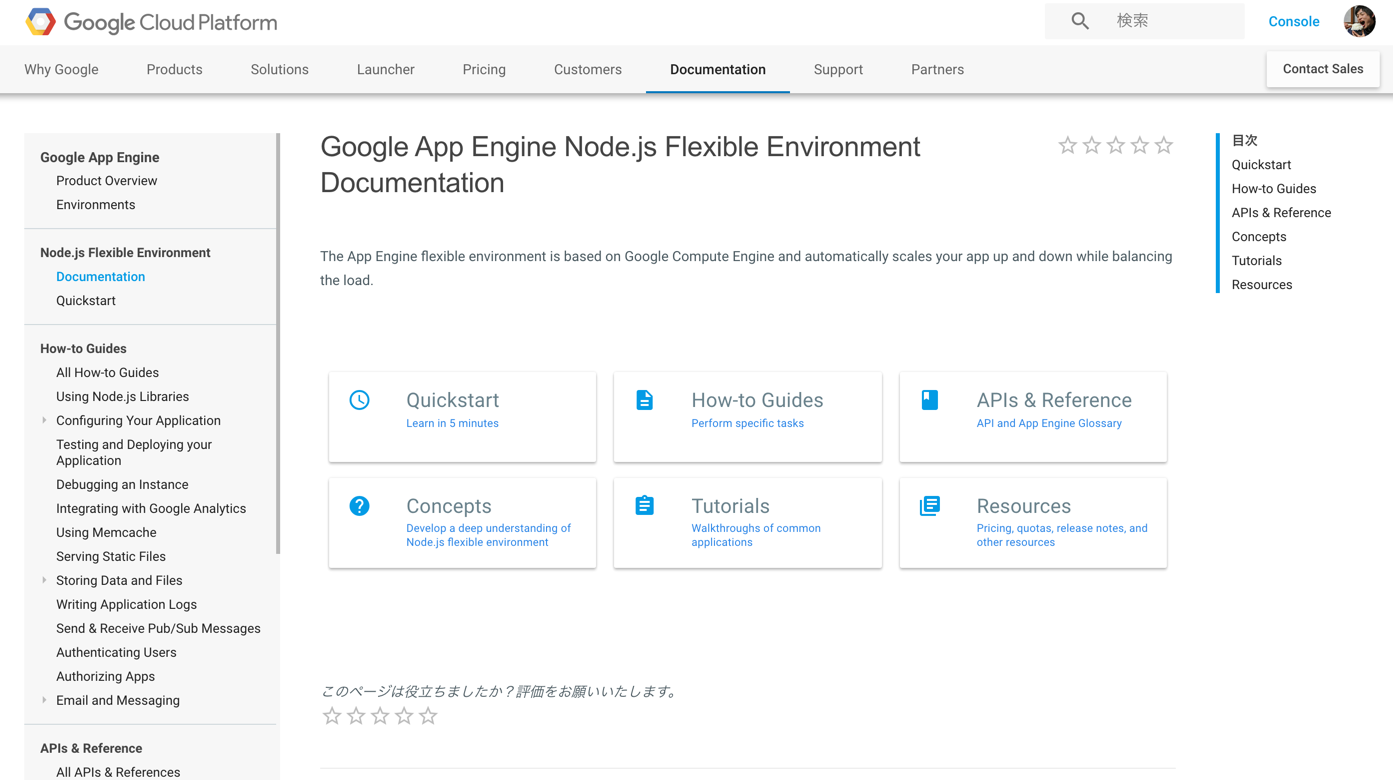
Quickstartを選択しましょう。
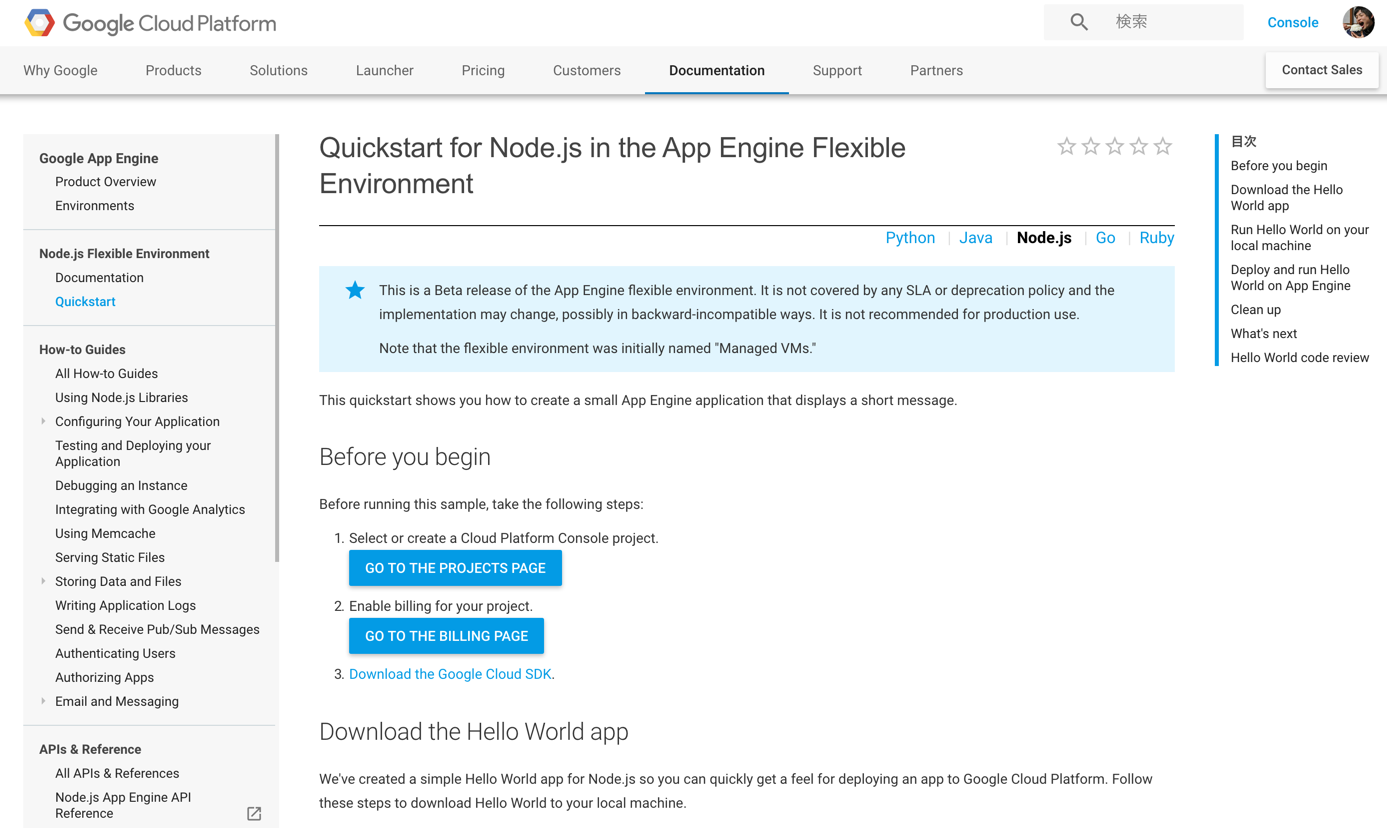
1. プロジェクト作成
GO TO THE PROJECTS PAGEを選択
管理画面に飛びます。すでにプロジェクトを作ってある場合は一覧が表示されます。
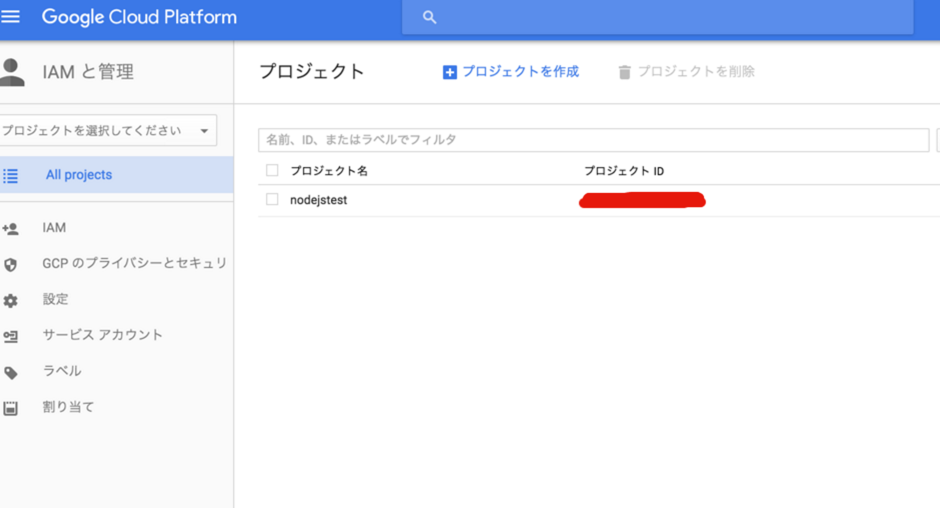
プロジェクトを作成から今回利用するプロジェクトを作ります。
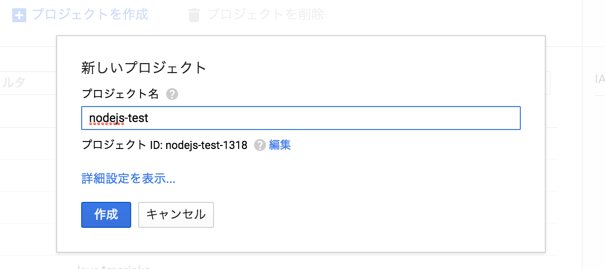
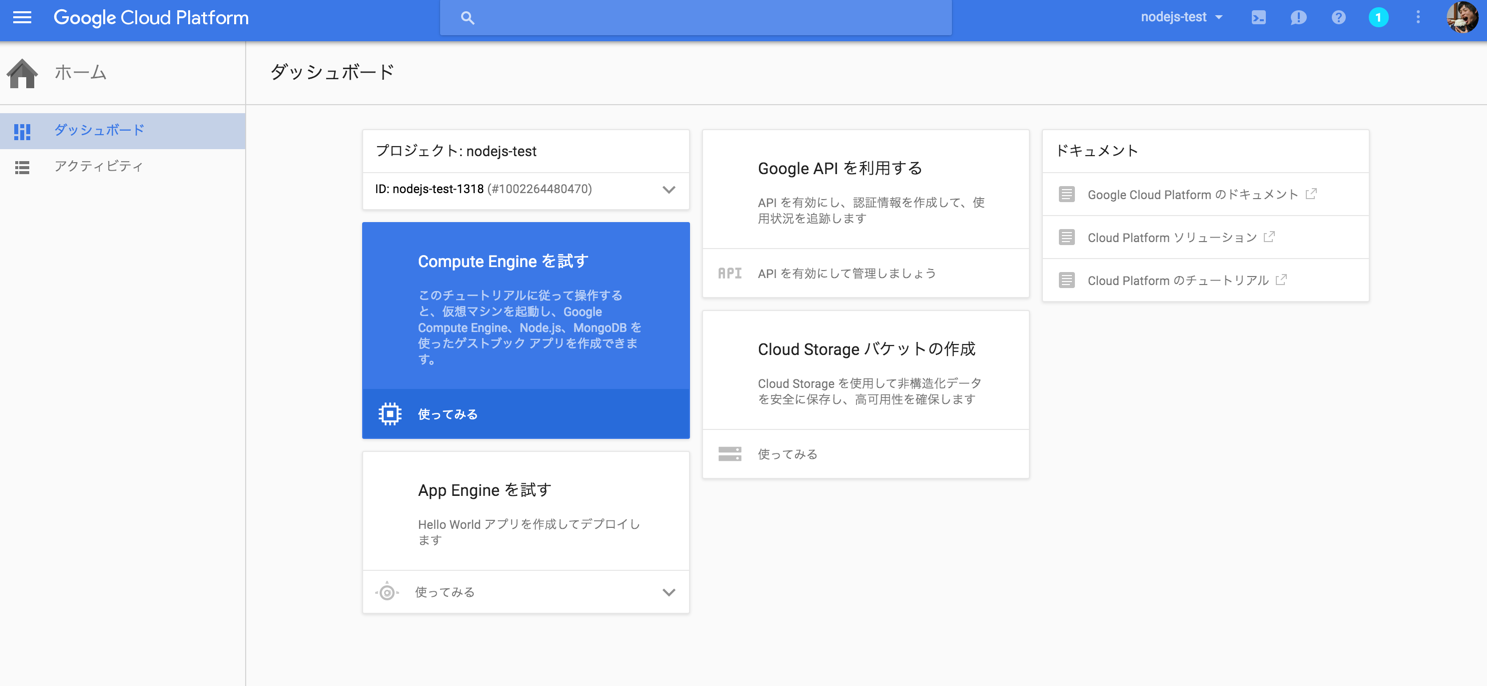
作成されるとプロジェクトの管理画面に遷移します。
ここで取得できるプロジェクトIDをあとで利用します。
2. 支払い設定
さっきのページに戻って
GO TO THE BILLING PAGEを選択
支払い設定をしましょう。
トライアルで試してる人はスキップで大丈夫です。
3. Google Cloud SDK (Gloud)をダウンロード
過去にgcloudコマンドをインストール済みの場合はここはスキップです。
$ gcloud
bash: command not found: gcloud
こんな感じで入ってなかったらダウンロード&インストールします。
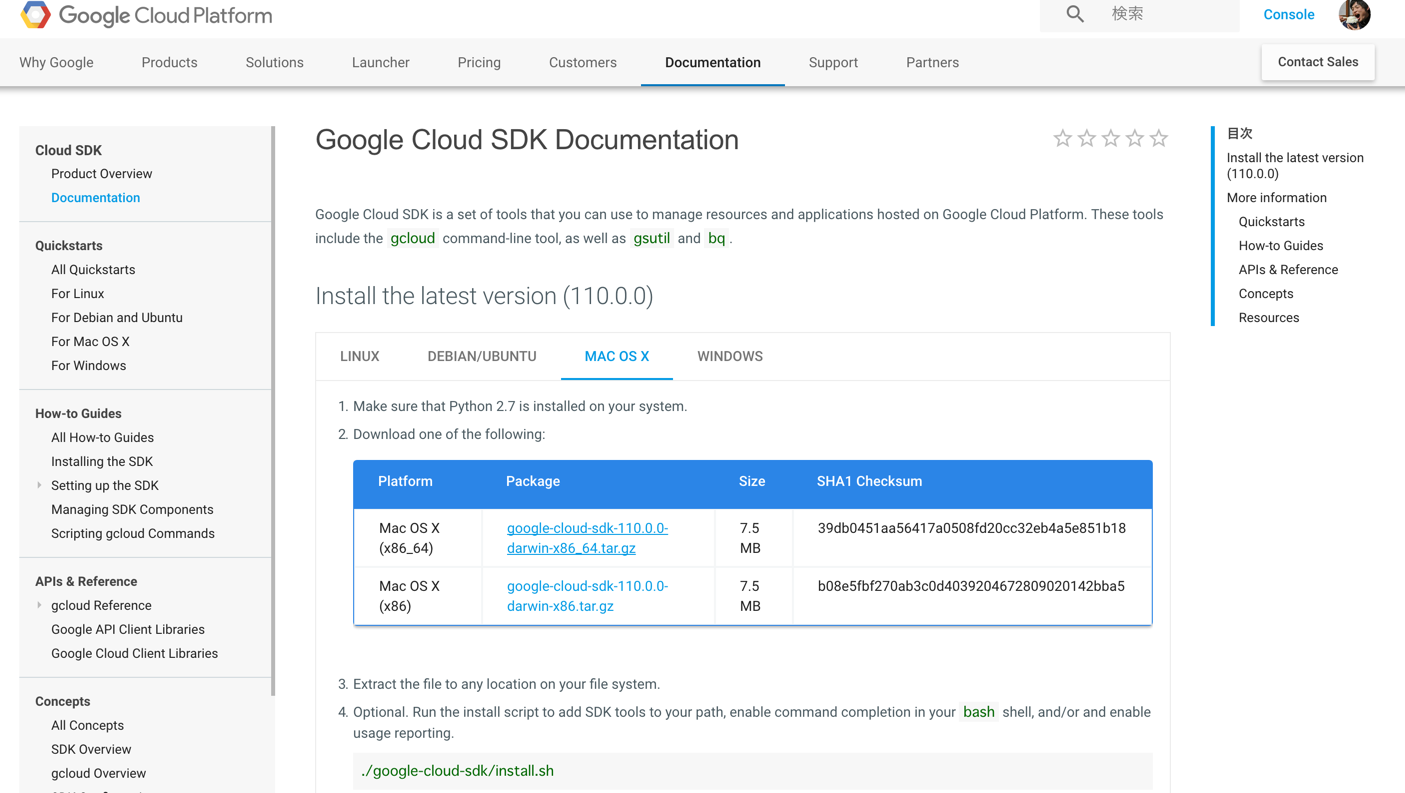
google-cloud-sdk-110.0.0-darwin-x86_64.tarをDLしました。
解凍したgoogle-cloud-sdk/bin/gcloudがgcloudコマンドになるのでパスを通してください。
gcloudコマンドが使えるか確認しましょう。
$ gcloud

Usage: gcloud [optional flags] <group | command>
  group may be           auth | components | compute | config | container |
                         dataproc | deployment-manager | dns | iam | preview |
                         projects | source | sql | topic
  command may be         docker | feedback | help | info | init | version

The *gcloud* CLI manages authentication, local configuration, developer
workflow, and interactions with the Google Cloud Platform APIs.

commonly used flags:
  --account ACCOUNT      Google Cloud Platform user account to use for
                         invocation.
  --configuration CONFIGURATION

・
・
・
サンプルコードを実行する
サンプルはGitHubのリポジトリにあります。
- 適当なディレクトリを作成&移動
$ mkdir gae-node
$ cd gae-node
- サンプルをクローン
$ git clone https://github.com/GoogleCloudPlatform/nodejs-docs-samples
$ cd nodejs-docs-samples/appengine/hello_world
- ファイルの確認
$ ls
README.md    app.js       app.yaml     package.json
- 依存モジュールインストール
$ npm i
- 実行
$ npm start

> appengine-hello-world@0.0.1 start /Users/sugawara_nobisuke/n0bisuke/lab/gae-node/nodejs-docs-samples/appengine/hello-world
> node app.js

App listening at http://0.0.0.0:8080
Press Ctrl+C to quit.
これでローカル上でサンプルが実行されます。
http://localhost:8080を確認してみると以下のようにWebサイトを確認できます。

デプロイ
- プロジェクト設定
gcloud config set project プロジェクトIDとしてgcloudコマンドの設定に利用するプロジェクトのIDをひも付けます。
$ gcloud config set project xxxxxxxxxx
- アカウント設定
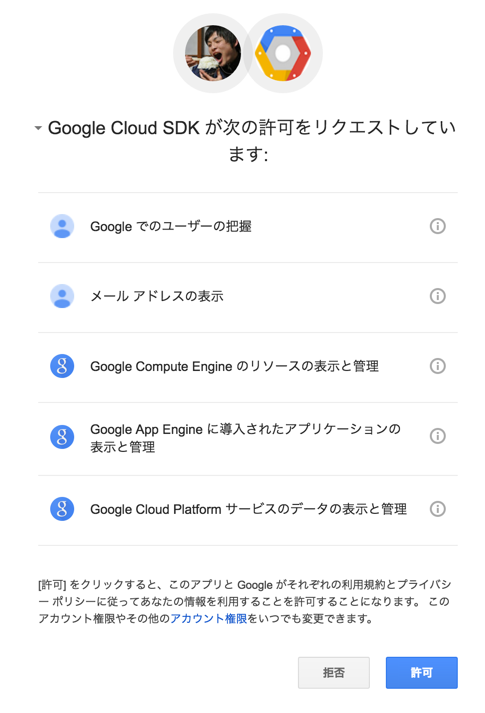
gcloudコマンドにアカウントを紐付けます
$ gcloud auth login
ブラウザ側でアカウント選択&認証画面が出るので許可しましょう。
- デプロイ
gcloud preview app deployでデプロイできます。 デプロイは少し時間がかかる印象でした。
$ gcloud preview app deploy
You are about to deploy the following services:
 - nodejs-test-1318/default (from [/Users/sugawara_nobisuke/n0bisuke/lab/gae-node/nodejs-docs-samples/appengine/hello-world/app.yaml])
     Deployed URL: [https://nodejs-test-1318.appspot.com]

Do you want to continue (Y/n)?
ちなみにアカウントの請求設定がないとエラーになりました。
Beginning deployment...
If this is your first deployment, this may take a while...failed.
WARNING: If this is your first deployment, please try again.
ERROR: (gcloud.preview.app.deploy) Server responded with code [400]:
有効なアカウントで試すとこんな感じで成功します。
Building and pushing image for service [default]
WARNING: No configuration information provided by runtime [nodejs].
Started cloud build [071a192e-fb0a-4508-bea0-66a9b3eef191].
To see logs in the Cloud Console: https://console.developers.google.com/logs?project=xxxxxxxxxx&service=cloudbuild.googleapis.com&key1=071a192e-fb0a-4508-bea0-66a9b3eef191&logName=projects/xxxxxxxxxx/logs/cloudbuild
---------------------------------- REMOTE BUILD OUTPUT ----------------------------------
starting build "071a192e-fb0a-4508-bea0-66a9b3eef191"

FETCHSOURCE
Fetching storage object: gs://staging.xxxxxxxxxx.appspot.com/us.gcr.io/xxxxxxxxxx/appengine/default.20160523t072013:latest#1463955693480000
Copying gs://staging.xxxxxxxxxx.appspot.com/us.gcr.io/xxxxxxxxxx/appengine/default.20160523t072013:latest#1463955693480000...
Downloading file:///tmp/source-archive.tgz:                      1.96 KiB/1.96 KiB
FETCHBUILDER
BUILD
+ docker version
Client:
 Version:      1.9.1
 API version:  1.21
 Go version:   go1.4.3
 Git commit:   a34a1d5
 Built:        Fri Nov 20 17:56:04 UTC 2015
 OS/Arch:      linux/amd64

Server:
 Version:      1.9.1
 API version:  1.21
 Go version:   go1.4.2
 Git commit:   a34a1d5
 Built:        Fri Nov 20 13:12:04 UTC 2015
 OS/Arch:      linux/amd64
+ cat Dockerfile
# Dockerfile extending the generic Node image with application files for a
# single application.
FROM gcr.io/google_appengine/nodejs
# Check to see if the the version included in the base runtime satisfies
# '~4.2', if not then do an npm install of the latest available
# version that satisfies it.
RUN /usr/local/bin/install_node '~4.2'
COPY . /app/
# You have to specify "--unsafe-perm" with npm install
# when running as root.  Failing to do this can cause
# install to appear to succeed even if a preinstall
# script fails, and may have other adverse consequences
# as well.
# This command will also cat the npm-debug.log file after the
# build, if it exists.
RUN npm install --unsafe-perm || \
  ((if [ -f npm-debug.log ]; then \
      cat npm-debug.log; \
    fi) && false)
CMD npm start
+ docker build --tag us.gcr.io/xxxxxxxxxx/appengine/default.20160523t072013:latest /workspace
Sending build context to Docker daemon 11.26 kB
Step 1 : FROM gcr.io/google_appengine/nodejs
 ---> 3b4050d21a95
Step 2 : RUN /usr/local/bin/install_node '~4.2'
 ---> Running in 8e24d6420032
Installed Node.js v4.2.6
 ---> a59289ee6ec6
Removing intermediate container 8e24d6420032
Step 3 : COPY . /app/
 ---> 60be3b58d1a2
Removing intermediate container cfd7d65b6d07
Step 4 : RUN npm install --unsafe-perm ||   ((if [ -f npm-debug.log ]; then       cat npm-debug.log;     fi) && false)
 ---> Running in b674dbce1236
express@4.13.4 node_modules/express
├── escape-html@1.0.3
├── array-flatten@1.1.1
├── utils-merge@1.0.0
├── cookie-signature@1.0.6
├── content-type@1.0.2
├── merge-descriptors@1.0.1
├── methods@1.1.2
├── vary@1.0.1
├── content-disposition@0.5.1
├── cookie@0.1.5
├── fresh@0.3.0
├── parseurl@1.3.1
├── range-parser@1.0.3
├── etag@1.7.0
├── path-to-regexp@0.1.7
├── serve-static@1.10.2
├── depd@1.1.0
├── qs@4.0.0
├── on-finished@2.3.0 (ee-first@1.1.1)
├── finalhandler@0.4.1 (unpipe@1.0.0)
├── debug@2.2.0 (ms@0.7.1)
├── proxy-addr@1.0.10 (forwarded@0.1.0, ipaddr.js@1.0.5)
├── accepts@1.2.13 (negotiator@0.5.3, mime-types@2.1.11)
├── type-is@1.6.13 (media-typer@0.3.0, mime-types@2.1.11)
└── send@0.13.1 (destroy@1.0.4, statuses@1.2.1, ms@0.7.1, mime@1.3.4, http-errors@1.3.1)
 ---> a2ae3df79dcd
Removing intermediate container b674dbce1236
Step 5 : CMD npm start
 ---> Running in d4f4c0ca0326
 ---> 6d349e5dccf3
Removing intermediate container d4f4c0ca0326
Successfully built 6d349e5dccf3
PUSH
The push refers to a repository [us.gcr.io/xxxxxxxxxx/appengine/default.20160523t072013] (len: 1)
6d349e5dccf3: Preparing
6d349e5dccf3: Pushing
6d349e5dccf3: Pushed
a2ae3df79dcd: Preparing
a2ae3df79dcd: Pushing
a2ae3df79dcd: Pushed
60be3b58d1a2: Preparing
60be3b58d1a2: Pushing
60be3b58d1a2: Pushed
a59289ee6ec6: Preparing
a59289ee6ec6: Pushing
a59289ee6ec6: Pushed
8ccb8f1c5a16: Image already exists
fbcc67d63416: Image already exists
a785bf0e4a41: Image already exists
9d13486a33e9: Image already exists
a0a4e46e5e86: Image already exists
096d9403d234: Image already exists
latest: digest: sha256:886efe0ff46d9d19b7227d4f6d44ac62f69c777801c520cbfdb105f7f9069a22 size: 35378
DONE
-----------------------------------------------------------------------------------------

Updating service [default]...done.
Deployed service [default] to [https://xxxxxxxxxx.appspot.com]
これでデプロイが成功したみたいなのでhttps://xxxxxxxxxx.appspot.comにアクセスしてみます。
(xxxxxxxxxxは自分のプロジェクトID)

とりあえずデプロイするところまでできました。
雑感
デプロイまでの流れだととくに他の言語のGAEさわるときと変わらずな感じです。Node.jsのバージョンも4系に対応しているみたいなのでバージョンが古くて...みたいなことはなさそうです。
デプロイに時間がめちゃかかってる気がするが心配です苦笑